










Basic Crochet Socks Pattern: A Complete Guide for Beginners and Beyond
Introduction to Crocheting Socks
Crocheting your own socks is one of the most rewarding projects you can undertake as a yarn enthusiast. Unlike store-bought socks, handmade crochet socks can be customized to fit your exact foot measurements, allowing for a snug, comfortable fit that you simply cannot find on a shelf. Whether you are a seasoned crocheter or someone who has just learned how to hold a hook, the world of crochet socks is surprisingly accessible and endlessly satisfying to explore.
Many beginners shy away from sock patterns because they assume the process is complicated or requires advanced skills. In reality, a basic crochet sock is built from a series of straightforward techniques that you likely already know: chain stitches, slip stitches, single crochet, and half double crochet. The structure of a sock is logical and methodical, moving from the cuff down through the leg, turning the heel, and finishing at the toe. Once you understand this flow, the pattern becomes intuitive and even meditative to work through.
Beyond the technical aspects, there is something deeply personal about crocheting socks. You are creating a wearable item that will be worn close to the body every day, providing warmth, comfort, and a quiet reminder of the time and care you invested. Gifting handmade socks to a loved one carries an emotional weight that no mass-produced item can replicate. This guide will walk you through everything you need to get started, from choosing the right yarn to finishing your very first pair with confidence.
Materials and Tools You Will Need
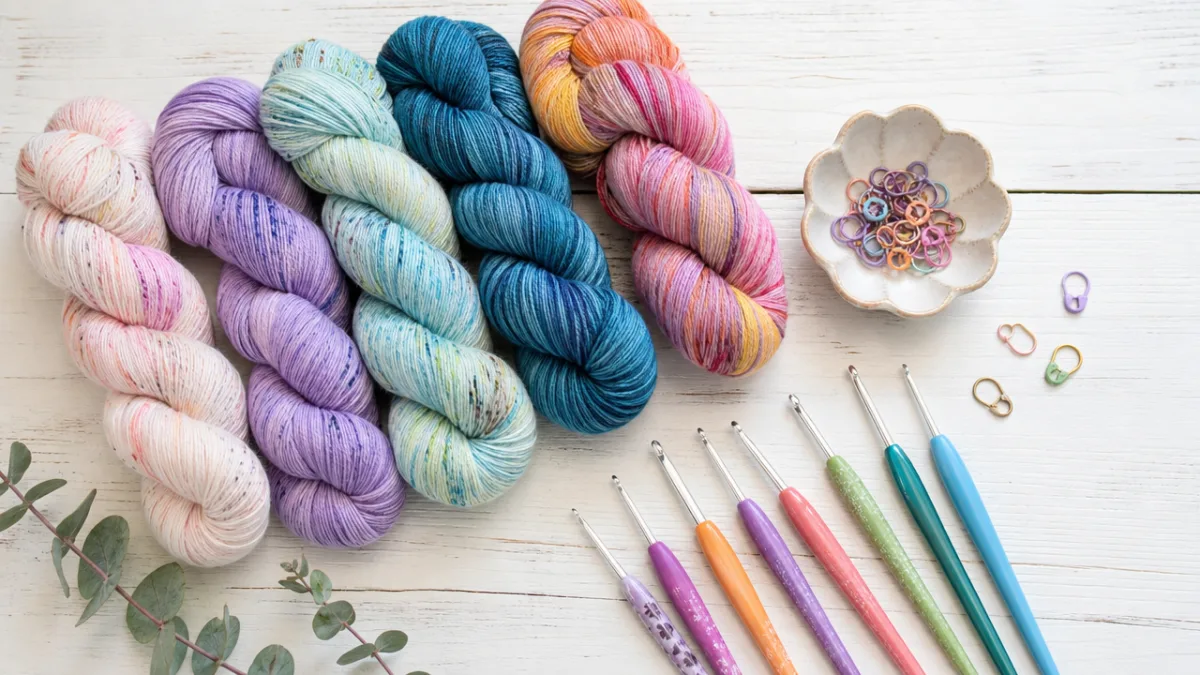
Before you cast on your first stitch, gathering the right materials is essential to a smooth and enjoyable crochet experience. The most important decision you will make is choosing your yarn. Sock yarn is a specific category of yarn typically made from a blend of wool, nylon, and sometimes a small percentage of elastic fiber. This blend is intentional: the wool provides warmth and natural moisture-wicking properties, the nylon adds durability to withstand the friction of walking, and the elastic fiber helps the sock retain its shape over time and through repeated washings.
When selecting yarn weight, fingering weight or sock weight yarn is the standard choice for most crochet sock patterns. This thinner yarn produces a fabric that is flexible and fine enough to fit inside a shoe comfortably without adding bulk. Bulkier yarns can certainly be used for cozy house socks, but they tend to be too thick for everyday wear inside footwear. Look for yarn that specifies it is machine washable, as hand-washing socks every time can become impractical over the long term.
In terms of tools, you will need a crochet hook that matches your yarn’s recommended gauge. For fingering weight yarn, this typically means a hook between 2.25mm and 3.5mm. You will also want a tapestry needle for weaving in ends, stitch markers to track your rounds, a measuring tape to check your gauge swatch, and scissors. Some crocheters also find a row counter helpful, especially when working the leg section where you repeat the same stitch pattern for many rows in succession.
- Fingering or sock weight yarn (approximately 400 yards per pair for an average adult size)
- Crochet hook in size 2.5mm to 3.5mm, depending on your tension
- Stitch markers (at least 4 to 6)
- Tapestry needle for finishing
- Measuring tape and a small ruler
- Scissors
- Optional: row counter or notepad to track progress
Understanding Gauge and Sizing
Gauge is one of those concepts that new crocheters often overlook in their eagerness to jump into a project, but it is absolutely critical when making socks. Gauge refers to the number of stitches and rows that fit within a specific measurement, usually four inches by four inches, using a particular yarn and hook combination. Because socks need to fit a specific foot, even a small discrepancy in gauge can result in a finished product that is too loose, too tight, or too short to wear comfortably. Taking the time to make a gauge swatch before starting will save you considerable frustration.
To create a gauge swatch, chain enough stitches to produce a square that is at least five inches wide using your chosen yarn and hook. Work in your intended stitch pattern for enough rows to reach five inches in height. Lay the swatch flat without stretching it and measure how many stitches and rows appear within a four-inch section at the center of the swatch, away from the edges where tension can distort. Compare this number to the gauge listed in your chosen pattern. If you have more stitches than the pattern calls for, try a larger hook. If you have fewer, try a smaller hook.
Sizing a crochet sock involves measuring the foot you are making it for. The key measurements you will need are the foot circumference (the measurement around the widest part of the foot, typically across the ball), the foot length from heel to toe, and optionally the height of the desired cuff. Most patterns are written for a range of sizes, and you can adjust the number of foundation stitches and the length of the foot section to match your measurements precisely. Crocheting socks from the cuff down is the most common construction method and offers the easiest path to size adjustment.
- Measure foot circumference around the ball of the foot
- Measure foot length from the back of the heel to the tip of the longest toe
- Measure desired cuff height (ankle sock, crew, or knee-high)
- Create a gauge swatch and calculate stitch count per inch
- Divide foot circumference by stitches per inch to find your starting stitch count
Step-by-Step Pattern Instructions
With your materials ready and your gauge confirmed, it is time to begin crocheting. Start by creating the cuff, which forms the opening of the sock at the top. Work a foundation chain that, when joined into a ring, measures approximately one inch less than the actual foot circumference. This negative ease ensures the sock grips the leg snugly. Join with a slip stitch to form a ring, being careful not to twist the chain, and then work your ribbing pattern into the round. A common ribbing stitch for crochet socks involves alternating front post and back post half double crochets, which creates a stretchy, textured band that closely mimics knitted ribbing.
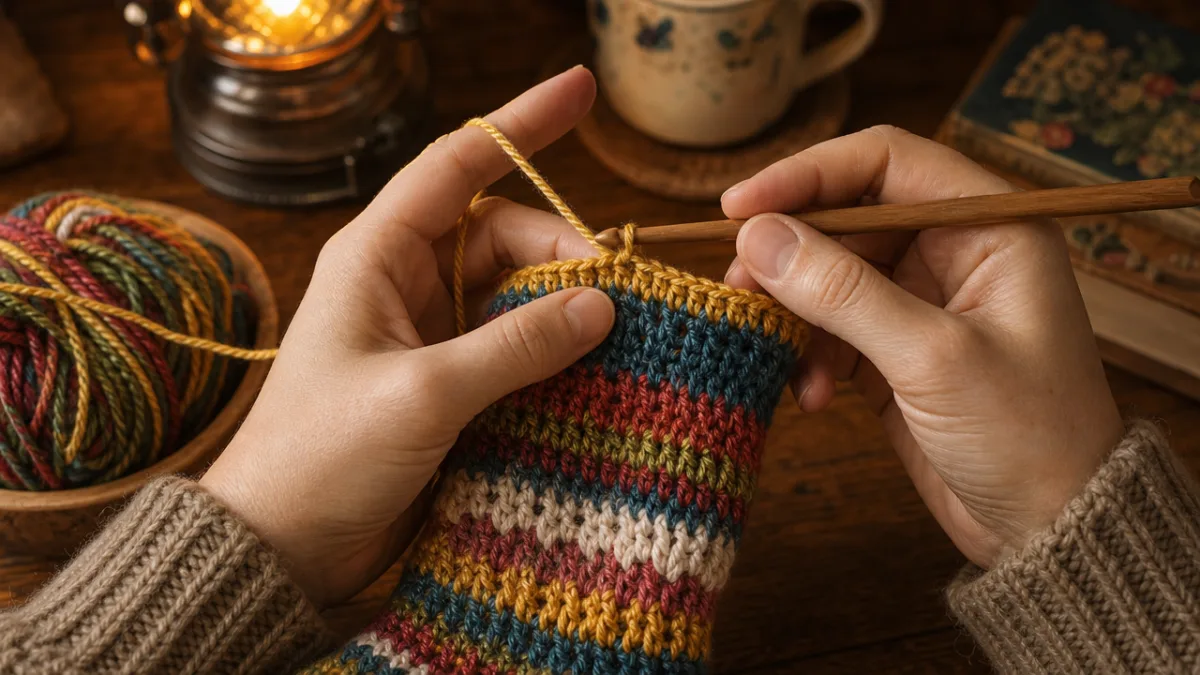
Continue the ribbing for as many rows as your desired cuff height requires, typically one to three inches for an ankle sock and three to six inches for a crew-length sock. Once your cuff is complete, transition into the leg section by working in your chosen main stitch pattern. Single crochet worked in the back loop only is a popular choice for the leg because it is simple, stretchy, and creates a clean, uniform texture. Work in continuous rounds, placing a stitch marker at the beginning of each round to keep track of your progress.
The heel is the part of the sock that intimidates most beginners, but it is more logical than it appears. There are several heel construction methods available in crochet, but the heel flap and gusset is among the most common and produces an excellent fit. To begin the heel flap, you will stop working in the round and instead work back and forth in rows across half of your total stitch count. These rows form a small rectangular flap that covers the back of the heel. After completing the flap, you will pick up stitches along its sides and decrease gradually to shape the gusset, which connects the heel to the foot section.
After the heel turn and gusset decreases are complete, you will resume working in the round across all stitches to form the foot of the sock. At this point, the construction becomes straightforward again: simply continue in your chosen stitch pattern until the foot section measures approximately two inches less than the total foot length. This accounts for the toe section, which you will work next. The toe is typically shaped by making symmetrical decreases every other round until only a small number of stitches remain, at which point you can close the toe using a slip stitch seam or by drawing the yarn through the remaining stitches and pulling tight.
Common Mistakes and How to Avoid Them
Even experienced crocheters encounter challenges when making socks for the first time. One of the most frequent mistakes is failing to check gauge before starting. As mentioned earlier, gauge directly affects the size of the finished sock, and a difference of even one stitch per inch across the circumference of the foot can result in a sock that is dramatically too large or too small. Always swatch, always measure, and always adjust your hook size before committing to the full project. This single habit will eliminate the majority of fitting problems before they start.
Another common issue is uneven tension, particularly when transitioning between working in the round and working flat rows for the heel flap. Many crocheters naturally tension their yarn differently depending on whether they are turning their work or continuing in a circle. Pay close attention to the stitches at the beginning and end of your heel rows, as these are the spots most prone to looseness or tightness. If you notice a visible seam or gap forming at these transition points, try adjusting your grip or practicing the transition on a small swatch before attempting it on the actual sock.
Twisting stitches is another pitfall, especially for beginners working in the back loop only. When you insert your hook into only the back loop of a stitch, it can be easy to accidentally catch both loops or miss the correct loop entirely, especially when using dark or highly textured yarn. Working in good lighting and taking your time with each stitch insertion will help. Some crocheters find it helpful to use a slightly larger hook than recommended for the first few sessions, as this makes the loops easier to see and manipulate until the technique becomes second nature.
- Always make a gauge swatch before starting any sock project
- Use stitch markers religiously to track round beginnings and shaping points
- Count your stitches at the end of every round during heel construction
- Work in good lighting to distinguish individual loops clearly
- Do not rush the heel turn; re-read instructions carefully before each step
- Weave in ends securely to prevent unraveling during wear and washing
Customization Ideas and Creative Variations
Once you have mastered the basic crochet sock pattern, a world of creative possibility opens up in front of you. Color work is one of the most exciting ways to personalize your socks, and even simple stripes can transform a plain sock into something visually striking. Changing colors at the beginning of a round is easy and creates clean horizontal stripes. You can experiment with thin single-row stripes for a subtle effect or wide multi-row stripes for bold, graphic impact. For a more advanced look, try alternating two colors every two rounds to achieve a classic, tweedy marled effect.
Stitch pattern substitutions offer another layer of creative flexibility. While single crochet worked in the back loop only is a reliable and stretchy choice, there are many other stitches that produce beautiful textures without sacrificing elasticity. The moss stitch, which alternates single crochet and chain stitches, creates a wonderfully airy fabric that works well for summer socks or for those who prefer less warmth. The waistcoat stitch, which involves inserting the hook under the vertical bar of the stitch below, produces a fabric that closely resembles stockinette knitting and is particularly elegant for plain, neutral-colored socks.
Embellishments can also elevate a simple sock into a truly special handmade item. Consider adding a small crocheted motif to the cuff, such as a simple flower, a leaf, or a geometric medallion, worked separately and then sewn into place. Lace edging at the cuff opening adds a delicate, feminine touch that is surprisingly easy to achieve using basic chain spaces and slip stitches. For a more playful aesthetic, you might crochet a contrasting heel and toe in a different color, a technique commonly called a “contrast heel” that adds a fun pop of color to an otherwise solid sock.
Beyond aesthetics, you can also customize socks for specific functional purposes. Adding an extra round of ribbing at the cuff will help the sock stay up better during active use. Reinforcing the heel and toe sections by holding a strand of fine nylon thread alongside your main yarn in those areas increases durability significantly, particularly for socks worn inside shoes. For recipients who have wider or narrower feet than average, adjusting the stitch count in the foot section independently of the leg section allows for a much more tailored fit without needing to find a differently sized pattern.
Caring for Your Handmade Crochet Socks
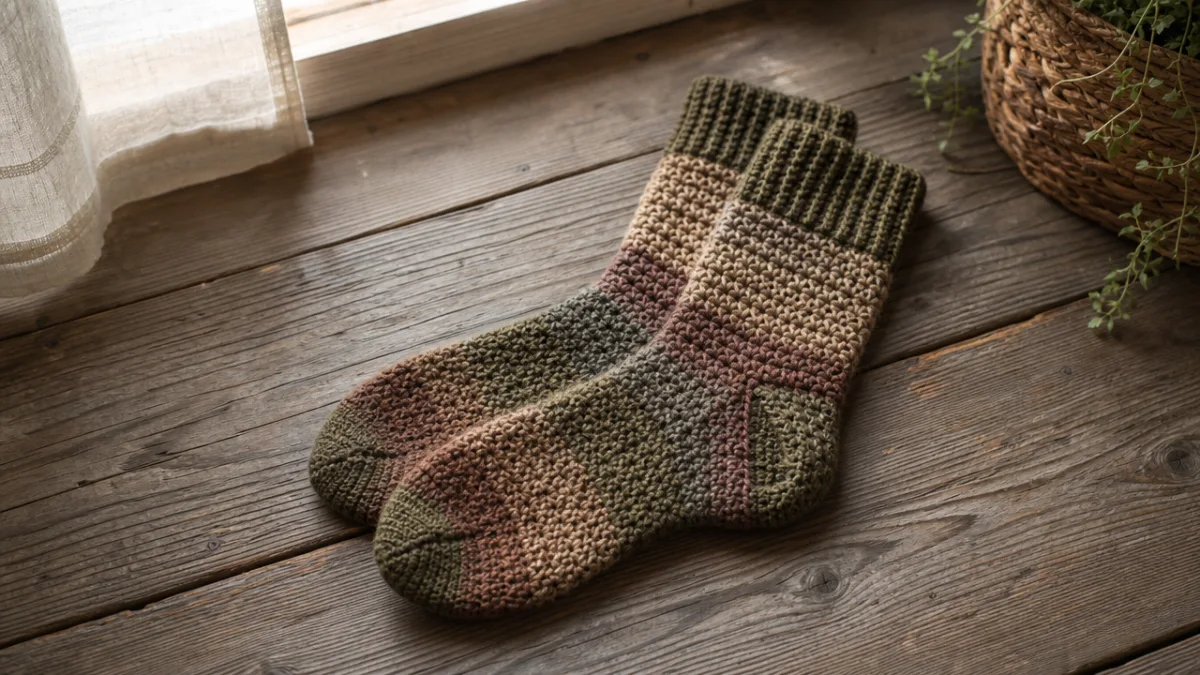
Proper care is essential to extending the life of your handmade crochet socks and maintaining the quality of the yarn over time. Even if the label on your yarn indicates that it is machine washable, it is always wise to wash socks on a gentle or delicate cycle using cool water. High temperatures and vigorous agitation are the main enemies of wool fibers, causing them to felt and shrink irreversibly. A mesh laundry bag provides an additional layer of protection by preventing the socks from being stretched or tangled with other items during the wash cycle.
When it comes to drying, avoid placing handmade socks in a dryer unless the yarn label specifically states that it is dryer safe. Even then, using a low heat setting is recommended. The safest option is to lay the socks flat on a clean towel after washing, gently shaping them to their original dimensions, and allowing them to air dry naturally. Hanging wet socks from a clothesline or a hook can cause the fabric to stretch out of shape under the weight of the water, especially if the yarn contains a high percentage of wool or plant-based fiber.
Storage is another aspect of sock care that is often overlooked. When not in use, store your handmade socks in a cool, dry place away from direct sunlight, which can cause colors to fade over time. If you are storing wool socks for an extended period, consider adding cedar blocks or lavender sachets to the storage area as a natural deterrent against moths, which are attracted to wool fibers. Avoid storing socks in tightly compressed spaces, as persistent pressure can distort the shape of the stitches and cause the elastic fibers in the yarn to fatigue prematurely.
Minor repairs are an inevitable part of owning handmade socks, and knowing how to address small holes or worn spots will keep your creations wearable for years longer than you might expect. A simple darning technique using matching yarn and a tapestry needle can close small holes and reinforce thin spots before they develop into larger damage. Catching these areas early, when you first notice the fabric beginning to look thin or pilled, makes the repair much easier and less visible than waiting until a hole has already formed. Treat your handmade socks with the same care and attention that went into making them, and they will reward you with many seasons of warmth and comfort.








What do you think?
It is nice to know your opinion. Leave a comment.