










18 Perfect DIY Retaining Wall Ideas to Transform Your Outdoor Space
Why Retaining Walls Are Essential for Your Landscape
A retaining wall is one of the most functional and visually impactful structures you can add to your property. Whether you’re dealing with sloped terrain, erosion problems, or simply want to create distinct levels in your garden, a well-built retaining wall solves practical challenges while simultaneously elevating the aesthetic appeal of your outdoor space. For homeowners who enjoy hands-on projects, building one yourself can save thousands of dollars compared to hiring a professional contractor.
Beyond their obvious structural role, retaining walls create usable flat areas on otherwise difficult terrain. Hillside properties that might seem unusable for gardening, entertaining, or play areas can be completely transformed with a series of terraced walls. This conversion of sloped land into functional horizontal space is one of the most rewarding outcomes a DIY landscaper can achieve, turning a liability into a genuine asset that increases property value.
The planning phase is often underestimated by first-time builders, but it is arguably the most important part of the entire process. Before you lift a single stone or pour a drop of concrete, you need to understand your soil type, drainage patterns, water table levels, and the load the wall will need to bear. Walls over four feet tall typically require permits in most municipalities, and even shorter walls need thoughtful engineering to prevent failure, which can be costly and even dangerous to repair after the fact.
Choosing the Right Materials for Your Retaining Wall
Material selection is the decision that will most define the look, longevity, and difficulty level of your retaining wall project. The most popular DIY-friendly options include natural stone, concrete blocks, timber, gabion baskets, and brick. Each comes with its own set of advantages and trade-offs in terms of cost, durability, ease of installation, and visual character. The right choice depends on your budget, the wall’s purpose, the surrounding landscape style, and how much physical labor you’re prepared to invest.
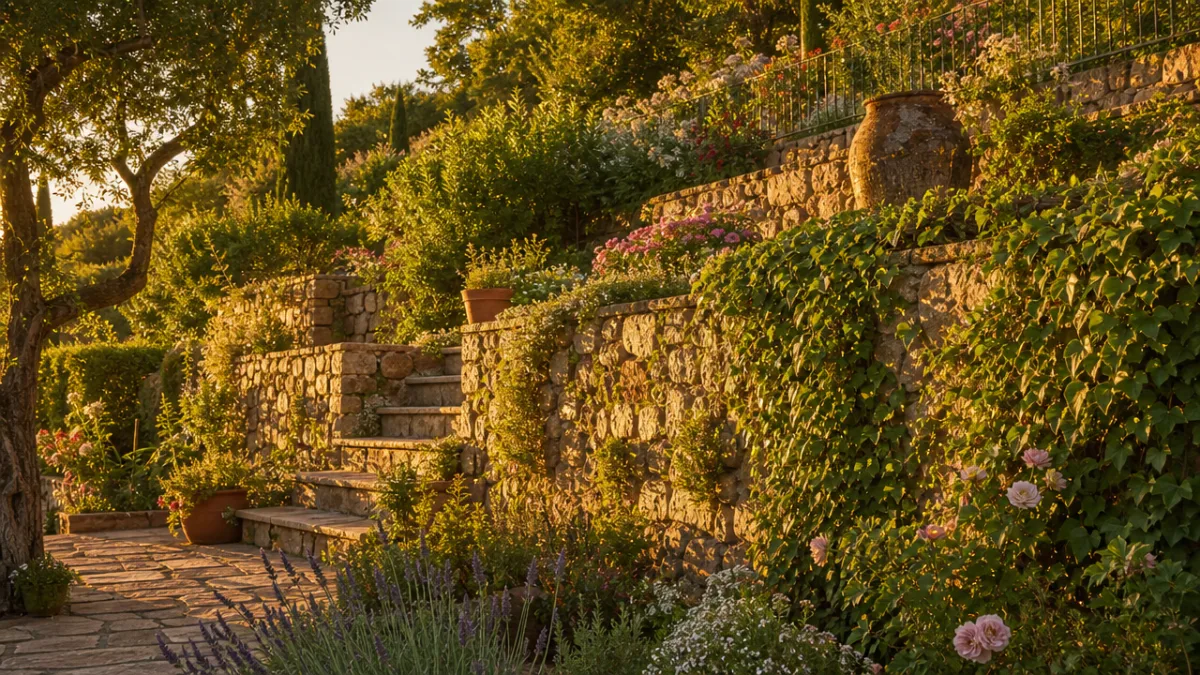
Natural stone walls, whether dry-stacked or mortared, offer a timeless beauty that blends seamlessly with almost any garden style. Dry-stacked stone walls are particularly popular with DIY enthusiasts because they require no special tools or bonding agents, relying instead on gravity and the careful placement of interlocking stones. These walls also allow water to drain naturally through the gaps, which reduces hydrostatic pressure and makes them surprisingly durable when built correctly. Fieldstone, limestone, and granite are all excellent choices that age gracefully over time.
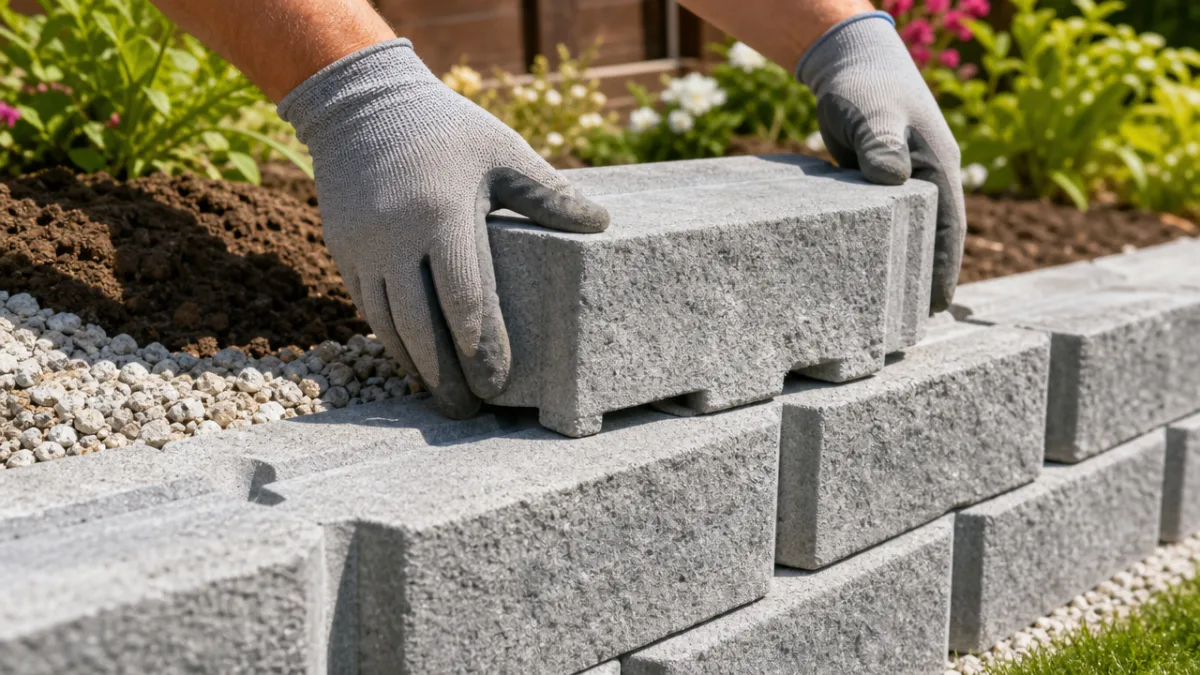
Concrete retaining wall blocks, often sold under brand names like Allan Block or Versa-Lok, have become incredibly popular for DIY projects because of their engineered consistency and ease of installation. These interlocking blocks are designed with lips or pins that lock each course to the one below, creating a setback angle that adds structural stability without complex calculations. They come in a wide range of textures and colors, many of which convincingly mimic the appearance of natural stone at a fraction of the cost, making them an excellent middle-ground option for budget-conscious homeowners.
- Natural Stone: Beautiful, durable, and natural-looking but heavy and labor-intensive to work with.
- Concrete Blocks: Easy to install, consistent sizing, and widely available at home improvement stores.
- Timber/Railroad Ties: Affordable and rustic, though they have a shorter lifespan due to rot and insect damage.
- Gabion Baskets: Industrial-chic look filled with gravel or stone, excellent drainage, and very DIY-friendly.
- Brick: Classic and elegant but typically requires mortar and more masonry skill to build correctly.
- Poured Concrete: Maximum strength and longevity but requires forming, mixing, and finishing expertise.
Foundation and Drainage: The Secrets to a Wall That Lasts
No matter how beautiful your chosen material is, a retaining wall will fail prematurely if it lacks a proper foundation and adequate drainage. These two elements work hand in hand to keep your wall standing for decades. The foundation trench should be dug to a depth of at least six inches below the frost line in colder climates, and the base course of any wall should be buried at least partially underground to provide a stable, level starting point that resists shifting and heaving caused by freeze-thaw cycles.
Drainage is the leading cause of retaining wall failure, and it’s a problem that’s entirely preventable with proper planning. When water saturates the soil behind a wall and has nowhere to go, it creates enormous hydrostatic pressure that can push even well-built walls outward or cause them to crack and collapse. The solution is a gravel drainage layer installed directly behind the wall, often combined with a perforated drain pipe at the base that channels water away from the structure. This drainage aggregate should consist of clean crushed stone, typically three-quarter-inch gravel, that allows water to flow freely downward.
A geotextile landscape fabric is another often-overlooked component that separates the fine soil behind the wall from the drainage gravel. Without this barrier, soil particles migrate into the gravel over time, clogging the drainage layer and defeating its purpose. Installing a heavy-duty woven fabric between the native soil and the gravel takes very little time during construction but can add years, even decades, to the functional life of your wall. Weep holes or gaps in the wall itself provide an additional outlet for any water that does accumulate despite your best drainage efforts.
Step-by-Step Guide to Building a Concrete Block Retaining Wall
Concrete block walls are the ideal starting point for DIY newcomers because the materials are engineered for consistent performance and the installation process is more forgiving than working with irregular natural stone. Begin by marking your wall’s footprint with stakes and string, then excavate a trench that is twice as wide as your blocks and deep enough to bury the first course completely. Use a plate compactor to thoroughly compact the soil at the bottom of the trench before adding a four-to-six-inch layer of compactable gravel base material.
Level the gravel base painstakingly, because every imperfection in this layer will be magnified as you add courses above it. Place your first row of blocks in the trench, checking each one with a level both front-to-back and side-to-side, and adjusting the gravel beneath individual blocks as needed. This first buried course is the most critical of the entire project, deserving far more time and attention than any subsequent row. Once you’re satisfied that the base course is perfectly level and properly positioned, you can begin laying the visible courses above it.
Each subsequent course should be offset from the one below by half a block length, similar to how bricks are laid in a running bond pattern. This staggering of joints distributes lateral forces across a wider area and dramatically increases the structural integrity of the wall. Most interlocking block systems have a built-in setback angle that automatically tilts each course slightly back into the hillside as you stack them, creating what engineers call a batter that uses the weight of the retained soil to your structural advantage rather than against you.
- Mark the wall layout with stakes and string lines to establish the footprint.
- Excavate a trench at least 6 inches deep plus the height of one block course.
- Compact the trench bottom thoroughly with a plate compactor.
- Add 4–6 inches of compactable gravel base and level carefully.
- Lay and level the first course of blocks, burying it completely.
- Install landscape fabric against the back of the wall and into the hillside.
- Add drainage gravel behind each course as you build upward.
- Place a perforated drain pipe at the base of the drainage gravel.
- Stagger each course by half a block length as you stack upward.
- Cap the top of the wall with finishing blocks secured with construction adhesive.
Creative and Decorative Retaining Wall Ideas for Every Style
Once you understand the structural fundamentals, the creative possibilities for retaining walls become genuinely exciting. Modern landscape design has moved well beyond the purely utilitarian wall, embracing retaining structures as opportunities for artistic expression that complement the home’s architecture and the homeowner’s personal style. A curved wall of smooth limestone can bring an organic, flowing quality to a formal garden, while a straight gabion wall filled with colorful river rock might be the perfect industrial-modern accent for a contemporary home.
Incorporating planters directly into a retaining wall is one of the most popular design trends in contemporary landscaping, and it’s surprisingly easy to achieve with thoughtful planning. By stepping or terracing the wall, you create natural planting pockets at different elevations that can be filled with cascading perennials, ornamental grasses, or even edible herbs and strawberries. These planted terraces soften the hard edge of the masonry with lush greenery, creating a seamless transition between the structural and the natural that looks professionally designed even when built by a determined amateur.
Lighting is another transformative element that many DIY builders overlook during construction but later wish they had incorporated from the beginning. Solar-powered or low-voltage LED lights embedded in the wall face or placed along the cap create a dramatic effect after dark that extends the enjoyment of your outdoor space into the evening hours. Running the conduit or wire channels for lighting during construction is simple and inexpensive, while retrofitting lighting into a completed masonry wall can be extremely difficult. Planning for lighting at the design stage costs almost nothing and pays enormous aesthetic dividends for years to come.
Timber and Railroad Tie Retaining Walls: Rustic Charm on a Budget
For homeowners who love the warm, organic look of wood and are working with a modest budget, timber retaining walls offer an appealing combination of accessibility and rustic character. Pressure-treated landscape timbers and salvaged railroad ties have long been popular choices for garden terracing, raised bed borders, and low retaining applications. They’re relatively lightweight compared to stone or concrete, easy to cut with a standard chainsaw or circular saw, and the staggered-and-stacked construction method is straightforward enough for a first-time builder to master over a single weekend.
The primary limitation of timber walls is their lifespan. Even pressure-treated lumber will eventually succumb to rot, insect damage, and the constant moisture of soil contact, typically lasting between fifteen and twenty-five years depending on climate and wood quality. Modern pressure treatment processes have made landscape timbers significantly safer and more durable than the creosote-soaked railroad ties of previous generations, but the fundamental vulnerability to biological decomposition remains. Homeowners building timber walls should view them as medium-term investments and plan accordingly, perhaps choosing them for lower, less critical applications where replacement is manageable.
To build a timber wall that achieves its maximum potential lifespan, always use timbers rated for ground contact, which indicates treatment with preservatives at levels appropriate for direct soil exposure. Deadmen, which are timbers laid perpendicular into the hillside and attached to the face timbers, are critical for any timber wall over two or three courses high. These anchors prevent the face of the wall from tipping forward under soil pressure, and their installation is the single most important structural step in timber wall construction. Without deadmen, even a well-built timber wall will gradually lean forward and eventually fail regardless of how solid it looked when first completed.
Gabion Walls: Industrial Strength Meets Artistic Flexibility
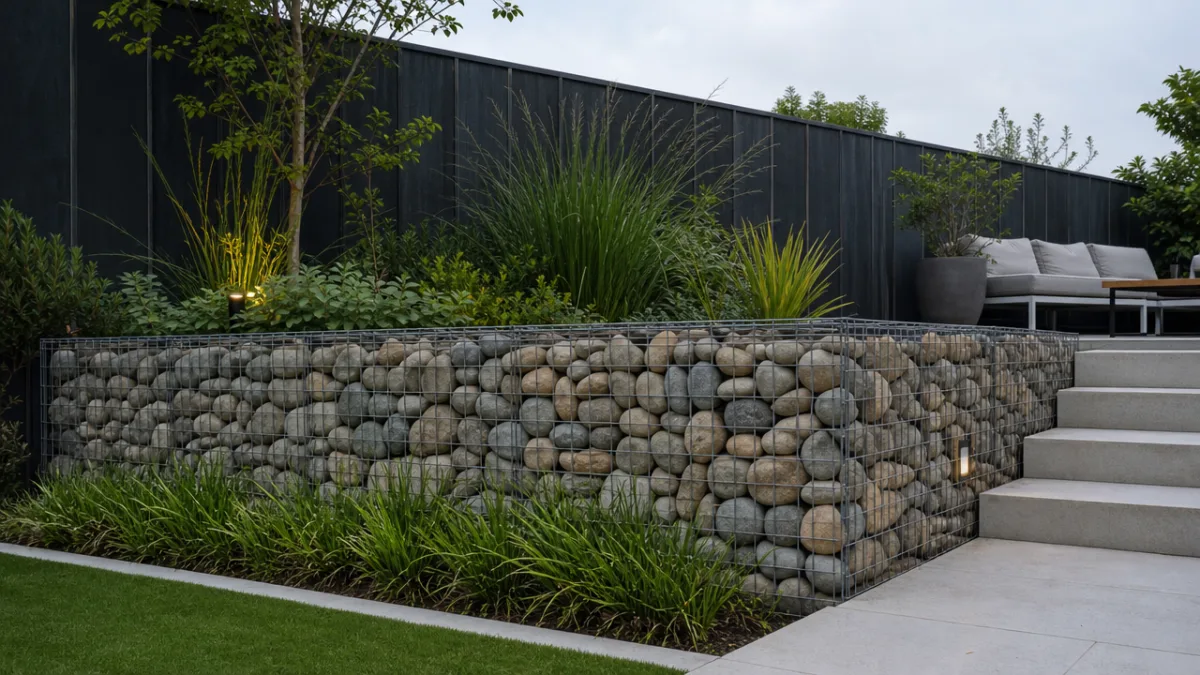
Gabion walls have surged in popularity among design-forward homeowners over the past decade, and for good reason. These wire mesh cages filled with stone, gravel, or even recycled materials like glass or concrete chunks offer a uniquely flexible approach to retaining wall construction that is both highly functional and visually distinctive. The term gabion comes from the Italian word for cage, and the technology has been used in civil engineering applications like riverbank stabilization and highway cuts for well over a century before being adopted by residential landscape designers.
The structural advantages of gabion walls are substantial and worth understanding before you invest in materials. Because they are permeable structures by nature, gabions eliminate the drainage challenges that plague solid masonry walls. Water simply passes through the wire mesh and the fill material, so hydrostatic pressure behind the wall is essentially a non-issue. The wire cages themselves flex slightly under load rather than cracking rigidly the way concrete does, making them excellent performers in areas with unstable soil, seasonal ground movement, or earthquake activity. This combination of drainage and flexibility gives gabion walls a structural resilience that genuinely exceeds many more traditional wall types.
From a design perspective, gabion walls offer creative freedom that no other wall material can match. The fill material you choose becomes the visual texture and color palette of the wall, and you can mix different stones, vary the cage sizes, or even create mosaic-like patterns by carefully placing decorative stones against the visible mesh face. River rock creates a smooth, polished look, while angular quarry stone gives a more rugged, natural appearance. For an ultra-modern aesthetic, tightly packed basalt columns or geometric slate pieces arranged with their flat faces forward produce a wall surface of almost architectural precision that stops visitors in their tracks.
Maintenance Tips to Keep Your Retaining Wall Looking Great for Decades
Building a retaining wall is a significant investment of time, money, and physical effort, and protecting that investment through proper maintenance is both practical and straightforward. The most important maintenance habit is regular inspection, ideally performed twice a year in spring and fall. During these inspections, look for signs of bulging, leaning, or cracking in the wall face, which can indicate drainage problems or foundation settlement that need to be addressed before they escalate into complete wall failure. Catching problems early almost always means a simple, inexpensive fix rather than a full rebuild.
Vegetation management is another key aspect of retaining wall maintenance that many homeowners underestimate. While climbing plants and moss can look charming on a stone wall, aggressive plant roots can work their way into gaps and joints, exerting enough pressure to displace individual stones or blocks and compromise the structural integrity of the entire wall over time. Trees and large shrubs planted too close to a wall can also cause problems as their root systems expand, so maintain a respectful distance between significant plantings and your wall structure. Shallow-rooted ground covers and cascading perennials are much safer choices for planting adjacent to or directly behind a wall.
Drainage maintenance is perhaps the most critical of all ongoing tasks. Clean out any weep holes or drain pipe outlets at least once a year to ensure they remain clear and functional. If you notice water pooling at the base of the wall after heavy rain, or if you see water staining or mineral deposits on the wall face that suggest water is finding its way through rather than around the structure, investigate immediately. Addressing drainage issues promptly prevents the slow accumulation of hydrostatic pressure that is the single most common cause of retaining wall failure in residential applications. A few hours of inspection and minor maintenance each year can genuinely extend your wall’s life by a decade or more.








What do you think?
It is nice to know your opinion. Leave a comment.