










Grow Bigger Rhododendrons With This Soil Trick
Understanding Why Soil Is Everything for Rhododendrons
Rhododendrons are some of the most stunning flowering shrubs you can grow, but they’re notoriously picky about where they live. While plenty of shrubs will muddle through in whatever soil you’ve got, rhododendrons have real opinions — and when those opinions aren’t respected, you’ll know it. Yellowing leaves, stubby growth, and barely a bloom to show for your efforts are all signs that something’s off underground. The truth is, getting the soil right is the single biggest thing you can do to take a rhododendron from just surviving to absolutely thriving.
To understand why they’re so demanding, it helps to think about where rhododendrons actually come from. They evolved on mountainous slopes and forest floors in Asia and the Americas, places where the soil is naturally packed with decomposing leaves and pine needles, drains quickly, and sits on the acidic side of the spectrum. That particular mix of conditions is essentially what they’re hardwired to expect. Drop them into average garden soil and you’re asking them to thrive in an environment they never adapted to handle.
Once you understand that background, the soil trick experienced growers rely on starts to make a lot of sense. It’s not one magic ingredient — it’s a combination of amendments and preparation methods that recreate those native conditions as closely as possible. When you know what rhododendrons are actually searching for down in the root zone, every choice you make about soil prep starts to click into place, and your results will show it.
The Critical Role of Soil pH in Rhododendron Growth
If one thing separates a thriving rhododendron from a struggling one, it’s soil pH. These are acid-loving plants in the most literal sense — they need a pH between 4.5 and 6.0 to really perform. The problem is that most garden soils land somewhere between 6.5 and 7.5, which is neutral to slightly alkaline. That might seem close enough, but for a rhododendron, it’s like trying to eat dinner with the food locked behind glass. The nutrients are technically there, but chemical reactions in the soil prevent the roots from actually getting to them.
The most telltale sign of a pH problem is a condition called chlorosis — leaves turn yellow while the veins stay green. This happens because iron and manganese essentially become unavailable to the plant once the pH creeps too high. It doesn’t matter how much fertilizer you throw at it; if the pH is off, the plant can’t absorb what it needs. A lot of gardeners spend years puzzling over why their rhododendron looks terrible, never realizing the real issue is happening underground.
Testing your soil before you plant — or before you start amending — is a step that’s easy to skip and really shouldn’t be. Inexpensive test kits are everywhere, or you can send a sample to your local cooperative extension service if you want a more thorough breakdown. Once you know your starting pH, you can figure out how much acidifying amendment you actually need. Sulfur is the go-to choice, working gradually over several months as soil bacteria convert it. If you need faster results, aluminum sulfate works more quickly, though you’ll want to be careful not to overcorrect.
The Organic Matter Secret That Changes Everything
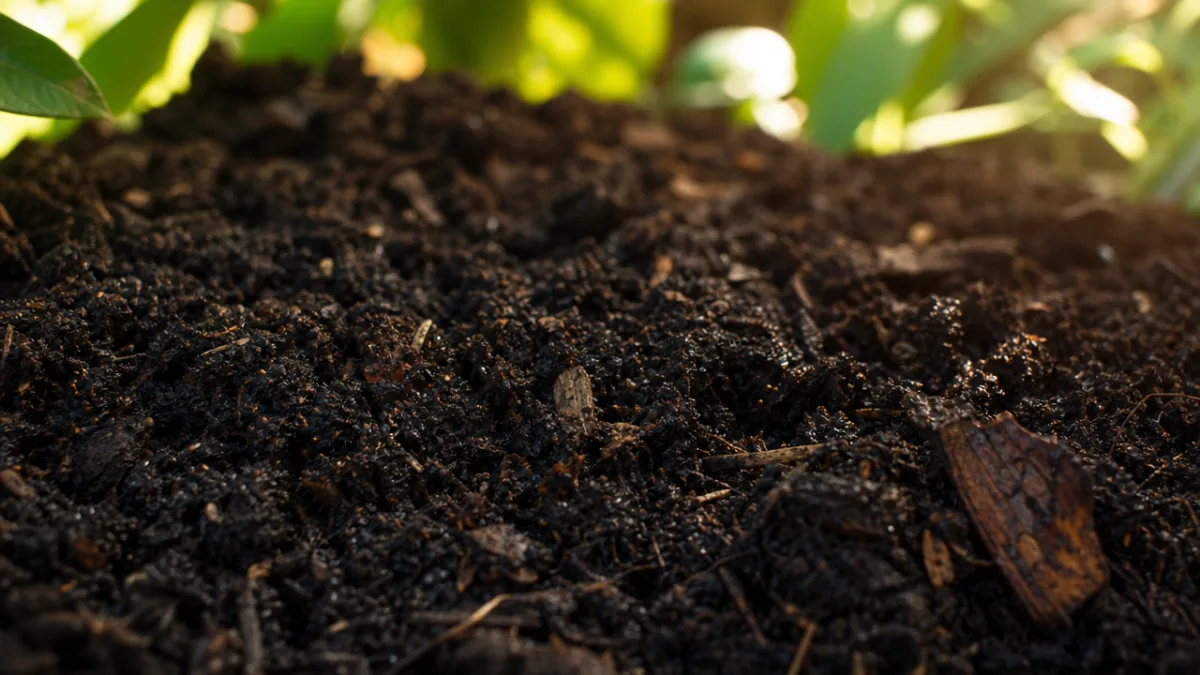
Here’s where things get interesting. The soil trick that seasoned rhododendron growers keep coming back to is adding large amounts of specific organic materials that do several things at once — lower the pH, improve drainage, and create a root environment the plant genuinely loves. The winning combination is three ingredients working together: pine bark fines, peat moss or coco coir, and aged wood chips. Mixed together in the right proportions and incorporated generously, this blend can turn even so-so garden soil into something a rhododendron is genuinely happy to grow in.
Pine bark fines are probably the most valuable single amendment you can add. As they break down slowly over the years, they acidify the surrounding soil, open up the root zone with air pockets that improve drainage, and release a steady trickle of organic nutrients. What makes them especially useful is that unlike surface mulches, you can work them directly into the planting hole and surrounding soil. Rhododendron roots are fine and fibrous — they spread best through loose, bark-rich growing medium, and pine bark fines give them exactly that.
Peat moss has been the traditional choice for acid-loving plants for a long time, and it’s still highly effective, though many gardeners are now turning to coco coir as a more sustainable option. Made from coconut husks, coco coir holds water and offers a slight acidity that’s very comparable to peat. Either way, the job of this amendment is water management. Rhododendrons want consistent moisture, but their roots will rot if they sit in standing water. Both peat and coco coir hold onto moisture without holding it hostage — they release it freely rather than creating waterlogged conditions. Work two to three parts of this material into your planting mix and you’ll notice a real difference in how the plant performs.
How to Prepare the Perfect Rhododendron Planting Bed
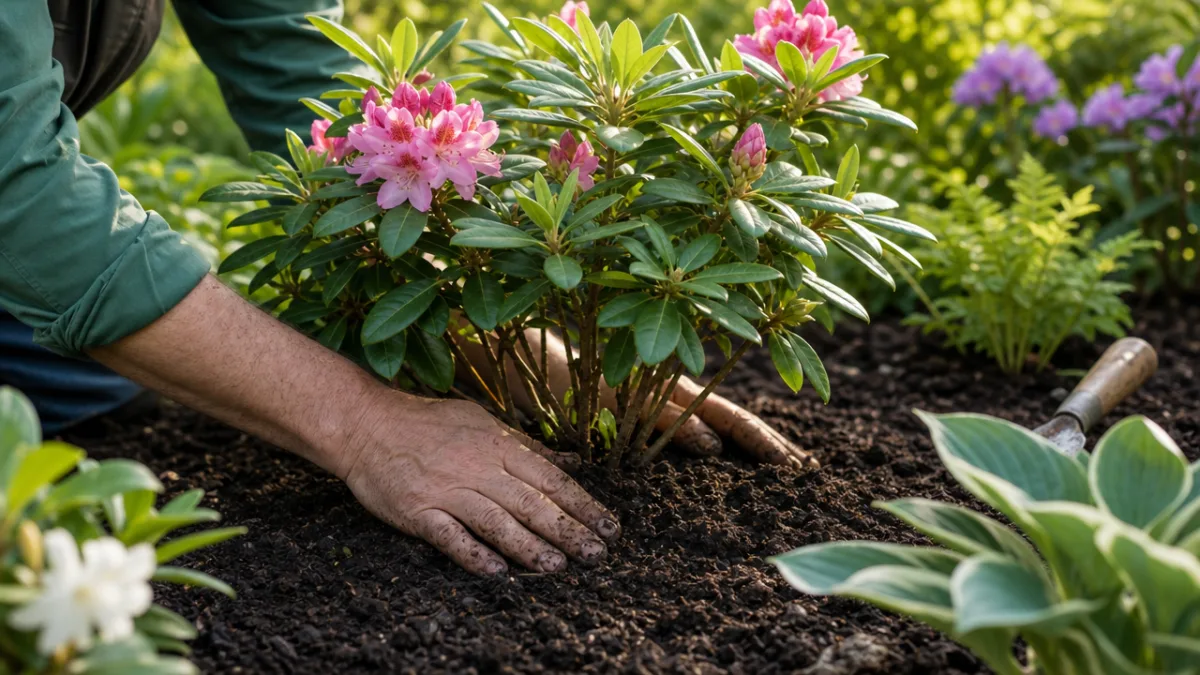
If your soil needs significant pH adjustment, ideally you’d start preparing the planting area weeks or even months before you actually want to plant. Begin by digging out the planting area to at least eighteen inches deep and at least twice as wide as the root ball — yes, this is more work than a typical planting hole, but rhododendrons are worth the extra effort. You’re essentially building a reservoir of ideal growing medium that the roots can spread into freely during those first critical years.
Once you’ve dug things out, mix your custom soil blend. A recipe that experienced growers tend to rely on is roughly one-third native soil, one-third pine bark fines, and one-third peat moss or coco coir. From there, add granular sulfur based on what your pH test told you, plus a slow-release fertilizer made for acid-loving plants. Mix everything together thoroughly before you backfill — you want those amendments distributed evenly throughout the whole planting zone, not just concentrated in one spot.
Drainage is worth thinking about carefully during this stage. Even a perfect soil mix won’t save a rhododendron if water pools around the roots. If your native soil is heavy clay, consider building the planting bed up six to twelve inches above the surrounding grade — this alone makes a significant difference in drainage and gives roots better access to oxygen. You can use your prepared soil blend to create a raised mound, then plant the rhododendron at the center with the crown sitting just slightly above the surrounding soil level. That small elevation keeps water from pooling against the stem and cuts the risk of crown rot, which is one of the most common ways rhododendrons fail.
- Test soil pH before planting and retest annually to maintain the 4.5 to 6.0 range that rhododendrons prefer.
- Dig a planting hole at least twice as wide as the root ball and eighteen inches deep to create ample room for root expansion.
- Blend one-third native soil, one-third pine bark fines, and one-third peat moss or coco coir as your base planting mix.
- Add granular sulfur to lower pH if necessary, following package directions based on your current pH level and target range.
- Create a slightly raised mound if your native soil drains poorly, positioning the crown above the surrounding grade.
- Incorporate a slow-release fertilizer formulated for acid-loving plants before backfilling the planting hole.
Mulching Strategies That Amplify Your Soil Improvements
Once you’ve put in all that work underground, what happens above the soil matters nearly as much. Mulching is one of the most powerful things you can do for rhododendrons — a good layer of the right material conserves moisture, keeps soil temperatures stable, continues acidifying as it breaks down, shuts out weeds, and protects that shallow fibrous root system. It’s surprising how many gardeners do everything right at planting time and then undermine their own efforts by using the wrong mulch or not applying nearly enough of it.
The best mulch choices are ones that contribute to acidification as they decompose. Pine bark in a medium or coarse grade is the gold standard — it breaks down slowly over years, steadily improving the soil beneath it. Pine needle mulch (sometimes sold as pine straw) is another excellent option that’s particularly good at bringing pH down, and it’s widely used in areas where pines are common. Oak leaf mulch also works well and happens to be free if you’ve got oaks nearby. All of these organic materials improve soil structure over time as earthworms and microorganisms gradually work them in.
How you apply the mulch matters too. Aim for three to four inches across the entire root zone, keeping in mind that rhododendron roots often extend well beyond the drip line of the plant — wider is better. One important detail: keep mulch pulled back a couple of inches from the main stem. Moisture sitting against the bark invites fungal problems and rot. Every spring, top up the mulch layer as the bottom portion decomposes into the soil, keeping that depth consistent through the growing season.
Ongoing Soil Maintenance for Long-Term Success
Getting the soil right at planting time is the foundation, but it’s really the beginning of an ongoing relationship. Rhododendrons are long-lived plants — in the right conditions, they can thrive for decades or longer — and keeping soil quality up over those years takes some consistent attention. pH in particular tends to drift upward over time, especially if you’re in an area with alkaline water or naturally limey soil. Annual testing with corrective applications of sulfur or acidic fertilizer keeps things in the right range and prevents the slow, subtle decline that takes down a lot of otherwise well-planted rhododendrons.
Fertilizing rhododendrons requires a bit of care in choosing the right product. Fertilizers formulated specifically for azaleas and rhododendrons deliver the acidic, nitrogen-forward nutrition these plants want, usually in a slow-release form that feeds steadily over several months. Skip the general-purpose fertilizers — especially anything high in phosphorus or containing lime, which can push pH in the wrong direction. The ideal time to fertilize is early spring as new growth starts appearing, with an optional light follow-up after the first flush of blooms. After midsummer, hold off entirely; late feeding pushes out soft new growth that’s vulnerable to early frosts.
Over the years, the organic matter in your soil will naturally break down and need replenishing. Each spring, top-dress the root zone with a fresh layer of pine bark fines or compost made from acidic materials, working it gently into the top inch of soil at the mulch edge. Every three to five years, it’s worth doing a more thorough refresh around established plants — carefully working amended material into the root zone with a garden fork, being mindful not to disturb the shallow roots. It takes some commitment, but that ongoing investment in the soil pays back in stronger growth, more abundant flowering, and a plant that just keeps getting better.
- Test soil pH each spring and apply sulfur or acidic fertilizer as needed to maintain the 4.5 to 6.0 target range.
- Fertilize once in early spring with a formulation designed for acid-loving plants, avoiding applications after midsummer.
- Replenish mulch each spring to maintain a three to four inch layer across the entire root zone.
- Top-dress annually with pine bark fines or acidic compost to restore depleted organic matter levels.
- Every three to five years, work fresh amendments into the soil around established plants to rejuvenate growing conditions.
- Monitor foliage color throughout the growing season as an early warning system for pH or nutritional problems.
Troubleshooting Common Soil-Related Problems
Even when you’ve done everything right, problems can still pop up — and being able to diagnose them quickly is what separates experienced growers from people who give up on rhododendrons in frustration. The most common issue, as we’ve already touched on, is iron chlorosis from pH that’s crept too high. If you’re seeing yellow leaves with distinctly green veins, don’t wait — apply chelated iron as a foliar spray to give the plant some quick relief while you work on correcting the pH with sulfur or acidic fertilizer. The chelated iron gets absorbed regardless of soil pH, so it addresses the immediate symptoms while you fix the underlying cause.
Overwatering and poor drainage are the other major culprits, and they’re tricky because the symptoms can look almost identical to drought stress. A waterlogged rhododendron will wilt, yellow, and drop leaves — which often leads well-meaning gardeners to water even more, making things worse. If you’re not sure which problem you’re dealing with, dig down about six inches near the root zone after watering and check whether the soil is still saturated a day or two later. If it is, the fix involves improving drainage: raise the planting area, add coarse horticultural grit to the soil mix, or regrade the surrounding area to move water away from the roots.
Compacted soil is a less obvious issue but can be just as damaging, particularly for rhododendrons growing near paths or under mature trees with aggressive root competition. When soil compacts, oxygen levels drop, drainage suffers, and those fine feeder roots the plant depends on can’t push through effectively. Try to avoid walking on the root zone, and if compaction has already set in, carefully aerate by pushing a garden fork vertically into the soil around the perimeter of the root zone. Follow that up with a generous top-dressing of pine bark fines and compost to help rebuild the structure. Keep at the soil care and your rhododendrons will reward you with growth and flowering that genuinely surprises you.








What do you think?
It is nice to know your opinion. Leave a comment.