










30+ DIY Paper Star Decorations: Ideas, Tutorials & Creative Inspiration
The Timeless Appeal of Paper Star Decorations
Paper star decorations have been winning over crafters and home decorators for generations, and honestly, it’s not hard to see why. These lightweight, budget-friendly ornaments are incredibly easy to customize, and they have this wonderful ability to transform a space without a ton of effort. Whether you’re gearing up for a holiday party, celebrating a birthday, or just want to add some handmade warmth to your living room, paper stars give you a kind of creative freedom that most DIY projects simply can’t offer. There’s something satisfying about the mix of geometric precision and artistic expression that makes them fun for total beginners and seasoned crafters alike.
What really sets paper stars apart is how well they adapt to different styles and occasions. A Scandinavian-inspired Froebel star folded from white paper strips feels cozy and minimalist, perfect for a quiet winter evening. A string of bright origami stars makes a festive garland for a summer party. Giant gold foil stars mounted on a wall can turn a corner into a stunning backdrop for weddings or photo booths. The same basic idea fits into almost any aesthetic — rustic farmhouse, sleek modern, maximalist, you name it — which is part of why paper stars feel like such a universal craft.
There’s also something genuinely meaningful about making your own decorations. In a world full of mass-produced everything, a paper star you folded yourself carries a warmth that you just can’t buy. Plenty of families have built real traditions around making them together — gathering during the holidays to fold, cut, and glue stars that end up hanging in windows and on trees year after year. Those handmade pieces tend to stick around, carrying little memories of the evenings they were made.
Essential Materials and Tools for Paper Star Crafting
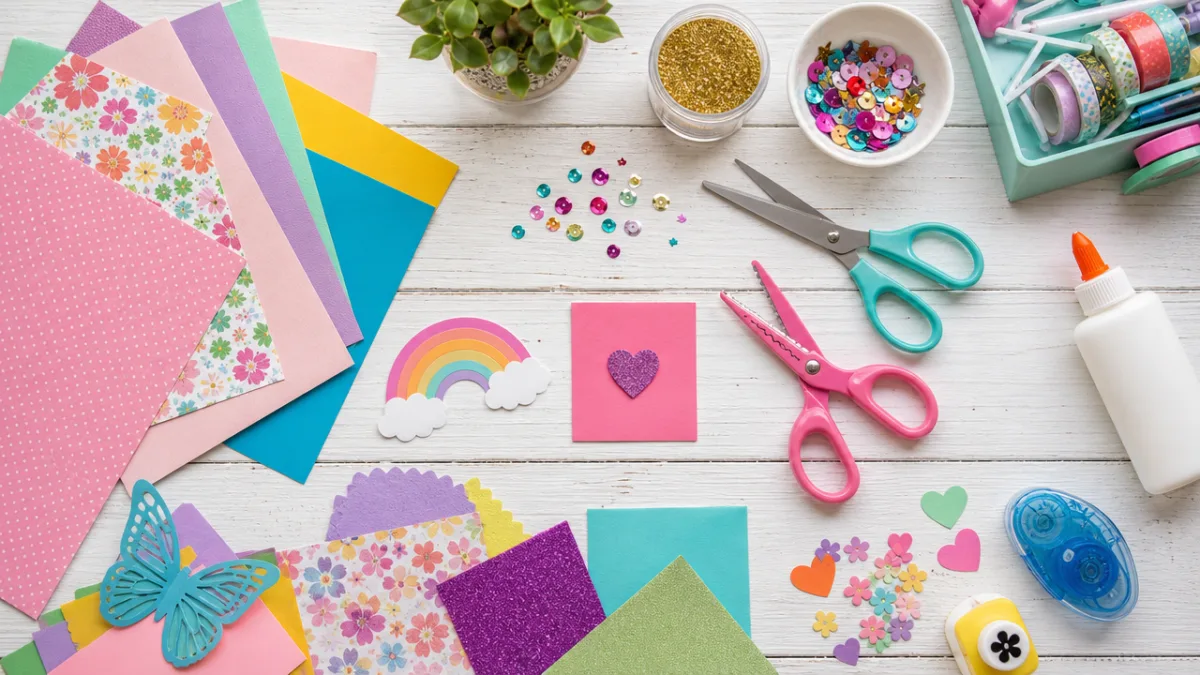
Before you dive into your first project, it’s worth getting familiar with the materials out there and how each one affects what you end up with. Standard cardstock or construction paper is a great starting point — it’s sturdy enough to hold three-dimensional shapes but still folds and cuts easily. For delicate projects like origami lucky stars, lightweight origami paper in a huge range of colors is the way to go. Metallic papers, tissue paper, old newspapers, and magazine pages each bring their own personality to a finished star, so don’t be afraid to experiment. Part of the fun is discovering what different materials can do.
Beyond paper, a few good tools will make your life a lot easier. Sharp scissors are a must, and a craft knife with a self-healing cutting mat opens up a whole world of intricate, precise designs. A bone folder is great for getting those clean, crisp folds in heavier cardstock. A ruler and pencil are your best friends for measuring and marking before you cut, especially for pointed stars that need to be symmetrical. A hot glue gun is perfect for assembling three-dimensional stars quickly, while double-sided tape gives you a cleaner, less visible bond for layered designs.
The finishing touches can really take a paper star from cute to stunning. Glitter — loose or in pen form — adds a sparkle that catches light in the best way. A quick hit of metallic spray paint transforms plain white cardstock into something that looks gold or silver and elegant. Twine, ribbon, fishing line, and thin wire all have their place depending on whether you’re hanging a single star or stringing together a whole garland. A hole punch, some paint, and a few markers round out a solid crafting kit and give you plenty of room to personalize every piece.
Classic Paper Star Tutorials Every Crafter Should Know
The Froebel star — sometimes called the Lutheran star or Advent star — is probably the most iconic paper star in the crafting world. It originated in nineteenth-century Germany and has that beautiful woven look made from four interlaced paper strips folded in a specific sequence. It sounds complicated, and it looks impressive, but once the first few steps click, you’ll find it follows a repeating pattern that starts to feel natural pretty quickly. Traditionally made in white or cream and hung in windows during Christmas, modern crafters have taken the form and run with it in every color and material imaginable.
The origami lucky star — also known as the puffy star or Japanese wishing star — is another technique worth having in your back pocket. You make it from a single long strip of paper, folded into a pentagon shape and then gently puffed out into a little star. They’re incredibly satisfying to make, and a lot of people find folding them in big batches almost meditative. Fill a glass jar with a few hundred in different colors and you’ve got a gorgeous gift or a lovely accent piece for any shelf. No glue or scissors required once you’ve cut the strip, which makes this one of the most beginner-friendly techniques out there.
The five-pointed star cut from folded paper is another classic that deserves a spot in every crafter’s toolkit. With just a sheet of paper, a pair of scissors, and a few careful folds, you can cut a perfect five-pointed star in under a minute once you’ve got the hang of it. Sometimes called the Betsy Ross fold after the legendary flag maker, it’s endlessly handy for holiday decorations, classroom projects, and garlands. Play around with different paper sizes, cutting angles, and paper types and you’ll get results anywhere from chunky and fun to slim and elegant.
Advanced Paper Star Projects for Experienced Crafters
Once you’ve got the basics down, a whole range of more ambitious paper star designs becomes available to you. The three-dimensional paper star — often called a 3D star or pointed paper star — involves scoring and folding multiple identical diamond or kite shapes from cardstock and assembling them into a multi-pointed sculptural form. These can have anywhere from six to twelve points or more, and the finished pieces have a quality to them that looks genuinely sophisticated. Make them in graduated sizes and arrange them on a wall or hang them from the ceiling for a dramatic installation that really stops people in their tracks.
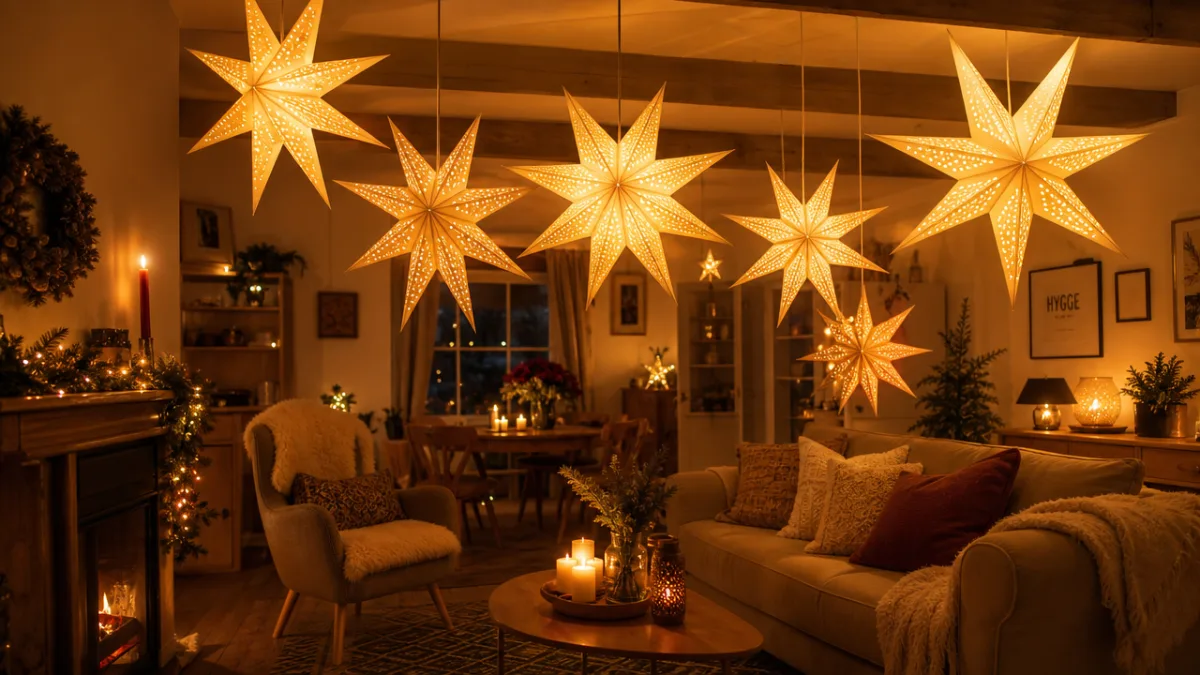
Paper star lanterns are a beautiful combination of origami and lighting. Build a three-dimensional star shape around a battery-powered tea light or LED string and you’ve got a glowing accent piece that throws gorgeous geometric shadows across the room. The most popular versions use scored and folded cardstock panels, but crafters have also pulled off similar effects with thin translucent vellum, paper mache techniques, and even repurposed paper bags. These are especially popular on holiday mantels, in bedroom setups, and for outdoor string light arrangements.
Quilled paper stars take things in a completely different direction, using the centuries-old technique of rolling and shaping narrow strips of paper into intricate designs. Individual coils, teardrops, and marquise shapes are arranged and glued into star formations that end up looking almost jewel-like. Quilled stars work beautifully as ornaments, greeting card decorations, or framed wall art. It takes some patience and a quilling tool, but the results are unlike anything you can achieve through folding or cutting alone — especially when you use metallic quilling paper, which can look almost like fine filigree.
Decorating with Paper Stars: Styling Ideas for Every Space
One of the best things about paper star decorations is just how many ways you can work them into a space. A simple but really effective approach is a wall installation using stars of different sizes, colors, and techniques. Arrange twenty or thirty of them in a loose, cloud-like cluster on a single wall and you’ve got a focal point that’s both handmade and genuinely eye-catching. This works especially well above a bed as a headboard alternative, in a nursery or kid’s room, or behind a dining table as a backdrop for dinner parties.
Paper star garlands are one of the most versatile options around. They look great draped across a mantelpiece, looped along a staircase banister, strung across a window, or hung above a doorway. The key to a garland that really works is variety and rhythm — alternate large and small stars, mix matte and metallic papers, and space everything evenly along your twine or wire for something that feels cohesive but still interesting. For a little extra personality, tuck in some small tassels, beads, or dried flowers between the stars to add texture and depth.
Paper stars also make genuinely lovely gift wrapping embellishments. Instead of a regular bow, top a package with a cluster of handmade stars and it immediately feels more personal and special. A simple kraft paper wrapped gift with a few gold and copper paper stars on top becomes something people actually want to keep. If you’re decorating for a whole occasion — a holiday morning, a birthday party — making a batch of coordinating stars in two or three complementary colors gives your wrapped gifts a curated, intentional look. And the bonus is that the recipient gets a decoration they can actually use afterward, not just something that ends up in the recycling bin.
Tips for Success, Troubleshooting, and Sustainability
Even experienced crafters run into snags with paper star projects, and knowing how to work through the common ones saves a lot of frustration. Symmetry is probably the most frequent challenge, especially with five or six-pointed stars cut from folded paper. The fix is usually making sure every fold is perfectly aligned before you cut — a protractor helps if you want to double-check your angles. For woven stars like the Froebel design, keeping your tension consistent throughout the process is what prevents the finished star from warping or looking lopsided. When in doubt, practice on scrap paper before you get into your good stuff.
Humidity is another thing worth thinking about, especially if you live somewhere with a lot of moisture in the air. It can cause paper to warp or go soft and lose its crispness. Storing finished stars somewhere dry, using a dehumidifier in your workspace during humid months, and applying a light coat of clear sealant to finished pieces all help them last longer. If you’re planning to use stars outdoors or in damp spaces, laminating the paper before cutting and folding — or using waterproof cardstock — adds real protection. Taken care of properly, paper star decorations can hold up for multiple seasons.
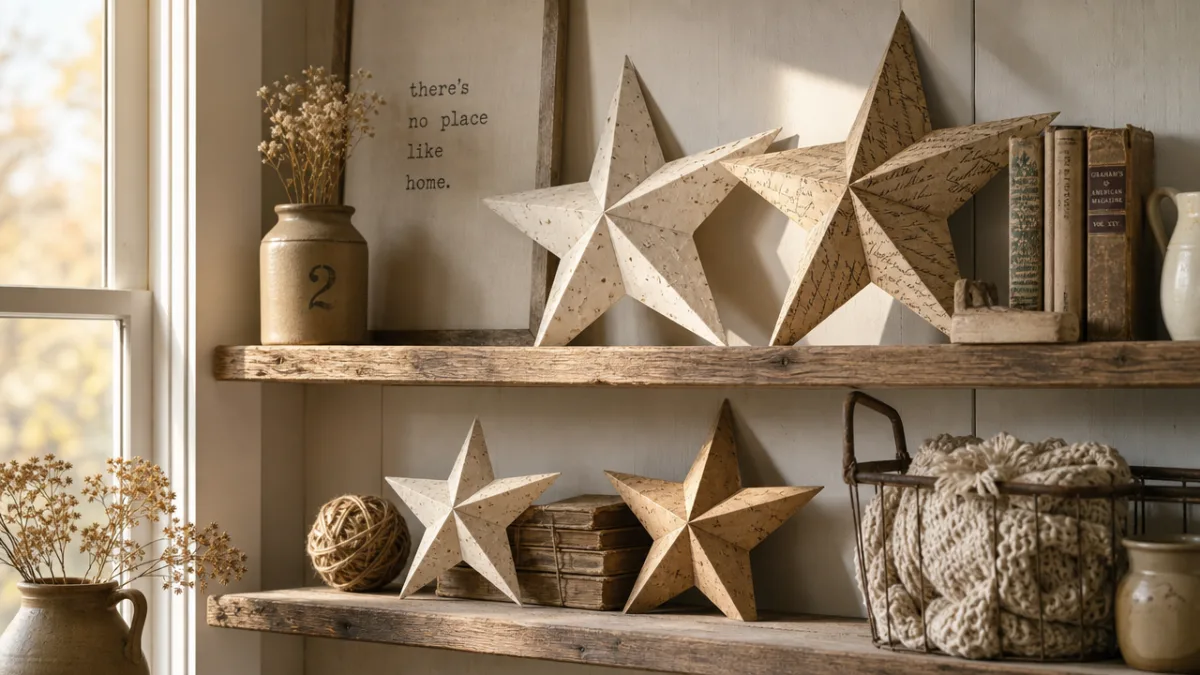
Sustainability is something more and more crafters are thinking about, and paper star making fits naturally into eco-friendly practices. Some of the most charming stars are made from recycled and repurposed materials — old book pages, maps, sheet music, wrapping paper scraps, newspaper — and those stars end up with a unique, storied character that new paper just can’t match. When you do buy new paper, FSC-certified or recycled-content options are easy to find and reduce your environmental footprint. And at the end of their life, paper stars made without synthetic coatings or glitter can be composted, which makes them one of the more planet-friendly decoration options out there.
- Use bone folders for crisp, precise folds that hold their shape over time.
- Apply a light coat of hairspray or clear acrylic sealer to preserve finished stars.
- Store paper stars in a flat, dry box layered with tissue paper between pieces.
- Practice new folding techniques on scrap or newspaper before using decorative paper.
- Choose papers with similar weights when mixing colors in woven star designs.
- Repurpose holiday cards, maps, and magazine pages for eco-friendly stars with character.
- Use fishing line for nearly invisible hanging effects that make stars appear to float.
Building a Paper Star Crafting Community and Sharing Your Work
Paper star crafting really comes alive in community, and connecting with other enthusiasts can do a lot for both your skills and your inspiration. Pinterest, Instagram, and YouTube are genuinely incredible resources — full of tutorials, finished project photos, and technique variations that could keep a dedicated crafter busy for years. Following hashtags around origami, paper crafts, and DIY decorating surfaces a constant stream of fresh ideas, and many creators generously share free templates and step-by-step guides that make even complex projects feel approachable.
In-person crafting groups offer something a little different and equally valuable. Whether it’s a formal paper arts guild or just a casual neighborhood craft night, there’s something about watching someone demonstrate a technique in real time — being able to ask questions, see their hands up close — that no tutorial video can fully replicate. Libraries, community centers, and craft stores often host paper crafting workshops around the holidays, which is a great low-pressure way to meet local enthusiasts and pick up new techniques in a fun, social setting.
Sharing your own work — through social media, handmade gifts, or community events — is a real contribution to the broader crafting culture, even if it doesn’t feel that way. Documenting your process alongside your finished pieces helps other people understand what’s involved and makes techniques that look intimidating feel a lot more doable. When you give someone a handmade paper star and they ask how you made it, that conversation is a chance to pass the skill along and maybe light a spark in someone who’s never tried it before. That’s really how a tradition like this keeps going — one fold at a time.








What do you think?
It is nice to know your opinion. Leave a comment.