










Scrap Crochet Rug: The Ultimate Guide to Creating Beautiful Rugs from Leftover Yarn
What Is a Scrap Crochet Rug and Why Every Crocheter Should Make One
A scrap crochet rug is exactly what it sounds like — a rug crafted entirely from the odds and ends of yarn that accumulate over months or years of crocheting projects. Every crocheter knows the feeling of finishing a blanket or a sweater and being left with small balls and skeins of leftover yarn in dozens of colors and weights. Rather than letting these precious scraps collect dust in a bin, a scrap rug gives them a second life in one of the most functional and visually striking projects you can tackle. The result is a one-of-a-kind floor piece that carries the memory of every project you’ve ever made.
The concept behind scrap rugs is deeply rooted in a tradition of resourcefulness that stretches back centuries. Long before yarn was mass-produced and cheaply available, textile workers and home crafters would save every scrap of fabric and fiber, knowing that nothing should go to waste. Today, this tradition has been embraced by the modern crochet community as both an environmentally responsible practice and a wildly creative one. When you make a scrap rug, you’re participating in a craft lineage that values ingenuity and sustainability in equal measure.
KnitDiet, the creative mind behind the inspiration for this article, has brought the scrap crochet rug firmly into the contemporary spotlight. Their design sensibility demonstrates that a project made from mismatched leftovers doesn’t have to look thrown together — it can look intentional, sophisticated, and even artful. With a few smart choices about color arrangement, stitch selection, and construction technique, your pile of scraps can become one of the most admired pieces in your home. This guide will walk you through everything you need to know to create your own stunning scrap crochet rug from start to finish.
The Environmental Case for Using Your Yarn Scraps
Beyond the creative appeal, there is a compelling environmental argument for making scrap crochet rugs. The textile industry is one of the largest contributors to global waste, and yarn — even when purchased with the best intentions — often ends up in landfills when projects are abandoned or scraps are discarded. By committing to using every last bit of your yarn stash in a functional project like a rug, you are making a small but meaningful contribution to reducing that waste. Every ball of leftover yarn that goes into your rug is one less ball that ends up in a trash bag.
Scrap rugs also discourage the habit of panic-buying more yarn than you need for a project, because you know that even the leftovers will eventually have a home. This kind of circular thinking about your craft supplies is part of a broader slow craft movement that encourages more mindful consumption. When crafters begin to see their scrap bins not as a problem to be managed but as a resource to be celebrated, their whole relationship with their materials changes for the better. The scrap rug becomes a symbol of that shift in perspective.
Choosing natural fiber scraps — wool, cotton, linen, or alpaca — makes this practice even more sustainable, since these materials will eventually biodegrade rather than persisting in a landfill for decades. If you have a mix of synthetic and natural fibers in your stash, consider designating the natural ones for the rug and finding other uses for the synthetics. Either way, the act of using what you already have is a powerful statement about the kind of crafter — and the kind of consumer — you want to be. Your rug becomes not just a decorative object but a values statement.
Gathering and Preparing Your Materials for a Scrap Crochet Rug
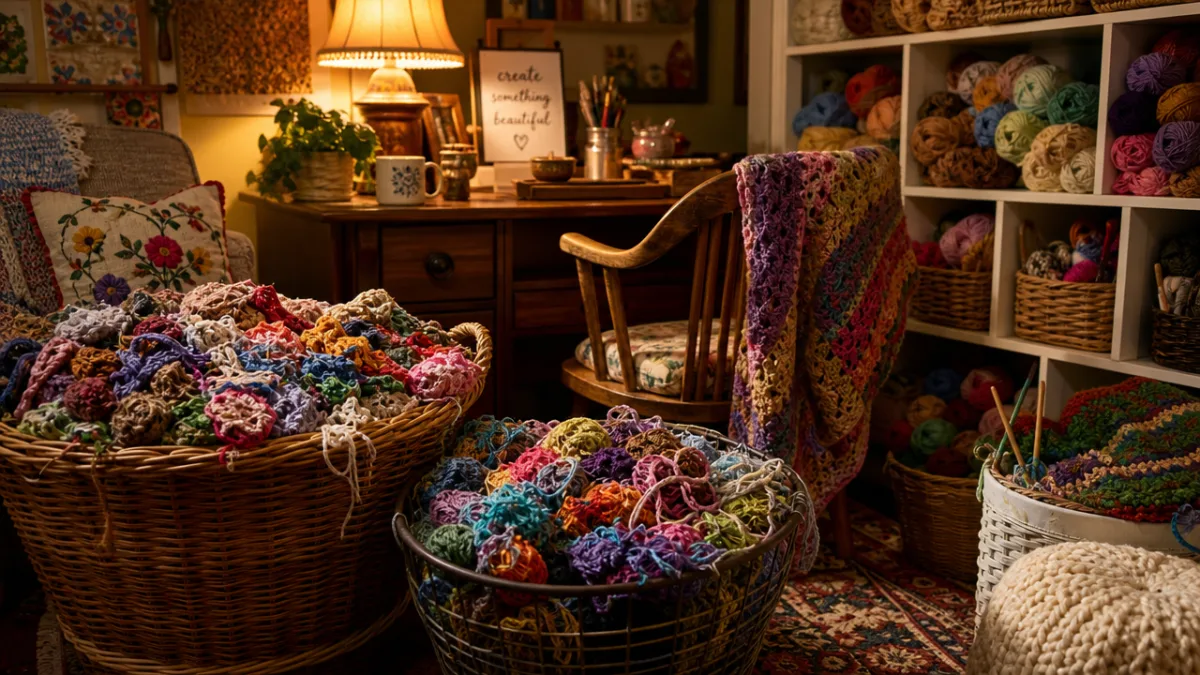
Before you pick up your hook, the first step is to gather all of your yarn scraps and take a good honest look at what you have to work with. Pull everything out of your stash bin, yarn bags, and project boxes, and lay it all out on a large flat surface. Sort your scraps by weight first — worsted weight with worsted, bulky with bulky, and so on. Because rugs need to be dense and durable, you’ll ideally want to work primarily with bulky or super bulky yarns, or you can hold multiple strands of thinner yarn together to achieve a similar density. Mixing weights without doubling strands can result in an uneven texture that, while not always a problem, is worth planning for intentionally.
Once sorted by weight, you can begin to think about color. Scrap rugs come in two broad aesthetic categories: the deliberately planned color arrangement, and the happy-accident random approach. In the planned approach, you might arrange your scraps into a gradient from light to dark, or cluster all your blues together, or alternate warm and cool tones in a repeating pattern. In the random approach, you simply pull from the pile without looking and embrace whatever combination emerges. Both methods produce beautiful results, and the right choice depends entirely on your personal aesthetic and how much control you like to have over your projects.
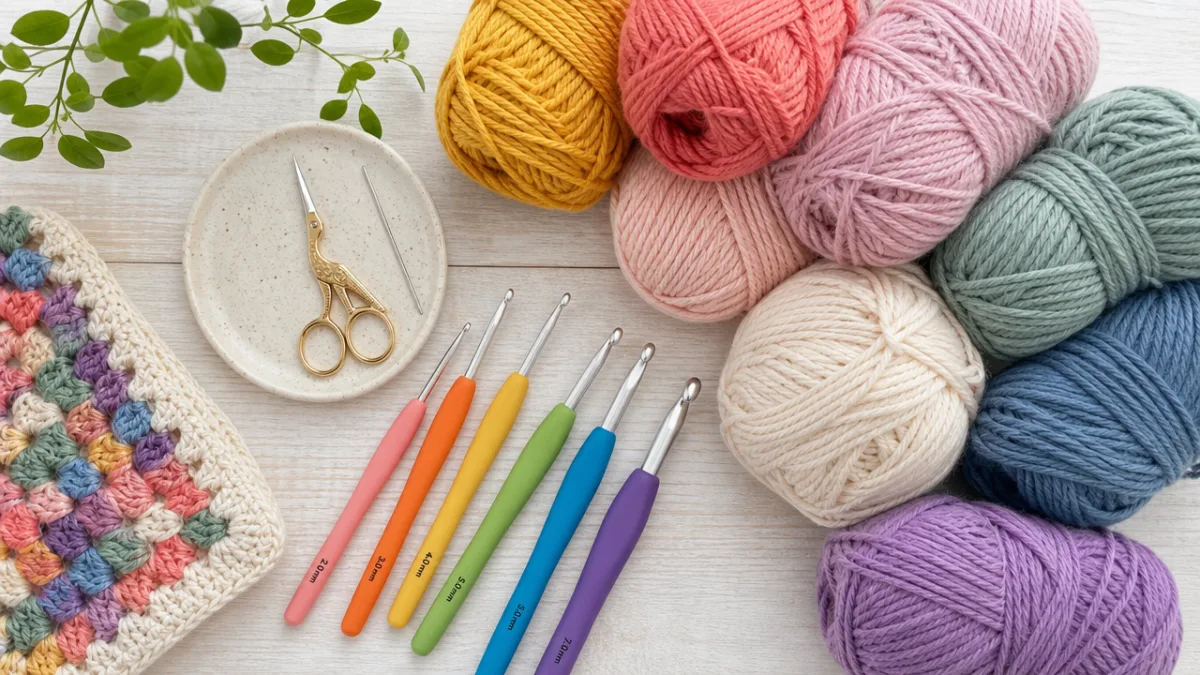
You’ll also need to decide on your hook size. For a rug that will hold up underfoot and have a pleasingly firm fabric, you generally want to use a hook that is slightly smaller than the yarn label recommends, or at least at the lower end of the recommended range. This creates a tighter stitch that resists stretching and wear. For most bulky yarn scraps held as a single strand, a size 6mm to 8mm hook works well. For worsted-weight yarn held double, a 6mm to 7mm hook is typically appropriate. Having a few different hook sizes on hand as you work through different weights in your scrap pile will make the process much smoother.
Essential Supplies You’ll Need Beyond the Yarn
While yarn is obviously the star of the show, a few other supplies will make your scrap rug project much more manageable and enjoyable. A large blunt tapestry needle is essential for weaving in the many ends that a scrap project inevitably produces — you’ll be joining new colors frequently, and each join means two new ends to secure. Keeping up with your ends as you go, rather than leaving them all to the end, will save you hours of tedious finishing work. Some crafters find it helpful to weave in each end immediately after joining a new color, before continuing to crochet.
A non-slip rug pad cut to the finished dimensions of your rug is a practical necessity, especially if the rug will be placed on a hard floor surface. Even a beautifully dense crochet rug will slide on hardwood or tile without something to grip the floor beneath it, and a sliding rug is a safety hazard as well as an annoyance. Rug pads are inexpensive and widely available at home goods stores, and they also protect both your rug and your floor from wear. If you prefer a more DIY approach, you can also apply a thin bead of fabric puff paint in a grid pattern to the underside of your finished rug to create a grippy surface.
Scissors, stitch markers, and a tape measure round out the basic supply list. Stitch markers are particularly helpful when you’re working in the round, as they mark the first stitch of each round so you never lose your place. For rectangular or square rugs worked in rows, they can mark the center of the piece to help you keep your shaping symmetrical. A tape measure lets you check your dimensions periodically as you work, which is especially important if you’re making a rug for a specific space where size really does matter. Having all of these supplies organized and within reach before you begin will help your project flow smoothly from start to finish.
Choosing the Right Stitch Patterns for Durability and Beauty
The stitch pattern you choose for your scrap rug will have a significant impact on both how it looks and how long it lasts. For rugs, durability is just as important as aesthetics, which means you want stitches that create a dense, tight fabric without too many large gaps or loops that could catch on furniture legs or snag underfoot. The most popular and time-tested choices for crochet rugs include the single crochet stitch, the half double crochet, the moss stitch, and the waistcoat (or knit) stitch. Each of these creates a solid, sturdy fabric that wears beautifully over time and cleans up easily.
The single crochet stitch is by far the most commonly used stitch for crochet rugs, and for good reason. It creates a dense, even fabric that is extremely durable and holds its shape well under foot traffic. Single crochet worked in continuous rounds creates a smooth, flat surface that is comfortable underfoot and easy to clean. When worked in rows, it creates a slightly different texture with a more pronounced ridge on one side. Both approaches work well for rugs, and the choice between working in rounds versus rows will determine the overall shape of your finished piece — rounds produce circles or ovals, while rows produce rectangles or squares.
The waistcoat stitch, also called the knit stitch because it mimics the v-shaped appearance of knitted fabric, is a beautiful option for scrap rugs because it creates a woven-looking surface that hides color changes exceptionally well. This is particularly advantageous for scrap projects, where you may be working with many different colors that don’t always transition gracefully. The interlocking v-shapes of the waistcoat stitch blend adjacent colors together visually, creating a harmonious fabric even when the yarn colors themselves are quite different. The tradeoff is that the waistcoat stitch uses more yarn than single crochet, so plan your yardage accordingly.
Working with Multiple Colors and Joining New Yarn Cleanly
One of the most important skills to master for a scrap crochet rug is joining new colors cleanly and securely. Because you’ll be working through many different scraps of varying lengths, you’ll be making color changes far more frequently than you would in a typical project. The standing stitch join is one of the cleanest methods: rather than working to the end of your old yarn and then joining the new, you make a slip knot with the new color, place it on your hook, and begin the next stitch as if you had been working with it all along. This creates a tidy join with minimal weaving-in required.
Another reliable method is the magic knot, which involves tying the old and new yarn together in a compact, secure knot that can be trimmed very close and woven in with minimal bulk. While some purists object to using knots in their crochet work, for a rug — which is a utilitarian object that will be walked on rather than worn or displayed against the light — the security of a good knot is more important than theoretical perfection. The magic knot, when made correctly, will not come undone even under the stress of regular foot traffic and laundering.
Regardless of which joining method you prefer, consistency is the key to a professional-looking result. Choose one method and stick with it throughout the project so that all of your joins have the same character. Plan your color changes so that they occur at the beginning of a new row or round whenever possible, since this is the least visible location for a join. And always leave tails of at least six inches when joining or cutting yarn, since shorter tails are much harder to weave in securely and are more likely to work their way out over time. A little extra care at the joining stage saves a lot of heartache later.
Construction Methods: Rounds, Rows, and Strips
Scrap crochet rugs can be constructed in several different ways, and understanding the options will help you choose the method that best suits your scraps, your skill level, and your desired final shape. The three main construction approaches are working in continuous rounds for a circular or oval shape, working in rows for a rectangular shape, and making individual strips that are then joined together. Each method has its own strengths and challenges, and each produces a distinct visual result. Many crafters eventually try all three and develop a strong preference based on their personal working style.
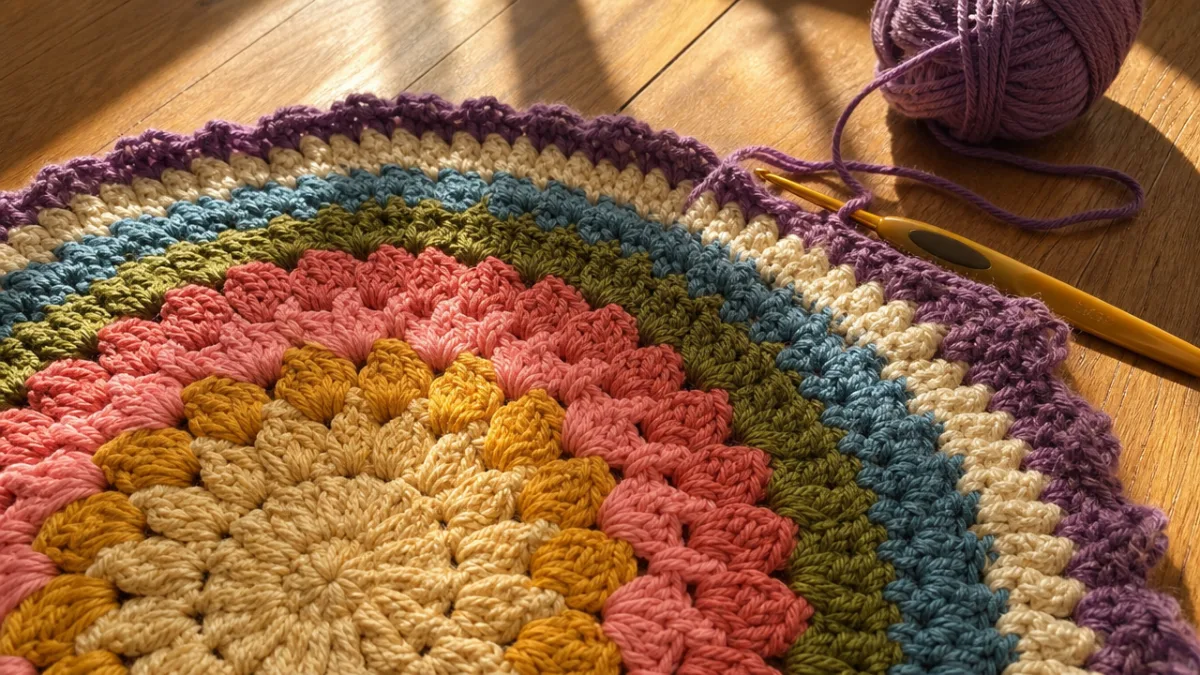
Working in continuous rounds is the classic method for oval rugs, which is one of the most popular shapes for handmade rugs because it fits naturally in front of sofas, sinks, and beds. The oval rug begins with a chain that determines the length of the finished rug, and rounds are worked outward from that chain in a continuous spiral. Because you’re working in a spiral rather than joining each round, there are no seams and the color transitions are smooth and gradual. Oval rugs are particularly well-suited to scrap yarns because the continuously changing shape means that color stripes appear at a slight diagonal, which adds visual interest and helps blend disparate colors.
Strip construction is a particularly clever approach for scrap rugs because it allows you to use very short lengths of yarn — even pieces that would be too short to work into a continuous project. Each strip is a long, narrow rectangle worked in rows, and when you run out of one color you simply join the next without worrying about whether the lengths match across the whole piece. Once all your strips are complete, you join them side by side using a simple whip stitch or slip stitch join. The seams between strips can become a design element in themselves, especially if you use a contrasting color for the joining. This method is also wonderfully portable, since individual strips are much easier to carry around than a large rug in progress.
Finishing Techniques That Make Your Rug Look Professional
The finishing process for a scrap crochet rug is every bit as important as the construction itself, and taking the time to finish your rug properly will dramatically extend its life and improve its appearance. After weaving in all your ends — and yes, all of them, even the ones in the middle of the rug that seem safely buried — the first step is to block your rug. Blocking involves wetting the rug thoroughly, squeezing out the excess water, and then stretching it into the correct shape and pinning it to dry. For rugs, wet blocking is usually sufficient and spray blocking with a steam iron can also be effective for smoothing out any uneven areas.
Edging your rug with a round or two of single crochet in a coordinating color is one of the most effective finishing touches you can add. A clean, neat border gives the rug a polished, intentional look that elevates the whole piece and draws the eye. You can use a neutral like cream, gray, or black for the edging to frame the colors inside, or you can pick a color that appears frequently in your scrap selection to create a harmonious effect. A border also helps keep the edges of the rug from curling, which can be an issue with rugs worked in rows. Some crafters add two or three rounds of edging, alternating colors for an even more decorative effect.
Washing your finished rug before using it is also a recommended step, both to remove any residual dye or lanolin from the yarns and to help the fibers bloom and relax into their final shape. Wash the rug on a gentle cycle in cool or lukewarm water with a mild detergent, then roll it in towels to remove as much water as possible before laying it flat to dry. Avoid the dryer unless the yarn labels on all of your scraps specifically indicate that the fiber is machine-dryable, since heat can shrink or felt natural fibers and melt or distort synthetics. A properly washed and dried rug will look and feel better than one used straight off the hook.
Caring for Your Scrap Crochet Rug Over Time
A well-made scrap crochet rug, properly cared for, can last for many years and even become a beloved heirloom. The key to longevity is regular, gentle maintenance that keeps the rug clean without subjecting the fibers to undue stress. Shake your rug out regularly to remove loose dirt and debris, and vacuum it gently on a low suction setting using an upholstery attachment rather than a beater bar, which can pull and damage the crochet stitches. For spot cleaning, a damp cloth with a small amount of gentle soap is usually sufficient for most spills and stains, and quick attention to spills before they set makes a significant difference.
For deeper cleaning, most crochet rugs made from washable yarn can be laundered in a front-loading washing machine on a delicate cycle, but it is important to know the fiber content of all the yarns in your rug before attempting this. If you’ve used a mix of fibers — as is typical with scrap projects — test a small, inconspicuous area first, or err on the side of hand washing in a bathtub or large sink. Submerge the rug fully and let it soak for fifteen to twenty minutes, then gently squeeze the water through the fibers without wringing or twisting, which can distort the shape. Rinse thoroughly until the water runs clear, then roll in towels and lay flat to dry out of direct sunlight.
Over time, high-traffic areas of your rug may begin to show wear, with stitches flattening or fibers pilling. Light pilling can be removed with a fabric shaver or a sweater stone, used with a gentle touch. If stitches begin to fray or break in heavily used areas, repair them promptly with a tapestry needle and a matching yarn before the damage spreads. One of the great advantages of a scrap rug is that the multicolored, intentionally eclectic nature of the design means that small repairs are virtually invisible — there’s no need to perfectly match a single color. The rug was made from beautiful imperfection from the very beginning, and it will age gracefully in the same spirit.
Keeping Track of Your Scraps for Future Rug Projects
Once you’ve completed your first scrap crochet rug and experienced the deeply satisfying process of transforming leftover yarn into a functional work of art, you’ll likely want to make another. Setting up a dedicated scrap collection system will make your next project even easier to launch. Consider keeping a large basket or bin specifically for rug-worthy scraps — pieces that are at least a yard or two long and in a weight suitable for your preferred rug construction method. Shorter pieces can go into a separate bin for other scrap uses like stuffing amigurumi or filling pincushions.
Winding your scraps into small balls as you collect them keeps the bin tidy and makes it much easier to see what colors and weights you have available when you’re ready to start a new rug. You can use a simple card bobbin or just wind them around two fingers and secure with a slip knot. Labeling each ball with the fiber content is especially helpful for planning washing and care, and adding a note about the original project can be a wonderful way to preserve the memory of what each scrap came from. Imagine being able to tell the story of every color in your rug — this corner is from a baby blanket, that stripe is from a Christmas sweater.
Sharing your finished scrap rugs and your process on social media or in crochet communities can inspire other crafters to look at their own scrap bins with fresh eyes. The scrap rug tradition thrives when it’s shared and celebrated, and the diversity of approaches, aesthetics, and fiber combinations that different crafters bring to the project is endlessly inspiring. Whether you follow in the footsteps of KnitDiet and other innovative designers or forge your own entirely original path, the scrap crochet rug is a project that rewards creativity, resourcefulness, and patience in equal measure. Your stash of leftovers is not a problem to be solved — it is a palette waiting to be painted with.








What do you think?
It is nice to know your opinion. Leave a comment.