










50 DIY Backyard Privacy Screen Ideas to Block Neighbors’ View
Why Backyard Privacy Matters More Than Ever
Homes keep getting built closer and closer together, lots keep getting smaller, and if you’ve noticed that your backyard doesn’t feel quite as private as you’d like — you’re definitely not alone. Your backyard is supposed to be your escape. A place to decompress after a long day, have friends over, let the kids run around, or just sit with a cup of coffee without feeling like you’re on display. But when your neighbors can look right into your space, that whole sense of refuge kind of evaporates, and suddenly you’re using your beautifully landscaped yard a lot less than you should be.
And honestly, privacy screens do a lot more than just block sightlines. A well-placed screen can cut down on wind, making your patio or seating area way more comfortable on breezy days. It can muffle traffic noise or the sound of neighboring conversations. It can even help divide your yard into separate zones — think pool area versus veggie garden, or a cozy dining corner tucked away from the kids’ play space. All of which is why a DIY privacy screen might be one of the best investments you can make in your outdoor space.
The really good news? You don’t need to hire a contractor or put up a permanent structure to make it happen. With some creativity, a few basic tools, and a weekend or two of work, you can build something that looks great, holds up well, and fits your yard perfectly. The ideas below cover a wide range of styles, budgets, and skill levels — so whether you’ve built things before or this is your first DIY project, there’s something here for you.
Wooden Privacy Screen Ideas for a Classic Look
Wood is still the go-to choice for DIY privacy screens, and it’s easy to see why. It’s easy to find, reasonably priced, works with basic tools, and there’s just a warmth to it that synthetic materials can’t really match. A simple cedar or redwood panel built from 1×4 or 1×6 boards arranged vertically — with small gaps in between — can be knocked together in a single afternoon and immediately change the feel of your whole backyard. Cedar and redwood are naturally rot-resistant too, so you don’t need to worry about chemical treatments to keep them in good shape outdoors.
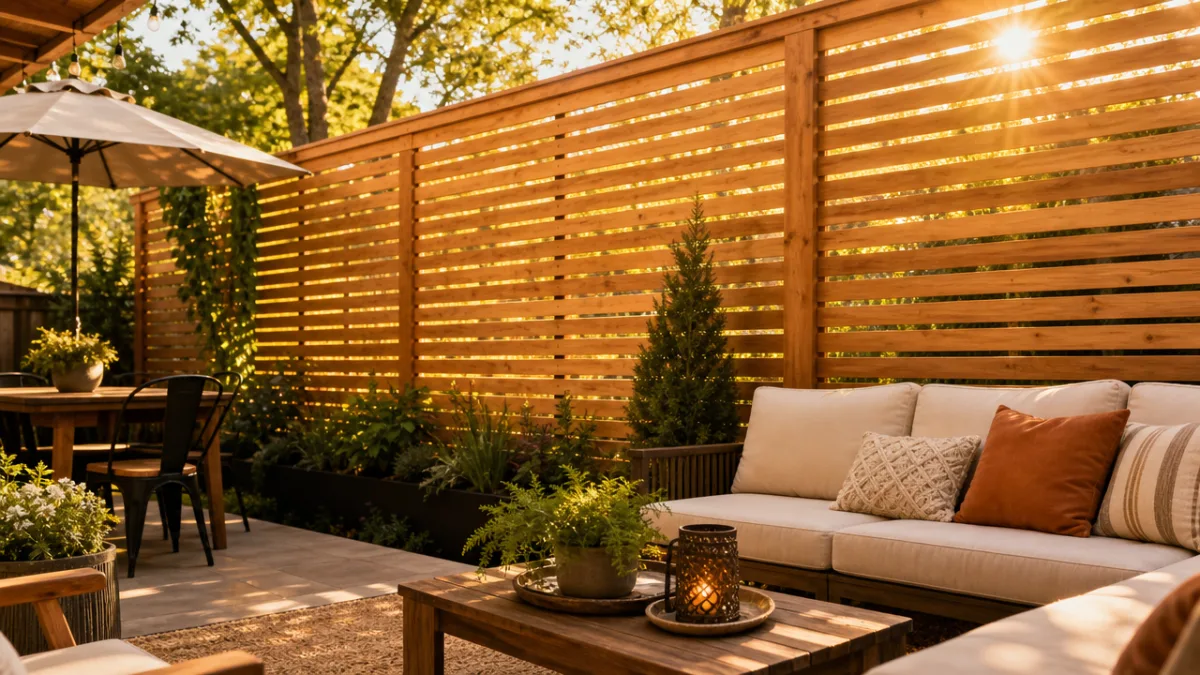
If you want something a little more polished, try a horizontal slat design using pressure-treated lumber or smooth cedar boards. Horizontal layouts just feel more modern and architectural compared to traditional vertical fencing, and they look great alongside contemporary outdoor furniture. You can leave intentional gaps between the slats to let some light and airflow through, so the screen doesn’t feel like a solid wall — but neighbors still can’t see straight in. Stain them in espresso, warm grey, or a natural honey tone and they’ll look like something out of a design magazine.
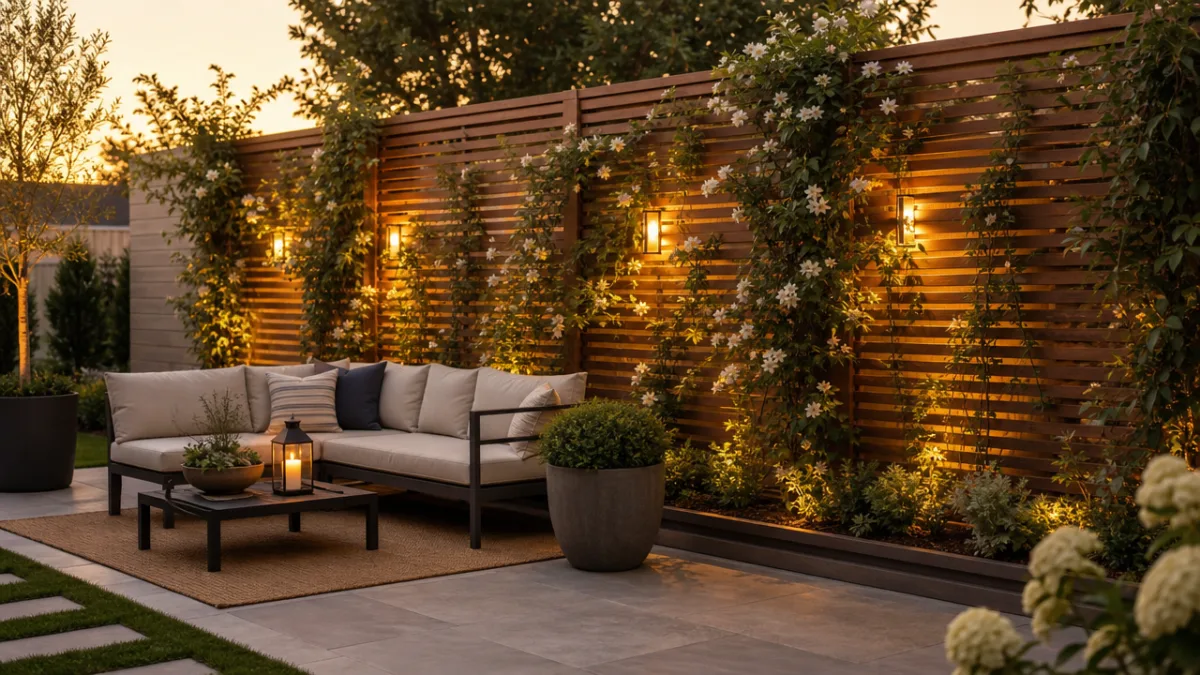
Lattice screens are a classic for good reason, especially if you plan to grow climbing plants. A basic wooden frame with criss-cross lattice panels can be built for well under a hundred dollars, and once a climbing rose, jasmine, wisteria, or clematis gets established, the whole thing turns into a gorgeous living wall. You can anchor them directly in the ground with metal post hardware, attach them to an existing fence to get some extra height, or build freestanding sections you can move around with the seasons.
- Cedar and redwood boards for natural rot resistance and beauty
- Horizontal slat designs for a modern, architectural feel
- Lattice panels combined with climbing vines for a living screen
- Reclaimed barn wood for a rustic, character-filled aesthetic
- Board-on-board construction for a fully solid visual barrier
Living Plant Walls and Green Privacy Solutions
If you want a privacy screen that feels completely natural and honestly just keeps getting better over time, a living plant wall or a well-placed hedge is hard to beat. Fast-growing evergreens like arborvitae, Leyland cypress, or bamboo can form a solid green wall in just two or three growing seasons, giving you year-round coverage that also absorbs sound and provides habitat for birds and pollinators. The main thing is choosing the right plant for your specific climate, soil, and sun conditions — get that right and you’re mostly just watching it grow.
Bamboo is worth calling out specifically because the growth rate is genuinely impressive — certain varieties can shoot up several feet in a single season. The key is sticking with clumping bamboo rather than running bamboo, which spreads aggressively and can become a real problem for you and your neighbors. Clumping varieties stay where you put them, and planted in a row along a property line they create a tall, beautiful screen within a couple of seasons that moves gracefully in the breeze and makes a lovely rustling sound. You can also grow bamboo in large containers if you want a movable privacy option for a deck or patio.
For faster results without waiting years for plants to mature, a DIY vertical garden wall gives you that lush green look almost immediately. These use a simple wooden or metal frame to hold planting pockets or stacked modular boxes, which you can fill with trailing plants, ferns, succulents, herbs — whatever works for your sun and climate. Positioned at the edge of a deck or along a fence line, a vertical garden wall delivers instant privacy, adds serious greenery, and if you plant herbs or edible flowers, you get something useful out of it too. Pair it with a simple drip irrigation setup and the maintenance stays really manageable.
Ornamental grasses are another option that a lot of people overlook, and they work surprisingly fast. Varieties like miscanthus, pampas grass, or maiden grass can reach six to twelve feet tall in a single growing season, creating a flowing, feathery screen along a property boundary or around a pool area. Unlike a solid fence, ornamental grasses move with the wind and shift beautifully through the seasons — turning golden and russet in autumn before being cut back each spring and coming back fresh. Once they’re established, they basically take care of themselves.
Creative Upcycled and Budget Privacy Screen Ideas
Not every privacy screen needs to be built from brand-new materials, and honestly some of the most interesting ones aren’t. Salvaged and repurposed materials can make for genuinely charming screens that have way more personality than anything you’d buy off a shelf. Old wooden pallets are a great example — they’re free or nearly free, widely available, and with some sanding, paint, and a few posts, they come together into surprisingly attractive privacy screens with a relaxed, eclectic vibe.
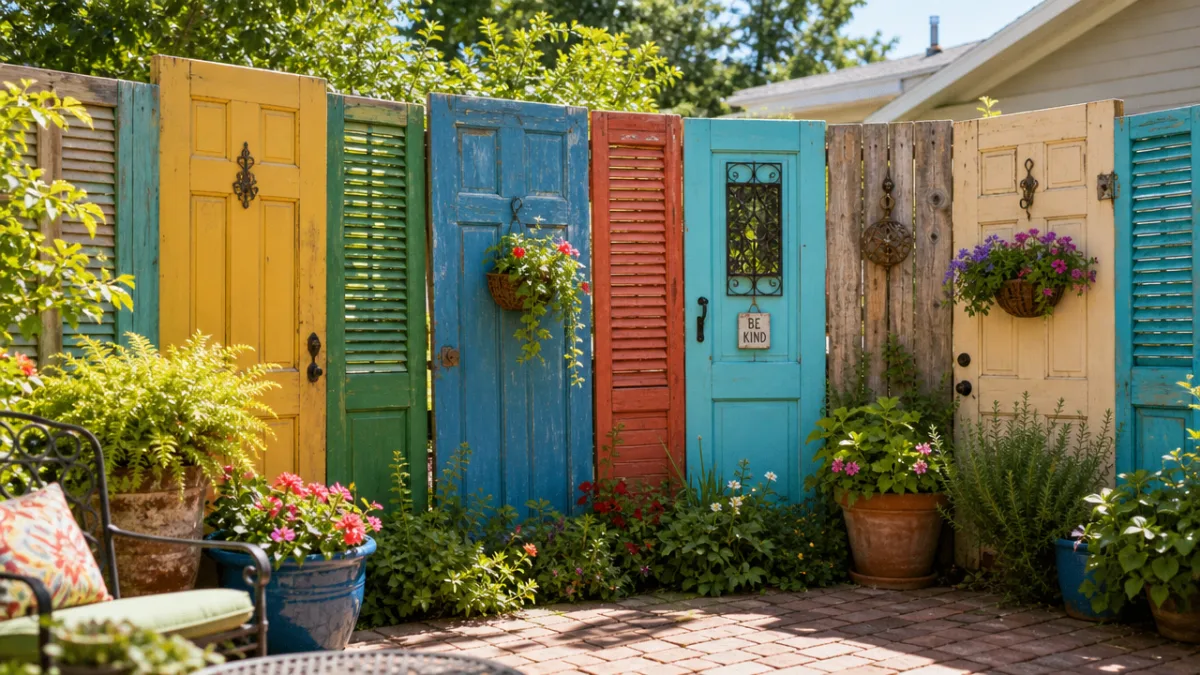
Salvaged shutters, old doors, and reclaimed window frames are all worth hunting down for this kind of project. A row of mismatched vintage doors painted in coordinating colors makes a seriously eye-catching privacy wall that ends up being a focal point of the garden rather than something you barely notice. Old shutters mounted side by side on a simple frame give you a louvered effect where you can actually control the airflow and light direction. You can find these materials for free or very cheaply at architectural salvage yards, online classifieds, or from demolition sites — it just takes a little patience.
Woven roll fencing — bamboo, reed, or willow — is another solid budget option that’s quick to put up and pretty effective. You can get these in large rolls at garden centers or home improvement stores, and they attach easily to chain-link fencing, a simple wooden frame, or pergola beams with zip ties or wire. They won’t last forever — typically three to five years — but they’re cheap enough that replacement isn’t a big deal, and they’re great if you’re renting, doing a temporary installation, or just want to test out a spot before committing to something permanent.
- Wooden pallets sanded and mounted on pressure-treated posts
- Salvaged doors or shutters painted in a coordinating color scheme
- Bamboo roll fencing attached to chain-link or simple frames
- Reclaimed corrugated metal panels in a wooden frame
- Woven willow or reed screening for a natural, organic texture
- Old wooden window frames filled with glass or mesh
Modern and Decorative Privacy Screen Designs
If your taste runs more contemporary, there are some genuinely beautiful modern privacy screen options that work just as hard as they look. Laser-cut metal panels have become really popular in recent years, and it’s not hard to see why — they come in dozens of geometric and botanical patterns, and when sunlight hits them just right, they throw incredible shadow patterns across a patio or deck. Framing and mounting factory-cut panels is well within reach for a handy homeowner, even if the cutting itself requires equipment most of us don’t have at home.
Decorative breeze block — also called screen block or concrete block screen — is having a real moment right now, and it’s a fantastic option if you like that mid-century modern look. These hollow concrete blocks with geometric cutouts were everywhere in the 1950s and 60s, and they’re coming back strong. Some configurations can be stacked without mortar, which keeps the DIY difficulty level pretty reasonable. The result is a screen that’s solid, reduces wind and noise, and makes a bold visual statement that pairs beautifully with teak furniture, wicker, or neutral outdoor textiles.
Gabion walls — those wire cage structures filled with rocks or river stones — are on the more ambitious end of DIY privacy screens, but the payoff is pretty spectacular. They’re incredibly durable, require zero painting or staining, and over time develop a gorgeous patina as moss and small plants settle into the gaps between the stones. You can build them to any size, and by mixing stones of different colors and sizes you end up with a richly textured surface that’s as much a landscape feature as it is a privacy barrier.
And then there’s the softer approach — combining string lights, bamboo poles, and hanging fabric panels on a simple pergola frame to create something that feels more like an outdoor room than a fence. Heavy outdoor curtains in neutral linen or a bold stripe can filter the view while keeping the space feeling open and inviting rather than boxed in. Throw in some Edison bulbs overhead and a couple of lanterns, and honestly it becomes one of those spaces you want to spend every evening in.
Planning, Placement, and Building Tips for DIY Success
Before you buy a single board or drive a single post, it’s really worth spending some time thinking through where your screen actually needs to go. Walk out into the parts of your yard where you want privacy, and look toward the neighboring properties and streets to figure out where the sightlines are coming from — what height, what angle. You might be surprised to find that a smaller, well-placed screen does more for you than a massive structure positioned even slightly off the mark.
Always check with your local municipality or HOA before you start building. Most areas have rules about fence and screen height, setback requirements from property lines, and sometimes even restrictions on materials or colors. Finding out about these rules after you’ve already built something is a really unpleasant experience. If you’re in an HOA community, submit your design for approval before you buy anything — it takes a few extra days but can save you a serious headache.
Structurally, the most important thing is your foundation. Posts need to go deep enough to handle wind — the general guideline is one-third of the above-ground height, with a minimum of 18 to 24 inches. In areas with high winds or freeze-thaw cycles, setting posts in concrete is definitely worth doing. If you want a freestanding screen you can move around, weighted planter bases or cross-brace designs can give you solid stability without permanent anchoring, which is a nice option if your needs or layout might change over time.
- Map your sightlines before purchasing any materials to ensure precise placement
- Check local building codes and HOA guidelines before starting construction
- Set posts at a depth of at least one-third the above-ground screen height
- Use pressure-treated lumber or naturally rot-resistant wood for ground contact
- Allow for drainage at the base to prevent water pooling and premature rot
- Apply exterior-grade stain, paint, or sealant to prolong the life of wooden screens
- Consider adding lighting, planters, or art to make the screen a design feature
Finally, don’t forget about maintenance — it’s easy to overlook when you’re in the excitement of planning and building, but it matters a lot for how long your screen actually lasts. Wood screens should be cleaned once a year and retreated with stain or sealant every two to three years. Living screens need regular pruning to stay dense and healthy. Metal screens should be checked annually for rust and touched up with rust-inhibiting paint where needed. Take care of it properly and a well-built privacy screen can realistically last twenty years or more — which makes the weekend or two you put into building it feel like a very good deal.








What do you think?
It is nice to know your opinion. Leave a comment.