










DIY Elevated Planter: A Complete Guide to Building Your Own Garden Masterpiece
Introduction to Elevated Planters and Why Every Garden Needs One
Elevated planters have taken off in home gardens over the last few years, and honestly, it’s not hard to see why. Whether you’ve got a big backyard, a small patio, or just a balcony to work with, a raised planter is one of those additions that just makes sense. You can grow herbs, vegetables, flowers — pretty much whatever you want — in a setup that’s easier to manage, easier on your back, and often more productive than planting straight into the ground.
There’s also a really practical side to all this. Bad native soil is one of the most common headaches home gardeners run into — rocky, compacted, or completely stripped of nutrients. With a raised planter, you sidestep that problem entirely. You fill it with whatever growing mix works best for what you’re planting, so your plants are set up to succeed right from the start instead of fighting the ground beneath them.
And then there’s the satisfaction of building it yourself. A store-bought garden bed gets the job done, sure, but making your own means you control the size, the materials, the look — everything. This guide covers it all, from picking the right wood to mixing the perfect soil, so by the end you’ll have something that’s genuinely yours and ready to produce a great garden all season long.
Choosing the Right Materials for Your Elevated Planter
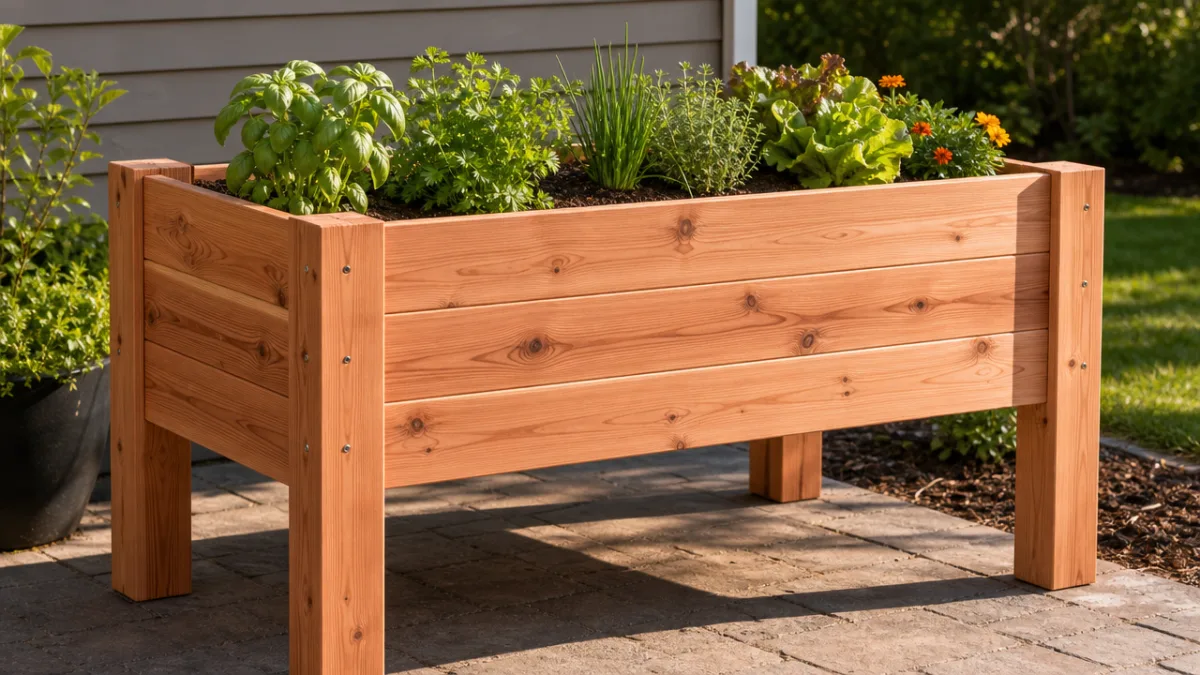
Your choice of material shapes pretty much everything about your planter — how long it lasts, how it looks, what it costs, and even how well your plants grow. Most DIY gardeners go with wood, and for good reason. Cedar is the top pick for outdoor garden projects because it naturally resists rot, insects, and moisture without needing any chemical treatment. It costs more upfront, but a well-built cedar planter can easily last a decade or more with very little upkeep, so the math tends to work out.
Redwood is another excellent choice — it has the same natural rot resistance as cedar and develops a really beautiful weathered look over time. If your budget is tighter, pressure-treated pine is a solid alternative. One thing worth knowing: older pressure-treated lumber used arsenic-based preservatives that you definitely don’t want near your food garden. The good news is that modern pressure-treated wood uses copper-based compounds, which are generally considered safe — especially if you line the inside of your planter with heavy-duty landscape fabric as an extra barrier between the wood and your soil.
If wood isn’t your thing, galvanized steel gives you a sleek, industrial look with excellent durability, and composite lumber (made from recycled wood fibers and plastic) holds up beautifully without any chemical treatment at all. Concrete blocks and stone are worth considering too, particularly for something more permanent. That said, for most people tackling their first elevated planter, cedar boards in the 1×6 or 2×6 range hit the sweet spot of easy to work with, safe for growing food, and built to last.
Tools and Supplies You Will Need
Getting all your tools and supplies together before you start will make the whole build go a lot more smoothly. There’s nothing more frustrating than having to stop mid-project to hunt something down, and having everything within reach tends to produce a cleaner result too. Most of what you need are pretty standard items — there’s a good chance you already have a lot of this stuff, and anything you’re missing can usually be borrowed or rented from a hardware store without much fuss.
Here is a comprehensive list of what you will need to complete this project:
- Measuring tape and carpenter’s square for accurate cuts and square corners
- Circular saw or miter saw for cutting boards to length
- Power drill or impact driver with appropriate drill bits
- Exterior-grade wood screws (2.5 to 3 inch length recommended)
- Sandpaper or orbital sander (80 and 120 grit)
- Landscape fabric and heavy-duty staple gun
- Wood stain, sealant, or exterior paint (optional but recommended)
- Safety glasses and work gloves
- Level to ensure a flat, even structure
- Pencil or chalk line for marking cut lines
Beyond your tools, it’s worth taking a few minutes to plan your lumber purchase before you head to the store. Sketch out your planter dimensions on paper and calculate how many linear feet of board you’ll actually need. A good beginner-friendly size is about 4 feet long, 2 feet wide, and 30 inches tall — that height lets you work comfortably without constantly bending over. Tack on an extra 10 percent to your order to cover any measurement mistakes or boards that just don’t look right. Buying a little extra is always better than making a second trip halfway through your build.
Step-by-Step Building Instructions
With everything gathered and your workspace set up, it’s time to actually start building. Before you assemble anything, go ahead and cut all your boards to length first. Doing it this way lets you lay everything out, double-check your measurements, and catch any problems before anything is permanently screwed together. Use a sharp blade for the cleanest cuts, and take that old carpenter’s advice seriously: measure twice, cut once.
Follow these steps to assemble your elevated planter:
- Cut the side panels: For a standard 4×2 foot planter, cut two long side boards at 48 inches and two short end boards at 21 inches (accounting for the thickness of the side boards).
- Build the corner posts: Cut four vertical posts from 4×4 lumber at your desired height, typically 28 to 32 inches for a comfortable standing work height.
- Attach the side panels to the corner posts: Use a drill and exterior screws to secure each board to the posts, working from the bottom up and checking for level as you go.
- Add the bottom support slats: Cut several 1×4 boards to span the width of the planter and screw them across the bottom frame to support the weight of soil.
- Line the interior with landscape fabric: Staple heavy-duty landscape fabric to the interior walls and bottom, leaving drainage gaps at the base.
- Sand all exposed surfaces: Smooth any rough edges to protect both the wood and your hands during future gardening sessions.
- Apply sealant or stain: Finish the exterior with your chosen protective coating and allow it to dry fully before filling with soil.
Once you’re done building, move the planter to its permanent spot before you load it up with soil. A fully filled planter can weigh several hundred pounds, and trying to move it after the fact is a real pain. If it’s going on a deck or patio, rubber feet or small furniture pads under the legs will protect the surface and keep things stable. And before you move on to the next step — take a moment to appreciate what you just built. Assembly is genuinely the hardest part of this whole project.
Filling Your Planter with the Perfect Soil Mix
Getting the soil right matters just as much as building a solid structure. You can have the most beautifully crafted planter in the neighborhood, but if the growing medium isn’t up to par, your plants will let you know. The great news is that filling a raised planter puts you in complete control of what goes in there — no fighting clay, no digging through hardpan, no working around rocks. You get to start fresh with exactly what your plants need.
The most widely recommended mix for raised garden beds and elevated planters is sometimes called “Mel’s Mix,” named after gardening educator Mel Bartholomew, and it consists of equal parts of the following three ingredients by volume:
- Coarse vermiculite: Improves drainage and aeration while retaining some moisture
- Peat moss or coconut coir: Provides structure and moisture retention without compacting
- Compost: Delivers the nutrients and beneficial microbial life that plants depend on for healthy growth
For the compost portion, try to pull from at least three to five different sources — homemade compost, worm castings, mushroom compost, aged manure, whatever you can get your hands on. Mixing compost types gives you a broader range of nutrients and a more diverse community of beneficial organisms in the soil. If that feels like too much to coordinate, a quality bagged raised bed mix from your local garden center works great too, especially if you blend in some extra compost and a slow-release organic fertilizer to give everything a boost through the growing season.
Fill to within an inch or two of the top so you have room to water without it all running over the edge. Keep in mind that fresh soil tends to settle noticeably after the first few good waterings, so don’t be surprised if you need to top it off with a few more inches of compost after the first week or two. That’s completely normal. Watering before you plant will also help everything settle and give you a better sense of how much you might need to add.
What to Plant and How to Care for Your Elevated Planter
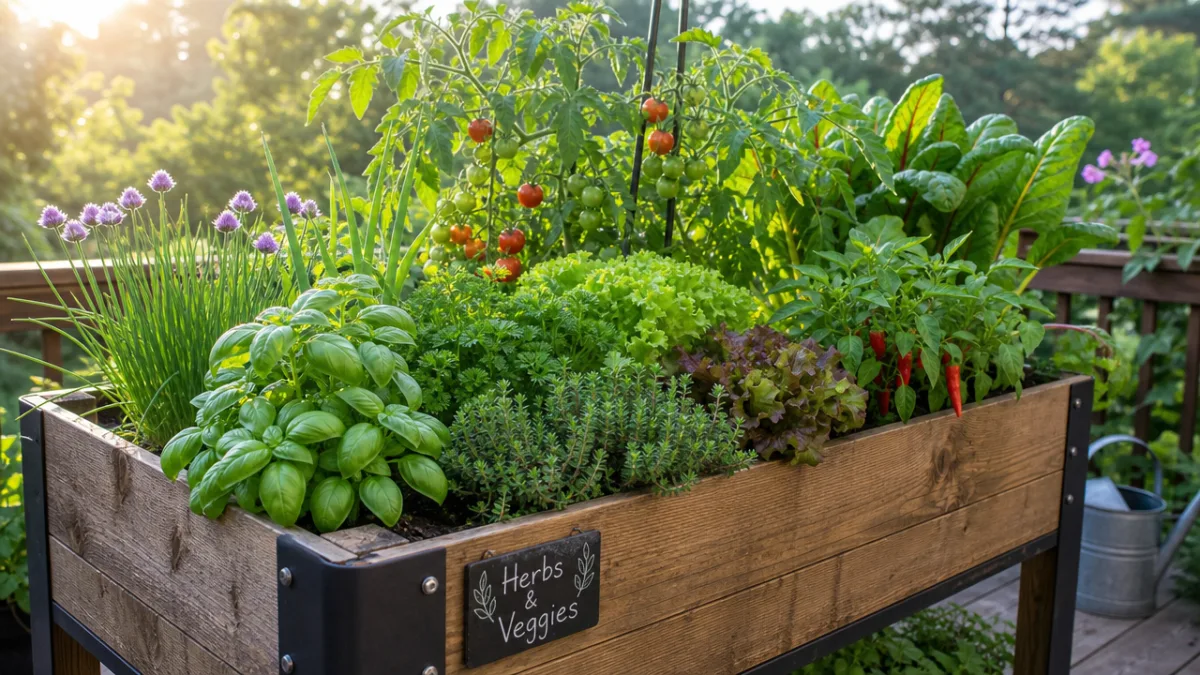
Deciding what to grow is honestly one of the best parts of finishing your planter, and you have a lot of great options to choose from. Culinary herbs are a natural fit — basil, rosemary, thyme, parsley, and chives all do wonderfully in a raised bed. Mint is especially well-suited to container growing, since it spreads like crazy when it gets loose in the ground. Salad greens like lettuce, arugula, spinach, and kale thrive in the loose, rich soil and can be harvested over and over throughout the season using the cut-and-come-again method.
If you want to grow vegetables, compact varieties of tomatoes, peppers, cucumbers, and bush beans are all excellent choices for elevated planters. When you’re shopping for seeds or transplants, look for words like “bush,” “compact,” “patio,” or “container” on the packaging — these varieties have been specifically developed for smaller spaces. Root vegetables like radishes, carrots, and beets also love elevated beds because the deep, loose soil lets their roots grow freely without hitting compaction.
One thing to keep in mind with elevated planters is that they dry out faster than in-ground beds because of the extra air circulation around the sides. On hot summer days you might find yourself watering every day, or even twice a day for thirstier plants. Setting up a basic drip irrigation system or a soaker hose on a timer is a genuinely worthwhile upgrade — it takes the guesswork out of watering and usually saves water compared to doing it by hand. Adding two to three inches of mulch (straw, wood chips, shredded leaves) on top of the soil also makes a big difference in moisture retention and keeps the soil temperature more consistent.
Customization Ideas and Design Upgrades
Once you’ve built your first planter and started harvesting from it, chances are you’ll start thinking about what you want to build next — or how to make what you have even better. The design in this guide is intentionally straightforward so that anyone can build it successfully, but there’s a lot of room to get creative once you’re comfortable with the basics. The right personal touches can turn a practical garden structure into something that actually makes your outdoor space look great.
Consider some of these popular upgrades and design variations:
- Trellis attachment: Build or attach a vertical trellis to one end of your planter to support climbing plants like pole beans, cucumbers, or small varieties of squash, maximizing your growing space vertically.
- Built-in bench seating: Widen the top frame of the planter and cap it with smooth boards to create a comfortable seating edge that doubles as a rest area while you garden.
- Bottom shelf storage: Add a lower shelf between the legs to store gardening tools, extra pots, or bags of fertilizer neatly out of sight.
- Casters for mobility: Attach heavy-duty locking casters to the bottom of the legs to create a planter that can be moved to follow the sun or brought indoors during frost.
- Painted or stained finish: Apply exterior paint in a bold color to make your planter a visual focal point, or use a natural wood stain to enhance the grain and blend beautifully into a garden landscape.
One upgrade that’s worth looking into more seriously is a self-watering reservoir system built into the base of the planter. The idea is to create a water chamber beneath the soil layer that wicks moisture upward as the plants need it. It cuts down dramatically on how often you have to water while delivering moisture directly to the root zone where it actually does the most good. Plans for self-watering inserts are easy to find online, and adding one to an existing planter is a manageable intermediate project that pays off in less maintenance time and noticeably healthier plants.
Another fun idea: group several planters together at different heights. A tall 32-inch planter for herbs next to a shorter 18-inch one for ground cover flowers and a medium-height planter for vegetables creates a layered, dynamic display that can completely transform a corner of your backyard. Throw in some string lights overhead, a bench nearby, and a few decorative pots at ground level, and what started as a straightforward DIY build becomes the centerpiece of an outdoor space you’ll genuinely love spending time in — even long after the growing season wraps up.








What do you think?
It is nice to know your opinion. Leave a comment.