










How to Prep Your Garden for Spring – Step-by-Step
As the last frost begins to retreat and the days grow noticeably longer, gardeners everywhere feel that familiar pull toward the outdoors. Spring garden preparation is one of the most rewarding rituals of the growing season — a chance to reset, refresh, and set the stage for months of beauty and abundance. Whether you are a seasoned horticulturist or a first-time backyard grower, taking the time to properly prepare your garden in early spring will pay dividends all the way through autumn. The steps you take now directly influence the health of your soil, the vigor of your plants, and the overall productivity of your space.
Many gardeners make the mistake of rushing straight to planting the moment temperatures rise above freezing. While enthusiasm is always welcome, skipping the preparatory stages often leads to disappointing results — compacted soil, persistent weeds, and plants that struggle to establish strong root systems. A well-prepared garden bed is essentially a promise you make to your future plants, assuring them of the nutrients, drainage, and structure they need to thrive. Think of spring prep as the foundation of a house: invisible once everything is in place, but absolutely essential to everything built on top of it.
This guide walks you through every critical step of the spring preparation process, from assessing winter damage to planning your planting layout. Each phase builds on the last, creating a logical and manageable workflow that prevents overwhelm and ensures nothing is overlooked. By the end of this process, your garden will be primed and ready to welcome seeds, seedlings, and all the vibrant life that comes with the growing season. Grab your gloves, sharpen your tools, and let’s get started.
Step 1: Assess and Clean Up Winter Damage
The very first task of any spring garden preparation routine is a thorough walkthrough of your entire outdoor space. Winter can be surprisingly destructive — heavy snow, freeze-thaw cycles, and persistent wind all take a toll on plants, soil structures, mulch layers, and garden infrastructure. Walk slowly through each bed and border, taking notes or photographs of anything that looks damaged, dead, or out of place. Pay particular attention to perennials, which may show signs of crown rot, frost heaving, or winter dieback that needs to be addressed before new growth begins in earnest.
Once you have completed your assessment, it is time to remove all the debris that has accumulated over the colder months. Dead leaves, fallen branches, spent annuals from last season, and old mulch that has become matted and waterlogged should all be cleared away. Leaving this material in place creates a perfect habitat for fungal diseases, slugs, and overwintering pests that will eagerly target your new spring growth. A clean bed also allows the soil surface to warm more quickly, which encourages beneficial microbial activity and signals to dormant bulbs and perennials that it is safe to emerge.
As you clean, take the opportunity to inspect your garden structures — trellises, raised bed frames, edging, stakes, and fencing. Winter weather can loosen screws, warp wood, and cause metal components to rust or shift. Repairing or replacing damaged infrastructure now, before plants begin to grow around it, is far easier than trying to make fixes later in the season. This is also a good moment to evaluate whether your garden layout is still serving your needs, and to start thinking about any structural changes you want to make before the growing rush begins.
Step 2: Test and Amend Your Soil
Healthy plants begin with healthy soil, and healthy soil begins with understanding what you are actually working with. A soil test is one of the most valuable investments a gardener can make, and spring is the ideal time to conduct one. Basic soil test kits are available at most garden centers and will reveal your soil’s pH level along with its concentrations of key nutrients like nitrogen, phosphorus, and potassium. Many cooperative extension offices also offer more detailed testing services that can identify micronutrient deficiencies and provide specific amendment recommendations tailored to your region and intended crops.
Once you have your results in hand, you can begin amending your soil with confidence rather than guesswork. If your soil is too acidic, ground limestone can be worked in to raise the pH. If it is too alkaline, elemental sulfur or acidifying fertilizers can help bring it into the optimal range for most vegetables and flowers, which typically falls between 6.0 and 7.0. Nutrient deficiencies are best addressed with organic matter — well-aged compost, worm castings, or specific organic fertilizers that release nutrients slowly and in sync with plant uptake cycles, feeding your garden throughout the season rather than all at once.
Beyond chemistry, consider the physical structure of your soil as well. After a long winter, many garden beds develop compaction, especially if they received foot traffic or were covered with heavy, wet mulch for extended periods. Gently loosen compacted areas with a garden fork, being careful not to overwork the soil or disrupt the networks of beneficial fungi and earthworms that are already beginning to reactivate. The goal is a soil structure that is loose enough for roots to penetrate easily, with enough organic matter to retain moisture without becoming waterlogged. Adding a generous layer of compost — two to four inches worked lightly into the top layer — is one of the single best things you can do for your garden at this stage.

Step 3: Prune, Divide, and Transplant Perennials
Early spring, just as perennials are beginning to show the first tiny signs of new growth, is the perfect window for pruning, dividing, and relocating established plants. Pruning away dead or damaged stems from the previous season encourages the plant to direct its energy toward new growth rather than attempting to revive tissue that is beyond saving. For ornamental grasses, cut back last year’s foliage to just a few inches above the crown before new blades emerge. For shrubs and woody perennials, remove any crossing branches, dead wood, or stems that are pointing in undesirable directions, always cutting just above a healthy outward-facing bud.
Dividing overgrown perennials serves a dual purpose: it rejuvenates the existing plant by reducing competition for resources, and it provides you with new plants to fill gaps elsewhere in your garden or share with fellow gardeners. Most spring-blooming perennials are best divided in the fall, but summer and fall bloomers — such as hostas, daylilies, black-eyed Susans, and ornamental grasses — can be successfully divided in early spring before significant top growth occurs. Use a sharp spade or garden fork to lift the entire clump, then separate it into sections that each contain a healthy root mass and several growth points. Replant divisions promptly and water them in well.
If you have been planning to move any established perennials to new locations, early spring is your best opportunity. Plants are still dormant or just awakening, which means they are far less stressed by transplanting than they would be in the heat of summer. Water the plant thoroughly the day before you intend to move it, dig as large a root ball as is practical, and replant it at exactly the same depth it was growing previously. Follow up with deep, consistent watering for the first several weeks after transplanting to help the plant re-establish. This careful attention during the vulnerable early stage sets transplants up for a season of strong, healthy growth.
Step 4: Plan Your Planting Layout and Order Seeds
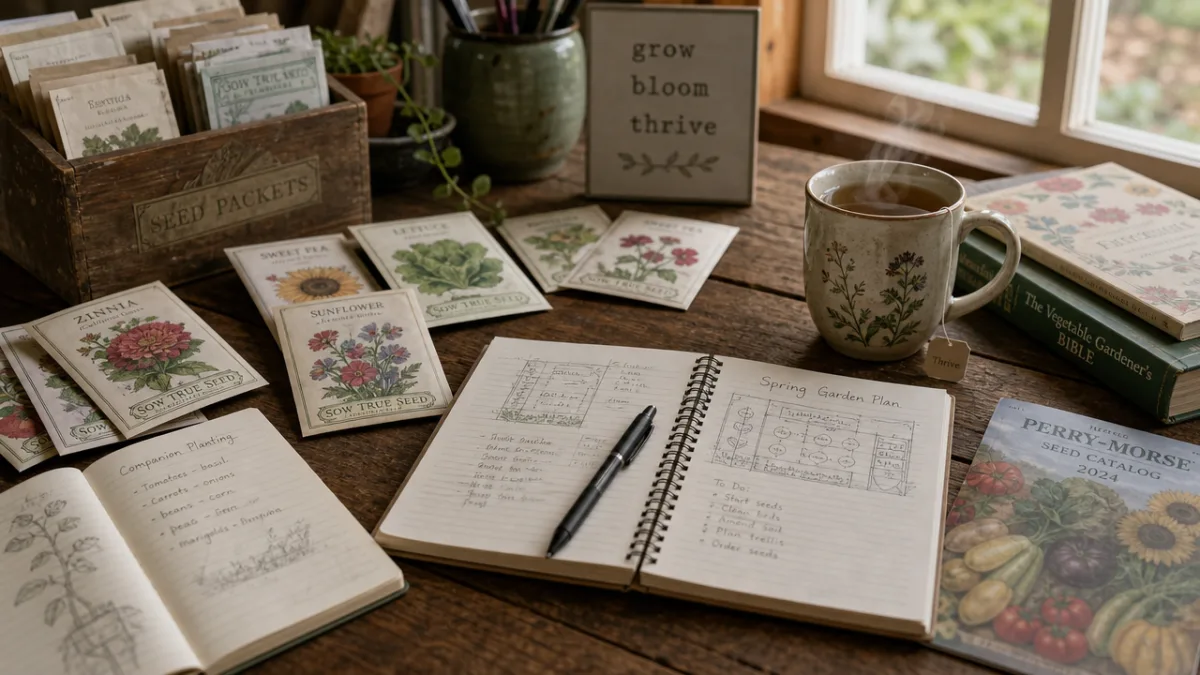
Before a single seed goes into the ground, taking time to thoughtfully plan your planting layout will save you considerable frustration and maximize the productivity of your space. Consider factors like sunlight exposure, mature plant heights, spacing requirements, and companion planting relationships when deciding what goes where. Tall plants like staked tomatoes or corn should be placed where they will not shade shorter sun-loving neighbors. Heavy feeders like squash and brassicas benefit from being rotated to fresh ground each year to prevent soil depletion and the buildup of crop-specific pathogens. Mapping your garden on paper — even a simple hand-drawn sketch — makes these decisions easier to visualize and adjust before you commit.
Succession planting is a technique that every gardener should incorporate into their spring planning. Rather than sowing all of your lettuce, radishes, or beans at once, stagger plantings every two to three weeks to ensure a continuous harvest rather than a single overwhelming glut. This approach is especially valuable for fast-maturing crops that quickly bolt or become tough in summer heat. Planning your succession schedule now, with specific dates marked on a calendar, transforms a chaotic planting season into a smooth, well-orchestrated rhythm that keeps your table supplied with fresh produce from the first warm weeks all the way through late autumn.
If you plan to start seeds indoors — which is highly recommended for crops like tomatoes, peppers, eggplant, and certain flowers — count backward from your last expected frost date to determine exactly when to begin. Most warm-season crops need six to eight weeks of indoor growing time before they are ready to transition outdoors. Order your seeds as early as possible, as popular varieties frequently sell out by mid-winter. Once your seeds arrive, store them in a cool, dry location and check germination rates for any packets left over from previous seasons before relying on them for your main crop. A little advance planning at this stage eliminates the panic of discovering too late that your favorite heirloom tomato is out of stock everywhere.
Step 5: Address Weeds Early and Refresh Mulch
The window between winter’s end and the explosion of spring growth is perhaps the most strategically important time to address weeds in your garden. Annual weeds are just beginning to germinate from the seed bank in your soil, and perennial weeds are sending up their first tentative shoots from established root systems. Catching them at this early stage, before they have a chance to flower and set seed or to develop extensive root networks, is dramatically more effective than trying to control them once they are fully established. A thorough hand-weeding session now can prevent thousands of new weed seeds from being added to your soil’s seed bank this season.
For beds where weeds have historically been a persistent problem, consider applying a thin layer of cardboard or several sheets of overlapping newspaper directly over the soil surface before adding mulch. This technique, often called sheet mulching or lasagna gardening, smothers existing weeds and creates a physical barrier that prevents new seeds from reaching the soil surface. The paper materials will break down naturally over the course of the season, adding organic matter to your soil as they decompose. This is an especially practical solution for new beds being established over previously grassy or weedy areas, where digging would otherwise be required to remove established vegetation.
Once weeding is complete, refreshing your mulch layer is one of the most beneficial finishing touches you can give a spring garden. A two-to-four-inch layer of organic mulch — shredded bark, wood chips, straw, or shredded leaves — suppresses weed germination, regulates soil temperature, conserves moisture, and gradually improves soil structure as it breaks down. Keep mulch pulled back a few inches from the crowns of perennials and the base of shrubs to prevent rot and discourage pest habitats. Apply it generously between plants and along pathways, where bare soil would otherwise provide easy germination sites for weed seeds blown in on the spring breeze.
Step 6: Clean, Sharpen, and Organize Your Garden Tools
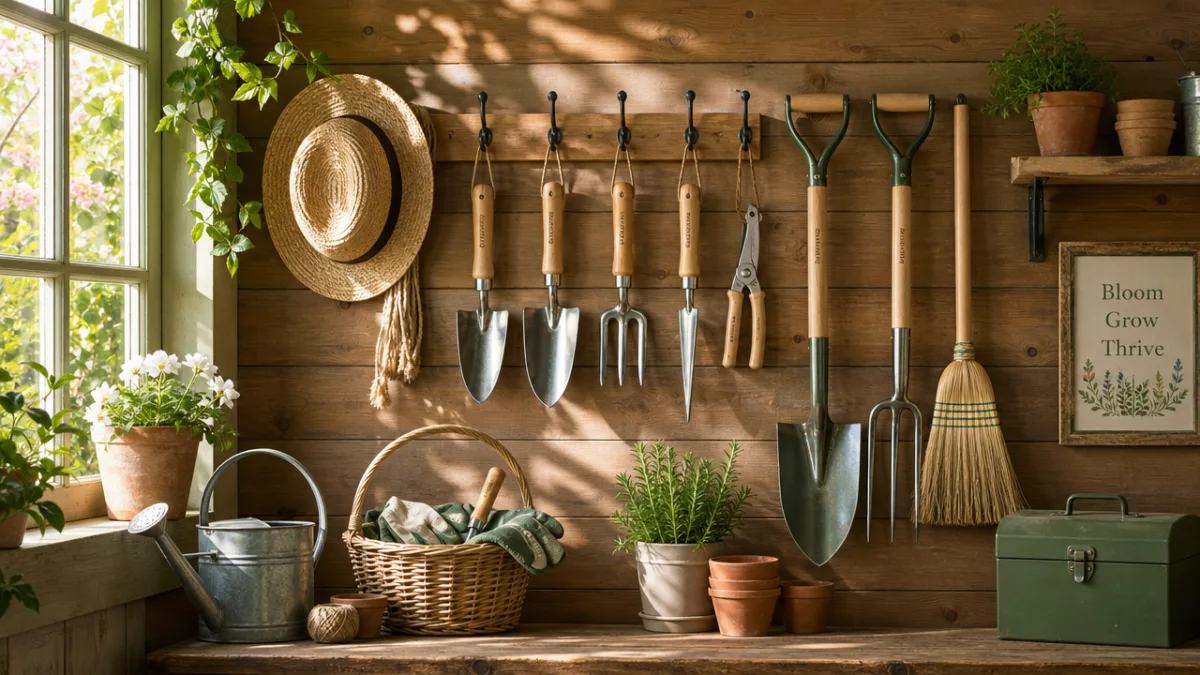
A garden is only as good as the tools used to tend it, and spring is the ideal time to give your equipment a thorough inspection and refresh. Tools that were put away dirty or damp at the end of last season may have developed rust, loose handles, or dull blades over the winter months. Begin by cleaning all metal surfaces with a wire brush or steel wool to remove rust and caked-on soil, then wipe them down with a light coat of linseed oil or a specialized tool oil to protect the metal from moisture going forward. Wooden handles should be sanded smooth if they have developed splinters, and then treated with boiled linseed oil to prevent cracking and drying.
Sharp tools are not just more efficient — they are also safer and less damaging to plants. A sharp spade cuts cleanly through soil and roots, reducing effort and minimizing soil compaction around the cut. Sharp pruners and loppers make clean cuts that heal quickly and resist disease, while dull blades crush and tear plant tissue, leaving ragged wounds that are slow to close and vulnerable to infection. Invest in a quality sharpening stone or file for your edging tools, hoes, and spades, and take pruners and loppers to a professional sharpening service if you are not comfortable sharpening them yourself. The difference in performance is immediately noticeable and deeply satisfying.
Beyond cleaning and sharpening, take a moment to assess whether your current toolkit is meeting your needs. Spring is a great time to identify gaps — perhaps you need a dedicated transplanting trowel, a soil blocker for starting seeds, or a quality hori-hori knife for weeding and dividing. Having the right tool for each task reduces fatigue and increases precision, making your time in the garden more enjoyable and productive. Organize your tools so that frequently used items are easily accessible, and establish a habit of cleaning and drying tools after each use session. This simple practice dramatically extends the life of your equipment and makes the start of next season that much easier.
Step 7: Set Up Irrigation and Check Garden Infrastructure
Consistent, efficient watering is one of the cornerstones of a productive garden, and spring is the time to ensure that your irrigation systems are ready for the season ahead. If you use a drip irrigation system or soaker hoses, pull them out of winter storage and inspect every component for cracks, clogs, and loose connections. Drip emitters can become clogged with mineral deposits over the course of a season, so run water through the system and check that each emitter is flowing freely. Replace any damaged components before the planting season begins, when access to beds will be restricted by growing plants and performing repairs will be far more difficult.
Even if you rely primarily on hand watering or overhead sprinklers, it is worth taking the time to map out your watering zones and ensure that every area of your garden receives adequate coverage. Dry spots and overwatered areas are both common sources of plant stress and disease, and identifying them before the season is underway gives you the opportunity to adjust your approach or add supplemental drip lines where needed. Installing a rain gauge or a simple soil moisture meter can help you water more precisely and avoid the twin pitfalls of underwatering during dry spells and overwatering after rainfall. Water conservation is not only environmentally responsible — it also produces healthier plants with deeper, more resilient root systems.
While you are evaluating your irrigation setup, take stock of your other garden infrastructure as well. Check raised bed frames for signs of rot or structural weakness, inspect deer and rabbit fencing for gaps or damage, and confirm that your compost bins are properly aerated and ready to receive the season’s kitchen and garden waste. If you use cold frames, row covers, or hoop houses to extend your growing season, inspect the fabric and framing before you need them, replacing anything that has become torn, brittle, or structurally compromised. A garden with solid, reliable infrastructure operates smoothly and requires far less reactive problem-solving throughout the growing season, leaving you free to enjoy the beauty and abundance you have worked so hard to create.








What do you think?
It is nice to know your opinion. Leave a comment.