










Outdoor Lounge Chair Plans PDF: Build Your Own Wooden Patio Chair
Introduction to DIY Outdoor Lounge Chairs
There is something deeply satisfying about relaxing on a piece of furniture you built with your own hands. A wooden outdoor lounge chair represents one of the most rewarding weekend woodworking projects a hobbyist or seasoned craftsman can take on. Not only does the finished product provide a comfortable and stylish addition to any patio, deck, or garden, but the process of building it teaches valuable skills in joinery, material selection, and finishing techniques that carry over into countless future projects.
DIY wooden patio chairs have surged in popularity over the past decade, largely because commercially available outdoor furniture often sacrifices quality for affordability. Mass-produced chairs tend to use low-grade softwoods or synthetic materials that deteriorate quickly under UV exposure, moisture, and seasonal temperature swings. When you build your own lounge chair from quality lumber and apply proper protective finishes, you end up with a piece that can last fifteen to twenty years or more with minimal maintenance, far outlasting anything you might find at a big-box retailer for a comparable price.
Downloadable outdoor lounge chair plans in PDF format have made this kind of project accessible to a much wider audience. Rather than relying on vague magazine cutouts or rough sketches passed down through generations, today’s DIYers can access precisely dimensioned blueprints, cut lists, exploded diagrams, and step-by-step instructions all in a single printable document. Whether you are a first-time builder armed with a circular saw and a drill or an experienced woodworker with a fully equipped shop, the right set of plans transforms an intimidating undertaking into a clear, manageable sequence of steps.
Choosing the Right Lumber for Outdoor Use
Selecting the correct wood species is arguably the single most important decision you will make when building an outdoor lounge chair. Not all lumber handles outdoor conditions equally. Wood that performs beautifully indoors can warp, crack, rot, or develop mildew within a single season when exposed to rain, humidity, and direct sunlight. Understanding the properties of each species before you head to the lumberyard will save you significant time, money, and frustration down the road and ensure your finished chair remains structurally sound for years to come.
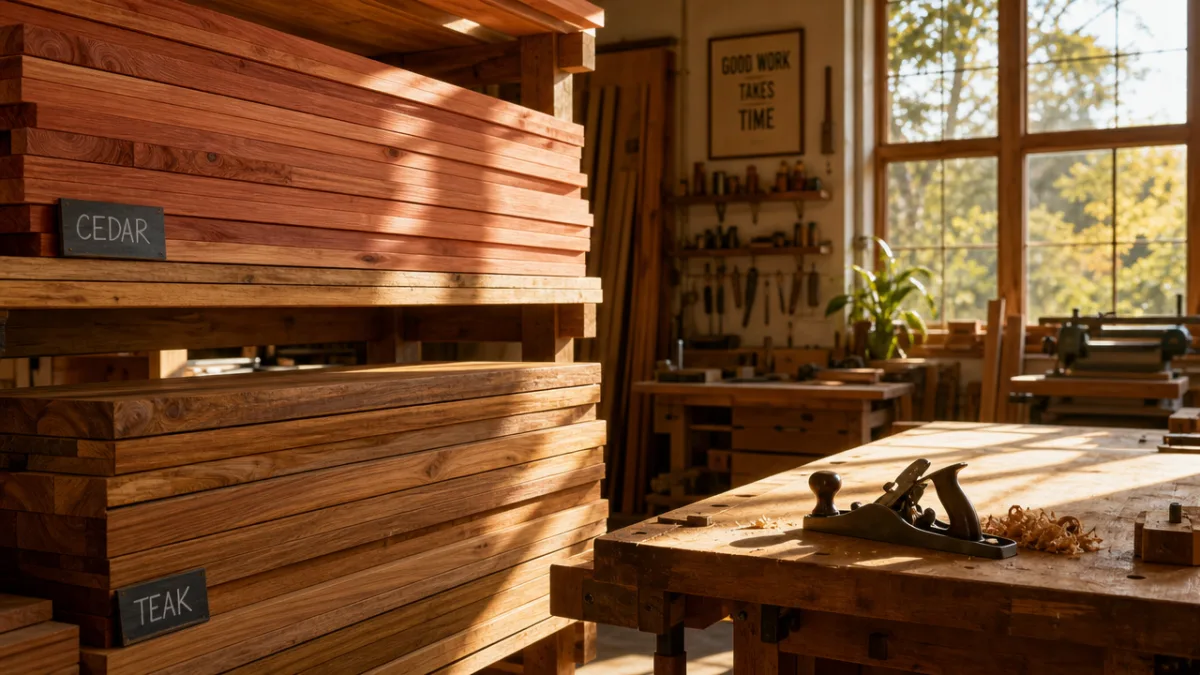
Teak is widely considered the gold standard for outdoor furniture lumber. Its naturally high oil content repels moisture, resists insect damage, and prevents the cracking that plagues drier species. Even left untreated, teak develops a beautiful silver-gray patina rather than rotting or warping. The downside is cost — teak commands a premium price that puts it out of reach for many budget-conscious builders. Fortunately, several excellent alternatives exist. White oak offers impressive rot resistance thanks to its closed cell structure, which prevents moisture absorption. Cedar, particularly western red cedar, is lightweight, dimensionally stable, and contains natural oils that deter insects and fungal growth. Ipe, a Brazilian hardwood, rivals teak in durability and is often available at a lower price point, though it requires pre-drilling and sharp carbide tools due to its extreme density.
Pressure-treated pine deserves special mention as a budget-friendly option that has improved dramatically in recent years. Modern pressure treatment uses copper-based preservatives that are far safer than the arsenic-laced treatments of earlier decades. While pressure-treated lumber is not as attractive as the hardwoods mentioned above, it is widely available, inexpensive, and extraordinarily resistant to rot and insect damage. For builders who plan to paint their chair or cover it with cushions, pressure-treated pine can be an entirely practical choice. Just be sure to allow freshly treated lumber to dry for at least two weeks before cutting, sanding, or finishing, as the treatment chemicals need time to fully cure and stabilize the wood.
Understanding Your PDF Lounge Chair Plans
A well-prepared PDF plan set for a wooden outdoor lounge chair will contain several key components that work together to guide you through every stage of the build. The first thing to look for is a complete cut list that enumerates every individual piece of lumber you will need, including its finished dimensions in length, width, and thickness. A good cut list allows you to calculate exactly how many board-feet of lumber to purchase, minimizing waste and preventing those frustrating mid-project trips back to the lumberyard. It should also indicate whether any pieces require a specific grain orientation or wood grade.
Exploded assembly diagrams are among the most valuable elements in any set of woodworking plans. These drawings pull the chair apart visually so you can see how each component relates to the others before a single cut is made. You should be able to identify the front legs, rear legs, seat slats, backrest frame, armrests, and any cross-bracing members individually, understanding how they connect before you ever pick up a tool. Many PDF plans also include detailed joinery diagrams that zoom in on mortise-and-tenon joints, pocket screw placements, or dowel hole locations, taking the guesswork out of the most technically demanding parts of the build.
Before you begin cutting anything, take time to read through the entire plan document from start to finish. This overview gives you a mental model of the complete project and helps you anticipate steps where you might need extra time, special tools, or an extra pair of hands. Note any hardware specifications — stainless steel screws and bolts are essential for outdoor furniture because standard zinc-coated fasteners will rust and stain the wood within the first rainy season. Make note of any finishing steps specified in the plans, such as sanding grits, specific exterior wood stains, or recommended sealers. Preparation and planning at this stage pay enormous dividends throughout the actual construction process.
Tools and Materials You Will Need
One of the great advantages of building a wooden outdoor lounge chair versus more complex furniture pieces is that the project can be completed with a relatively modest set of tools. You do not need a professional woodworking shop to produce a beautiful, durable result. Most lounge chair plans are specifically designed with the home builder in mind, using joinery methods and cutting techniques that are achievable with standard power tools available at any hardware store or rental center. That said, having the right tools on hand before you start will make the process far smoother and more enjoyable.
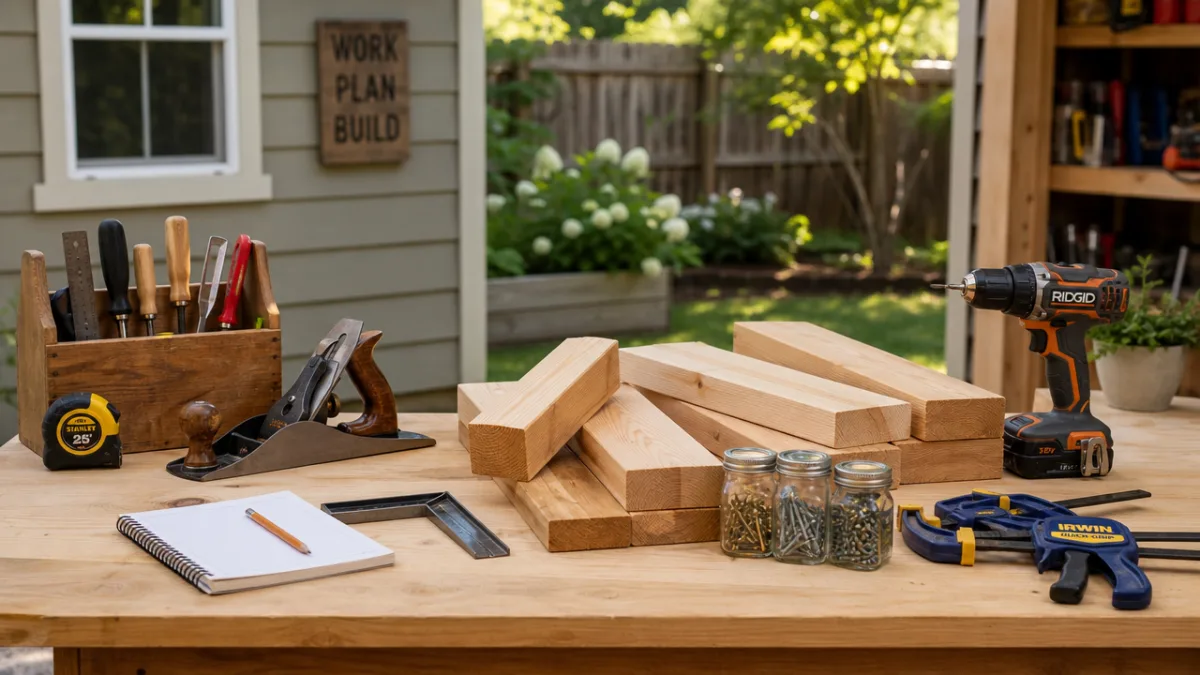
The core power tools for this type of project include a circular saw or miter saw for making clean, accurate crosscuts and angled cuts on your lumber, a jigsaw for any curved components such as the armrest profile or decorative leg cutouts, and a power drill with both drilling and driving modes for boring pilot holes and driving screws. A pocket hole jig is an optional but highly recommended addition — it allows you to create strong, hidden screw joints that give your chair a cleaner, more professional appearance. A random orbital sander with assortment of 80, 120, and 220 grit discs will save considerable time over hand sanding and produce a smoother surface for finishing.
Beyond tools, assemble your materials checklist before beginning. In addition to the lumber specified in your cut list, you will need the following items to complete a typical outdoor lounge chair build:
- Exterior-rated stainless steel screws in multiple lengths (typically 1-1/4″, 2″, and 3″)
- Stainless steel carriage bolts, washers, and nuts for the main structural connections
- Waterproof wood glue for reinforcing glued joints
- 150 and 220 grit sandpaper or sanding discs
- Exterior wood stain, oil finish, or sealer appropriate for your chosen lumber species
- Natural bristle or foam brushes for applying finish
- A tape measure, speed square, and pencil for layout and marking
- Clamps — at least four bar or pipe clamps of 24″ capacity for assembly
- Safety equipment including eye protection, hearing protection, and a dust mask
Having everything gathered and organized before you make your first cut eliminates interruptions that break your focus and can lead to measuring errors. Set up a clean, level work surface large enough to accommodate the full size of the chair during assembly. A pair of sawhorses with a sheet of plywood across them works perfectly if you do not have a dedicated workbench. Adequate lighting and good ventilation, especially when applying finishes, are non-negotiable safety considerations that should be addressed before work begins.
Step-by-Step Building Process
With your plans studied, materials gathered, and tools prepared, the actual building process can begin. Most outdoor lounge chair plans organize construction into logical subassemblies — you build the front leg assembly, the rear leg and backrest frame, and the seat frame separately before joining them together into a complete chair. This modular approach is much easier to manage than attempting to assemble the entire chair at once, and it allows you to check the fit and alignment of each section before committing to final fastening. Work methodically and double-check every measurement before cutting — the woodworker’s mantra of “measure twice, cut once” exists for very good reason.
Begin by cutting all your pieces to the dimensions specified in the cut list. Label each piece with painter’s tape and a marker as you go, referencing the part numbers or names used in your plan diagrams. This simple habit prevents the confusion of sorting through a pile of similarly sized pieces mid-assembly. Once all pieces are cut, sand every surface through your grit sequence before assembly — it is far easier to sand flat boards than to reach into corners and joints after the chair is put together. Pay particular attention to end grain, which absorbs finish differently than face grain and benefits from an extra pass with fine-grit sandpaper.
Assemble the side frames first, connecting the front and rear leg components to the seat rail and armrest supports. Use clamps to hold pieces in alignment while you drill pilot holes and drive screws — this prevents the wood from splitting and ensures fasteners go in straight. Check each assembled frame for square by measuring diagonally from corner to corner; if both diagonal measurements are equal, the frame is square. Slight adjustments can be made by shifting a clamp before the glue sets. Once both side frames are complete and the glue has cured, connect them with the seat slats and backrest slats, spacing them evenly using a scrap piece of wood cut to the specified gap dimension as a consistent spacer.
Finishing, Weatherproofing, and Ongoing Maintenance
The finishing process is what transforms a raw wood construction into a furniture piece that is genuinely ready to face the outdoors. Even naturally durable species like teak and cedar benefit significantly from an applied finish that stabilizes the wood against moisture-driven movement and UV-induced graying or cracking. The finishing stage should never be rushed — it represents your final opportunity to enhance the beauty of the wood grain and provide the protective barrier that will determine how well your chair weathers its first season and every season thereafter.
For most outdoor wooden chairs, a penetrating oil finish or a quality exterior wood stain provides the best combination of protection and ease of maintenance. Unlike film-forming finishes such as varnish or polyurethane, penetrating oils soak into the wood fibers rather than sitting on top of the surface. This means they will not peel, flake, or bubble as the wood expands and contracts with seasonal humidity changes — a critical advantage for outdoor furniture that lives through multiple freeze-thaw or wet-dry cycles. Teak oil, danish oil, and linseed-based exterior oils are all popular choices. Apply with a brush or cloth, allow to soak in for the manufacturer’s recommended time, then wipe away any excess before it becomes tacky. Two to three coats with adequate drying time between each will provide excellent initial protection.
Ongoing maintenance is what separates a chair that lasts two decades from one that deteriorates in five years. Establish a simple annual maintenance routine to keep your lounge chair in peak condition:
- At the beginning of each outdoor season, inspect the chair for any loose screws or bolts and tighten them as needed.
- Check for any cracked or checking wood, especially on end grain, and address early cracks with a thin application of wood glue before they propagate.
- Lightly sand the entire surface with 220 grit paper to remove any surface gray or raised grain from weather exposure.
- Clean the wood with a mild soap and water solution, rinse thoroughly, and allow to dry completely for at least 48 hours before applying any finish.
- Apply one fresh coat of your chosen penetrating oil or exterior stain and allow to cure fully before use.
- During the off-season, store the chair under a breathable furniture cover or in a protected location such as a garage or covered porch.
Beyond annual refinishing, consider the placement of your chair in your outdoor space. Prolonged exposure to direct midday sun accelerates UV degradation of both the wood and any applied finish. Positioning your lounge chair under a pergola, shade sail, or large tree canopy significantly extends the life of the finish and reduces how frequently you need to refinish it. Similarly, placing furniture feet on rubber pads or composite furniture feet prevents the direct wood-to-ground contact that encourages moisture wicking and accelerates decay in the leg bases, one of the most common failure points in outdoor wooden furniture.

Customizing Your Lounge Chair Design
One of the most compelling reasons to build rather than buy is the ability to customize every aspect of your chair to suit your personal aesthetic preferences, ergonomic needs, and the specific character of your outdoor space. A good set of PDF plans provides a solid, proven foundation that you can then adapt and personalize without compromising structural integrity. Even small modifications — a different slat spacing, a gentler backrest recline angle, or a contrasting wood species for the armrests — can make your finished chair feel uniquely yours rather than a copy of something from a catalog page.
Recline angle is one of the most impactful customizations you can make. Standard lounge chair plans typically set the backrest at an angle between 100 and 115 degrees from the seat, which provides a comfortable lounging position for the average adult. If you prefer a more upright seating position for reading or dining, adjusting this angle to 95 or 100 degrees gives a more supportive posture. For a true sun lounger intended primarily for reclining and relaxing, increasing the angle to 120 degrees creates a nearly reclining experience. These changes affect the geometry of the rear leg and backrest frame connection, so make your adjustments on paper or in a simple sketch before cutting lumber to ensure all parts still fit together correctly.
Seat width and depth are equally worth considering. Standard plans often design for average body proportions, but if you are building for specific users — children, taller adults, or for use with thick cushions — scaling the dimensions accordingly makes a meaningful difference in comfort. Adding an adjustable backrest mechanism, using a simple series of pre-drilled holes and a dowel pin, turns a fixed-angle lounger into a versatile chair that can shift between an upright position for conversation and a fully reclined position for napping in the afternoon sun. This single modification adds relatively little complexity to the build but dramatically increases the practical usefulness of the finished piece season after season.








What do you think?
It is nice to know your opinion. Leave a comment.