










DIY Cinder Block and Wood Bench: A Complete Guide to Building Your Own Outdoor Masterpiece
Introduction: Why Build a Cinder Block and Wood Bench?
There’s something deeply satisfying about creating furniture with your own hands, especially when that furniture becomes a centerpiece of your outdoor living space. A DIY cinder block and wood bench represents one of the most accessible yet impressive home improvement projects available to the modern homeowner. With minimal tools, a modest budget, and a weekend’s worth of effort, you can construct a bench that combines industrial durability with natural warmth — a piece that will serve your backyard, patio, or garden for years to come.
The pairing of cinder blocks and wood is not merely aesthetic, though it is undeniably striking. Cinder blocks provide a stable, weather-resistant foundation that can bear substantial weight without shifting, sinking, or deteriorating. Meanwhile, wooden planks or beams add warmth, texture, and a finishing quality that transforms a utilitarian structure into something genuinely beautiful. This contrast between the raw, industrial character of concrete and the organic grain of wood is precisely what makes this style of bench so visually compelling and so popular on platforms like Pinterest.
Beyond aesthetics, this project is remarkably budget-friendly. Standard cinder blocks typically cost between one and two dollars each, and a few quality lumber boards won’t break the bank either. Compare that to the cost of a comparable store-bought outdoor bench — often priced between a hundred and several hundred dollars — and the appeal becomes immediately obvious. You get superior customizability, a personal sense of accomplishment, and a finished product that reflects your own taste and creativity, all at a fraction of the retail price.
Who Is This Project For?
This project is ideal for beginners and intermediate DIYers alike. If you’ve never built furniture before, a cinder block and wood bench is a fantastic starting point. There’s no complex joinery involved, no need for expensive power tools, and no requirement for advanced woodworking knowledge. The skills you’ll practice — measuring, cutting, sanding, staining, and assembling — form a solid foundation for more ambitious projects down the road.
Even experienced builders will find this project rewarding. The simplicity of the design leaves considerable room for personalization and creative interpretation. You might choose to stack your blocks in an unconventional pattern, use reclaimed barn wood for a rustic aesthetic, or add decorative cushions and throw pillows to make the bench a true outdoor lounge. The basic structure is a canvas, and you are the artist who decides the final vision. Regardless of your experience level, the end result is something genuinely functional and beautiful.
Families, renters who want to take their furniture when they move, apartment dwellers with private patios, and homeowners looking to add character to a garden all stand to benefit enormously from this simple project. The bench requires no permanent installation, no digging, and no alterations to your property. You can build it in an afternoon and move it whenever your layout or needs change. That flexibility, combined with the striking visual result, makes this one of the most universally appealing outdoor furniture DIY projects available today.
Materials and Tools You Will Need
Selecting Your Cinder Blocks
The foundation of your bench begins with choosing the right cinder blocks. Standard concrete masonry units, commonly known as CMUs or cinder blocks, measure roughly 8 inches by 8 inches by 16 inches. For a typical bench that seats two to three people comfortably, you’ll need approximately eight to twelve blocks depending on your desired height and length. Most hardware stores carry these in abundance, and they’re available without any special ordering requirements. When selecting your blocks, inspect them for significant cracks or chips that might compromise structural integrity.
You’ll also want to consider whether you prefer the standard gray block or if you’d like to paint or seal them for a more polished appearance. Unpainted cinder blocks have an honest, industrial charm that suits many outdoor aesthetics, particularly modern, rustic, or industrial-style spaces. However, painting them in a bold color — deep charcoal, crisp white, or warm terracotta — can dramatically alter the mood of the finished bench. Some DIYers even use masonry stain for a more translucent, textured finish that preserves the block’s natural character while adding color depth.
When calculating how many blocks you need, think about the bench configuration you want. A simple, single-level bench might use two stacks of two blocks on each end with a plank resting across the top. A more elaborate design could incorporate multiple rows and levels, creating both seating and a built-in side table or storage compartment. Sketch your design on paper first and count the blocks per stack. Always purchase a couple of extra blocks to account for any that arrive damaged or break during handling.
Choosing the Right Wood
The wood you select will significantly influence both the look and longevity of your bench. For outdoor applications, cedar, redwood, and pressure-treated pine are the most recommended options. Cedar is a particularly popular choice because it’s naturally resistant to moisture, insects, and decay. It has a beautiful reddish-brown tone, a pleasant scent, and a fine grain that takes stain and sealant exceptionally well. While slightly more expensive than standard pine, cedar’s natural durability makes it well worth the investment for outdoor furniture.
Redwood shares many of cedar’s desirable properties and is similarly rot-resistant, though it may be harder to source depending on your geographic location. Pressure-treated pine is the most affordable option and is chemically treated to resist moisture and insects, making it suitable for ground contact and outdoor exposure. However, pressure-treated lumber can sometimes have a greenish tint that fades over time, and it requires sealing before use to prevent chemical leaching. Many experienced DIYers choose to let pressure-treated wood dry for several weeks before applying any finish.
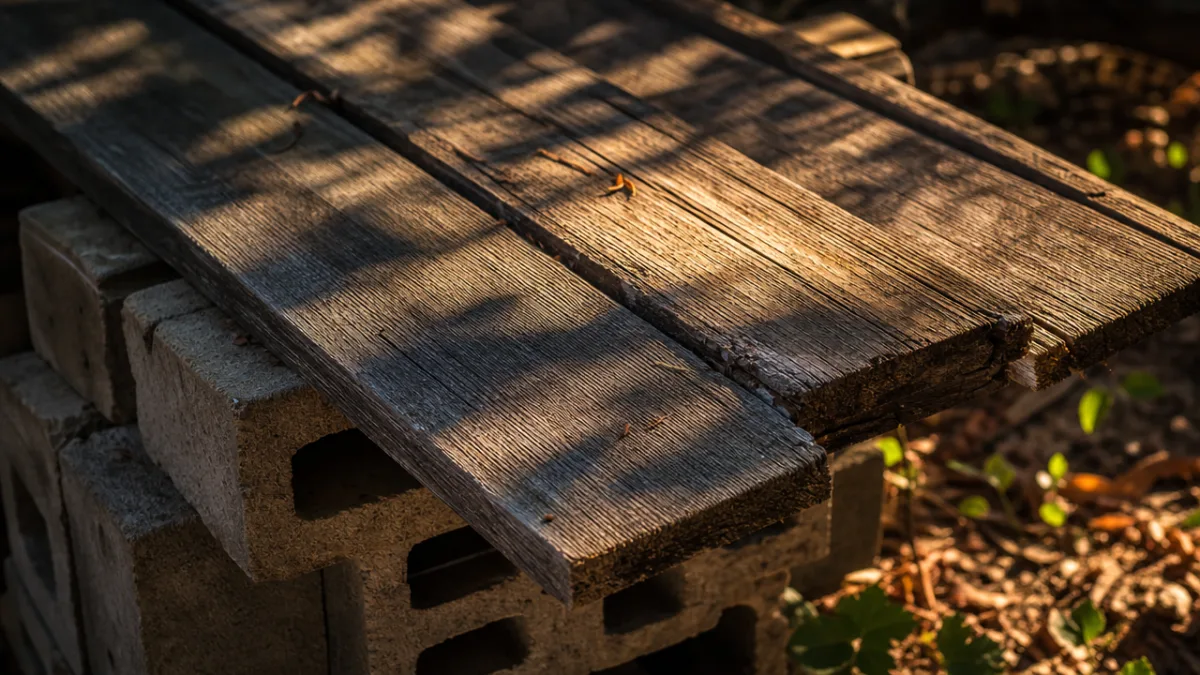
For the seat planks themselves, consider using 2×6 or 2×8 boards for a substantial, comfortable feel underfoot and underfoot. The length of your boards will depend on the span between your block supports, but planks that overhang the blocks by a few inches on each side tend to look more intentional and finished. You might use two or three parallel planks to create the seating surface, leaving a small gap between them for drainage and visual interest. Always sand your boards thoroughly before installation, rounding the edges slightly to prevent splinters and improve comfort.

Step-by-Step Building Instructions
Preparing Your Work Area and Materials
Before you begin assembling your bench, preparation is everything. Start by selecting the location where your bench will live permanently or semi-permanently. Ensure the ground is as level as possible, since cinder blocks stacked on uneven terrain can shift and become unstable over time. If you’re placing the bench on grass or soil, consider laying down a few flat paving stones or a small concrete pad beneath each block stack to create a stable, moisture-resistant base. On an existing patio or deck, this step is usually unnecessary.
Next, prepare all your wood materials before assembly. Measure and cut your planks to the desired length using a circular saw or miter saw, ensuring clean, straight cuts. Sand all surfaces thoroughly, beginning with 80-grit sandpaper to remove rough spots and mill marks, then progressing to 120-grit and finishing with 220-grit for a smooth, splinter-free surface. Pay particular attention to the edges and ends of each board, rounding them slightly with the sandpaper. This small detail dramatically improves the finished appearance and makes the bench far more comfortable to sit on.
Once your wood is cut and sanded, apply your chosen finish. For a natural look, a clear exterior wood sealant will protect the grain while letting the wood’s color speak for itself. For a richer appearance, apply a wood stain in your desired tone — warm walnut, gray driftwood, and dark espresso are all popular choices for this style of bench — followed by an exterior clear coat for protection. Allow the finish to dry completely according to the manufacturer’s instructions before proceeding. It’s much easier to finish the wood before assembly than to work around the blocks afterward.
Assembling the Bench
Assembly is the most satisfying part of the process. Begin by positioning your cinder block stacks in their final locations, checking that they’re aligned and level. For a standard bench, you’ll typically place one stack at each end of the desired bench length, with an additional stack in the middle if your planks span more than four feet. The blocks can simply be stacked without any adhesive for a temporary or movable bench, but if you prefer a more permanent structure, apply a bead of construction adhesive between each block layer and allow it to cure before placing the planks.
Once your block supports are in place, carefully position your wooden planks across the top. If you’re using multiple planks side by side, space them evenly using small pieces of scrap wood as temporary spacers. When you’re satisfied with the layout, you can secure the planks to the blocks using construction adhesive applied to the top surface of the blocks, or you can leave them unsecured for easy removal and transport. Some builders prefer to drill through the planks and use threaded rods or long screws secured with anchors into the block to prevent any movement at all.
Stand back and assess your work. Check that the bench is level from side to side and front to back. If one end sits higher than the other, slide a thin shim or piece of flat stone beneath the lower block stack to correct the imbalance. Give the structure a firm push to test its stability before committing your full weight to it. A well-built cinder block bench should feel completely solid with absolutely no wobble. If you detect any movement, identify the source and address it before use. Safety is always the priority with any load-bearing DIY construction.
Finishing Touches and Customization Ideas
Painting and Sealing Your Bench
With the basic structure complete, the real fun begins: customization. One of the most transformative things you can do to your cinder block bench is paint the blocks. A high-quality masonry paint applied with a roller transforms humble gray blocks into a chic design element. White-painted blocks with dark-stained wood planks create a fresh, Scandinavian-inspired look perfect for modern gardens. Black blocks paired with natural cedar feel bold and architectural. Terracotta or warm ochre paint creates a Mediterranean warmth ideal for spaces with lush planting and earthy tones.
If you prefer not to commit to a full paint job, concrete stain offers a beautiful middle ground. Acid-based concrete stains react chemically with the mineral content of the block to produce rich, mottled colors that look almost like natural stone. Water-based stains are easier to apply and offer a wider range of colors. Either type penetrates the surface rather than sitting on top of it, meaning the finish won’t chip or peel the way paint sometimes can. Apply stain with a foam roller or large brush, working in even strokes and overlapping each pass slightly to avoid streaks.
Don’t overlook the importance of sealing both the wood and the blocks for long-term durability. Even naturally rot-resistant woods like cedar benefit enormously from an annual reapplication of exterior sealant, especially in climates with heavy rainfall or extreme temperature swings. For the cinder blocks, a masonry sealer repels water, prevents moss and mildew from taking hold, and keeps the surface looking clean and fresh through multiple seasons. These maintenance tasks take only a few hours per year but can double or triple the lifespan of your bench.
Adding Comfort and Style
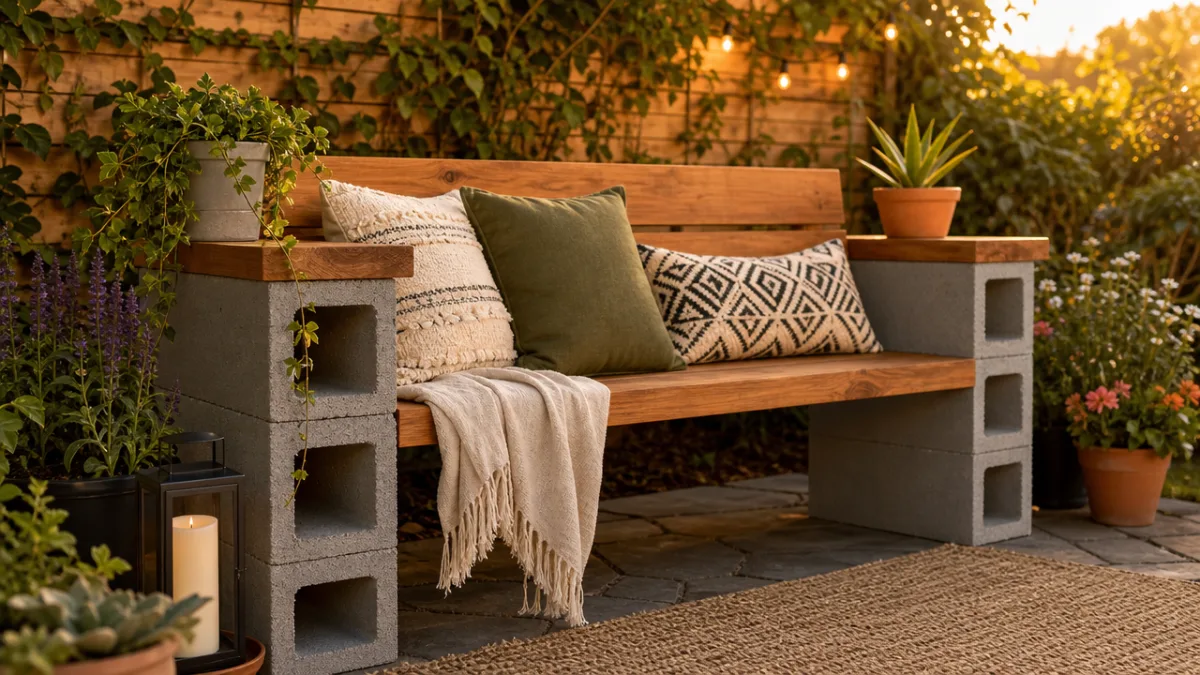
A beautifully built bench becomes truly inviting with the addition of comfortable soft furnishings. Outdoor cushions in weather-resistant fabric transform a rustic wood-and-block seat into a lounging destination. Look for cushions filled with quick-dry foam or polyester fiberfill, covered in solution-dyed acrylic fabric that resists fading, mildew, and moisture. Bold stripes, tropical prints, and solid jewel tones all complement the industrial-meets-natural aesthetic of a cinder block bench particularly well. Store cushions indoors or in a weatherproof storage box when rain is expected.
Consider adding throw pillows and a small outdoor rug to extend the cozy feeling. A jute or polypropylene rug placed in front of or beneath the bench anchors the seating area visually and adds a layer of warmth underfoot. String lights hung above the bench area create a magical ambiance for evening use, transforming a simple garden bench into an intimate outdoor room. Lanterns placed on top of the cinder blocks on either side of the bench add height variation and soft, flattering light. These relatively inexpensive additions dramatically elevate the perceived value and comfort of your DIY creation.
Functional customizations are equally worth exploring. The hollow cores of cinder blocks offer a surprisingly practical built-in storage opportunity. Stand a few blocks on their ends with the holes facing upward and use them to store small potted succulents, pillar candles, or garden tools. This transforms the structural supports into decorative display surfaces. You can also build a low planter box alongside the bench using the same cinder blocks, filled with trailing plants or seasonal flowers that soften the hard lines of the structure and integrate the bench beautifully into the surrounding landscape.
Maintenance, Longevity, and Seasonal Care
Keeping Your Bench in Prime Condition
One of the greatest advantages of a cinder block and wood bench is its inherent durability, but like any outdoor furniture, it benefits from regular maintenance to stay at its best. At the start of each spring season, give the entire bench a thorough inspection. Check the wood for signs of cracking, greying, or surface mildew. A gentle cleaning with a solution of mild dish soap and warm water, applied with a soft-bristle brush and rinsed thoroughly, will remove most surface grime and biological growth. Allow the wood to dry completely before assessing whether a fresh coat of sealant or stain is needed.
Inspect the cinder blocks for cracks, efflorescence (the white mineral deposits that sometimes form on the surface of concrete), or signs of shifting. Small cracks in the blocks are usually cosmetic and don’t affect structural integrity, but larger fractures should be addressed by replacing the affected block. Efflorescence can be scrubbed away with a stiff brush and a diluted vinegar solution, then treated with a masonry sealer to slow its recurrence. If any blocks have shifted out of alignment over winter, lift the planks off and restack them carefully, checking for level before replacing the seating surface.
In climates that experience freezing temperatures, wood can be particularly vulnerable to the expansion and contraction caused by freeze-thaw cycles. Applying a high-quality penetrating oil or sealant in late autumn, before the first hard frost, provides critical protection against moisture intrusion. Some homeowners choose to bring their wooden planks indoors during the harshest winter months, leaving only the block supports in place. This approach dramatically extends the life of the wood and means you’ll need to do very little restoration work come springtime. The blocks themselves are essentially indestructible in all but the most extreme cold climates.
When to Repair or Replace Components
One of the most practical advantages of this modular bench design is that individual components can be replaced without rebuilding the entire structure. If a wooden plank becomes severely weathered, cracked, or damaged beyond restoration after several seasons, simply remove it and replace it with a fresh board. The block supports will likely outlast many rounds of plank replacement. This repairability makes the cinder block bench an exceptionally sustainable choice compared to conventional outdoor furniture, which often must be replaced as a whole unit once it deteriorates.
Similarly, if you tire of the bench’s current finish or color scheme after a few years, refreshing it requires only a weekend’s work. Sand the wood back to bare timber, apply a new stain in a different tone, and repaint the blocks in a complementary color. The structural bones of the bench remain perfectly sound while the aesthetic is completely renewed. This transformative flexibility is a quality that very few mass-produced furniture pieces can offer. Your cinder block bench can evolve alongside your changing tastes and outdoor decor without ever needing to be discarded and replaced.
Ultimately, a well-built DIY cinder block and wood bench represents far more than a weekend project. It embodies a philosophy of thoughtful making — the belief that the objects in our living spaces should be crafted with intention, built to last, and imbued with the personal character that only handmade things can possess. Whether you’re creating a quiet reading nook at the edge of a flower garden, a gathering spot on a busy family patio, or a stylish seat on an urban balcony, this humble bench of blocks and boards has the rare ability to feel both timeless and completely your own. Build it once, and it will serve you through countless seasons and memories to come.








What do you think?
It is nice to know your opinion. Leave a comment.