










15 Cheap Walkway DIY Ideas That Look Expensive
Why Your Walkway Matters More Than You Think
Your front walkway is one of the very first things anyone notices when they pull up to your house. It sets the tone before someone even knocks on the door — and yet so many homeowners completely ignore it, leaving behind a cracked concrete strip or bare dirt where something genuinely lovely could be. The good news? You don’t need to hire a landscaper or drain your savings to make a real difference. A little creativity and a free weekend can go a long way.
Curb appeal isn’t just about making things look pretty, either — it actually affects what your home is worth. Real estate agents will tell you that a well-kept exterior, walkway included, can genuinely bump up buyer interest and asking prices. So whether you’re thinking about selling someday or you just want to enjoy coming home more, the time you put into your walkway tends to pay you back well beyond what you spend on materials.
Here’s the thing about walkways that look expensive: it’s rarely about how much the materials cost. It’s about how thoughtfully everything is put together — the design, the care in the installation, the way the path feels like it belongs in the yard around it. Some of the most gorgeous walkways you’ll see in home and garden magazines were made with pea gravel, old reclaimed wood, or plain concrete pavers. In this guide, we’ll walk you through fifteen budget-friendly ideas that punch well above their price tag.
Gravel and Stone: The Classic Affordable Choice
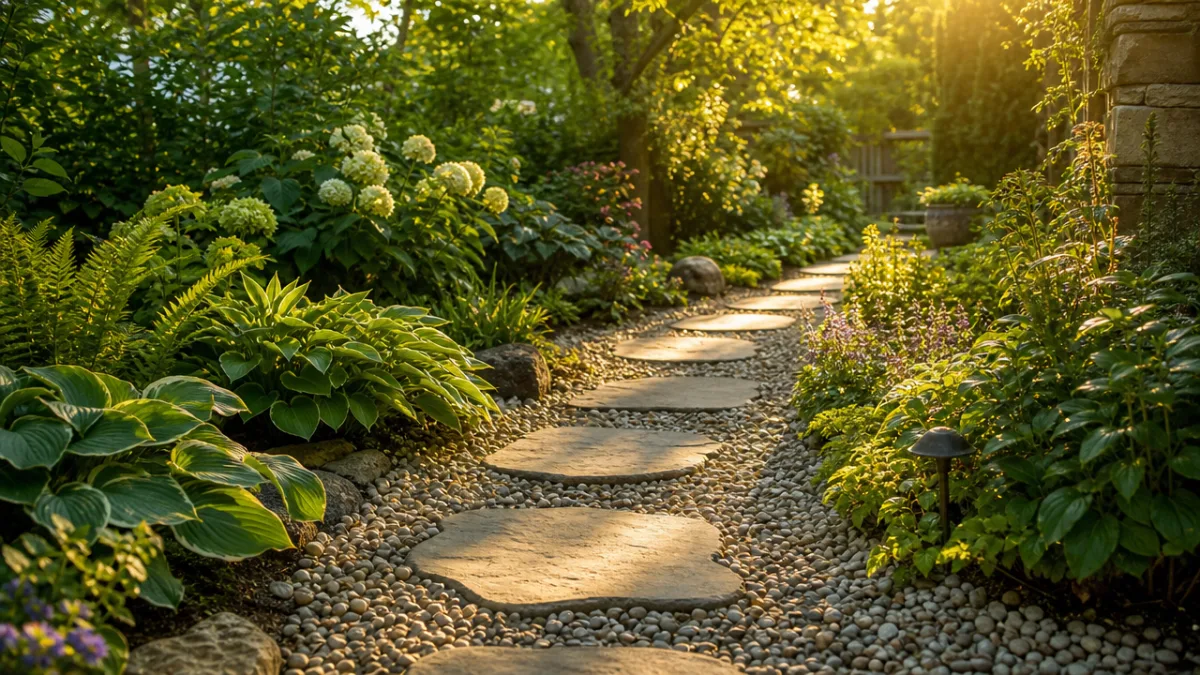
Pea gravel is hard to beat when you’re working on a budget. It’s inexpensive, it comes in a range of natural colors — warm golds, cool greys, soft whites — and when you take the time to install it well, it looks genuinely charming. Pair it with larger stepping stones or a simple timber border and suddenly you have a layered, intentional path that feels both rustic and put-together at the same time.
River rock and crushed granite are two other options worth considering. They’re affordable, they photograph beautifully, and they hold up well through whatever weather your yard throws at them. River rock especially has this natural, earthy quality that looks right at home in cottage gardens or woodland-style landscapes. Buy in bulk from a local landscaping supplier rather than bagged from a big-box store and you’ll save a surprising amount per square foot. Lay landscape fabric underneath and you’ll also spend a lot less time pulling weeds down the road.
One of the nicest looks you can create on a budget is stepping stones set into a gravel bed — the kind of hybrid path that landscape designers often charge a premium to install. You can absolutely do this yourself. Just place large flat stones at roughly eighteen to twenty-four inches apart (a comfortable walking stride) within the gravel, and you’ve got something that’s both practical and visually interesting. The contrast between the smooth stones and the loose gravel underneath creates a sense of depth and texture that makes your whole entryway feel more considered.
Concrete Pavers: Affordable Elegance Underfoot
Concrete pavers are one of those materials that can look surprisingly high-end when you use them well. They come in all kinds of shapes, sizes, and textures, and the right laying pattern can make them look remarkably similar to natural bluestone, slate, or cobblestone. The real secret is taking your time with the pattern — a herringbone or basket-weave arrangement adds a level of polish that a basic grid just can’t match.
If you want to take plain pavers to the next level, look into acid staining after you’ve laid them. Acid stain reacts chemically with the concrete to produce a mottled, multi-toned finish that genuinely looks like natural stone. It’s a totally DIY-able process with the right safety gear and a bit of patience, and the before-and-after can be pretty remarkable. Outdoor concrete paint works too if you want to pull your walkway into a specific color palette that ties in with the rest of your home’s exterior.
Another trick landscape designers swear by: leave intentional gaps between your pavers and fill them with low-growing plants like thyme, creeping moss, or Corsican mint. These ground covers are tough, aromatic, and basically care for themselves once they get established. The result is a walkway that looks like it’s been there for years, gently woven into the garden around it — the kind of thing that looks like it cost a fortune but really didn’t.
Creative DIY Materials You Might Not Have Considered
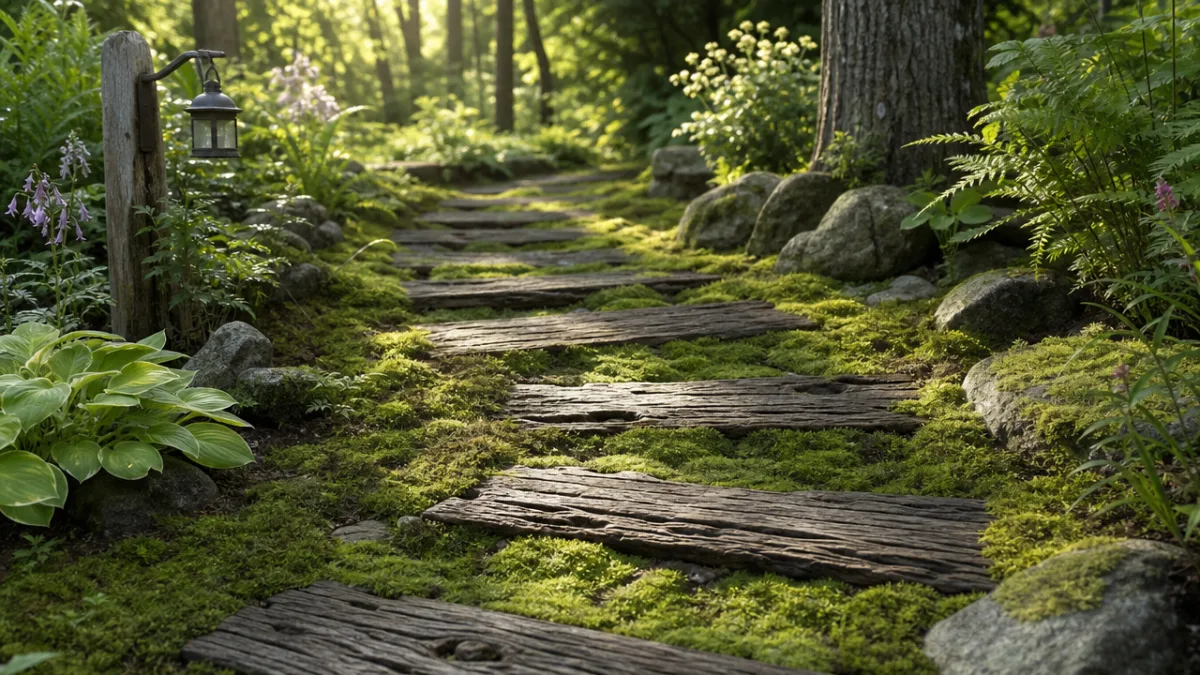
Some of the most striking walkways out there are made from materials you probably wouldn’t think to Google first. Reclaimed wood is a great example. Old deck boards, salvaged pallets, or barn wood can be cut into uniform sections and laid end-grain-up to create a boardwalk-style path with a look and texture that’s completely unique. And end-grain wood is actually more durable than you’d expect — it handles foot traffic really well thanks to its natural compressive strength.
Recycled glass aggregate is another one that surprises people. Tumbled glass pebbles in deep teals, sea-glass greens, or cobalt blues can be used just like gravel to create a shimmering, jewel-toned path through a garden. It works best in drier climates or areas with good drainage, but when conditions are right, the visual payoff is extraordinary. A narrow path of recycled glass winding through your garden can look like something from a high-end botanical garden — yet the material itself is often quite affordable from glass recycling suppliers or specialty garden centers.
Exposed aggregate concrete is one of the more hands-on options on this list, but if you’re comfortable with basic concrete work, it’s incredibly rewarding. The idea is to embed decorative stones, shells, or pebbles into freshly poured concrete, then wash away the top layer just before it fully cures to reveal the materials underneath. The finished surface is textured, slip-resistant, and genuinely beautiful. You get to choose exactly what goes into it — river pebbles for a natural feel, colored glass for something more artistic, seashells for a coastal vibe. Professional-looking results at a fraction of professional cost.
Edging, Borders, and the Details That Make the Difference
If there’s one thing that separates a walkway that looks designed from one that just kind of exists, it’s the edging. A clean, defined border is what gives a path that intentional, finished quality — and it’s often one of the cheapest upgrades you can make. Metal landscape edging set flush with the ground creates crisp, modern lines that look architecturally sharp. If you prefer something more natural, try natural stone border pieces, reclaimed brick laid on edge, or even sections of tree branch for a more organic, woodland feel.
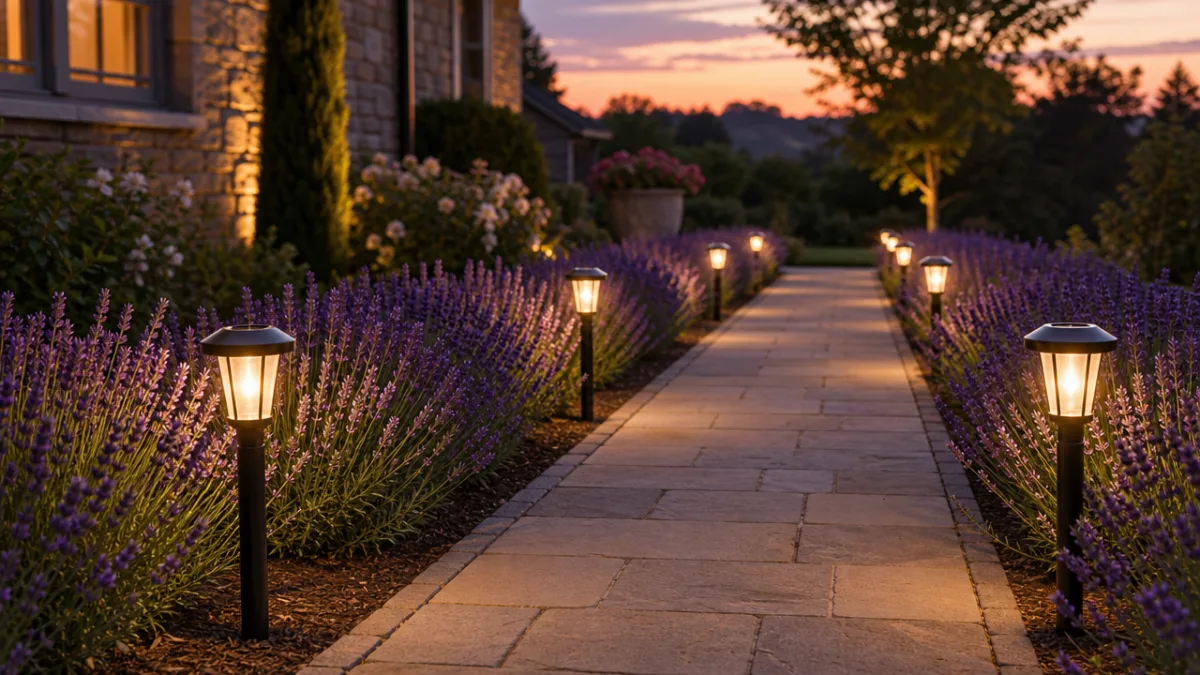
Lighting is another detail that people consistently underestimate. Solar path lights are easier to install than ever — no wiring, just stake them in and you’re done — yet they completely change the feeling of a walkway once the sun goes down. Even a modest path feels warm and welcoming with a row of soft lights along its edges. For a more polished look, low-profile bollard lights or lantern-style fixtures on short posts spaced consistently along the path look genuinely designer. The key is keeping the spacing regular and the fixture style consistent — that’s what makes it look intentional rather than thrown together.
Plants along the sides of a walkway act like natural framing, drawing your eye forward and creating that satisfying sense of arrival. Low-growing perennials like lavender, catmint, or ornamental grasses soften the edges and bring seasonal color and fragrance right to your doorstep. Taller plants or small shrubs at the entrance and exit of the path act as visual anchors that give the whole design a sense of structure. Even something as simple as a row of matching terracotta pots with trailing plants, placed at regular intervals, adds rhythm and elegance without costing much at all.
Planning, Prep, and Making Your Project Last
How long your walkway actually lasts comes down more to preparation than anything else. Proper ground prep — digging down to an adequate depth, adding a compacted gravel base, laying quality landscape fabric — is what keeps your path from shifting, sinking, or getting overrun with weeds after a season. Most DIY walkway projects that fall apart do so not because of the materials chosen, but because of what wasn’t done underneath. Get the groundwork right and your path will stay looking great for years.
Before you buy a single bag of gravel or a single paver, sketch it out on paper. Measure your path carefully, calculate how much material you’ll need, and add a ten to fifteen percent buffer for waste and overage. Map out where the edging goes, where you’ll add lighting, where plants will be. This step also forces you to think through the practical stuff, like drainage — you want water running away from your foundation, not pooling in the middle of your new path.
Different materials need different kinds of ongoing care, so it’s worth knowing what you’re signing up for before you commit:
- Gravel paths do well with an annual top-dressing of fresh aggregate to make up for natural displacement and compaction over time.
- Concrete pavers benefit from a pressure wash once or twice a year, plus re-sanding the joints as needed to keep weeds out and prevent shifting.
- Wood walkways need to be sealed periodically with an outdoor wood preservative to hold up against moisture, rot, and sun damage.
- Stone and brick paths should be checked now and then for loose or sunken spots and releveled as needed to keep the surface safe and even.
- Planted borders need a seasonal trim to keep things from creeping onto the path itself.
Knowing what maintenance looks like ahead of time means you won’t be caught off guard later. The good news is that most of the materials in this guide are genuinely low-maintenance — we’re talking occasional attention, not constant upkeep. And the time you invest upfront in a solid installation will save you far more work down the road.
Bringing It All Together: Your Walkway Transformation Plan
The most important thing to keep in mind as you start planning is that you’re not chasing perfection here — you’re chasing a path that feels like yours. Even small changes can shift how your whole home feels to approach. A fresh layer of gravel, a row of stepping stones through the lawn, cleaner edging along an existing concrete path — these things make a real difference without requiring a complete overhaul.
Think about what will give you the biggest visual return for the least effort in your specific situation. If your existing path is structurally fine but visually dull, maybe all you need is better edging, a few solar lights, and some plants along the sides. If you’re starting from scratch in a garden area, a gravel path with stepping stones can genuinely be done in a single weekend for not much money. Working in stages is completely valid — it lets you spread the cost out while still seeing real progress along the way.
One last thing: take photos as you go. It sounds simple, but comparing where you started to where you are helps you stay motivated and catch things you might miss when you’re deep in the work. Share your progress in a home improvement group or with friends — the feedback is often useful and the encouragement doesn’t hurt either. A walkway you’re genuinely proud of is well within reach, no matter what your budget looks like, as long as you go in with a plan and a little creative energy.








What do you think?
It is nice to know your opinion. Leave a comment.