










Flower Patchwork: A Complete Guide to Creating Beautiful Floral Quilts
The History and Heritage of Flower Patchwork
Flower patchwork is one of the oldest and most beloved traditions in the textile arts, with roots stretching back centuries across multiple cultures and continents. From the intricate medallion quilts of Victorian England to the bold geometric floral designs of American pioneer women, the practice of stitching together small fabric pieces to form blossoming patterns has long been a means of both practical necessity and artistic expression. These quilts were not merely blankets but treasured heirlooms, often made to commemorate weddings, births, and other milestones in a family’s life.
In the eighteenth and nineteenth centuries, fabric was an expensive and carefully preserved commodity. Skilled needlewomen would save every scrap of material from worn-out garments, curtains, and dress remnants, transforming them into something new and beautiful through the art of patchwork. Floral motifs were especially prized, as they brought the beauty of the natural world indoors and carried symbolic meanings — roses for love, daisies for innocence, and forget-me-nots for remembrance. The popularity of chintz fabrics printed with large floral motifs gave rise to the “broderie perse” technique, where individual flowers were cut out and appliquéd onto a background cloth.
Today, flower patchwork continues to evolve while honoring its rich heritage. Modern quilters blend traditional hand-stitching methods with contemporary fabric collections, digital design tools, and innovative color theories. Quilting guilds around the world keep these traditions alive, passing knowledge from one generation to the next. Whether you are drawn to the historical significance of antique patterns or the creative freedom of modern design, flower patchwork offers an endlessly rewarding creative journey that connects you to a vast community of makers across time and culture.
Understanding Fabric Selection and Color Palettes
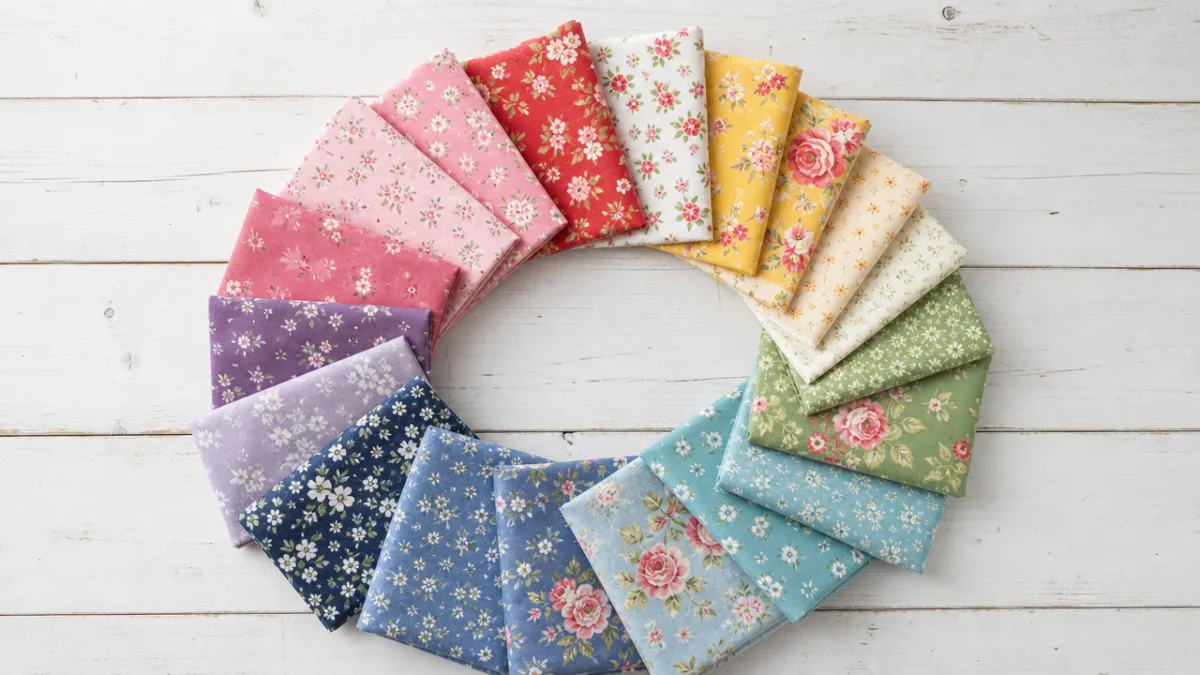
Choosing the right fabrics is perhaps the single most important decision you will make in any flower patchwork project. The visual success of your finished quilt depends heavily on how your fabrics relate to one another in terms of color, scale, and texture. For floral patchwork, quilters typically work with a mix of printed floral fabrics in varying scales — large statement blooms, medium ditsy prints, and small tossed flowers — combined with coordinating solids or tone-on-tone prints that allow the eye to rest. This layering of scale creates depth and visual interest that makes a quilt feel lively and professionally composed.
Color palette selection sets the emotional tone of your entire project. A quilt worked in soft blush pinks, creamy whites, and sage greens will feel romantic and vintage, evoking an English cottage garden in full bloom. Meanwhile, a palette of bold jewel tones — deep plum, emerald green, and burnt orange — will create a quilt that feels rich and maximalist, full of energy and drama. Many experienced quilters recommend pulling your palette from a single fabric you love, selecting additional fabrics that pick up individual colors from that main print. This technique, sometimes called “pulling colors,” almost guarantees a cohesive result even when working with a large variety of fabrics.
Beyond color, consider the value contrast in your fabric selection. Value refers to the relative lightness or darkness of a color, and it is value contrast — not color alone — that defines the shapes and patterns in your patchwork. A flower block that uses fabrics of similar value may look muddy and indistinct, while the same block made with clear contrast between light, medium, and dark fabrics will pop dramatically. Squinting at your fabrics or taking a black-and-white photograph with your phone are classic quilter’s tricks for evaluating value without being distracted by color. Getting the value right is what separates a beautiful flower patchwork quilt from one that falls flat.
- Use large-scale florals as focal fabrics and fussy-cut individual blooms for special blocks.
- Incorporate at least one neutral — white, cream, gray, or black — to ground the palette and prevent visual chaos.
- Mix fabric types carefully; cotton quilting fabric remains the most forgiving and consistent for patchwork.
- Pre-wash fabrics to prevent shrinkage and bleeding, especially with deeply saturated colors like reds and navies.
- Build a varied stash of blenders, low-volume backgrounds, and supporting prints alongside your feature florals.
Essential Flower Patchwork Blocks and Patterns
The world of flower patchwork encompasses an enormous variety of block patterns, each with its own construction method, difficulty level, and visual personality. The classic Eight-Pointed Star, also known as the LeMoyne Star, is frequently interpreted with floral fabrics to create a glowing, medallion-like bloom at the center of a quilt. The English Paper Piecing method, which involves basting fabric over paper templates before whipstitching pieces together by hand, is particularly popular for creating hexagon flowers — arrangements of six-sided pieces gathered around a central hexagon to mimic the structure of a real flower. These hexagon rosettes can be arranged in countless configurations to create stunning all-over patterns.
The Dresden Plate is another iconic flower patchwork block that has captivated quilters for generations. Constructed from wedge-shaped “blades” stitched together in a circle and appliquéd onto a background square, the Dresden Plate can be made with pointed or rounded blade tips, each giving a distinctly different personality — sharp and graphic versus soft and petal-like. Similarly, the Grandmother’s Flower Garden pattern, made entirely from hexagons arranged in concentric rings of color, creates a quilt surface that looks like an aerial view of a cottage garden in full bloom. The Dahlia and the Mariner’s Compass blocks, both known for their intricate pointed construction, evoke elaborate botanical illustrations when worked in floral fabrics.
For quilters seeking a more contemporary approach, the Sunbonnet Sue pattern and various appliqué flower blocks offer limitless creative freedom. Raw-edge appliqué, where fabric shapes are fused to a background and stitched with a zigzag or blanket stitch, allows for wonky, organic flower shapes that feel modern and expressive. Needle-turn appliqué, on the other hand, produces smooth, refined curves beloved by traditionalists. Many modern quilters also enjoy creating “improv” flower blocks, cutting freehand petals and leaves without templates and piecing them together intuitively. This improvisational approach produces quilts with an energetic, painterly quality that no pattern can quite replicate.
- Hexagon Flowers: Begin with English Paper Piecing using 1-inch hexagon templates. Choose six petal fabrics and one contrasting center.
- Dresden Plate: Cut 20 wedge blades, stitch right sides together in pairs, then join into a circle and appliqué to a 14-inch background square.
- Grandmother’s Flower Garden: Create individual rosettes of seven hexagons, join them across the quilt with “path” hexagons in a coordinating neutral.
- Sunflower Block: Construct a pieced center square surrounded by elongated petal triangles using the Y-seam technique for a striking dimensional effect.
Tools, Equipment, and Workspace Setup
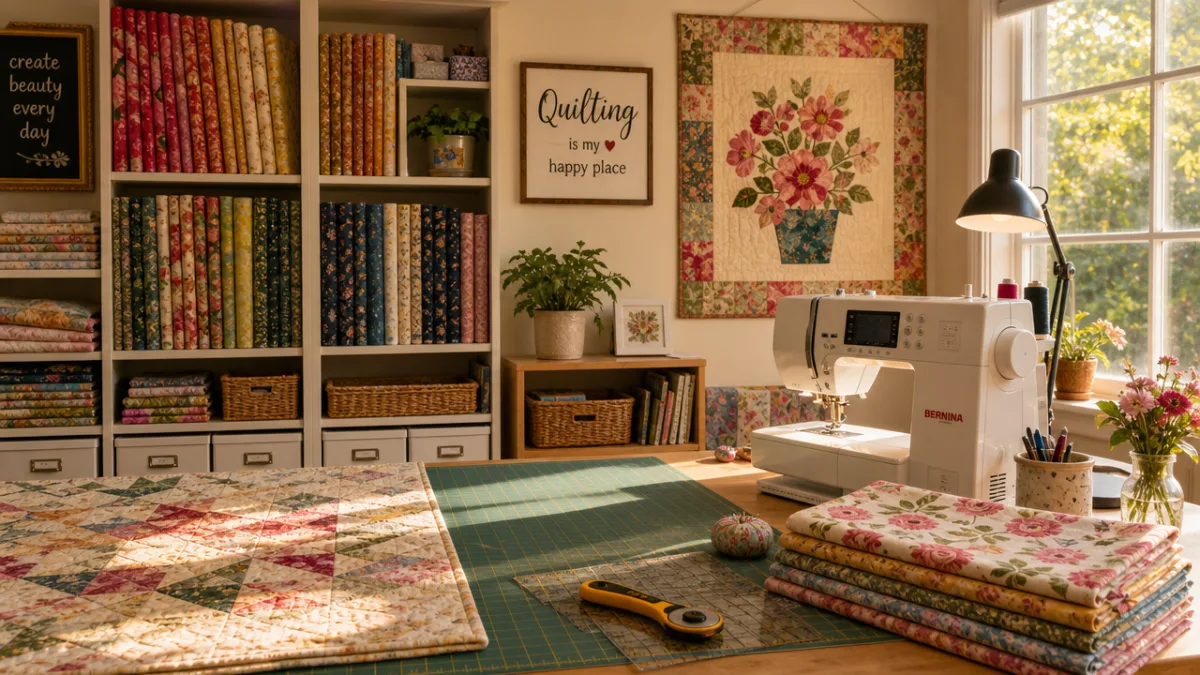
Having the right tools makes every stage of flower patchwork more enjoyable and precise. At the foundation of any quilter’s toolkit is a sharp rotary cutter, a self-healing cutting mat in a generous size (at least 18 by 24 inches), and a set of clear acrylic rulers in various sizes. These three items together allow you to cut fabric pieces with the accuracy that patchwork demands. A good pair of fabric scissors should be reserved exclusively for cutting fabric — never paper, which dulls the blades rapidly. For hand piecers working on English Paper Piecing projects, fine appliqué needles, silk thread, and high-quality paper or cardstock for templates are equally essential.
Your sewing machine is a central tool if you are working on machine-pieced patchwork. For flower patchwork in particular, a machine with a reliable quarter-inch presser foot is invaluable, as the consistency of your seam allowance directly determines whether your blocks will lie flat and measure accurately. A walking foot and a free-motion quilting foot are also worthwhile investments for the quilting stage, when you stitch through all three layers of the quilt sandwich — top, batting, and backing. Many quilters who specialize in floral designs favor free-motion quilting with stippling, feathers, or botanical motifs that complement the theme of the patchwork itself.
Setting up a dedicated, well-organized workspace transforms the entire creative process. A large design wall — a piece of flannel or batting pinned to the wall or stretched over a foam board — allows you to audition block arrangements, try different color placements, and step back to evaluate your composition before committing to sewing. Good lighting is essential for accurate color assessment; daylight-balanced LED bulbs reduce the distortion that warm incandescent or fluorescent lighting can cause. Organizing your fabric stash by color in open shelving or clear bins not only makes selecting fabrics faster but also inspires new combinations every time you glance at your collection.
- Invest in a quarter-inch presser foot with a guide edge for machine piecing accuracy.
- Keep a design wall of flannel or batting to visualize block arrangements before sewing.
- Use a seam ripper frequently and without guilt — careful correction produces better finished results.
- Store templates in labeled zip-lock bags or clear envelopes for easy reuse across future projects.
- Iron seams after each step; a good steam iron and pressing board dramatically improve block flatness and accuracy.
Construction Techniques and Stitching Methods
The construction of a flower patchwork quilt proceeds through several carefully ordered stages, each building upon the last to produce a cohesive, beautiful result. The process typically begins with cutting all your fabric pieces accurately, followed by piecing individual blocks, assembling those blocks into rows or sections, joining sections into the quilt top, and finally basting, quilting, and binding the finished piece. Understanding this sequence and working methodically through it prevents the common mistake of cutting or stitching without a clear plan, which can lead to wasted fabric and frustrating inaccuracies in your final measurements.
Pressing seams correctly is one of the less glamorous but most important techniques in patchwork construction. The traditional rule was always to press seams to the dark side — toward the darker fabric — to prevent show-through. Modern quilters often press seams open instead, distributing bulk more evenly and helping complex intersections lie flat. For flower patchwork blocks with many converging seams at a central point, such as the tips of a Dresden Plate or the center of a star block, pressing seams open can be the difference between a block that lies smooth and flat versus one that creates an unsightly lump at the center. Experiment with both methods on practice blocks to discover which you prefer for different pattern types.
Nesting seams at intersections is another fundamental technique that ensures precision in your patchwork. When two seamed sections are joined, pressing opposing seams in opposite directions allows them to “nest” together snugly at the intersection, producing crisp, accurate points where corners meet. This is particularly important in star blocks, pinwheel blocks, and any other pattern where multiple points converge. Taking a few extra moments to match seams carefully, pin precisely, and sew slowly through intersections pays enormous dividends in the polished appearance of your finished flower patchwork quilt top.
Appliqué, whether by hand or machine, introduces an additional layer of technique for those incorporating realistic flower shapes into their patchwork. Fusible web products such as Wonder Under or Heat n Bond allow you to iron fabric shapes directly onto a background without pins, making the process quick and accessible for beginners. However, fusible appliqué permanently stiffens the fabric, so many quilters prefer the traditional needle-turn method for projects intended to be soft and drapeable. In needle-turn appliqué, the raw edge of each shape is turned under with the tip of the needle as you stitch, creating a smooth, clean edge that is stitched invisibly to the background with tiny, even hand stitches in matching thread.
Finishing, Quilting, and Caring for Your Flower Patchwork
The finishing stage of a flower patchwork quilt encompasses several critical steps that transform a pieced top into a functional, beautiful textile. Once your quilt top is complete, you will need to prepare the backing fabric, which should be cut at least four inches larger than the quilt top on all sides to allow for any shifting during quilting. The backing can be made from a single wide piece of fabric or pieced together from multiple fabrics for a scrappy, creative reverse side. Choosing a backing that coordinates with or complements the quilt top adds a lovely detail that elevates the finished piece from functional to truly special.
Batting selection affects the drape, warmth, and overall character of your finished quilt in meaningful ways. Cotton batting produces a flat, low-loft result with a traditional appearance and lovely drape, and it is easy to quilt by hand or machine. Polyester batting offers higher loft and excellent warmth without the weight of cotton, making it a popular choice for bed quilts intended for cold climates. Wool batting is prized by hand quilters for its ease of stitching and its beautiful, soft drape. For flower patchwork wall hangings and art quilts, a denser batting that holds its shape well is often preferable over one with high loft, which can obscure the fine details of intricate piecing.
The quilting design you choose to stitch through the layers can either enhance or detract from the visual impact of your flower patchwork. An in-the-ditch approach, stitching directly alongside seam lines, is subtle and preserves the clarity of the pieced design. Echo quilting, which follows the contours of appliquéd or pieced shapes at regular intervals, emphasizes the floral motifs and adds beautiful organic texture to the surface. Free-motion quilting with botanically inspired motifs — spiraling feathers, stippled leaves, meandering vines, or individually drawn petals — adds another layer of artistry and craftsmanship that transforms the quilt into a work of art that rewards close examination.
Proper care extends the life of your flower patchwork quilt significantly, preserving its colors and structural integrity for decades or even generations. Wash your quilt gently in cool water with a mild, color-safe detergent, either by machine on a gentle cycle or by hand in a bathtub for larger pieces. Dry flat or on a low heat setting, removing the quilt while still slightly damp to reduce wrinkles and prevent over-drying of fibers. Store quilts folded loosely with the fold lines alternated each season to prevent permanent creasing, or roll them around an acid-free tube. Display quilts away from direct sunlight, which causes fading even in high-quality quilting cottons, and rotate displayed quilts periodically to ensure even light exposure across the surface.
- Basting: Smooth your quilt sandwich on a flat surface and baste with curved safety pins every four to five inches across the entire surface to prevent shifting during quilting.
- Quilting: Begin quilting from the center of the quilt and work outward to prevent puckering and distortion in the backing and batting layers.
- Squaring up: After quilting, trim the edges of all three layers with a rotary cutter and long ruler to ensure straight, even edges before applying binding.
- Binding: Cut binding strips on the straight grain or bias grain, join them diagonally end to end, and stitch to the front of the quilt before folding and hand-stitching to the back for a clean, durable edge finish.
- Labeling: Stitch or write a fabric label to the back of your quilt recording your name, the date, the pattern name, and any personal message — this simple step transforms your quilt into a true heirloom.








What do you think?
It is nice to know your opinion. Leave a comment.