










DIY Patchwork Heart Bedspread: Transforming Old Jeans and Scrap Fabrics Into a Stunning Heirloom
The Art of Sustainable Sewing: Why Upcycled Bedspreads Matter
We’re living in a time when it’s hard to ignore how much the fashion and textile industry throws away, and honestly, that makes a project like this feel really good to take on. A patchwork bedspread made from old jeans and fabric scraps isn’t just something cozy to curl up under — it’s a deliberate choice to step away from the throwaway cycle and make something meaningful instead. People have been doing this for centuries across cultures, turning worn-out clothing into beautiful, useful things, and there’s something deeply satisfying about being part of that tradition.
The heart motif is a particularly lovely choice for a bedroom project. Hearts carry so much warmth — love, home, the feeling of belonging — and those are exactly the things you want surrounding you in the space where you sleep. When you stitch together fabrics that actually mean something to you, like the jeans your kid wore everywhere or a blouse you loved for years, the result is a kind of textile memoir. Every patch has a small story behind it, and together they create something no store-bought blanket could ever replicate.
There’s also a very practical case to be made here. Good bedspreads are expensive, and handmade ones from artisans even more so. When you make your own from fabrics you already have (or can gather from friends and family), you’re essentially getting heirloom-quality craftsmanship for the cost of some thread and maybe a new needle. Even if you’re a beginner, this is an achievable project — and one that will leave you genuinely proud of what you made.
Gathering Your Materials: Denim, Scraps, and Everything in Between
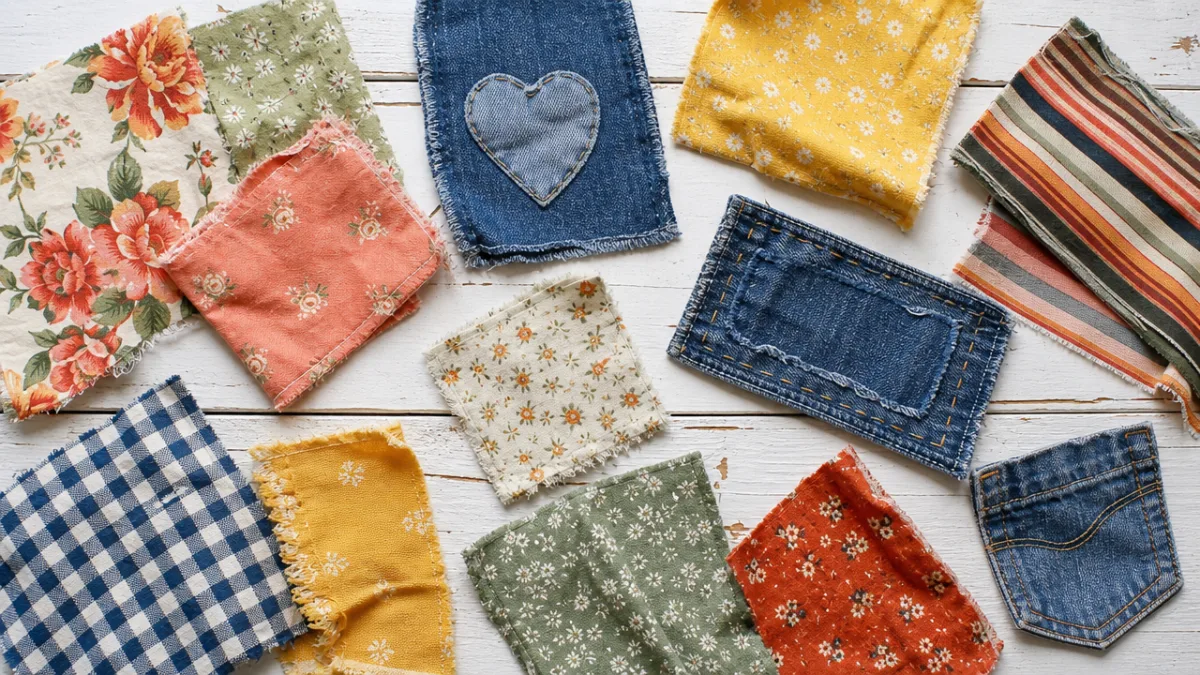
Before you cut anything, it’s worth taking a little time to thoughtfully gather and sort your materials. Old jeans are the foundation of this project, and denim is perfect for it — it’s incredibly durable and comes in a natural range of tones, from pale ice-washed blues to deep indigo to almost black, which gives you built-in contrast without any dyeing. Raid your own closet, ask around, or swing by a thrift store where denim is usually plentiful and cheap. The more variation in wash and weight you can find, the richer the finished bedspread will look.
Your scrap fabrics are where personality and color come in. Cotton prints work really well here — they’re easy to cut, hold their shape, and wash without any fuss. Florals, ginghams, solids, lightweight corduroy — it’s all fair game. Old shirts, pillowcases, curtain remnants, leftover craft fabric — if you have it lying around, it’s probably useful. The main thing to keep in mind is that you want variety without chaos. You don’t need a rigid color scheme, but it helps to steer your palette in a general direction so the whole thing feels intentional rather than thrown together.
Alongside your fabrics, you’ll want to have a few key supplies on hand before you start cutting. Here’s what you’ll need:
- A rotary cutter or sharp fabric scissors for clean, precise cuts
- A self-healing cutting mat and quilting ruler for accurate measurements
- Sewing machine with a denim needle (size 90/14 or 100/16 for thicker seams)
- Coordinating thread in neutral tones such as cream, grey, or a matching blue
- Fusible webbing or fabric glue for appliqué work on the heart shapes
- Batting or fleece interlining for warmth and body if desired
- Backing fabric — a full length of cotton or fleece in a complementary color
- Quilting pins or Wonder Clips to hold layers securely while sewing
- An iron and ironing board for pressing seams flat as you go
Getting everything together before you dive in saves you from that annoying mid-project scramble where you have to stop and hunt down supplies. Lay it all out on a big table or the floor so you can actually see what you’re working with and start getting a feel for how colors and textures might sit next to each other. This part is honestly one of the most enjoyable stages — it’s when the project stops being a pile of old clothes and starts looking like it might actually become something beautiful.
Designing Your Patchwork Heart Pattern: Planning Before You Cut
There are a few different ways to work a heart design into a patchwork bedspread, and it’s worth deciding your approach early since it affects how you cut and organize everything. The most striking option is a large-scale design where the heart shape emerges from the contrast between lighter and darker patches arranged deliberately across the grid — the heart isn’t cut out, it just appears through the arrangement. The other route is to appliqué individual heart shapes cut from contrasting fabrics and stitched onto a patchwork background. Both look gorgeous; which one you choose mainly comes down to your comfort level with quilting and what tools you have.
If you’re newer to this, a simple grid-based layout is a great place to start. Cut your fabrics into uniform squares — five inches is a really popular size, big enough to handle easily but small enough to create nice repetition across the whole bedspread. Once you’ve built up a good stack, lay them out on the floor in the dimensions of your bed. A queen-size bedspread might take somewhere between 120 and 200 squares depending on how much overhang you want. From there, arrange which squares will be denim and which will be colorful scraps so that, when you step back and look, the contrast maps out your heart shape.
Take photos as you go — seriously, this is your best planning tool. Once your layout is on the floor, stand up and photograph it from a normal height. The distance the camera creates often reveals things you can’t see when you’re crouching over individual patches, like whether the heart reads clearly or whether certain fabrics are blending into each other in unintended ways. Move things around, take another photo, compare. Some quilters also sketch the layout on graph paper with colored pencils, which works just as well. Whatever method you use, the goal is to feel settled and confident about your arrangement before you start sewing anything down.
Cutting and Assembling the Patchwork: Step-by-Step Construction
Once your design is locked in and everything is ready to go, it’s time to start cutting. Tackle the denim first since it takes the most effort. Use your rotary cutter and quilting ruler, press down firmly, and keep the ruler steady — truly square cuts matter here more than you might think. Uneven squares are one of the most common reasons a patchwork project starts going wonky as you sew rows together. Cut all your denim pieces before moving to the scrap fabrics, and keep the two piles separate so things stay organized.
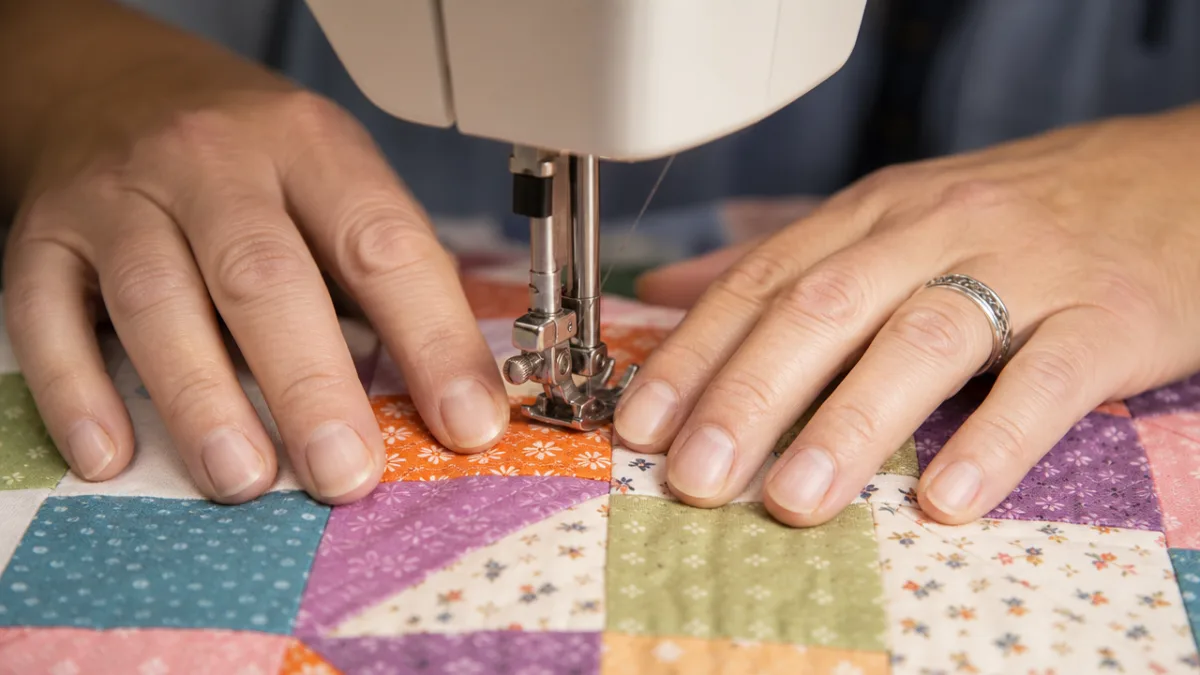
When all your squares are cut, start sewing them into rows. Line up your first row according to your planned layout, then stitch each square to the next with a quarter-inch seam allowance, right sides facing. Press each seam open as you go — this is especially important with denim because layered seams can get bulky fast and cause ridges. Build one row at a time, press it fully before attaching the next row, and work your way across. It feels slow and methodical, but this kind of disciplined approach is what keeps the finished bedspread lying flat and square.
If you’re going the appliqué route with individual heart shapes, here’s where you’ll prepare those. Cut your hearts from a contrasting fabric — bright red cotton against denim is a classic for a reason, or try a bold floral print against a solid background. Fusible webbing pressed into place before stitching means your hearts won’t shift or fray over time and repeated washing. Here’s the process, step by step:
- Trace heart templates onto the paper side of fusible webbing
- Cut out the webbing heart shapes, leaving a small border
- Iron the webbing onto the wrong side of your chosen contrast fabric
- Cut precisely along your drawn heart lines
- Peel the paper backing and position the heart on your patchwork base
- Press with a hot iron to fuse the heart in place
- Stitch around the edges with a close zigzag or decorative stitch
Quilting and Finishing: Adding Warmth and Professional Polish
With your patchwork top finished, this next phase is where things really come together — you go from a flat panel of stitched squares to something with actual warmth, body, and that satisfying quilted texture. If you’re adding batting, lay your backing fabric right side down on a large flat surface first, then place the batting on top, then lay your patchwork top right side up on top of everything. Smooth out each layer carefully, working from the center outward so there are no trapped wrinkles or air bubbles. Pin all three layers together every few inches, or use quilting spray adhesive if you’d rather skip the pins entirely — a lot of sewers find the spray much easier to work with at this scale.
For quilting the layers together, stitch-in-the-ditch is the most approachable method for a project this size. You sew directly along the existing seam lines between your patches, so the stitching is nearly invisible from the front but holds everything firmly together and creates that characteristic slight puffiness between seams that makes a quilt feel like a quilt. If you want something a bit more decorative, you could stitch gentle curves or even add small heart shapes in the open areas of certain patches using a contrasting thread — it’s a small detail that adds a lot of charm.
The edge binding is the last step, and it makes a surprising difference to how the whole thing looks when it’s done. Cutting strips about two and a half inches wide from a fabric you love — a cheerful floral, or a solid that echoes one of your accent colors — joining them into a long continuous strip, folding it in half lengthwise, and stitching it to the front edge before folding it over to hand-stitch on the back gives you clean, mitered corners and a really polished finish. It’s one of those details that takes a bedspread from “homemade” to “handcrafted,” and it’s well worth the extra time.
Care, Display, and the Lasting Joy of a Handmade Bedspread
You’ve put real time and care into this, so it’s worth looking after it properly. Since your patchwork is made from a mix of fabrics that may have different laundering needs, the safest approach is a gentle cycle in cool water, then air drying or a low-heat tumble dry. Tossing it in a large mesh laundry bag before washing helps protect the seams and any appliqué work from unnecessary stress. Steer clear of hot water, bleach, and harsh detergents — these are the things most likely to fade the colors and weaken the fibers over time.
When you’re storing it, fold it loosely rather than tightly compressed. Repeatedly folding along exactly the same lines can eventually wear out the fabric at those points. A cotton storage bag or a clean pillowcase works better than a plastic bin, which can trap moisture and cause mildew problems in humid weather. Many people choose to drape their patchwork bedspreads over a quilt ladder or fold them across the foot of the bed as a decorative layer — it’s a lovely way to show off the work while also reducing the daily wear that comes from using it as your main top cover.
But honestly, beyond the practical care tips, there’s something this kind of project does to you that lasts longer than the bedspread itself. Working with discarded materials trains you to see potential where you used to see trash. Once you’ve turned a pile of old jeans and scraps into something this beautiful, it becomes almost impossible to look at worn-out clothes the same way again. That shift in perspective has a way of spreading — to other rooms in the house, to other projects, to a generally more creative and thoughtful relationship with the things you own.
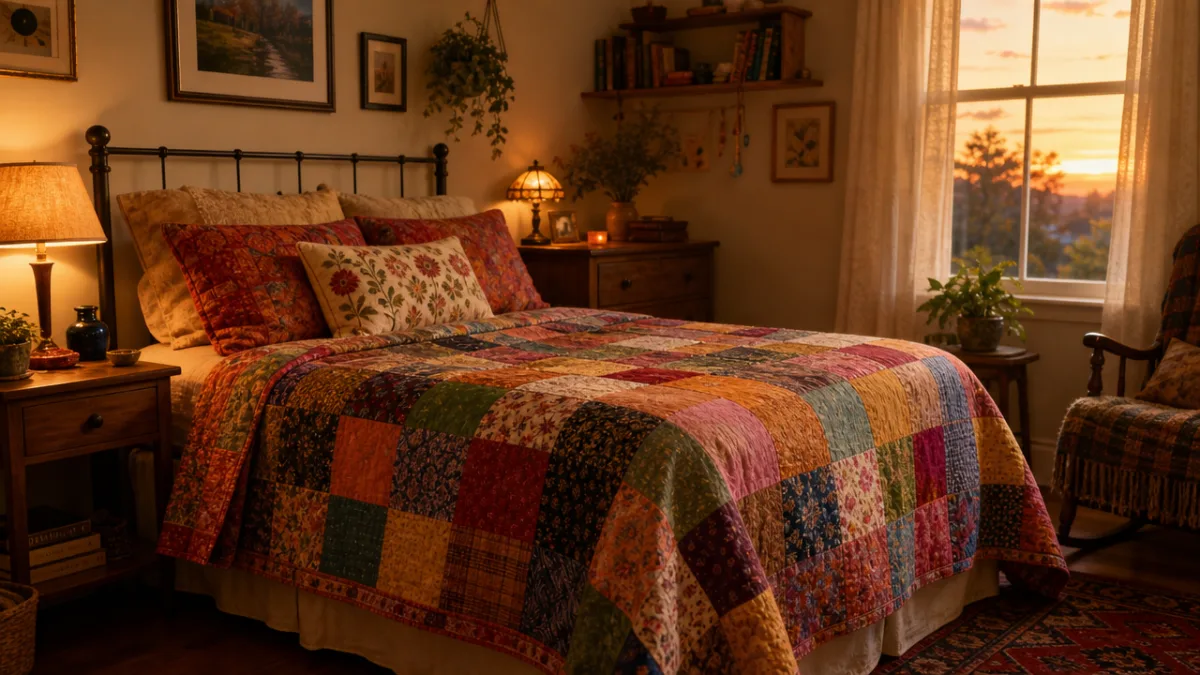
And every time you make the bed, there it is — something you made with your own hands from fabrics with actual history. You know where every patch came from. You can point to specific squares and tell the story behind them. That kind of provenance is genuinely rare in modern home goods, and it’s not something you can buy. It only exists because someone — you — took the time to sit down, press the seams flat, and make something by hand. That’s worth a lot.








What do you think?
It is nice to know your opinion. Leave a comment.