










How to Upcycle a Box into a Cardboard Mailer
Why Upcycling Cardboard Boxes Is Worth Your Time
Every year, billions of cardboard boxes end up in recycling bins or, worse, landfills, despite having plenty of useful life left in them. When you upcycle a box into a mailer, you’re not simply reusing a material — you’re actively reducing the demand for new packaging production, cutting down on the energy and resources that go into manufacturing fresh cardboard, and keeping functional material in circulation for as long as possible. It’s one of the simplest yet most impactful small actions you can take at home or in a small business setting.
Beyond the environmental benefits, upcycling cardboard mailers saves you real money. Shipping supplies add up quickly, especially if you run an Etsy shop, sell items on eBay, or regularly send gifts to friends and family. A single rigid mailer or padded box can cost anywhere from one to five dollars when purchased new. When you consider how many shipments a small business handles in a month, those costs compound fast. Turning boxes you already have on hand into custom mailers costs virtually nothing except a few minutes of your time.
There’s also something deeply satisfying about the craft of it. Transforming something that would otherwise be discarded into a functional, presentable shipping solution engages creativity and problem-solving skills. Many people find that once they start upcycling packaging, they begin looking at other “waste” materials differently too. The habit of seeing potential rather than garbage is genuinely valuable, both practically and as a mindset shift toward more sustainable living overall.
The Hidden Cost of Single-Use Packaging
Single-use packaging is one of the least visible contributors to household and commercial waste. When a box arrives at your door, it’s easy to break it down and toss it in recycling without a second thought, assuming that recycling handles the problem entirely. But recycling still requires energy, water, and processing resources. The most sustainable option is always to reuse a material in its current form before recycling it, because reuse skips all those downstream processing steps and keeps the material’s embodied energy fully intact and productive.
Consider that a standard corrugated cardboard box has a surprisingly high embodied energy — the energy that went into growing trees, pulping them, forming sheets, corrugating layers, and assembling the box. When you ship a book or small item in a repurposed box instead of buying a new mailer, you’re honoring all of that invested energy by giving the material a second round of usefulness. This is the core principle behind the circular economy: keep materials in use at their highest value for as long as possible before recovery or disposal.
For small business owners, the optics of sustainable packaging also matter commercially. Customers increasingly pay attention to how their purchases arrive. A thoughtfully repurposed box with clean modifications and a personal touch can actually strengthen your brand identity and signal that your business operates with environmental awareness. It shows customers that you are intentional about your choices — and that can translate directly into loyalty, positive reviews, and word-of-mouth recommendations that no advertising budget can easily replicate.
What You’ll Need Before You Start
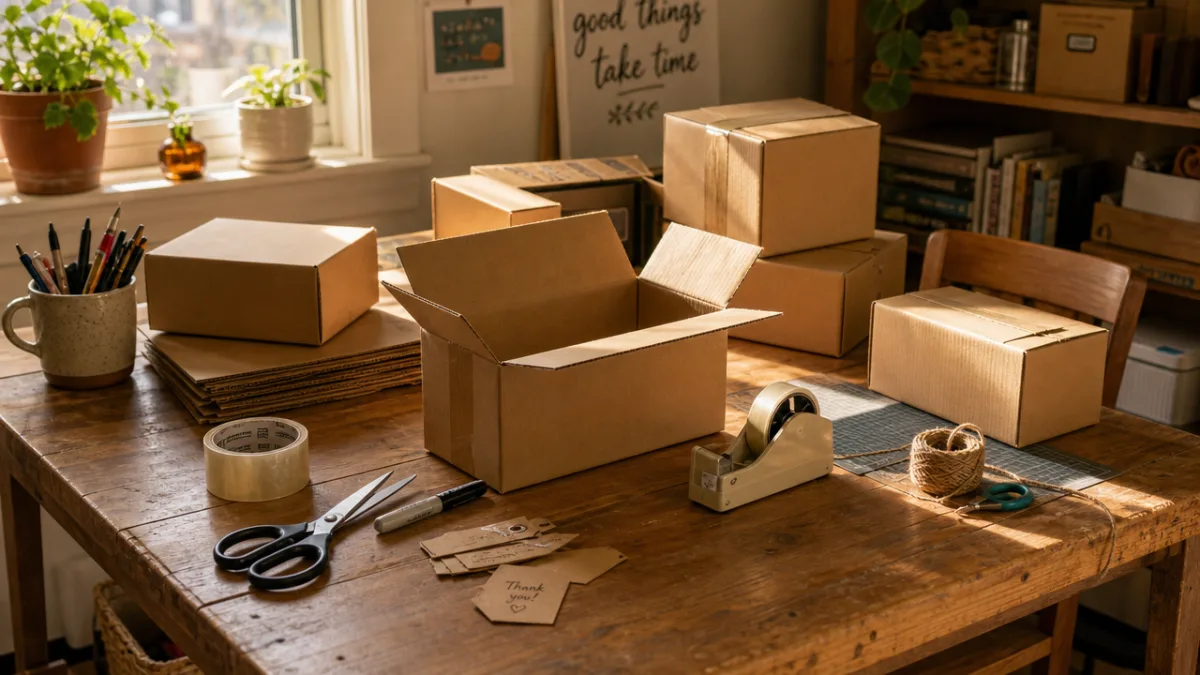
Gathering the right materials before you begin makes the entire process smoother and ensures a cleaner, more professional result. The good news is that most of what you need is likely already in your home. The process requires minimal investment, and substitutes are easy to find for almost every item on the list. Taking five minutes to lay everything out before you start will save you from stopping mid-project to hunt for a missing tool, which can disrupt your flow and lead to sloppy cuts or misaligned folds.
Your primary material is, of course, the cardboard box itself. Choose a box that is appropriately sized for what you’re shipping — ideally, the item should fit with no more than an inch or two of space on each side, so you won’t need excessive padding. Avoid boxes that are visibly crushed, waterlogged, or have compromised structural integrity at the corners. A slightly worn exterior is completely fine and expected when upcycling; what matters is that the walls are firm, the corrugation is intact, and the box holds its shape without collapsing under light pressure.
In addition to your box, you’ll want to have the following materials ready:
- A ruler or straight edge for measuring and scoring clean lines
- A craft knife or sharp scissors for precise cuts
- A cutting mat or protective surface to work on
- Packing tape or kraft paper tape for sealing seams
- Brown kraft paper or newspaper for covering printed branding or graphics
- A bone folder or butter knife for creating crisp folds
- A marker or pen for marking cut lines
- Optional: washi tape or twine for a more decorative finish
Choosing the Right Box for the Job
Not every box is suitable for every shipment, and choosing wisely at the outset will save you effort and potential disappointment when your creation doesn’t perform as expected. Single-wall corrugated cardboard, the most common type found in shipping boxes, is suitable for items up to about five pounds when properly constructed. For heavier or more fragile items, look for double-wall corrugated boxes, which have an extra layer of fluting between the liners and provide significantly more rigidity and impact resistance during transit.
Pay close attention to the original box’s history before selecting it for reuse. A box that shipped liquids and has dried residue inside, or one that smells musty from damp storage, is not a good candidate. Postal carriers and customers alike will notice, and moisture-damaged cardboard loses much of its structural strength. A quick visual and tactile inspection — checking for soft spots, warping, or discoloration — takes less than thirty seconds and can save you from sending a package that fails in transit.
Size matching is perhaps the most important selection criterion. A box that is significantly too large for your item will require heavy padding to prevent movement, and it increases the dimensional weight of your shipment, which many carriers use to calculate shipping costs. A box that is too small may require aggressive folding or awkward modification. Aim for a box where your item fits snugly with about an inch of buffer on all sides for cushioning material. This is the sweet spot that balances protection, material use, and shipping cost efficiency.
Step-by-Step: Turning a Box into a Clean Mailer
The transformation from a used shipping box to a clean, professional-looking mailer involves a few key steps that, once mastered, can be completed in under ten minutes. The basic method involves inverting the box so that the printed exterior graphics face inward and the plain interior becomes your new outer surface. This single technique instantly solves the problem of covering up old branding or shipping labels without needing to wrap the entire box in fresh paper, though wrapping is always an option if the interior is printed as well.
Begin by carefully opening all the taped seams of the box using your craft knife or a box cutter. Work slowly and deliberately to avoid tearing the cardboard. Once all four sides are free, gently flatten the box completely. At this stage, you can inspect the full surface of both sides and decide whether inverting will give you a clean exterior. If the interior has printing (some boxes have text or patterns on the inside), you’ll need to cover it with kraft paper before reassembling, or choose a different box entirely.
Follow this sequence for reassembly:
- Flatten the box completely by opening all glued or taped corners.
- Turn the flattened box inside out so the plain interior surface faces outward.
- Reassemble the box shape by folding along the original score lines in reverse.
- Use packing tape to re-seal all corners and edges securely from the inside.
- Fold the bottom flaps inward and tape them firmly to create a solid base.
- Insert your item with appropriate padding material around it.
- Close the top flaps, ensuring they overlap properly, and tape the top seam with two to three strips of tape.
- Attach your shipping label to the flattest, cleanest surface of the exterior.

Reinforcing Weak Points and Ensuring Safe Transit
The corners and edges of a repurposed box are its most vulnerable points. When you disassemble and reassemble cardboard, the original factory folds loosen slightly, and the adhesive that held the corners together is gone, replaced by tape. It’s important to apply tape generously at every corner junction, running it along the full length of each edge rather than just placing a small piece over the joint. Think of the tape as stitching — it needs to run continuously to distribute stress across the whole seam rather than concentrating it at a single point.
For items that are particularly heavy or fragile, consider applying reinforcement tape — a fiberglass-reinforced strapping tape available at most hardware stores — along the bottom seam and the four vertical corner edges. This type of tape has dramatically higher tensile strength than standard packing tape and can make the difference between a package that survives rough handling and one that arrives open or damaged. It’s an affordable upgrade that costs pennies per package and provides meaningful additional protection.
Don’t overlook internal padding as part of your overall security strategy. Even the strongest, best-sealed mailer can’t protect its contents if the item can shift and slam against the walls during transit. Use crumpled newspaper, shredded paper from a home paper shredder, recycled tissue paper, or old bubble wrap that you’ve saved from incoming shipments. Fill all voids generously, and do a quick “shake test” before sealing: hold the closed box and shake it gently. If you can hear or feel your item moving, add more cushioning until it is completely immobile.
Covering Old Labels, Branding, and Graphics
One of the most important finishing steps in creating a professional-looking upcycled mailer is dealing with old shipping labels, barcodes, and brand graphics from the box’s previous life. This matters for several practical reasons beyond aesthetics. Old shipping labels can contain barcodes that sorting machines at postal facilities might scan and misread, potentially routing your package to the wrong destination. Covering them completely is not just about looking clean — it’s a functional necessity that protects the integrity of your shipment’s routing information.
The simplest approach is to apply a solid layer of brown kraft paper tape — also called gummed tape or water-activated tape — directly over any old labels or large printed areas. This tape bonds extremely well to cardboard, creating a surface that is both visually clean and firmly attached. Unlike regular tape with a plastic film, kraft tape accepts pen and marker writing easily, so you can write addresses directly on it if needed. For larger areas of printing, consider cutting strips of plain kraft paper and adhering them with a glue stick before covering with tape for extra opacity.
For the inverted box technique described earlier, this issue is largely resolved since the plain interior becomes your exterior. However, even inverted boxes sometimes have small stamps, manufacturer codes, or test print marks on what was originally the interior surface. These are usually small and can be covered with a single piece of tape. Run a quick scan of the entire outer surface after reassembly to check for anything that might confuse a postal scanner or look unprofessional to the recipient. A two-minute review at this stage prevents problems that are impossible to fix once the package is sealed and shipped.
Adding a Personal or Branded Touch
Upcycled mailers don’t have to look rough or improvised. With a small amount of additional effort, you can create packaging that looks intentional, charming, and even on-brand. Simple additions like a strip of washi tape along the top seam, a stamped return address in a decorative font, or a small sticker sealing the flap can elevate the entire presentation. For small businesses, custom rubber stamps with your logo or business name are inexpensive tools that immediately professionalize the look of handmade or upcycled packaging without requiring printed materials.
Handwritten notes tucked inside the package or written on a small card attached to the outside add a personal dimension that mass-produced packaging simply cannot replicate. Many recipients of small business orders report that handwritten notes are among the details they remember most and mention in reviews. This human touch is especially powerful in an era when most commerce feels automated and impersonal. The fact that your outer packaging is upcycled actually reinforces the authenticity of a handwritten note — it signals that a real person made considered choices about this shipment from beginning to end.
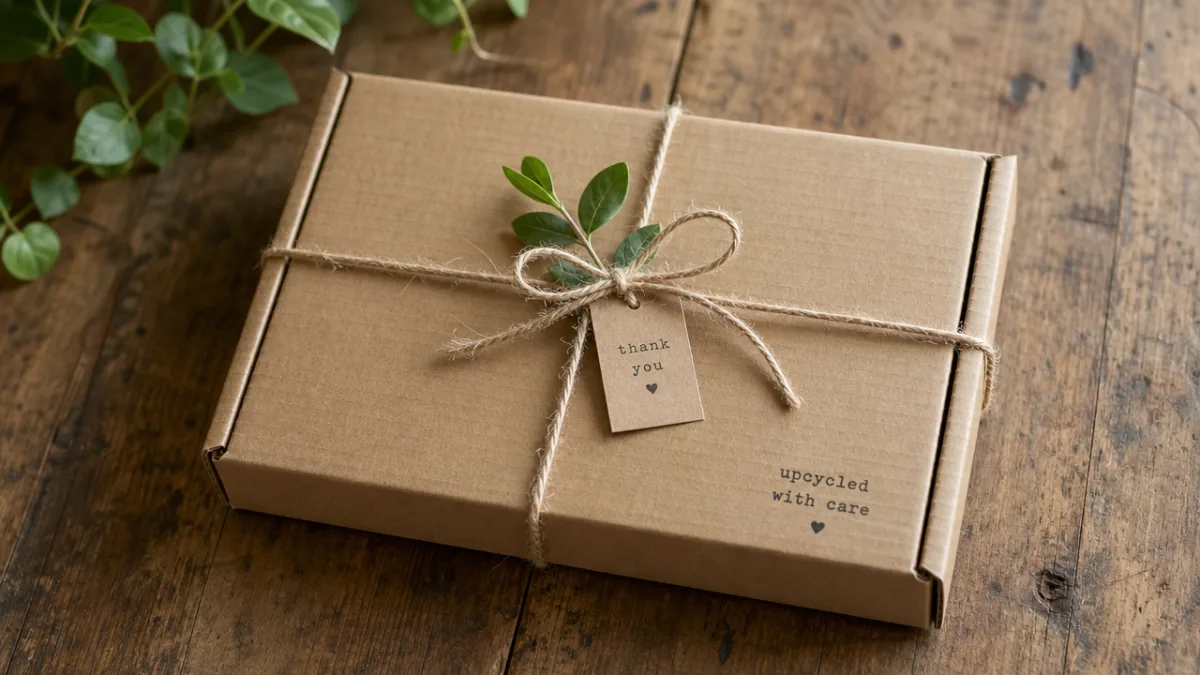
Color can also play a role without adding much cost or complexity. Wrapping the assembled box in a single sheet of craft paper, then tying it with natural twine, transforms a repurposed shipping box into something that looks like a thoughtfully wrapped package rather than a recycled one. This approach works particularly well for gifts. The recipient sees the care and intentionality in the presentation, and the environmental benefit is built right in. You can include a small tag explaining that the packaging was upcycled, which some recipients find genuinely meaningful and memorable.
Tips for Using Upcycled Mailers Safely and Successfully
While upcycled mailers are highly functional and entirely legitimate for shipping, there are a few guidelines that will help ensure your packages consistently arrive safely and that you stay within postal carrier requirements. Most major carriers, including USPS, UPS, and FedEx, explicitly permit the reuse of cardboard boxes as long as all previous labels and markings are fully covered, the box is in structurally sound condition, and it is properly sealed. Knowing these basic rules prevents any surprises at the counter or during transit.
One practical tip that experienced upcyclers swear by is building a small inventory of cleaned, flattened, and inverted boxes in a range of sizes. Store them flat in a corner of your workspace or under a bed. Having several sizes ready means you’ll always find a close match for whatever you need to ship, rather than making do with an ill-fitting box because it’s the only one you have on hand. This habit turns upcycling from an occasional activity into a seamless part of your regular shipping workflow.
Be mindful of how you store boxes before use. Cardboard absorbs moisture, and a box stored in a damp garage or basement can lose significant structural integrity even without visible damage. Store your flattened boxes in a dry, climate-controlled space, ideally standing upright or laid flat on a shelf rather than on a concrete floor, which can wick moisture upward. If a box has been stored for a long time and feels at all soft or spongy when you press the walls, retire it to the recycling bin rather than risking a failed shipment — the goal is always to save materials while maintaining quality.
When to Upcycle and When to Buy New
Upcycling is an excellent default choice for the majority of everyday shipping needs, but it’s worth knowing when a fresh, purpose-built mailer makes more sense. For extremely fragile items — antiques, electronics, glassware — a new double-wall box with reliable factory dimensions may provide more predictable protection than a repurposed one. The same applies to items with strict dimensional requirements, such as items being shipped in temperature-controlled containers or specialty freight that must conform to exact specifications. In these cases, investing in the right new packaging is the responsible choice, both for the item and for the recipient.
For everything else — books, clothing, crafts, small gifts, documents, accessories, and the thousands of other everyday items that pass through the postal system — an upcycled box is almost always entirely adequate when prepared with care. The key is developing your judgment about box condition and fit, which comes quickly with a little practice. After a dozen or so upcycled mailers, you’ll find that the assessment and preparation process becomes intuitive, and you’ll rarely have to think hard about whether a particular box is suitable for a particular shipment.
Ultimately, the goal isn’t to upcycle every single box at all costs — it’s to develop a thoughtful, default preference for reuse that saves money, reduces waste, and keeps materials productive for as long as possible. When reuse genuinely isn’t the right choice, you can still make sustainable decisions by choosing packaging made from recycled content, opting for minimally packaged mailers, or returning packaging materials to stores that accept them for reuse. Sustainable packaging is a practice built of many small, consistent choices rather than a single perfect solution — and upcycling your cardboard boxes is one of the most accessible places to begin.








What do you think?
It is nice to know your opinion. Leave a comment.