










How To Make a Tiled TV Cabinet: A Complete DIY Guide Inspired by Geneva Vanderzeil
Introduction: Why a Tiled TV Cabinet Is the Ultimate Statement Piece
A tiled TV cabinet is one of those DIY projects that somehow manages to feel bold and timeless all at once. Unlike flat-pack furniture or a standard wooden unit, a tiled cabinet brings real texture, pattern, and personality into your living room in a way that genuinely makes people stop and stare. Whether you’re drawn to Moroccan geometric prints, classic subway tiles, or hand-painted encaustic patterns, tiling a cabinet takes something purely functional and turns it into a proper focal point.
Geneva Vanderzeil, the Australian DIY and interiors creative known for her hands-on, anyone-can-do-this approach, has always championed the idea that a beautiful home shouldn’t require a designer’s budget. Her tiled TV cabinet project is a great example of what’s possible when you make thoughtful material choices and give yourself a bit of patience. The process is far more approachable than it looks, doesn’t require any specialist tools, and won’t break the bank on materials.
In this guide, we’ll walk through every stage of the project — from building or sourcing your cabinet base, right through to grouting, sealing, and styling. We’ll cover material selection, tiling techniques, design planning, and all those finishing details that separate a project that looks homemade from one that looks like it belongs in a boutique. By the end, you’ll have everything you need to dive in.
Choosing Your Cabinet Base and Planning the Design
Before you even think about picking up a tile, you need a solid plan for the cabinet itself. You’ve got two main options: build a simple carcass from scratch using MDF or plywood, or upcycle an existing piece — a secondhand sideboard, a flat-pack TV unit, even an old chest of drawers. Both are genuinely great routes. Building from scratch gives you full control over the dimensions, while upcycling is more sustainable, often cheaper, and means the structural work is already half done for you.
If you’re going the build-from-scratch route, MDF is the go-to material for tiled furniture because it’s flat, smooth, and stable — exactly what tiles need to bond well. Steer clear of solid pine or other woods with a strong grain pattern or a tendency to move with humidity changes, as that kind of movement can eventually cause tiles to crack or lift. Cut your panels to size, put everything together with wood glue and screws, and sand all surfaces smooth before you start. A typical TV cabinet sits somewhere around 120 to 150cm wide, 50cm tall, and 45cm deep, but adjust freely to suit your space and your TV.
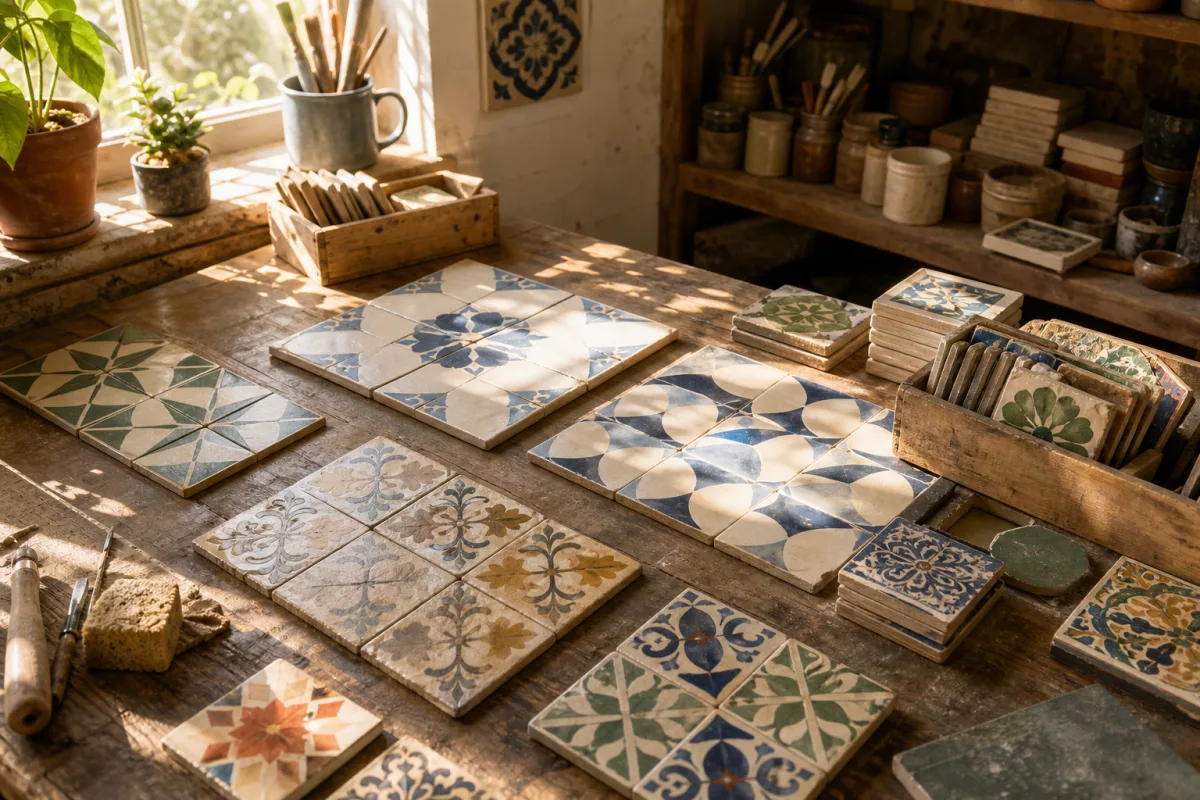
Once your cabinet base is sorted, spend some real time on the design. Sketch a rough scaled drawing of the front and sides, and experiment with different tile layout patterns on paper or using one of the free tile planning tools online. Think about whether you want to tile just the doors and drawer fronts or carry the tile work across the top and sides as well. And don’t underestimate grout colour — it has a huge effect on the final look. A matching grout gives a smooth, seamless result, while a contrasting colour makes the tile pattern really pop. It’s always worth laying your tiles out flat without any adhesive first just to see how the pattern actually looks before you commit.
Gathering Your Materials and Tools
One of the nicest things about this project is that the materials list is pretty manageable — everything you need is available from a decent hardware store or tile supplier. That said, getting organised before you start really matters, because running out of tile adhesive halfway through or realising you grabbed the wrong grout colour after the fact is the kind of thing that takes the fun out of it quickly. Measure your cabinet surfaces carefully, calculate your tile quantities, and always add ten to fifteen percent extra to cover cuts and any breakages.
Here’s a comprehensive list of what you’ll need to get the job done:
- Your cabinet base (MDF-built or an upcycled furniture piece)
- Decorative tiles of your choice in sufficient quantity
- Tile adhesive suitable for use on MDF or wood surfaces
- Unsanded or sanded grout depending on your tile joint width
- A notched trowel for spreading adhesive evenly
- A tile cutter or wet saw for making precise cuts
- Tile spacers in your preferred joint width (1mm to 3mm is typical)
- A rubber grout float for pressing grout into the joints
- A large sponge and clean bucket for wiping away excess grout
- Sandpaper in medium and fine grits for surface preparation
- Primer suitable for MDF if you’re tiling an MDF surface
- A spirit level to keep your tile lines straight
- Protective gloves and safety glasses for cutting tiles
Tile selection is worth its own dedicated thought. The scale of the tile relative to the cabinet matters a lot to how the finished piece looks. Very large format tiles on a small cabinet can feel a bit off, while tiny mosaic tiles on a larger unit create a beautifully intricate effect but will take considerably longer to lay. For a standard-sized TV cabinet, tiles in the 10x10cm to 20x20cm range tend to hit the sweet spot. Encaustic cement tiles, handmade terracotta, and glazed ceramic all work well for this kind of project, and each brings a very different mood to the finished piece.
Preparing the Cabinet Surface and Applying Tiles
Surface prep is the step most beginners are tempted to rush, and it’s almost always the reason things don’t turn out as hoped. If you’re working with an MDF cabinet, you need to prime it with an MDF primer or a diluted PVA solution before any tile adhesive goes on. MDF is very porous, and if you leave it unprimed, it’ll absorb moisture from the adhesive unevenly, which weakens the bond and can even cause the board to swell slightly. Apply your primer, let it dry completely, give it a light sand, and add a second coat if needed. If you’re upcycling a painted piece, a light sand over all the surfaces you’re tiling is all it takes to give the adhesive something to grip.
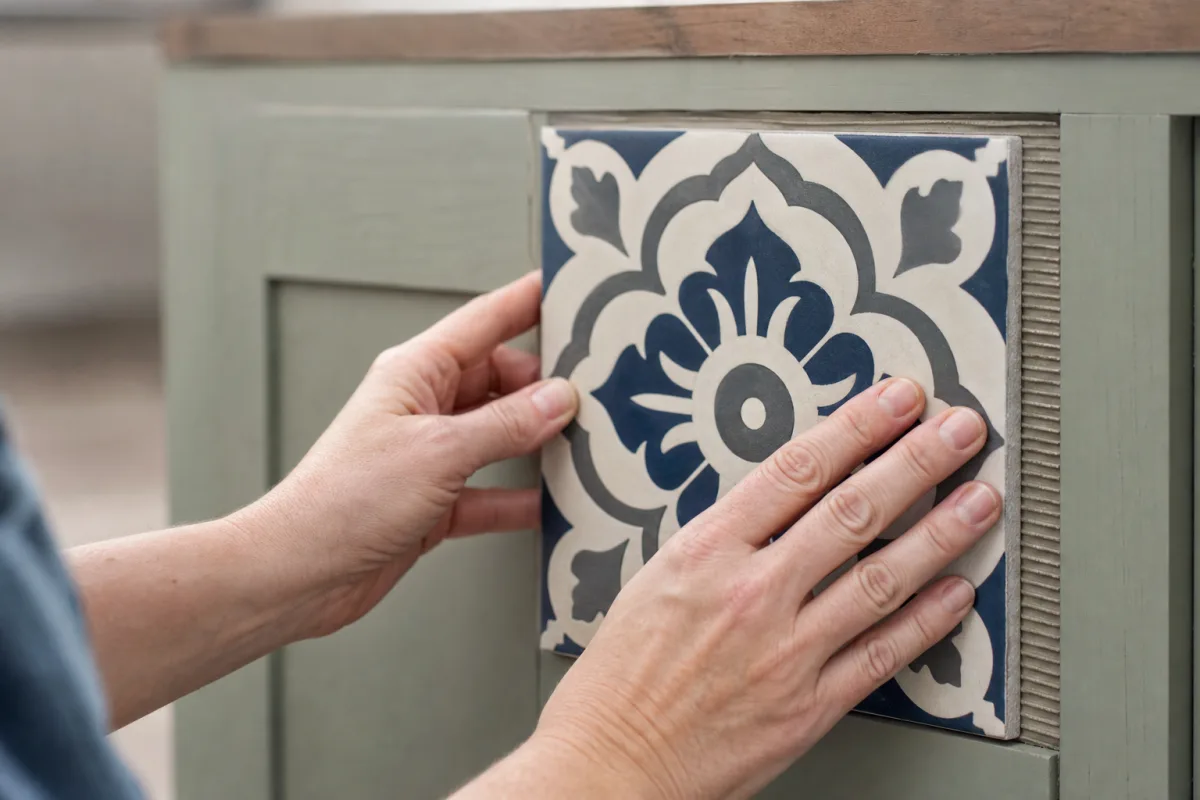
Start tiling from the most visible point on your cabinet — usually the centre of the front face. Find the centre of each door or drawer front and work outward from there, so any cut tiles at the edges are symmetrical and as generous in size as possible. Apply tile adhesive with your notched trowel, and work in small sections rather than spreading it all at once. Adhesive has an open time, meaning it only stays workable for so long before it starts to skin over, so keeping your sections manageable means you’re always pressing tiles into fresh adhesive. Push each tile in with a slight twisting motion to make sure you’ve got full contact, and use your spacers consistently for even joints throughout.
Keep going across the surface, checking regularly with your spirit level to make sure rows stay horizontal and vertical lines remain true. For edges and tricky cuts, score tiles carefully with your tile cutter and snap them clean, or use a wet saw for anything more intricate. Once all your tiles are in place, leave the adhesive to cure for the time the manufacturer recommends — usually around 24 hours for a standard adhesive. It can be tempting to push on to grouting, but if the adhesive hasn’t fully set, tiles can slip out of alignment or lose their bond, so it’s worth being patient here.
Grouting, Sealing, and Finishing the Cabinet
Grouting is the step that really pulls the whole thing together, and it deserves just as much care as the tiling itself. Start by pulling out all your tile spacers, then mix your grout powder with water following the manufacturer’s instructions until you’ve got a smooth, lump-free consistency — think peanut butter. Give the tile surface a very light wipe with a damp sponge before you begin, which helps stop the grout drying out too fast and cracking in the joints.
Use your rubber float to apply the grout, working it diagonally across the tiles in sweeping strokes to push it firmly into every joint. Check that there are no air pockets or voids — these can become weak spots and dirt traps over time. Once all the joints are filled, start cleaning up with a well-wrung damp sponge, wiping the tile faces in broad circular motions to lift the surface grout. Rinse your sponge often and keep changing your water, otherwise you’ll just smear grout around rather than removing it. Once the grout has had a chance to haze over, buff the tiles with a dry lint-free cloth to bring up a clean finish.
For porous tile types — terracotta, encaustic cement, unglazed natural stone — apply a penetrating sealer once the grout has fully cured, which usually takes 48 to 72 hours. Sealing protects against staining and makes the whole thing much easier to keep clean. Glazed ceramic tiles don’t need sealing on the face itself, but it’s still worth sealing the grout joints, especially if the cabinet might see the odd spill. Finally, fit any hardware — knobs, handles, legs — and think about whether the sides and back of the cabinet would look better with a coat of paint in a colour that ties in with the tiles and frames the whole piece nicely.
Styling Your Tiled TV Cabinet and Caring for It Long Term
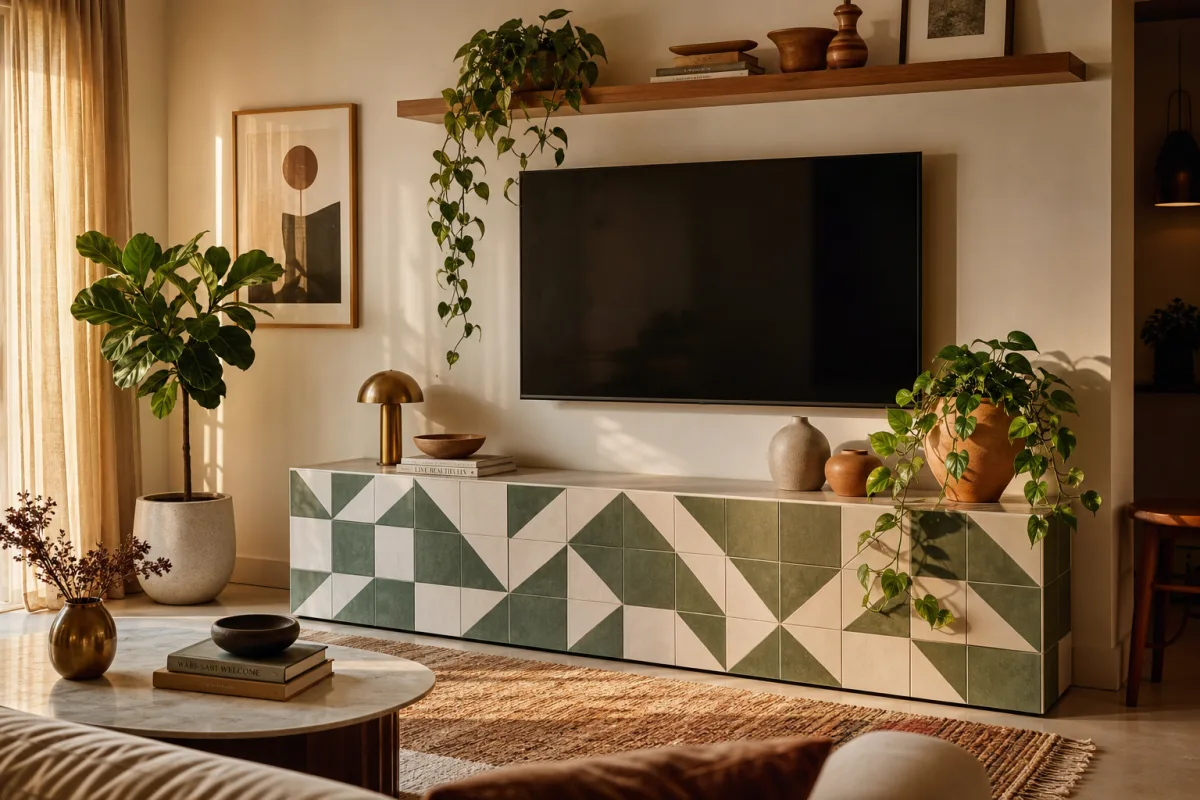
Once the cabinet’s done, the fun part begins. The great thing about a statement piece like this is that it does most of the decorative work in a room by itself, which means everything around it can afford to be a bit quieter. If your tiles are highly patterned or full of colour, keeping the rest of the room’s palette fairly neutral lets the cabinet read as an intentional centrepiece rather than visual noise. Rattan, natural linen, terracotta ceramics, and raw timber accessories all sit really well alongside tiled furniture and reinforce that handcrafted, artisan feel.
Think just as carefully about what goes on top of and beside the cabinet as what goes inside it. A few trailing plants in terracotta pots, a stack of interesting art books, a pair of sculptural ceramic vessels, or a small collection of framed photos all work beautifully next to a tiled unit. Try not to overcrowd the surface though — too much stuff competes with the tile work underneath and diminishes its impact. The top of the cabinet is also a practical home for remotes and media devices, so it’s worth thinking about cable management before the cabinet goes against the wall, since routing cables is much easier before it’s in its final position.
Day-to-day care for a tiled cabinet really couldn’t be simpler, which is one of the genuinely practical reasons to choose tile as a furniture finish. A damp cloth or a quick spray of mild all-purpose cleaner is all you need to keep things looking fresh. Avoid abrasive cleaners or scouring pads on glazed tiles, as these will dull the surface over time. If a grout joint picks up a stain, a paste of bicarbonate of soda and water applied with an old toothbrush works surprisingly well. Look after it properly and a well-made tiled cabinet will still be a talking point in your home decades from now, only getting more characterful with age.
Troubleshooting Common Issues and Tips for Success
Even the most carefully planned DIY project can throw up a surprise or two, and tiling furniture is no different. One of the most common problems people run into is tiles that don’t bond properly — hollow spots, or tiles that pop off once the adhesive has cured. This is almost always a surface prep issue rather than a problem with the adhesive. If tiles aren’t sticking well, check that the surface was properly primed, that you applied the adhesive with consistent coverage using the notched trowel, and that it hadn’t already started to skin over before the tile went down.
Cracked grout is another one that comes up, particularly in joints that are too thin, or where the cabinet material has flexed slightly. If you spot cracked grout lines after the fact, the fix is simple: carefully rake out the damaged grout with a grout saw or oscillating tool, clean out the joint, and regrout that section. It’s a quick repair and leaves no trace. To reduce the risk of cracking in the first place, make sure your cabinet is solidly built without much flex, and consider using a grout with a little built-in flexibility if your tiles are on a surface that might move.
Here are some extra tips picked up from experienced tilers and furniture DIY enthusiasts that’ll help things go smoothly from start to finish:
- Always do a full dry lay of your tiles across the surface before any adhesive goes down, so you can see the pattern for real and make any tweaks before you’re committed.
- Use the back-butter technique on larger tiles by applying a thin skim of adhesive to the back of the tile as well as the surface — it makes a significant difference to bond strength.
- Keep a barely damp sponge nearby while you’re tiling to wipe off any adhesive that squeezes up between tiles before it has a chance to harden in the joints.
- Write a pencil note on the back of cut tiles so you know exactly where each one goes when you return to place them.
- Take photos of your tile layout as you go — they’re incredibly useful if you need to step away and come back to the project later.
- With patterned or directional tiles, double-check the orientation of every single tile before pressing it into the adhesive to avoid accidentally rotating one the wrong way.
And finally — lean into the handmade quality of what you’re creating. Small variations in spacing, subtle differences in the tile glaze, those uniquely cut edges around the perimeter of your cabinet: none of that is something to be self-conscious about. It’s exactly what makes your piece feel real and alive in a way that factory-made furniture never can. Trust the process, enjoy the making, and look forward to that moment you step back and see the finished cabinet sitting in your space for the first time.








What do you think?
It is nice to know your opinion. Leave a comment.