










Budget-Friendly DIY Home Decor Ideas: Transform Your Space Without Breaking the Bank
Why DIY Home Decor Is the Smart Choice for Modern Homeowners
In an era where interior design trends change faster than ever, keeping your home looking fresh and stylish can feel like an expensive proposition. Professional decorators charge hundreds of dollars per hour, and the furniture pieces you see in glossy magazines often carry price tags that seem completely disconnected from reality. But here’s the truth that seasoned home decorators have known for years: the most beautiful, personalized spaces are rarely the most expensive ones. They’re the ones made with intention, creativity, and a willingness to get your hands a little dirty.
DIY home decor has experienced a genuine cultural renaissance over the past decade, fueled by platforms like Pinterest, YouTube, and Instagram, where everyday people share their remarkable transformations. What was once considered a frugal necessity has become a celebrated lifestyle choice. When you create your own decor, you aren’t just saving money — you’re investing time and energy into pieces that carry personal meaning. A hand-painted vase or a repurposed ladder shelf tells a story that no store-bought item ever could, and that narrative adds a warmth and authenticity to your home that money genuinely cannot purchase.
The financial benefits are staggering when you start doing the math. A simple gallery wall that might cost $500 or more when purchased from a boutique home goods store can be assembled for under $50 using thrifted frames, printed artwork, and a can of spray paint. A statement mirror that retails for $300 can be made from an inexpensive basic frame, some decorative molding from the hardware store, and a pot of gold paint for roughly $30. Once you start seeing your home through the lens of potential rather than limitation, every room becomes an opportunity to create something extraordinary on a budget that actually makes sense for real life.
Essential Tools and Materials Every DIY Decorator Needs
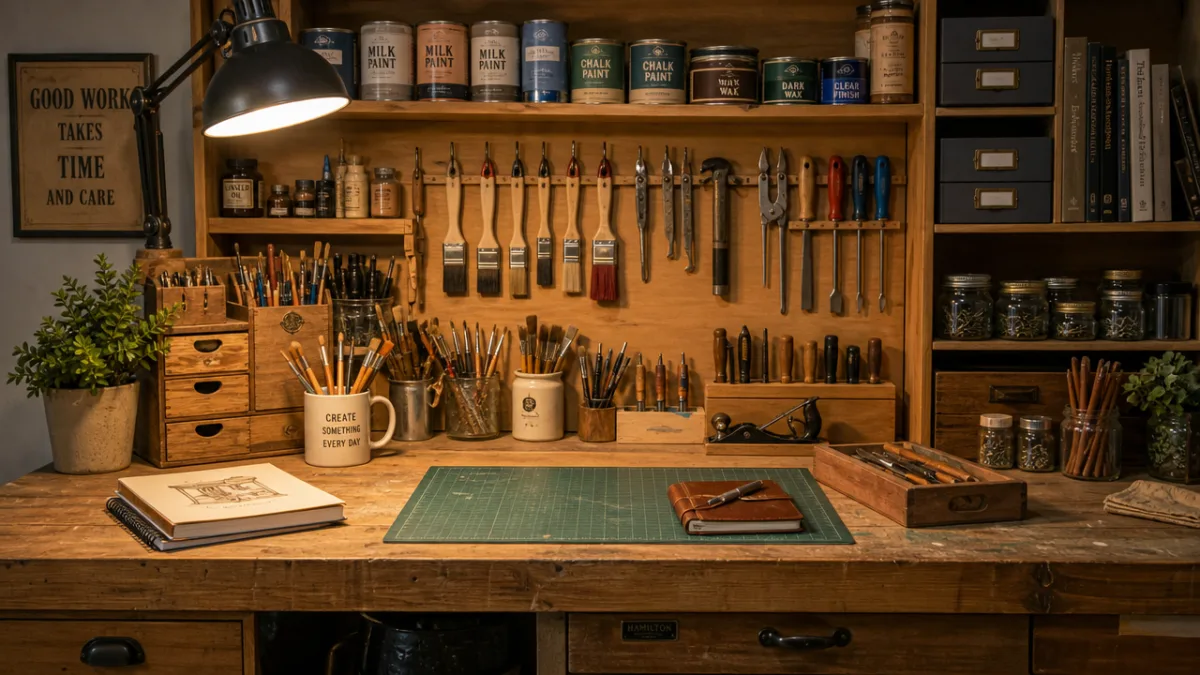
Before you dive into your first project, building a solid foundation of tools and materials will save you countless trips to the hardware store and prevent the frustration of stopping mid-project because you’re missing something critical. The good news is that you don’t need an elaborate workshop or a professional-grade toolkit to accomplish stunning results. A focused collection of versatile, quality basics will serve you far better than a drawer full of specialized tools you rarely use. Think of your toolkit as a long-term investment — these items will pay for themselves many times over across dozens of future projects.
Your starter toolkit should include a cordless drill with a set of basic bits, a level (this single tool will save you from countless crooked shelves and lopsided frames), a reliable staple gun, a hot glue gun, measuring tape, and a good set of paintbrushes in various sizes. On the materials side, keeping a stock of chalk paint, spray paint in neutral tones, Mod Podge, twine, and wood stain means you’ll always have the building blocks for a new project at your fingertips. Many experienced DIYers also keep a collection of hardware — knobs, hooks, hinges, and pulls — picked up at discount stores or salvage shops, because the right hardware can instantly elevate a basic piece into something that looks custom-made.
Shopping smart for your materials is itself a skill worth developing. Thrift stores, estate sales, and Facebook Marketplace are goldmines for raw materials — plain furniture, picture frames, vases, and textiles that cost almost nothing but have tremendous potential. Hardware stores often sell mistinted paint at steep discounts, and craft stores run regular sales and offer coupons that can cut your costs by 40 percent or more. Building relationships with these resources means that over time, you’ll spend very little on materials while accumulating the supplies needed to tackle increasingly ambitious projects with confidence and ease.
- Cordless drill and basic bit set — essential for hanging, assembling, and installing almost everything in your home.
- Hot glue gun and extra glue sticks — the workhorse of decorative crafting, useful for fabric, ribbon, floral, and lightweight material projects.
- Chalk paint in white and at least one accent color — transforms furniture, frames, and accessories without the need for extensive prep or priming.
- Mod Podge in matte and gloss finishes — invaluable for decoupage projects, sealing painted surfaces, and working with paper and fabric.
- Painter’s tape in multiple widths — the key to clean lines on walls, furniture, and any painted project requiring precision.
- A quality level — never hang anything crooked again; this simple tool is one of the most underrated in any decorator’s collection.
Wall Decor Projects That Make a Big Impact for Very Little Money
Your walls are arguably the most powerful canvas in your home, and transforming them doesn’t require expensive artwork or professional help. One of the most accessible and impactful wall decor projects is the gallery wall, which allows you to curate a collection of frames, art, and objects into a cohesive visual story. The secret to a gallery wall that looks intentional rather than chaotic is planning your layout on the floor first, using kraft paper templates to map out placement before you drive a single nail. This approach eliminates guesswork and lets you experiment freely until the arrangement feels exactly right.
Textured wall treatments offer another incredible opportunity to add visual depth and personality without major renovation costs. Limewash paint, which creates a soft, aged, layered look, has become enormously popular and is something any careful DIYer can apply with a wide brush and a little patience. Alternatively, washi tape can be used to create geometric patterns, faux tile effects, or even a simple stripe treatment that photographs beautifully and removes cleanly when you’re ready for a change. Removable wallpaper has also democratized the ability to add bold pattern to an accent wall, with peel-and-stick options that look genuinely sophisticated and cost a fraction of traditional wallpaper.
Don’t overlook the transformative power of macramé, woven wall hangings, and textile art, all of which can be made from scratch even by beginners. A basic macramé wall hanging requires only a wooden dowel, macramé cord, and a few simple knots that can be learned in an afternoon from free online tutorials. These pieces add warmth, texture, and a handcrafted quality to any room, and they photograph so beautifully that many people are surprised to learn they were made at home for under $15. Combining several of these wall treatments — a gallery wall on one side of the room, a textured paint treatment on another, and a textile piece above a bed or sofa — creates a layered, curated aesthetic that looks like the work of a professional stylist.
Furniture Transformations: Giving Old Pieces a Brand New Life
Furniture flipping is one of the most satisfying and financially rewarding skills in the DIY decorator’s repertoire. The premise is beautifully simple: acquire inexpensive or free furniture through thrift stores, curbside pickups, or online marketplaces, then use paint, new hardware, and basic repairs to transform these pieces into something you’d proudly display in any room of your home. The market for thrifted furniture is tremendous, and with a little patience and a trained eye, you can find solid wood dressers, side tables, chairs, and shelving units for next to nothing that have decades of useful life remaining beneath their dated finishes.
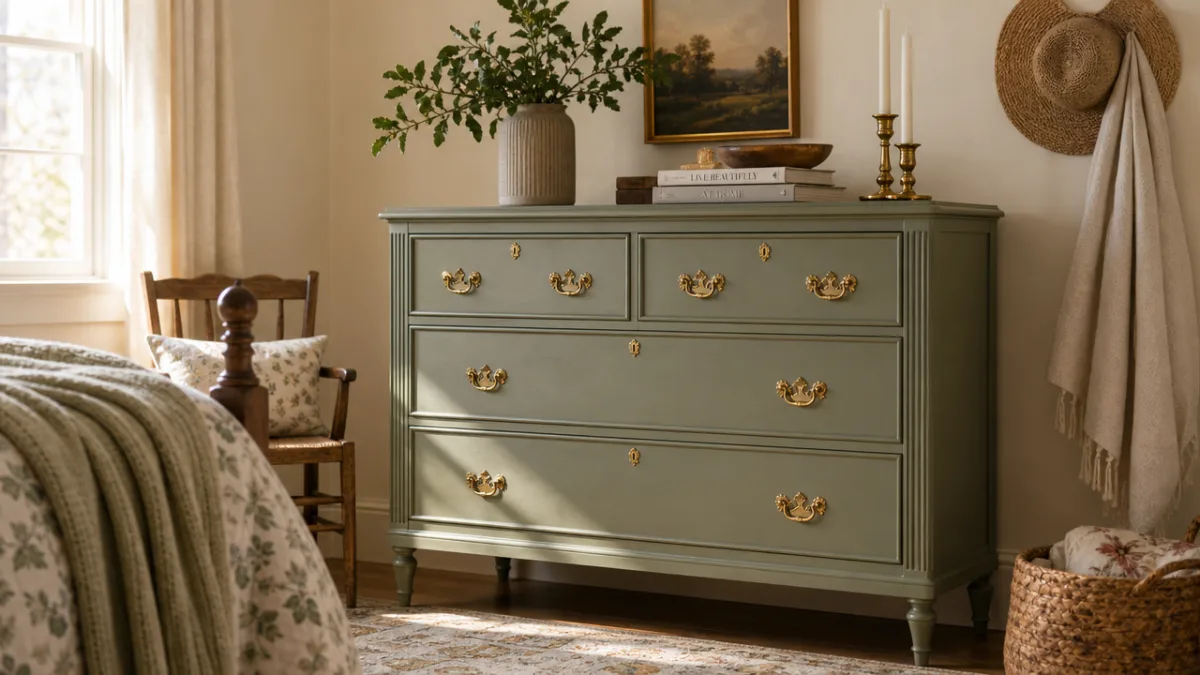
Chalk paint deserves special mention as the furniture flipper’s best friend because it requires minimal surface preparation, adheres to almost any material, and creates a beautiful matte finish that can be distressed, waxed, or sealed to achieve a variety of looks. A single quart of chalk paint can cover an entire dresser and costs roughly $20 at most craft stores, compared to the $150 to $400 you might spend purchasing a similar piece new. Changing out hardware — swapping dated brass pulls for sleek matte black handles, for example — takes the transformation to another level entirely. This small detail costs perhaps $20 to $30 in total but creates a visual impact completely disproportionate to its price.
Beyond paint, consider other transformation techniques that can completely reimagine a piece of furniture. Contact paper that mimics marble, wood grain, or concrete has become remarkably realistic and can resurface a tabletop, bookshelf, or cabinet interior for just a few dollars per square foot. Upholstery projects, while more involved, are entirely achievable for beginners when starting with something simple like a dining chair with a drop-in seat — a task that requires only a screwdriver, foam, fabric, and a staple gun. Decoupage, caning, and even simple woodburning can add decorative detail to otherwise plain furniture, giving it a custom, artisan quality that makes guests assume you spent far more than you actually did.
- Clean and lightly sand the surface — even chalk paint benefits from a quick wipe-down with a damp cloth and a light scuff with fine-grit sandpaper for better adhesion.
- Apply thin, even coats — two or three thin coats always look better than one thick application, which can drip, streak, or crack as it dries.
- Distress strategically if desired — use fine-grit sandpaper to lightly rub edges and corners where natural wear would occur for an authentic aged look.
- Seal with wax or polycrylic — always protect your finished piece with a topcoat appropriate to its use, especially for surfaces like tabletops that experience regular contact.
- Replace the hardware last — install new knobs, pulls, or hinges after painting is fully complete and cured to avoid smudges or scratches on fresh finishes.
Natural and Organic Decor: Bringing the Outdoors Inside on a Budget
One of the most enduring and universally beloved trends in home decor is the incorporation of natural elements — plants, wood, stone, dried botanicals, and organic textures — into interior spaces. The appeal is intuitive: nature calms us, grounds us, and creates an atmosphere of ease and authenticity that manufactured decor rarely achieves with the same effectiveness. The remarkable thing about this approach from a budget perspective is that many of the most impactful natural elements are entirely free or nearly so. A walk through a park, forest, or even your own backyard can yield materials that, arranged thoughtfully, create genuinely beautiful and sophisticated decor.
Dried botanicals have become one of the most popular decorative elements in contemporary interior design, appearing in everything from hotel lobbies to the most-pinned home inspiration boards online. Pampas grass, dried lavender, eucalyptus, wheat stalks, and seedpod branches are all strikingly beautiful and require zero maintenance once dried. You can purchase many of these from florists or online sellers, but you can also harvest and dry your own from local fields, gardens, or markets at the end of the season for virtually nothing. Displayed in a simple thrifted vase or tied with twine and hung from a wall hook, these arrangements bring warmth, texture, and a sophisticated organic quality to any room.
Houseplants are perhaps the single most effective and affordable way to transform a space, adding life, color, and a sense of abundance that no manufactured product can replicate. Many of the most popular houseplants — pothos, snake plants, spider plants, and peace lilies — are extremely inexpensive to purchase, nearly impossible to kill, and propagate freely so that one small plant can eventually fill an entire home. Terracotta pots remain the most affordable and aesthetically versatile container option, and they can be painted, dipped, or left plain depending on your style. Arranging plants at varying heights — on shelves, stands, and hanging planters — creates a lush, layered effect that makes even a sparse room feel full and welcoming.
Seasonal and Occasion Decor: Refreshing Your Space Year-Round
One of the great advantages of developing your DIY skills is that you can update your decor seasonally without the significant expense that constant purchasing would require. The key is building a core collection of neutral, versatile pieces and then rotating in smaller, seasonal accents that reflect the current time of year. This approach keeps your home feeling fresh and dynamic throughout the year while actually costing less than maintaining a single static decor scheme, because seasonal accents can often be made from inexpensive or free natural materials that are simply composted or stored flat when the season changes.
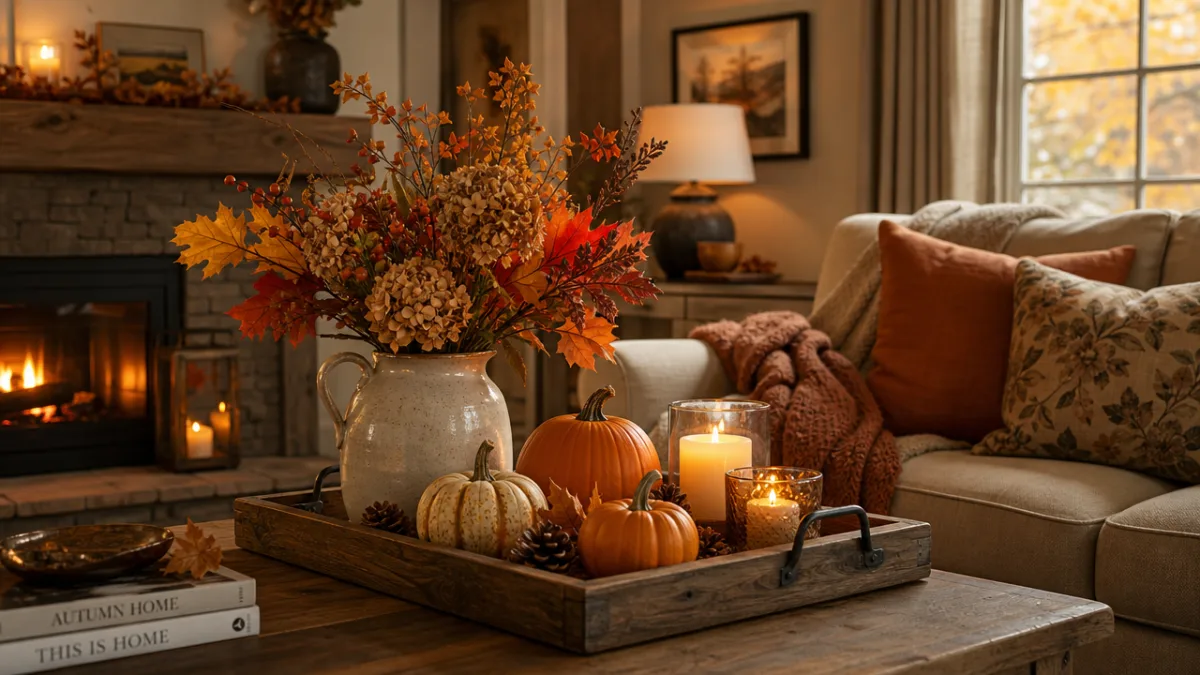
Autumn is perhaps the richest season for natural decor materials — gourds, pinecones, dried leaves, corn husks, and branches with berries are either free from the outdoors or deeply inexpensive at farm stands and garden centers. A simple centerpiece made from a cluster of varying-sized pumpkins and gourds in complementary colors, arranged on a wooden slice or a tray with some dried eucalyptus and pillar candles, creates a stunning seasonal display that costs perhaps $10 to $15 in total. Winter brings its own treasure trove of branches, evergreens, pinecones, and berries that can be used to create wreaths, garlands, and centerpieces with far more character and warmth than anything purchased from a big-box store.
Spring and summer offer opportunities to embrace lighter colors, fresh botanicals, and outdoor-inspired textures. Simple linen pillow covers in soft pastels or bright botanical prints can be swapped out for the season and stored flat in a small container, taking up almost no space. A collection of clear glass vessels filled with fresh-cut garden flowers, citrus slices, or herb bundles makes a cheerful and cost-free centerpiece that can be refreshed weekly. By thinking seasonally and keeping your core furniture and larger decor pieces neutral and timeless, you create the ideal backdrop for these rotating accents — and the result is a home that always feels considered, current, and genuinely alive to the changing world outside your windows.
Bringing It All Together: Creating a Cohesive DIY Aesthetic
The difference between a home that looks thoughtfully decorated and one that simply looks busy often comes down to cohesion — the sense that everything belongs together, that the pieces are in conversation with one another rather than competing for attention. Achieving cohesion doesn’t require a professional designer; it requires a clear understanding of a few principles that can be applied intuitively once you understand them. The most important is establishing a consistent color palette of three to five colors that you repeat throughout the space in varying proportions. These colors should appear in your textiles, your art, your furniture finishes, and your smaller decorative accents, creating visual threads that tie the room together.
Mixing textures is equally important for a space that feels rich and inviting rather than flat and one-dimensional. In any given room, aim to incorporate at least four distinct textures — something smooth, something rough, something soft, and something reflective. A linen throw on a chalk-painted wooden bench beside a ceramic vase and a metallic-framed mirror achieves this balance beautifully and effortlessly. This principle applies even in rooms with limited budgets, because texture is often a function of material choice rather than price. A thrifted wicker basket, a piece of driftwood from the beach, a velvet pillow cover from a discount store, and a simple glass candleholder together create a texturally complex and sophisticated vignette for almost nothing.
Finally, embrace the process as much as the result. Your home should evolve continuously as your tastes develop, your skills grow, and your life changes — and one of the greatest gifts of DIY decorating is that nothing feels too precious or permanent to change. Because you made it yourself or acquired it inexpensively, you can experiment freely, paint over mistakes, and try new arrangements without anxiety. This creative freedom is ultimately the most valuable thing about budget DIY decorating: it transforms your home from a fixed backdrop into a living, breathing creative practice that reflects who you are and who you are becoming, one thoughtfully crafted project at a time.








What do you think?
It is nice to know your opinion. Leave a comment.