










10 Simple DIY Projects for a Cozy Rustic Home
Why Rustic DIY Decor Creates the Coziest Spaces
There is something undeniably warm and inviting about a home decorated with handmade, rustic touches. In a world dominated by mass-produced furniture and cookie-cutter interiors, choosing to craft your own decor brings a deeply personal quality to every room. When you make something with your own hands, you pour intention and care into it, and that energy becomes part of the atmosphere your home radiates to everyone who walks through the door.
Rustic decor draws heavily from natural materials — reclaimed wood, galvanized metal, burlap, twine, and stone. These textures evoke farmhouses, woodland cabins, and centuries-old cottages where comfort was built into every beam and corner. The beauty of this aesthetic is that imperfection is not only acceptable, it is celebrated. A slightly uneven edge on a wooden shelf or a knot in a piece of barn wood adds character that no factory can replicate.
Perhaps most importantly, rustic DIY projects are genuinely accessible to beginners. You do not need a full woodworking shop or professional crafting skills to create pieces that look stunning in your home. Most of the projects in this guide require only basic tools, affordable materials, and an afternoon of focused effort. The result is a home that feels intentional, curated, and beautifully cozy without carrying a designer price tag.
Project 1: Reclaimed Wood Floating Shelves
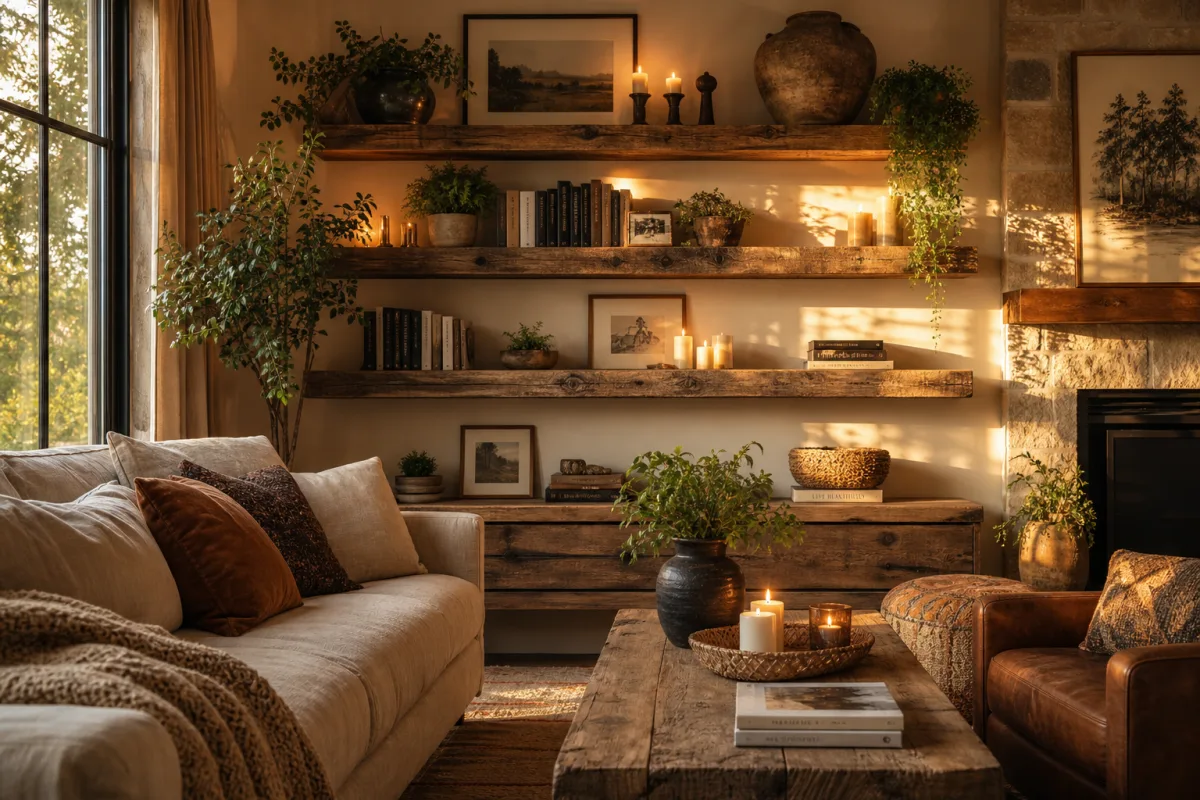
Floating shelves made from reclaimed or distressed wood are one of the most impactful and versatile DIY projects you can tackle. They add storage, display space, and enormous visual warmth to any room. Whether you hang them in a kitchen to hold mason jar spices, in a living room to display candles and greenery, or in a bathroom for rolled towels, these shelves instantly elevate the rustic charm of your space.
To make your own, source rough-cut lumber from a local sawmill, a reclaimed wood supplier, or even a salvage yard. Sand the wood lightly — just enough to remove splinters while keeping its natural texture and grain visible. Apply a walnut or dark oak stain followed by a matte sealant for durability. Use floating shelf brackets anchored into wall studs to ensure your shelves can hold real weight without sagging or pulling from the wall over time.
The styling of these shelves is half the magic. Layer objects at varying heights: a small potted succulent, a stack of vintage books, a beeswax candle in a tin holder, and perhaps a small woven basket. The mix of organic and utilitarian objects is the heart of rustic styling. Avoid overcrowding — negative space is your friend, and a shelf that breathes feels far more intentional than one crammed full of items.
Project 2: Mason Jar Candle Holders and Lanterns
Mason jars are one of the most beloved materials in rustic DIY decor, and for excellent reason. They are inexpensive, widely available, endlessly versatile, and carry an inherently nostalgic, farmhouse quality that fits perfectly into a cozy home aesthetic. Transforming them into candle holders and lanterns is one of the easiest and most rewarding afternoon projects you can undertake, requiring almost no tools and very little expense.
For a basic candle holder, simply clean a wide-mouth mason jar, wrap twine, jute rope, or a strip of burlap around the neck and secure it with a knot or a dab of hot glue. Drop a tea light or a battery-operated flickering candle inside. For a more elaborate lantern effect, fill the bottom of the jar with coarse sand, small pebbles, or dried moss before adding the candle. This grounds the light source visually and adds another layer of natural texture to the piece.
You can take this project further by clustering jars in groups of three or five at varying heights on a wooden tray or a slice of a tree trunk. Paint some jars in muted, chalky tones — sage green, soft white, or warm terracotta — while leaving others clear to show off the candlelight. Hang jars from a ceiling beam or a wooden dowel using wire and S-hooks to create a hanging chandelier effect that transforms the ambiance of a dining room or covered porch entirely.
Project 3: DIY Farmhouse Wood Bead Garland
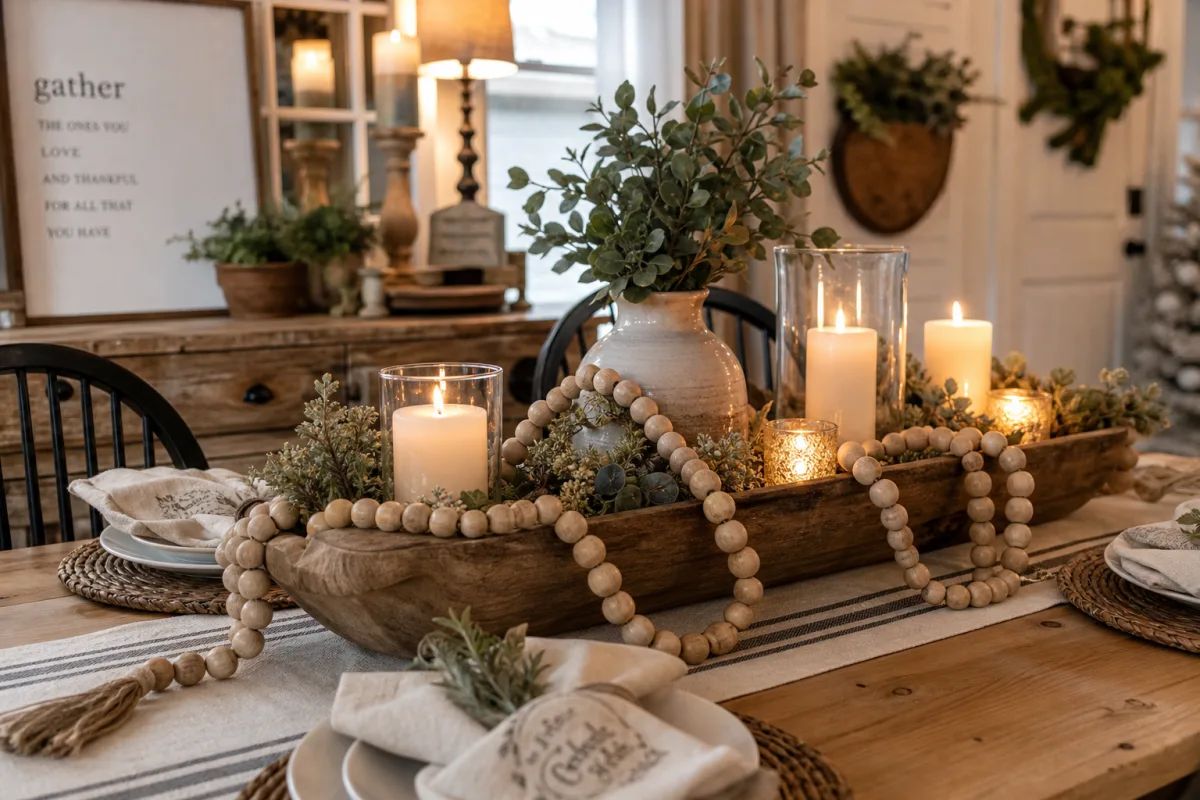
Wood bead garlands have surged in popularity within the rustic and farmhouse decor world, and they deserve every bit of that attention. These simple strands of natural wooden beads add softness, movement, and organic warmth to any space. Draped over a mirror, looped through a wreath, hung from a mantel, or arranged in a bowl as a decorative accent, they work in virtually every context and coordinate with nearly every color palette.
Making your own is straightforward. Purchase unfinished wooden craft beads in a variety of sizes from a craft store. String them onto thick jute twine, alternating sizes and occasionally incorporating a tassel made from cotton yarn, a dried seed pod, or a small cross charm for visual interest. Leave several inches of twine at each end for hanging or tying. The natural, unfinished wood gives the garland a raw, handcrafted look that pre-made versions rarely achieve.
For added dimension, lightly sand some beads and leave others raw, or stain a few in a slightly darker tone to create contrast along the strand. You can also paint every third or fourth bead in matte white or cream to brighten the garland without losing its earthy quality. These garlands make wonderful handmade gifts and can be customized in length and color to suit any room, season, or recipient, making them one of the most practical and satisfying projects on this list.
Project 4: Pallet Wood Picture Frames and Sign Boards
Wooden pallets are one of the most readily available and cost-effective materials for rustic DIY projects. Many hardware stores, garden centers, and warehouses will give away pallets for free or sell them for just a few dollars. From this single material, you can create picture frames, sign boards, menu boards, and wall art that look genuinely impressive while costing almost nothing. The weathered wood grain and natural imperfections of pallet wood give every finished piece a storied, antique quality.
To make a simple picture frame, disassemble a pallet carefully using a pry bar, select four planks of similar thickness, and cut them to the dimensions you need using a miter saw or handsaw. Sand the edges lightly and dry-fit them before securing at the corners with wood glue and small finishing nails. Add a sawtooth hanger to the back or prop the frame on a shelf for a relaxed, leaning display style. The rustic frame will make even an ordinary printed photograph feel like a gallery piece.
For sign boards, cut pallet planks into equal lengths and attach them side by side using two horizontal backing planks. Sand the surface smooth enough to accept paint or chalk, then letter your message using stencils, a Cricut machine, or freehand brushwork with chalk paint. Popular choices include kitchen signs listing pantry staples, family name signs for entryways, or inspirational quotes for a bedroom. Finish with a coat of matte sealant or leave the paint slightly distressed for an authentically aged appearance.
Project 5: Cozy Knit and Woven Textile Accents
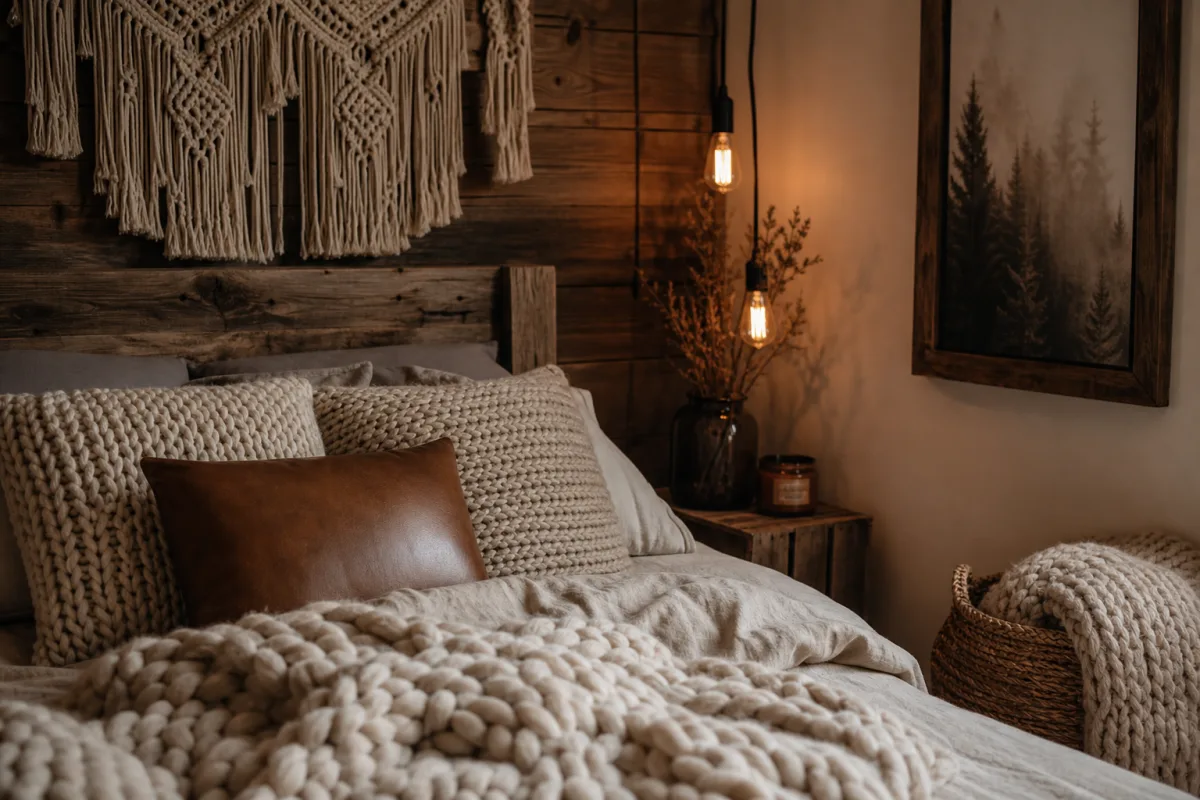
No rustic, cozy home is complete without an abundance of soft, tactile textiles — and many of the most beautiful can be made by hand even if you have never knitted or woven a single stitch before. Chunky knit blankets, macramé wall hangings, and woven table runners bring warmth and softness that no hard material can replicate. They balance the rougher textures of wood and metal in a rustic space, creating the layered, inviting quality that makes a room feel truly lived-in and loved.
Arm knitting a chunky throw blanket is a project that beginners can complete in two to three hours with no needles required — you use your own forearms as the knitting tool. Merino wool roving or super-bulky chenille yarn in cream, camel, or slate gray produces a gorgeous, oversized blanket that looks effortlessly luxurious draped over a sofa or folded at the foot of a bed. The stitches are large, tactile, and deeply satisfying to create, and the finished piece is one of the most impressive-looking yet beginner-friendly DIY items you will ever make.
Macramé wall hangings are equally achievable for beginners. Using 100% cotton rope in a natural or bleached white tone and a wooden dowel as the base, you can learn just three basic knots — the lark’s head knot, the square knot, and the spiral knot — and combine them to create a stunning wall hanging in an afternoon. Hang it above a bed, over a fireplace, or in an entryway niche. For extra rustic character, weave in sprigs of dried pampas grass, eucalyptus, or dried lavender along the lower fringe.
Project 6: Repurposed Vintage Container Gardens
Bringing nature indoors is one of the fastest and most effective ways to add coziness and life to a rustic-styled home, and doing so in repurposed or vintage containers elevates the look beyond a simple potted plant. Galvanized metal buckets, old wooden crates, cracked terracotta pots, weathered watering cans, and even salvaged tin cans all make extraordinary planters that reinforce the handmade, imperfect spirit of rustic decor. The key is to let the container be as interesting as the plant it holds.
Drill drainage holes in the bottom of any container that does not already have them — this is essential for plant health and prevents root rot. Fill with a quality potting mix suited to the plants you choose. For an indoor rustic garden, excellent choices include trailing English ivy, hardy pothos, small ferns, air plants displayed in wire holders, and slow-growing succulents. Herbs like rosemary, thyme, and sage are especially fitting for a kitchen windowsill display, adding both visual appeal and practical culinary value to the space.
Arrange your containers on a wooden tray, a vintage crate, or a reclaimed wood shelf for a cohesive, styled vignette. Vary the heights by placing some containers on small risers — an upturned terracotta pot, a stack of antique books, or a small wooden block works perfectly. This creates visual rhythm and makes even a modest collection of plants feel curated and deliberate. Adding a layer of Spanish moss, preserved reindeer moss, or small decorative stones around the base of each plant ties the arrangement together beautifully.
Getting Started: Tools and Materials You Will Need
One of the most encouraging aspects of rustic DIY decor is that you do not need an extensive workshop or expensive equipment to get started. Most projects in this style rely on humble, accessible tools and materials that are easy to find, easy to afford, and easy to use. Building up a small collection of basic supplies means you will always be ready to tackle a new project whenever inspiration strikes, and many materials can be repurposed across multiple different projects.
The following tools will serve you well across the majority of rustic DIY projects:
- A cordless drill with a basic set of drill bits for hanging shelves, creating drainage holes, and assembling wood frames
- A miter saw or a quality handsaw for cutting wood planks to length cleanly and accurately
- A hot glue gun for quick assembly of decorative elements like twine wraps, burlap accents, and garland attachments
- Sandpaper in 80, 120, and 220 grit for smoothing rough wood and creating distressed paint effects
- A set of foam and bristle brushes for applying stain, paint, and sealant to wood surfaces
- A staple gun for securing fabric, burlap, and backing materials to wooden frames and boards
In terms of materials, keeping a stock of the following will mean you are always prepared to create something beautiful:
- Jute twine and natural cotton rope in several thicknesses for wrapping, tying, and macramé
- Burlap and linen fabric scraps for textile accents, wreath bases, and framing backings
- Water-based stains in walnut, dark oak, and weathered gray for finishing wood pieces quickly
- Chalk paint in white, cream, and muted earthy tones for painting and distressing wooden surfaces
- A collection of mason jars in various sizes for candle holders, vases, and storage containers
- An assortment of hooks, S-hooks, and sawtooth hangers for mounting finished pieces on walls
Beyond tools and materials, the single most important ingredient in any successful DIY project is patience. Rushing the drying time of stain, forcing wood joints before glue has cured, or skipping the prep steps of sanding and cleaning will always compromise the final result. Rustic decor embraces imperfection, but there is a meaningful difference between a piece that looks beautifully weathered and one that simply looks unfinished. Taking your time, following each step carefully, and trusting the process will consistently produce results you are genuinely proud to display in your home.
Final Thoughts: Building a Home You Love, One Project at a Time
Decorating your home with DIY rustic projects is not just about the finished pieces you hang on your walls or display on your shelves. It is about the process itself — the quiet satisfaction of working with your hands, the problem-solving that comes with each new project, and the growing confidence that accompanies every completed creation. Each piece you make carries a story, a memory of the afternoon you spent crafting it, and that invisible layer of personal history is something that no store-bought item can ever replicate.
Starting small is always the wisest approach, especially if you are new to DIY crafting. Choose one project from this list that genuinely excites you, gather only the materials that project requires, and give yourself permission to learn as you go. A mason jar candle holder that takes thirty minutes is a perfectly valid starting point. The skills, confidence, and enthusiasm you gain from that single small project will carry you naturally to the next, and before long you will find yourself looking at every empty wall and bare surface as an opportunity rather than a gap.
The beauty of rustic, cozy decor is that it is never truly finished. There is always another candle to craft, another shelf to hang, another textile to weave, and another plant to nurture. Your home grows and evolves with you, reflecting your taste, your creativity, and your life in real time. Embrace that ongoing, living quality. Let your home be a place of warmth, creativity, and genuine comfort — built not from a catalog, but from your own two hands and the joy of making something beautiful from the materials the natural world provides.








What do you think?
It is nice to know your opinion. Leave a comment.