










Transform Your Garden with a Stunning DIY Concrete Garden Pot
Why Concrete Garden Pots Are the Ultimate Garden Upgrade
There’s just something about a well-made concrete garden pot sitting in the middle of all that greenery that stops you in your tracks. While plastic planters fade after a summer and terracotta starts looking crumbly and tired before you know it, concrete has this solid, architectural presence that holds up year after year. And the best part? It works with basically any garden style — modern and minimal, rustic and cozy, or full-on eclectic. A concrete planter just fits.
It’s no accident that DIY concrete projects have taken off the way they have. Concrete is incredibly versatile — you can shape it, texture it, and finish it in so many different ways that no two pots ever look exactly the same. A lot of people assume working with concrete must be complicated, but honestly, it’s much more approachable than it looks. You need a handful of inexpensive supplies, a few hours, and a little patience. The results, though? They genuinely look like something you’d find at a fancy garden shop.
And beyond just looking great, concrete pots are actually really practical. They’re heavy enough that a gust of wind won’t knock them over, they help regulate soil temperature, and in their natural unfinished state they’re porous enough to support good drainage and healthy roots. Seal them properly and they’ll shrug off frost, heavy rain, and blazing sun without skipping a beat. Honestly, making your own concrete garden pot might be one of the most satisfying weekend projects a gardener can take on.
Materials and Tools You Will Need
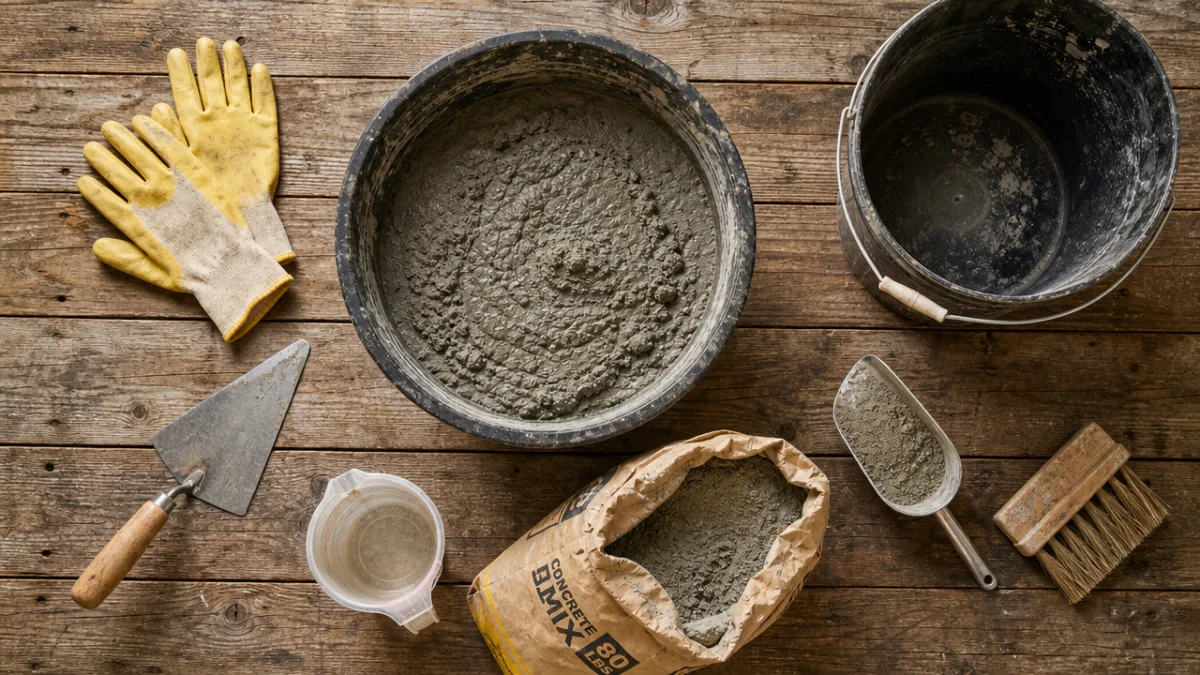
Before you start mixing anything, do yourself a favor and get everything laid out first. Concrete work has a bit of a ticking clock once you’ve started mixing, so scrambling around for tools mid-project is the last thing you want. The good news is that everything on this list is easy to track down at a hardware store or online, and the whole setup costs less than you’d probably expect.
The star of the show is your concrete mix. For garden pots, a fine-aggregate mix or a ready-made countertop blend works really well — it fills molds cleanly and gives you a nice smooth surface. You’ll also need two containers to use as your inner and outer molds. Plastic buckets, cardboard boxes, or even store-bought plastic pots all do the job perfectly well. Just make sure the outer mold is at least an inch bigger than the inner one on all sides — you need that gap to give your pot walls enough thickness to actually hold together.
Here’s everything you’ll want to have ready before you begin:
- One bag of fine-aggregate or countertop concrete mix
- Two nesting containers of different sizes for molds
- Cooking spray or petroleum jelly as a mold release agent
- A mixing bucket and a sturdy stirring tool or drill with paddle attachment
- Rubber gloves and safety glasses for protection
- Small rocks or a wooden skewer to create drainage holes
- Sandpaper (120 to 220 grit) for finishing the surface
- Concrete sealant to protect the finished pot
- Optional: concrete pigment or iron oxide dye for color
One thing worth flagging before you dive in: please actually wear the gloves. Wet concrete contains calcium hydroxide, which is seriously alkaline and can irritate or even burn your skin if you’re in contact with it for too long. Safety glasses matter too, especially when you’re mixing vigorously and splashes can happen. Once those basics are covered, the whole process is genuinely fun and very doable even if you’ve never touched concrete before.
Step-by-Step Guide to Making Your DIY Concrete Pot
Start by prepping both molds. Coat the inside of your outer mold and the outside of your inner mold with a good layer of cooking spray or petroleum jelly. This is what lets you pop the molds off cleanly later without damaging the pot. Don’t be stingy with it — a thorough coat makes demolding so much smoother, and that matters a lot when it’s your first time doing this and you want things to go well.
Next, mix your concrete following the instructions on the package. You’re aiming for something roughly like thick peanut butter — it should hold its shape when you scoop it but not be so stiff it crumbles or so wet it just slumps flat. Add water slowly and keep mixing until there are no dry lumps left anywhere. If you’re using color pigment, now’s the time to work it in before you start pouring. Give everything a solid three to four minutes of mixing so the consistency is even all the way through.
Pour about one to two inches of concrete into the bottom of the outer mold to form the base. Press a small rock or a tape-wrapped wooden dowel into the center of that layer to create your drainage hole, then set the inner mold on top and push it firmly down into the wet concrete. From there, start packing the wet mix into the gap between the two molds. Work in layers and tamp each one down with a stick or your gloved fingers — this helps push out air pockets, which can create weak spots in the walls if you leave them in.
Once the gap is fully packed and the top looks level, tap the sides of the outer mold gently all the way around to coax any last air bubbles up to the surface. Smooth the top edge with a damp finger or a small spatula. Then comes the genuinely hardest part of this whole project: leaving it alone. Drape some plastic wrap loosely over the top and let it cure somewhere shaded and slightly humid for at least 24 to 48 hours before you even think about demolding. It takes about 28 days to fully cure, but after two good days of rest it’ll be firm enough to handle.
Demolding, Finishing, and Sealing Your Pot
After those first couple of days, it’s time to see what you’ve got. Start with the inner mold — give it a gentle twist and pull and it should come free without much of a fight, thanks to that release agent you applied earlier. If it’s being stubborn, run a thin butter knife carefully around the inside edge to loosen it up. Then work on the outer mold the same way, using steady, patient pressure rather than yanking at it.
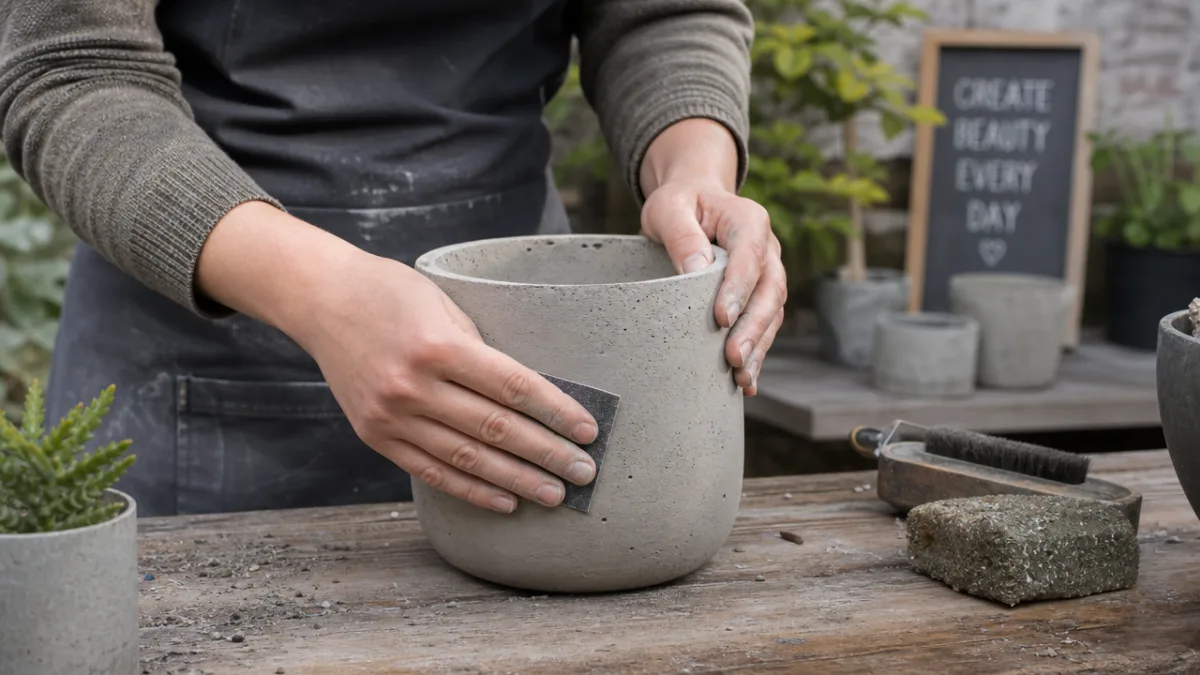
What you’ll be looking at is a pot that already looks pretty great, but probably has some rough texture and maybe a small imperfection or two here and there. That’s completely normal. Grab your 120-grit sandpaper and smooth out any sharp edges or rough patches, then switch to 220-grit to refine the surface further. Spend a little extra time on the rim since that’s what everyone notices first. If you want a really polished, almost stone-like finish, try wet sanding — dampen the surface slightly before you sand and you’ll get a noticeably smoother result.
Sealing is the last step, and it’s not one to skip. A good concrete sealant keeps moisture from getting into the walls, which is really important for preventing cracks during freeze-thaw cycles if you live somewhere with cold winters. It also stops salts and minerals from slowly leaching out of the concrete into your soil, which over time can actually be hard on plant roots. Brush or roll on at least two thin coats, letting each one dry completely before adding the next. Once that’s done, your pot is ready for plants.
Planting Ideas and Styling Your Concrete Pot
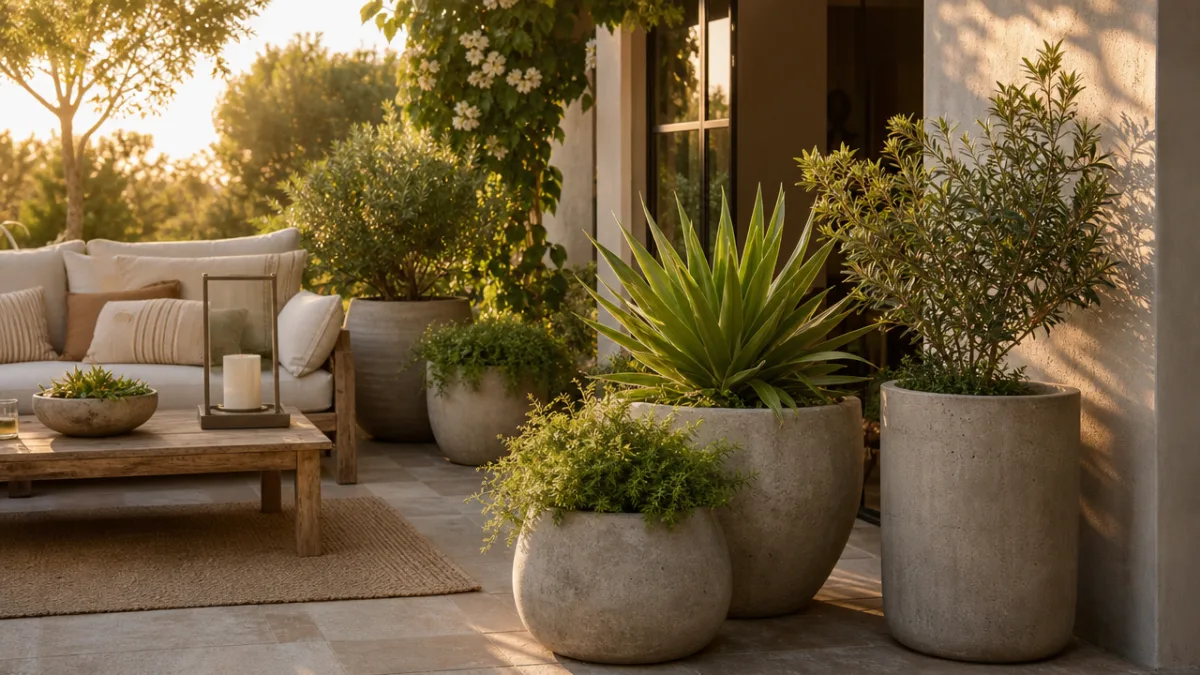
Now here’s where things get really fun. Concrete’s cool, neutral tones make it one of the best backdrops you can find for plants — it plays well with almost everything, from bright flowering annuals to dramatic architectural succulents to cascading trailing vines. Because a concrete planter has some visual weight to it, you want plants that can hold their own in the composition — something bold and structural, or something so lush and overflowing that it softens all that hard surface with a wave of green.
Succulents and cacti are classics in concrete pots, and it’s easy to see why. Their shapes and muted, dusty tones pair with concrete’s industrial character in a way that just works. A cluster of echeveria rosettes, a tall columnar cactus, or a string-of-pearls tumbling over the edge looks like something you carefully styled even if you basically just plopped it in. As a bonus, concrete pots breathe a little and dry out nicely between waterings, which is exactly the environment succulents want.
Here are some other great planting combinations worth trying in your new pot:
- Herb garden trio: Plant rosemary, thyme, and sage together for a fragrant, culinary pot that looks beautiful on a kitchen windowsill or patio table.
- Tropical drama: A single bird of paradise or a large-leafed philodendron makes a bold statement in a larger concrete planter placed at an entryway.
- Cottage wildflower mix: Fill a wide, shallow concrete bowl with lavender, chamomile, and trailing lobelia for a romantic, cottage-garden feel.
- Minimalist moss garden: Fill a low concrete pot with decorative moss, small stones, and a single bonsai-style shrub for a Zen-inspired composition.
- Seasonal annuals: Rotate petunias, marigolds, or pansies through the seasons to keep your concrete pots looking fresh and colorful year-round.
When it comes to arranging your pots in the garden or on a patio, grouping them together almost always looks better than scattering them around individually. Mix heights and sizes, use the tallest pot as a visual anchor, and let the smaller ones spread out around it. Playing with textures nearby — like pairing your smooth concrete pot with a rough terracotta one or a woven basket planter — adds real depth to the arrangement. Think of it the way you’d think about decorating a room: scale, texture, and color balance all matter, and a little intentionality goes a long way.
Creative Variations and Advanced Techniques
Once you’ve got the basic pot down, a whole world of variations opens up. One of the most popular next steps is adding a hypertufa-inspired texture by mixing perlite or peat moss into your concrete before pouring. It drops the weight of the finished pot significantly — which is a real win if you’re working with a balcony or rooftop space — and gives the surface this wonderfully organic, rocky texture that looks like the pot has been around for a hundred years rather than made on a Saturday afternoon.
Leaf casting is another technique that absolutely blows people’s minds when they first see the results. You lay a big botanical leaf — hosta, rhubarb, and elephant ear all work brilliantly — face-down on a sand bed, mound your concrete mix over it, and let it cure. When you peel the leaf away, the concrete has picked up every single vein and curve in incredible detail. These leaf-cast concrete bowls end up looking like genuine garden art, and they make perfect focal points in a border or as a home for a single special plant.
There are also some fantastic surface treatment options for when you want to take the look even further once the pot is finished. Brushing on iron paint and then treating the surface with a diluted vinegar solution creates a gorgeous oxidized rust effect that looks genuinely aged and industrial. Whitewashing with a very watered-down white latex paint gives you something softer and more Scandinavian, which is wonderful for brightening up a shady corner. Even just dry-brushing metallic gold or bronze paint over the texture of a rough-finished pot can look surprisingly luxurious for very little effort.
Mosaic decoration is yet another way to make a finished pot completely your own. Once the pot is fully cured and sealed, you can stick broken ceramic tiles, colored glass pebbles, shells, or fragments of vintage china onto the outside using exterior-grade tile adhesive, then grout over the whole thing for a proper mosaic finish. This works especially well on larger pots that you want to serve as a real focal point — up close the detail is beautiful, and paired with bold planting choices, you’ve basically made a piece of garden sculpture that tells people something about who you are.
Caring for Your Concrete Pots Through Every Season
Concrete is tough stuff, but it does appreciate a little attention across the seasons if you want it to stay looking its best for years — or honestly, decades. The single most important maintenance habit is resealing the exterior every year or two, depending on how harsh your climate is and how exposed the pot is to the weather. A fresh coat of sealant keeps moisture out, refreshes the surface, and makes the pot look like it was just made rather than slowly forgotten about.
If you live somewhere that gets hard frosts or serious freeze-thaw cycles, winter is worth thinking about a little more carefully. Water that works its way into even tiny surface cracks can freeze, expand, and cause the concrete to spall — basically flake away in pieces. If you can’t bring pots undercover for winter, at least empty them out, flip them upside down so water can’t pool inside, and prop them up on pot feet for drainage. Wrapping a particularly prized pot in burlap or fitting a snug cover over it adds a helpful extra layer of protection.
You might also notice a white chalky residue showing up on the surface at some point — this is efflorescence, and while it looks a bit alarming, it’s not actually damaging anything. It’s just dissolved salts being carried to the surface as water evaporates. A stiff brush and a solution of one part white vinegar to five parts water, scrubbed on and rinsed off well, takes care of it reliably. Keeping up with your sealing routine is the best way to prevent it from showing up in the first place.
For regular cleaning, a soft-bristled brush and some mild soapy water is all you need. Skip the harsh chemical cleaners and don’t go at it with a pressure washer at close range — both will strip the sealant and wear down the surface texture over time. Keep things simple and consistent, and a well-made DIY concrete pot will be a fixture in your garden for a very long time, picking up a bit more character and patina with every season that goes by.








What do you think?
It is nice to know your opinion. Leave a comment.