










Transform Your Outdoor Space with Dollar Tree Solar Light Projects: The Ultimate DIY Guide
Why Dollar Tree Solar Lights Are the Ultimate Budget DIY Material
Dollar Tree has quietly become one of the most beloved destinations for creative DIY enthusiasts, and it is not difficult to understand why. For just one dollar per stake light, you can purchase solar-powered garden lights that serve as incredibly versatile raw materials for a wide range of decorating projects. These humble little lights, often overlooked by shoppers rushing past the seasonal aisle, hold tremendous creative potential just waiting to be unlocked by an imaginative crafter with a vision and a few extra supplies from around the house.
The genius of using Dollar Tree solar lights as a crafting foundation lies in their built-in functionality. Each stake light comes with a small solar panel, a rechargeable battery, and an LED bulb already assembled and ready to use. This means you are not just buying a decorative object — you are purchasing a fully functional lighting system for a fraction of what you would spend at a home improvement store. When you repurpose these lights into something entirely new, you are adding beauty on top of an already working mechanism, which gives your finished project an impressive, polished quality that feels far more expensive than it actually is.
Crafters across the country have discovered that Dollar Tree solar lights can be disassembled with ease, allowing you to extract the solar top — the panel and bulb portion — and insert it into virtually any container or structure you can imagine. Mason jars, wine bottles, decorative lanterns, flower pots, painted concrete blocks, and even custom-built wooden frames have all been transformed using this simple technique. The result is always the same: a glowing, solar-powered light that illuminates your garden, porch, or pathway without adding a single cent to your electricity bill.
What Makes This Particular Solar Light Project Stand Out
Among the many Dollar Tree solar light projects circulating on Pinterest and social media, certain ideas rise above the rest because they combine simplicity with stunning visual impact. The best projects are those that look like they took significant skill and money to produce, yet can be completed in an afternoon with supplies costing less than ten dollars total. This new favorite project captures that magical balance perfectly, delivering a finished product that looks like something you might find at a boutique garden center selling for thirty or forty dollars.
What sets this project apart from earlier iterations of the Dollar Tree solar light trend is the attention paid to the overall aesthetic experience. Earlier projects sometimes looked obviously homemade in a way that felt slightly rough around the edges. This newer approach incorporates finishing techniques and material combinations that elevate the final product into something that feels intentional and professionally styled. The color choices, the texture combinations, and the way the light interacts with the surrounding materials at night all contribute to an end result that feels genuinely artistic rather than merely crafty.
The project also benefits from being highly adaptable to different personal styles and outdoor decor themes. Whether your outdoor space leans toward rustic farmhouse charm, sleek modern minimalism, coastal cottage vibes, or lush cottage garden romanticism, this solar light project can be adjusted to suit your existing aesthetic. The core technique stays the same, but material swaps and color changes allow you to customize the finished product until it feels like it was made specifically for your unique space. This flexibility is one of the key reasons this particular project has generated so much excitement and so many saves on Pinterest.
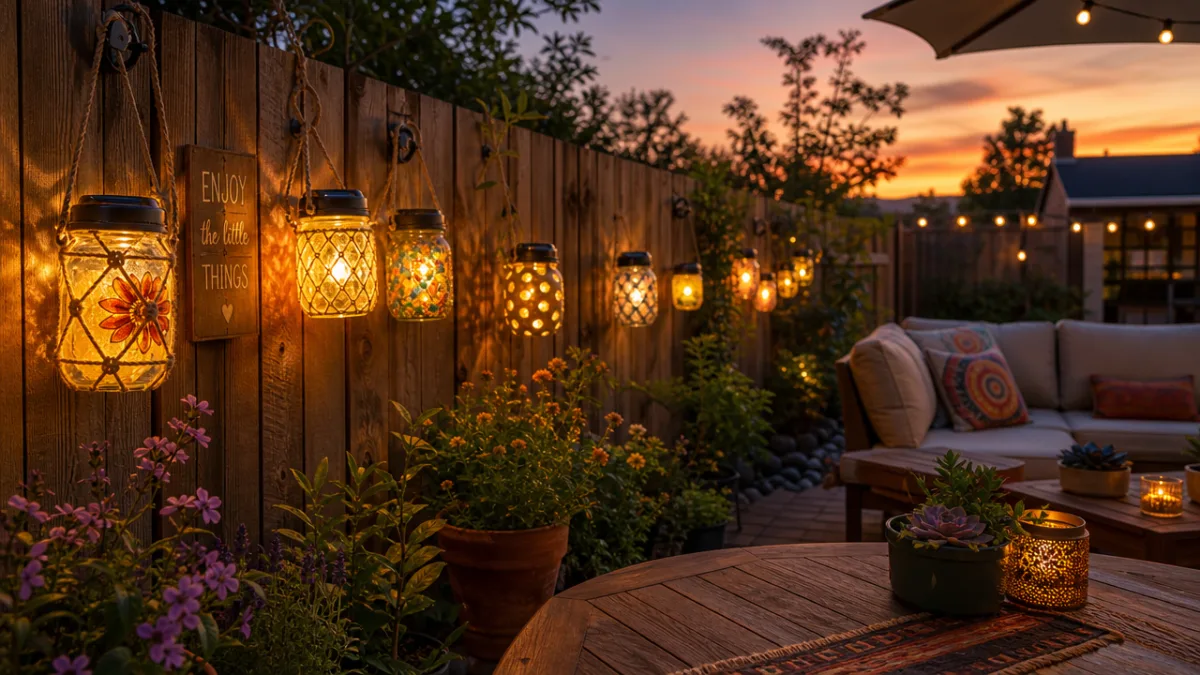
Materials You Will Need and Where to Find Them
Gathering your materials before you begin is one of the most important steps in any DIY project, and this solar light build is no exception. The good news is that the majority of what you need can be found either at Dollar Tree itself or in your own home already. Before your shopping trip, do a quick walk through your garage, craft room, and kitchen to see what you already have on hand. You may be surprised to discover that you already own many of the secondary supplies, meaning your total out-of-pocket cost could be as little as two or three dollars.
The foundation of the project is, of course, the Dollar Tree solar stake lights. Purchase these from the garden or seasonal section of your local store, and aim to buy a few extras beyond what you need, since having spares means you can replace any that stop working over time without interrupting the look of your display. Beyond the lights themselves, you will need your chosen vessel or base — the container into which the solar top will be inserted. This could be a glass vase, a terracotta pot, a tin can with decorative treatment applied, or any number of other options depending on the specific version of the project you are building.
Additional supplies typically include some combination of the following items, which are worth gathering before you begin:
- Spray paint or acrylic craft paint in your chosen color palette, ideally with a matte or chalky finish for a more polished look
- Mod Podge or another decoupage medium if you plan to add any paper, fabric, or texture elements to your base vessel
- A drill or sharp awl for making a clean hole in the top of your chosen container to accommodate the solar panel portion
- Sandpaper in a fine grit for smoothing any rough edges before painting, which makes a significant difference in the finished quality
- Decorative elements such as twine, ribbon, faux moss, pebbles, or small silk flowers depending on the style you are going for
- A hot glue gun and plenty of glue sticks for securing decorative additions firmly to the exterior of your vessel
One of the most satisfying aspects of this materials list is that it draws heavily on supplies that regular crafters tend to already have stocked. Even if you need to purchase everything fresh, the total cost of a set of four or five finished lights will almost certainly come in under fifteen dollars, making this one of the most cost-effective outdoor lighting projects available to the home DIY community. Compare that to the fifty to one hundred dollars you might spend on comparable decorative solar lights at a garden center or home decor retailer, and the value becomes impossible to ignore.
Step-by-Step Instructions for Building Your Solar Light
Once your materials are assembled and your workspace is set up — ideally somewhere with good ventilation if you are using spray paint — you are ready to begin the actual construction process. The steps involved are genuinely straightforward, and even crafters who consider themselves beginners should feel confident tackling this project. The most important thing is to take your time with each step and allow adequate drying time between stages, as rushing the process is the most common source of disappointing results in any paint-based craft project.
Begin by preparing your base vessel. If you are using a glass or ceramic container, wipe it down thoroughly with rubbing alcohol to remove any oils or residue that could prevent paint from adhering properly. If your vessel has any rough spots or uneven texture that you do not want to keep, this is the time to address them with your fine-grit sandpaper. Once the surface is clean and smooth, apply your base coat of paint. For a professional finish, multiple thin coats will always look better than a single heavy application that runs or drips. Allow each coat to dry completely before applying the next.
The following sequence of steps will guide you through the complete build process:
- Clean and prep your vessel surface thoroughly, ensuring it is free of dust, oils, and debris before any paint is applied
- Apply two to three thin coats of your base color, allowing full drying time between each application for the smoothest possible finish
- Carefully disassemble your Dollar Tree solar stake light by pulling the solar panel top away from the plastic stake bottom — this typically requires only a firm but gentle twist or pull
- Use your drill or awl to create a hole in the top or lid of your vessel that is just large enough for the solar panel neck to fit through snugly without wobbling
- Insert the solar top through the hole from the inside out, so the panel sits flush on top of the vessel and the LED light portion hangs inside
- Apply your decorative finishing elements — moss, twine, ribbon, stones, or whatever suits your chosen style — using hot glue to secure everything firmly in place
- Allow everything to cure and set completely before placing your finished light outdoors, ideally giving it at least 24 hours before its first charging session
After your project is fully assembled and the adhesives have cured, place the finished light in a location that receives direct sunlight for several hours during the day. The solar panel needs adequate exposure to charge the internal battery effectively, and a fully charged battery will power the LED light for six to eight hours after dark. Position your lights where they will receive maximum sun exposure during the day while also being visible and impactful in the areas you want illuminated at night — this balance between daytime charging access and nighttime visual impact is the key to getting the most from your solar light display.
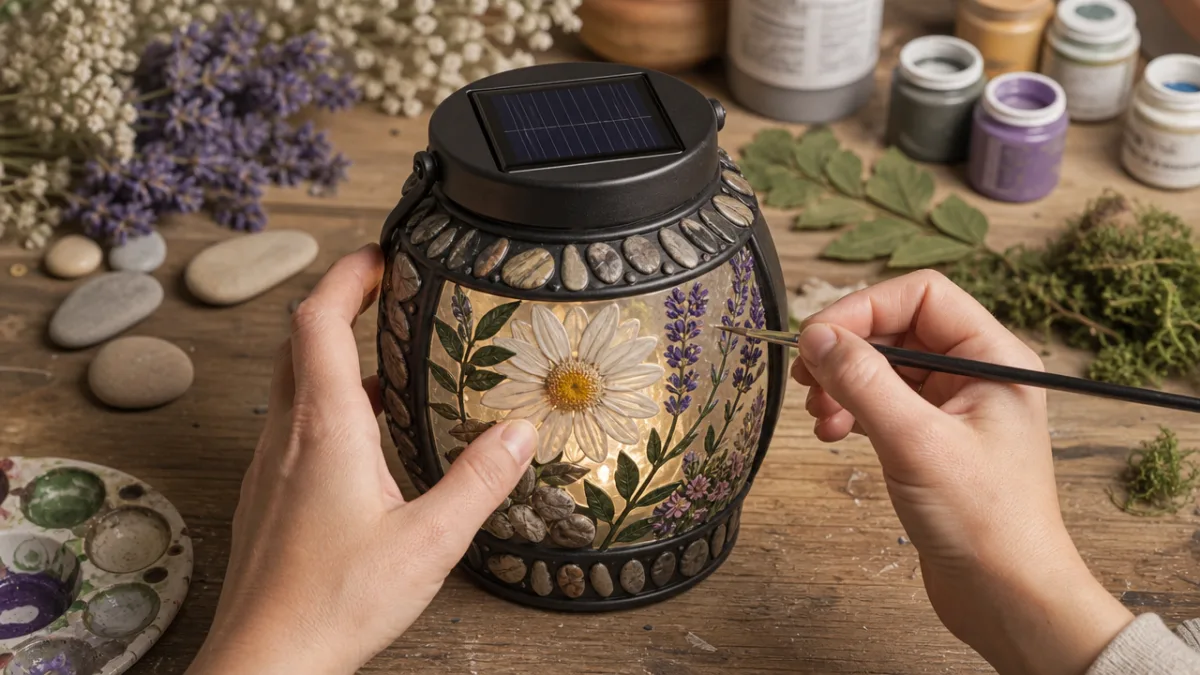
Creative Variations to Personalize Your Project
One of the most exciting aspects of this project is that once you have mastered the core technique, the creative possibilities are essentially limitless. The basic method — inserting a Dollar Tree solar top into a decorated vessel — remains constant, but the infinite variety of containers, colors, textures, and decorative elements available means that no two finished projects need to look the same. Spending time exploring different variations is one of the most enjoyable parts of the process and often leads to unexpected design discoveries that become your new favorites.
For a rustic farmhouse or cottage garden look, consider using terracotta pots that have been painted in chalky, muted tones like sage green, dusty rose, creamy white, or weathered gray. Apply a dry-brush technique with a slightly lighter or darker shade over your base coat to create the appearance of age and wear. Wrap the neck of the pot with natural jute twine secured with hot glue, and tuck a few sprigs of dried lavender or small preserved flowers into the twine wrapping for an organic, botanical feel. This variation looks beautiful lined up along a garden path or clustered together on a front porch step.
For a more modern or contemporary outdoor space, consider sleek cylindrical containers in matte black, brushed gold, or deep navy. Skip the fussy decorative additions in favor of clean lines and let the geometric shape of the vessel do the visual work. A single strip of metallic washi tape or a simple stenciled geometric pattern can add visual interest without cluttering the design. This pared-back approach works beautifully in modern courtyards, on sleek concrete patios, or alongside architectural plantings with strong sculptural forms. The glowing light at night provides warmth that prevents the modern aesthetic from feeling cold or uninviting.
Seasonal variations are another wonderful way to extend the life and relevance of this project throughout the year. During the summer, fill the base of a glass vessel with sand and small shells before inserting the solar top for an effortlessly coastal look. In the fall, swap the decorative elements for miniature gourds, dried corn husks, or auburn-toned ribbon. For the winter holiday season, frosted glass spray paint and a few wrapped wire stars transform the same basic build into elegant Christmas luminaries. This adaptability means that learning this one core technique essentially gives you a year-round decorating solution that can be refreshed with the seasons for minimal additional cost.
Displaying Your Finished Lights for Maximum Visual Impact
Creating beautiful solar lights is only half the equation — the other half is displaying them in ways that maximize their visual impact in your outdoor space. Even the most beautifully crafted individual light can look underwhelming if placed poorly, while a thoughtfully arranged grouping of even simple lights can create a genuinely magical atmosphere. Taking a little extra time to think about placement, grouping, and the overall visual composition of your display will pay significant dividends in the finished effect you achieve once the sun goes down.
Grouping is one of the most powerful tools in the outdoor decorator’s arsenal. Rather than scattering individual lights across a wide area, consider clustering three to five lights together at varying heights to create a focal point that draws the eye and creates a sense of abundance. You can achieve height variation by placing some lights on upturned pots, wooden crates, or small garden stools, while others sit directly on a surface. This layered approach creates visual depth and makes the display feel intentional and designed rather than randomly placed. A grouping on an outdoor side table, at the center of a patio dining table, or beside a garden bench creates an inviting atmosphere that encourages lingering outdoors after dark.
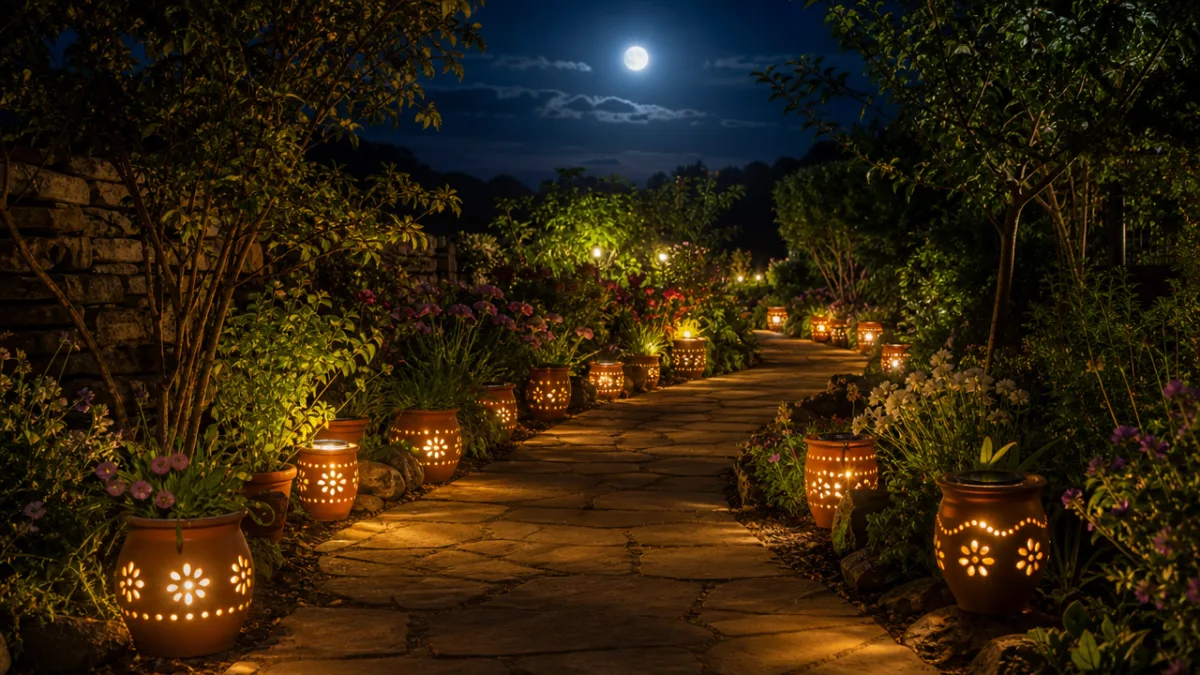
Pathway lighting is another exceptionally effective way to deploy your handmade solar lights. Lining a garden path, the edge of a driveway, or the perimeter of a patio with evenly spaced solar lights creates a welcoming, resort-like atmosphere that transforms an ordinary outdoor space into something that feels special and intentional. For pathway placement, stake-compatible versions of this project work best, or you can simply nestle your vessel-style lights among low plantings along the path edge. The repetition of the glowing lights in a line creates a rhythmic visual effect that is both practical for navigation and beautifully atmospheric after dark.
Do not overlook the potential of vertical surfaces and elevated positions when planning your display. Hanging versions of the solar light project — built using glass containers with wire hangers attached — look stunning when suspended from shepherd’s hooks, pergola beams, tree branches, or fence hooks at varying heights. A cluster of hanging solar lights swaying gently in a summer breeze creates a magical effect reminiscent of fireflies or fairy lights, but with the added benefit of being entirely solar-powered and requiring no extension cords or electrical connections. This kind of display draws the eye upward and adds a romantic, almost theatrical quality to outdoor entertaining spaces that is incredibly difficult to achieve with conventional lighting solutions at any price point.
Care, Maintenance, and Making Your Project Last
One of the common concerns people express about Dollar Tree-based projects is longevity — will something made with one-dollar components really hold up over time? The honest answer is that with proper care and a few smart finishing choices made during the building process, these solar light projects can last through multiple seasons and continue looking beautiful with minimal maintenance. The key lies in a combination of protective finishing treatments applied during construction and sensible handling practices once the lights are in use outdoors.
The single most impactful thing you can do to extend the life of your finished solar light is to seal all painted surfaces with a clear weather-resistant topcoat before placing them outside. Look for an outdoor-rated polyurethane, polycrylic, or spray sealant that specifies UV resistance on the label, as UV protection is what prevents paint colors from fading prematurely under prolonged sun exposure. Apply two or three thin coats of your chosen sealant over all painted and decorated surfaces, paying particular attention to any areas where decorative elements meet the vessel surface, as these joints are most vulnerable to moisture infiltration. A properly sealed project will resist rain, humidity, and temperature fluctuations far better than an unsealed one.
The solar panel component itself requires occasional attention to maintain optimal performance. Dust, pollen, bird droppings, and other environmental residue can accumulate on the surface of the solar panel over time, reducing its ability to absorb sunlight efficiently and resulting in shorter or dimmer lighting periods after dark. A quick wipe with a soft, slightly damp cloth every few weeks during periods of heavy use will keep the panel surface clean and functioning at its best. Avoid harsh chemical cleaners on the panel surface, as these can damage the protective coating and reduce the panel’s efficiency or lifespan more quickly than ordinary environmental exposure would.
During harsh winter weather or extended periods of very heavy rain, bringing your solar lights indoors or storing them in a covered area will significantly extend their overall lifespan. While the lights are designed to be used outdoors, the rechargeable batteries inside the solar tops are sensitive to freezing temperatures and can be permanently damaged by a hard freeze. Removing the solar tops and storing them somewhere temperature-controlled during the coldest months of the year ensures that the batteries remain functional and your investment in both materials and creative labor pays off across many seasons of use. When spring arrives, simply replace the solar tops in your decorated vessels and enjoy your beautiful handmade lights all over again without any additional crafting required.








What do you think?
It is nice to know your opinion. Leave a comment.