










How to Make a Cute DIY Tire Swing Planter For Your Garden Gnomes
There is something wonderfully whimsical about a garden that tells a story. Whether you are an avid collector of garden gnomes or simply someone who loves adding personality to outdoor spaces, a DIY tire swing planter is one of those charming projects that transforms a forgotten old tire into a delightful focal point. This project combines the nostalgia of a childhood tire swing with the practicality of a raised planter, creating the perfect miniature world for your garden gnomes to inhabit. Best of all, it requires minimal materials, modest skill, and a healthy dose of creativity.
Repurposing old tires has become an increasingly popular trend in the sustainable gardening community, and for good reason. Rather than sending rubber tires to landfills where they can take centuries to decompose, crafty gardeners are finding imaginative new lives for them. A tire swing planter does double duty by reducing waste and adding visual interest to your yard, patio, or garden bed. The suspended design gives gnomes and plants alike a sense of movement and playfulness that a static planter simply cannot replicate.
Throughout this guide, you will find everything you need to bring this project to life, from gathering materials and preparing the tire to planting and styling the finished piece. Even if you have never tackled a DIY garden project before, the step-by-step instructions here are designed to walk you through the process with confidence. By the end, you will have a one-of-a-kind garden feature that friends and family will stop to admire every single time they visit.
Materials and Tools You Will Need
Before diving into the creative process, it is important to gather every material and tool you will require. Nothing derails a fun DIY project faster than having to stop midway and run to the hardware store. The good news is that most of what you need is either already in your garage, available at a local hardware store, or inexpensive to purchase online. The star of the show, of course, is the tire itself, which you can often obtain for free from local auto repair shops or tire dealers who are happy to give away used tires rather than pay for disposal.
For the planting portion of the project, you will want to think carefully about what kinds of plants will thrive inside the tire. Because tires can absorb heat from the sun, they create a warmer microclimate that is excellent for herbs, succulents, trailing flowers like petunias or lobelia, and small ornamental plants. The tire also needs adequate drainage to prevent root rot, so drilling holes or cutting the tire to allow water to escape is an essential part of the preparation process that should not be skipped.
Here is a complete list of materials and tools to have on hand before you begin:
- One used passenger car or truck tire (cleaned thoroughly)
- A length of heavy-duty rope, chain, or thick jute twine (at least 6 to 8 feet)
- A sturdy tree branch, pergola beam, or garden frame to hang the swing from
- Exterior-grade spray paint or chalk paint in your desired colors
- Primer suitable for rubber surfaces
- A drill with a large drill bit (or a jigsaw for cutting drainage gaps)
- Landscape fabric or burlap to line the inside of the tire
- Potting soil mixed with perlite for drainage
- A selection of small plants, moss, and ground cover
- One or more garden gnome figurines
- Sandpaper (medium grit) for scuffing the tire surface before painting
- Eye bolts, S-hooks, or carabiners for secure hanging
- Optional: fairy lights, decorative stones, miniature mushrooms, or tiny fencing
Having all of these items laid out before you start will make the project feel organized and enjoyable rather than chaotic. If you plan to hang the tire from a tree, inspect the branch thoroughly to ensure it is live wood, at least 8 inches in diameter, and free of rot or disease. Safety is paramount, especially if children will be playing nearby or if you are hanging a heavy, soil-filled planter in a high-traffic area of your garden.

Preparing and Painting the Tire
The preparation stage is arguably the most important part of this project, because a well-prepared tire will hold paint beautifully and look polished for seasons to come, while a poorly prepared surface will result in peeling, chipping, and a generally shabby appearance. Start by thoroughly washing the tire with a stiff brush, warm water, and a little dish soap. Tires accumulate road grime, oil residue, and dust over their lifetimes, all of which will prevent paint from adhering properly if not removed. Rinse the tire completely and allow it to dry in the sun for several hours or overnight.
Once the tire is clean and dry, use your medium-grit sandpaper to lightly scuff the entire outer surface. This roughens the rubber just enough to give the primer something to grip onto. Apply a rubber-compatible primer in thin, even coats, holding the spray can about 12 inches from the surface to avoid drips. Allow each coat to dry according to the manufacturer’s instructions before applying the next. Two coats of primer are usually sufficient to create a stable base for your chosen paint color.
Now comes the fun part: choosing your color palette and painting the tire. For a garden gnome theme, consider earthy tones like mossy green, warm terracotta, or rustic red to mimic natural woodland elements. You can also go bold with a bright white or cheerful yellow if you prefer a more vibrant, cottage-style aesthetic. Chalk paint is an excellent choice for this project because it adheres well to primed rubber surfaces and gives a matte, old-world finish that complements the whimsical gnome theme beautifully. Apply two to three coats of your base color, then seal the finished tire with an outdoor-grade sealant spray to protect against rain, UV rays, and temperature fluctuations throughout the seasons.
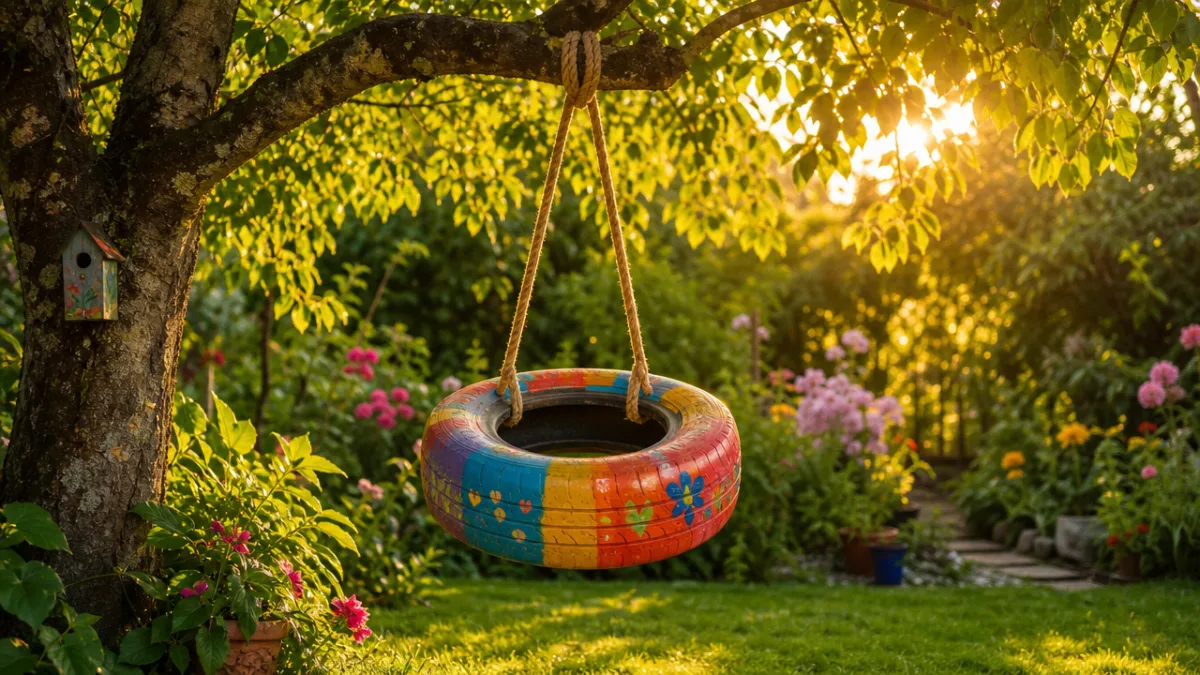
If you are feeling particularly artistic, this is also the stage where you can add decorative details to the outside of the tire. Painted flowers, vines, toadstools, or even tiny painted doors and windows can transform the tire into a gnome home rather than simply a planter. Stencils are a beginner-friendly way to achieve clean, consistent designs without needing a steady freehand. Let your imagination lead the way and remember that imperfections only add to the handmade charm of the finished piece.
Drilling, Hanging, and Structural Setup
With your painted tire looking beautiful, it is time to tackle the structural elements that will allow it to hang safely and at just the right angle. The way you orient the tire matters quite a bit for both aesthetics and plant health. A horizontally oriented tire, hanging parallel to the ground like a traditional swing, creates a wide, shallow bowl that is perfect for trailing plants and gives gnomes a stable platform to stand or sit on. A vertically oriented tire, hanging perpendicular to the ground like a traditional swing, creates a more dramatic silhouette but requires more creativity when it comes to securing soil inside.
For most gnome planter projects, a horizontal orientation is recommended. To achieve this, you will thread rope or chain through the tire at three equidistant points around the inner circumference, creating a triangular harness that distributes the weight evenly and keeps the planter level. Use an awl or drill to create small pilot holes where the rope will pass through the tire wall, then thread your rope or chain and tie secure knots or fasten with carabiners on the underside. Test the harness by lifting the tire before adding any soil to ensure all three attachment points are pulling evenly.
Before filling the tire with soil, line the inside with landscape fabric or a doubled piece of burlap. This lining serves two purposes: it keeps the soil from washing out through the drainage holes you are about to create, and it adds a layer of insulation to protect plant roots from the heat that rubber tires absorb in direct sunlight. Use your drill to create at least six to eight drainage holes across the bottom surface of the tire, spacing them evenly so that water can drain freely after rain or watering. Proper drainage is the single most important factor in keeping your planter plants healthy long-term.
When selecting your hanging point, take a moment to consider sunlight exposure throughout the day. Most flowering plants and herbs thrive with at least six hours of direct sun, so choose a location under a tree or pergola where dappled light reaches the planter for the majority of the day. Once you have identified the right spot, install your eye bolt or hanging hardware securely into the branch or beam, then attach the rope harness and gently lower the tire into its hanging position before filling it with soil. It is always easier to make adjustments to the height and levelness of the swing before adding the weight of soil and plants.
Planting and Styling Your Gnome Garden
With the structural work complete, you have arrived at the most creatively satisfying stage of the entire project: filling and styling your tire swing planter into a miniature gnome world. Begin by filling the lined tire with a high-quality potting mix blended with perlite or coarse sand at a ratio of roughly three parts potting mix to one part perlite. This blend provides the nutrients your plants need while ensuring the excellent drainage that container gardening demands. Fill the tire to within about two inches of the top edge to allow space for watering without overflow.
When selecting plants for your gnome planter, think in terms of layers and textures. A low-growing ground cover like Irish moss, creeping thyme, or baby tears creates the look of a lush forest floor. Mid-height plants like miniature hostas, small ferns, or compact lavender add structure and fragrance. Trailing plants like sweet potato vine, dichondra, or bacopa can spill over the edges of the tire, softening the rubber border and creating a sense of abundant, wild growth. If the planter will receive full sun, succulents and sedums are a low-maintenance and visually striking choice that gnomes look right at home among.
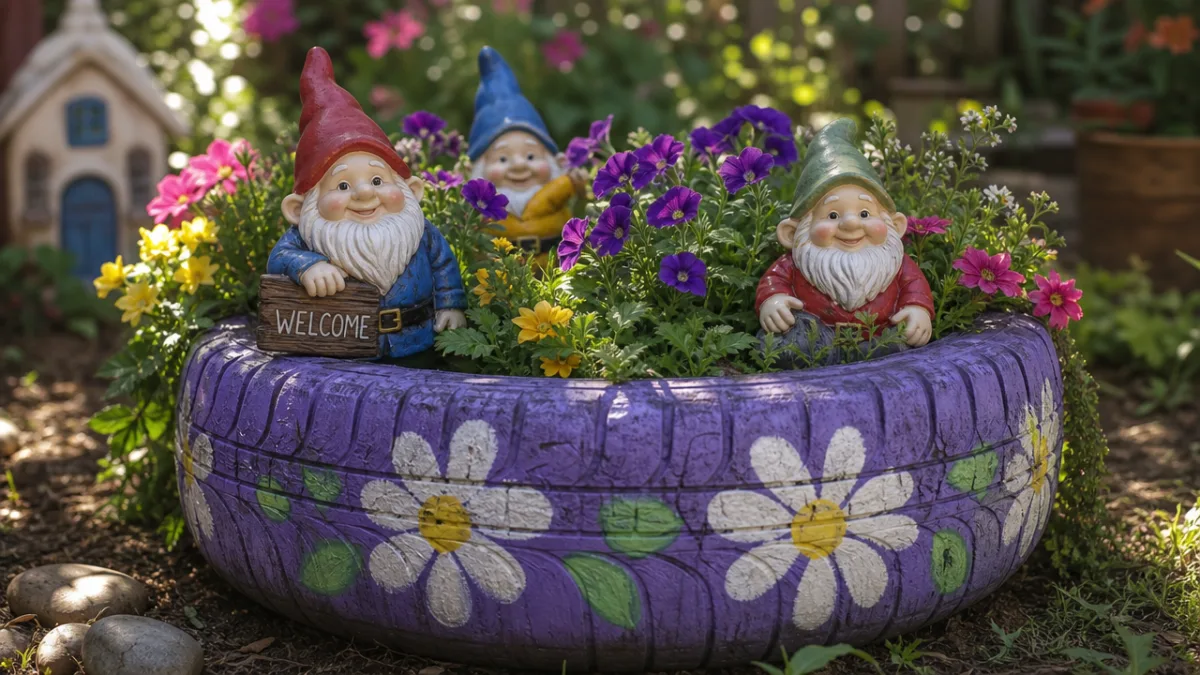
Now place your garden gnomes. Position them with intention, as if they truly live in this little world and are going about their daily activities. A gnome with a fishing pole can be seated at the edge of the tire as if fishing in an imaginary pond. A gnome with a wheelbarrow can be tucked behind a cluster of plants as if tending the garden. A pair of gnomes can be posed as if in conversation near a decorative mushroom. The narrative you create through placement is what elevates this from a simple planter to a genuine piece of garden storytelling.
Enhance the scene with additional accessories to deepen the sense of whimsy and detail. Small decorative rocks arranged to suggest a pathway, tiny wooden or clay mushrooms nestled between plants, miniature lanterns or fairy lights wound through the foliage, and small pieces of driftwood or bark used as furniture or fencing all contribute to the magical atmosphere. A small mirror tile placed flat among the ground cover creates the illusion of a reflective pond or puddle, which is a particularly enchanting touch that visitors will love discovering.
Care, Maintenance, and Seasonal Adjustments
A DIY tire swing planter is not a set-it-and-forget-it project. Like any container garden, it requires consistent care to keep the plants healthy and the overall display looking its best. Because the planter is elevated and exposed to air on all sides, it will dry out more quickly than a ground-level planter or garden bed. During warm summer months, check the moisture level of the soil every day by pressing a finger about an inch into the potting mix. If the soil feels dry at that depth, it is time to water. Water slowly and thoroughly until excess moisture drains from the bottom holes, then wait until the top inch dries again before watering next.
Fertilizing is equally important for container plants, which quickly exhaust the nutrients available in a fixed volume of potting mix. Apply a balanced, slow-release granular fertilizer at the beginning of the growing season and again at midsummer. If you are growing flowering plants like petunias or lobelia, a liquid bloom fertilizer applied every two weeks during peak flowering season will reward you with continuous, vibrant blooms. Always follow the manufacturer’s dosage instructions to avoid over-fertilizing, which can burn roots and cause more harm than good.
As the seasons change, so too should your planting and styling strategy. In late autumn, remove frost-tender plants and replace them with cold-hardy options like ornamental kale, winter pansies, evergreen trailing ivy, or small conifer sprigs. Your gnomes may need seasonal outfits or companions as well — a gnome wearing a tiny scarf and surrounded by miniature pinecones and holly sprigs creates a charming winter scene just as delightful as its summer counterpart. In regions with freezing winters, consider bringing the entire planter indoors or into a covered porch to protect both the plants and the painted tire from freeze-thaw damage that can cause paint to crack and peel.
Periodically inspect the rope or chain used for hanging, especially after severe weather. UV exposure, moisture, and weight can weaken rope fibers over time, and a broken rope can send your planter crashing to the ground, damaging plants, figurines, and potentially injuring anyone standing below. Natural fibers like jute have a shorter lifespan than synthetic rope or galvanized chain, so factor this into your maintenance schedule. Replacing hanging hardware once per season is a small investment that protects everything you have put into this creative project.
Creative Variations and Inspiration for Future Projects
Once you have completed your first tire swing planter, you will likely find yourself looking at every old tire you encounter as a potential new project. The basic concept is wonderfully adaptable and can be customized in dozens of ways to suit different garden styles, spaces, and themes. A stack of three tires in graduated sizes, each painted a different color and planted with coordinating flowers, creates a tiered tower planter that makes a bold statement in a corner of the yard. Two tires hanging side by side from the same branch can be styled as neighboring gnome homes, complete with tiny fences between them and shared accessories like a communal vegetable patch or a miniature well.
For gardeners with a more rustic or farmhouse aesthetic, skipping the paint entirely and allowing the natural black rubber to contrast against lush green planting creates a striking, modern look. Wrapping the exterior of the tire in jute rope or twine is another technique that softens the industrial appearance of rubber while adding texture and warmth. Moss applied with a moss paste made from blended moss, buttermilk, and water can be encouraged to grow on the outer surface of the tire over time, creating a beautifully organic, aged appearance that looks as if the planter has always been a part of the garden.
Children particularly love the tire swing planter concept because it merges their love of playground equipment with imaginative play. Consider involving kids in the painting and decorating stages of the project, allowing them to choose colors and accessories for their own miniature gnome world. The finished planter becomes not only a garden feature but a beloved toy that inspires storytelling and outdoor play for years. You can even rotate the gnome figurines and accessories with the seasons, keeping the display fresh and giving children something new to discover each time they visit the garden.
Finally, do not underestimate the gift-giving potential of this project. A beautifully painted and planted tire swing planter, complete with a gnome or two and a thoughtful selection of plants, makes a truly unique and heartfelt gift for a gardening enthusiast, a new homeowner, or anyone who appreciates handmade, one-of-a-kind creations. Package it with a small card describing how to care for the plants and maintain the planter, and you have a present that will bring joy and beauty to someone’s outdoor space for many growing seasons to come. The combination of practicality, creativity, and charm is exactly what makes DIY garden projects like this one so deeply satisfying to make and to share.








What do you think?
It is nice to know your opinion. Leave a comment.