










Easiest Way of Building a DIY Raised Garden Bed: Gardening Ideas for Small Farms
Why Raised Garden Beds Are a Game-Changer for Small Farms
Raised garden beds have transformed the way home gardeners and small farm owners approach growing food. Whether you have a sprawling backyard or a compact urban lot, raised beds offer a flexible, productive, and surprisingly affordable solution that traditional in-ground gardening simply cannot match. They allow you to take full control over your growing environment, which is especially valuable when the native soil on your property is poor, rocky, or contaminated. For anyone serious about maximizing their harvest, building even a single raised bed is one of the best investments of time and energy you can make.
One of the most compelling advantages of raised beds is the dramatic improvement in soil quality you can achieve from the very start. Rather than spending years amending and conditioning native ground soil, you fill your raised bed with a custom blend of topsoil, compost, and other organic materials that plants absolutely thrive in. This means stronger root development, better moisture retention, and more efficient nutrient uptake right from the first growing season. For small farm operators who need reliable yields without waiting years for soil improvement, this accelerated start can be truly transformative.
Beyond soil quality, raised garden beds offer practical benefits that make daily gardening far more enjoyable. The elevated structure reduces the strain of bending and kneeling, which is a significant advantage for gardeners of any age. Weeds are dramatically easier to manage because the defined borders of the bed create a clear boundary between your cultivated soil and the surrounding ground. Pest management also becomes more targeted, and because the beds warm up faster in spring, you can often extend your growing season by several weeks on either end, squeezing more harvests out of every calendar year.
Comparing Raised Beds to Traditional In-Ground Gardening
Traditional in-ground gardening has served farmers and gardeners for thousands of years, but it comes with challenges that raised beds elegantly sidestep. Compaction is a persistent problem with ground-level plots, especially in high-traffic garden spaces where walking between rows gradually crushes air pockets out of the soil and makes it harder for roots to penetrate. With a raised bed, you never need to step into the growing area at all, so the soil remains loose, aerated, and hospitable to deep root growth throughout the entire season without any additional intervention.
Drainage is another critical factor where raised beds shine compared to traditional plots. In areas with heavy clay soils or regions prone to heavy rainfall, waterlogged ground is a constant threat to plant health. A well-constructed raised bed with good drainage materials at its base allows excess water to flow freely away from roots, preventing the rot and fungal diseases that thrive in soggy conditions. Conversely, in drier climates, the contained structure of a raised bed actually helps retain moisture more efficiently than open ground, reducing how often you need to water your plants.
Choosing the Right Materials for Your DIY Raised Garden Bed
The materials you choose for building your raised garden bed will determine how long it lasts, how safe it is for growing edible plants, and how much money you spend getting started. Wood is by far the most popular choice among DIY gardeners, and for good reason. It is widely available, easy to work with using basic tools, and provides a natural aesthetic that blends beautifully into any garden setting. Cedar and redwood are the premium options because they contain natural oils that resist rot and insect damage, potentially lasting a decade or more without any chemical treatment.
For budget-conscious builders, pine and spruce are perfectly acceptable alternatives that cost significantly less than cedar or redwood. Untreated pine will typically last three to five years before showing signs of significant decay, but applying a food-safe sealant or lining the interior walls with landscape fabric can extend its lifespan considerably. It is critically important to avoid using pressure-treated lumber in vegetable garden beds, as older formulations contained arsenic compounds that can leach into soil and be absorbed by edible plants. If you do choose treated wood, look specifically for boards labeled as safe for garden use or rated for ground contact with modern, safer preservatives.
Beyond wood, there are several other excellent material options worth considering depending on your specific needs and aesthetic preferences. Galvanized corrugated metal has become increasingly popular in recent years, offering exceptional longevity, a sleek modern appearance, and resistance to both rot and pests. Concrete blocks, bricks, and natural stone create permanent, visually striking structures that can also double as heat sinks, absorbing warmth during the day and releasing it at night to create a more stable microclimate for plants. Recycled composite lumber made from plastic and wood fiber offers the look of wood with much greater resistance to weathering and decay.
Sizing Your Raised Bed for Maximum Productivity
Getting the dimensions of your raised bed right from the beginning will save you significant frustration later on. The single most important measurement to get right is the width. Beds that are too wide make it impossible to reach the center without stepping into the growing area, which defeats one of the primary advantages of the raised bed design. Most experienced gardeners recommend a maximum width of four feet for beds accessible from both sides, and no more than two to two and a half feet for beds positioned against a wall or fence where you can only reach from one direction.
Length is far more flexible than width, and you can adjust it to fit your available space and aesthetic vision. Common lengths range from four feet to twelve feet, with eight feet being a popular middle ground that is easy to work with and fits nicely into most garden layouts. Height is another variable you can customize based on your specific goals. A standard height of six to twelve inches is sufficient for most vegetables, but gardeners dealing with particularly poor native soil, or those who want to minimize bending entirely, often build beds that are eighteen to twenty-four inches deep for maximum root space and accessibility.
Step-by-Step Guide to Building Your Raised Garden Bed
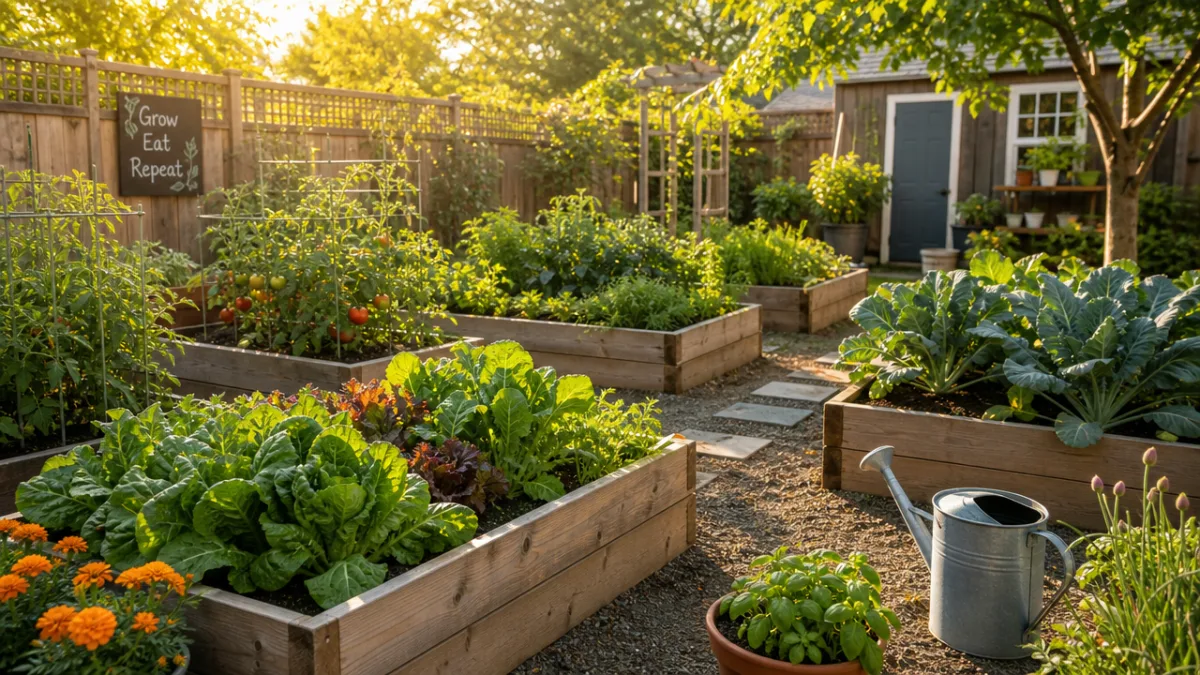
Building a basic wooden raised garden bed is a project that most people can complete in a single afternoon, even without extensive carpentry experience. The process is straightforward, requires minimal tools, and results in a sturdy, functional structure that will serve your garden for years to come. Before you pick up a single board, take the time to plan your layout carefully. Choose a location that receives at least six to eight hours of direct sunlight per day, since most vegetables are sun-loving plants that will produce disappointing yields in shade. Mark out the footprint of your bed with stakes and string before any cutting begins.
Gather all of your materials and tools before starting so the construction process flows without interruption. For a standard four-by-eight-foot bed, you will need two eight-foot boards and two four-foot boards, ideally cut from two-by-ten or two-by-twelve dimensional lumber for a good depth. You will also need four corner posts, typically cut from four-by-four lumber, which add structural strength and provide attachment points for the side boards. A drill with appropriate bits, exterior-grade screws, a tape measure, a level, and a saw round out the basic tool list. Everything you need is readily available at any hardware or home improvement store.
Assembly begins by attaching the side boards to the corner posts using your exterior screws, working on a flat surface if possible to ensure everything lines up correctly. Pre-drilling your screw holes prevents the wood from splitting and makes the assembly process much cleaner and more precise. Once the basic frame is assembled, carry it to its final location and set it in place. Use a level to check that the top edges are even, adding or removing soil beneath the posts as needed to correct any tilt. A level bed not only looks better but also ensures that water distributes evenly across the growing area rather than pooling at one end.
Preparing the Base and Filling Your Raised Bed
Once the frame is positioned, the next critical step is preparing the base of the bed before adding any soil. Many gardeners place a layer of cardboard directly on the ground inside the frame, covering the entire base area with overlapping sheets. This cardboard serves as a biodegradable weed barrier that suppresses existing grass and weeds while decomposing over time to add organic matter to the soil below. It is a simple, inexpensive technique that significantly reduces weed pressure during that critical first growing season when your plants are establishing themselves.
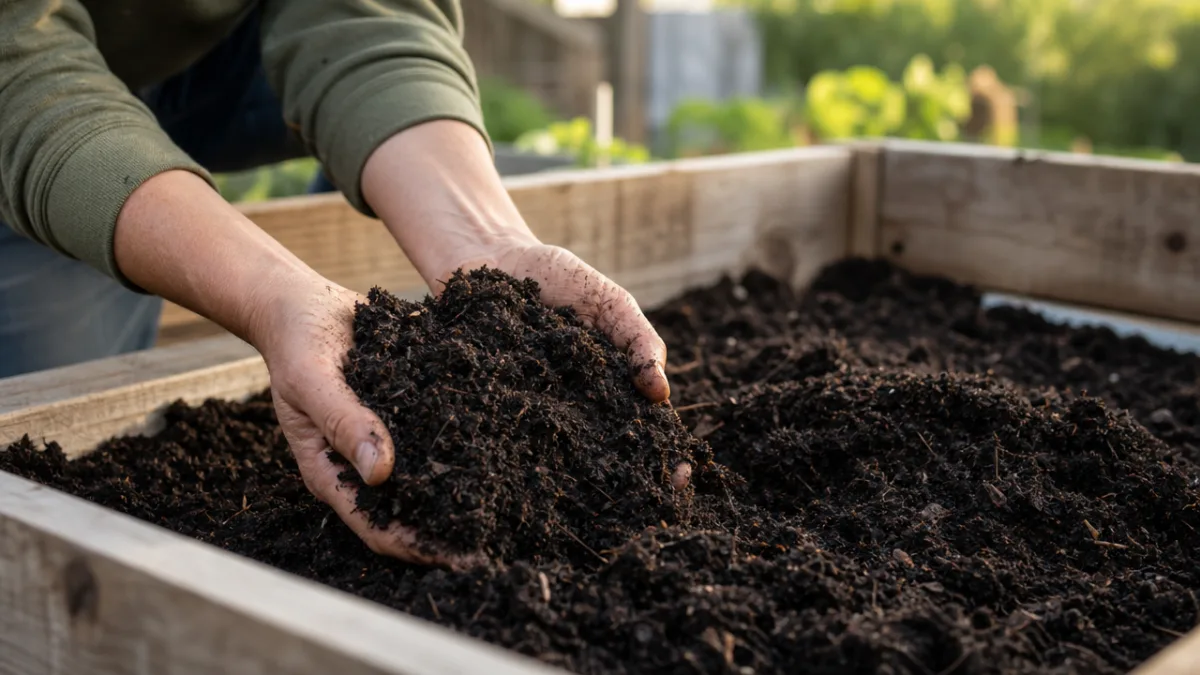
On top of the cardboard, some builders add a layer of coarse gravel, small rocks, or wood chips to improve drainage before the soil goes in. This drainage layer is particularly valuable in areas with heavy rainfall or in beds built on ground that does not drain naturally. The bulk of your bed should then be filled with a rich, well-balanced growing mix. A classic recipe that experienced gardeners swear by combines roughly one third high-quality topsoil, one third coarse compost, and one third materials that improve drainage and aeration such as perlite, aged wood chips, or coarse sand. This blend creates the ideal growing environment for almost any vegetable or herb.
As you fill the bed, add the growing mix in layers and gently water each layer as you go to help it settle and eliminate air pockets. The goal is a mix that is loose, crumbly, and moisture-retentive without becoming waterlogged. Fill the bed to within an inch or two of the top rim, knowing that the soil will settle further over the first few weeks as it absorbs rain and irrigation. Top the filled bed with a generous layer of compost right before planting to give your seedlings an immediate nutritional boost and provide a soft, welcoming surface for delicate roots to penetrate from the very first day.
What to Plant in Your Raised Garden Bed
One of the most exciting aspects of completing your raised bed is deciding what to grow in it. The combination of excellent soil, good drainage, and the warmer microclimate created by the elevated structure means that raised beds are suited to an impressive range of crops. Vegetables that tend to struggle in compacted, poorly drained native soil often thrive in the loose, nutrient-rich environment of a raised bed. Salad greens, herbs, tomatoes, peppers, cucumbers, and root vegetables like carrots and radishes all perform exceptionally well and provide satisfying yields for the space they occupy.
Maximizing the productivity of your raised bed involves using a technique called intensive planting, where crops are spaced more closely together than traditional row-gardening methods recommend. The superior soil quality of a raised bed supports this denser planting style because roots can go deeper to find nutrients and moisture rather than competing laterally with neighboring plants. Succession planting is another powerful strategy where you sow new seeds every two to three weeks throughout the growing season so that as one crop finishes producing, another is just reaching maturity, keeping the bed continuously productive from early spring through late autumn.
Vertical growing techniques pair beautifully with raised beds and can dramatically increase your yield per square foot. Installing a simple trellis or cage at the back of the bed allows vining crops like beans, peas, cucumbers, and indeterminate tomatoes to grow upward rather than sprawling outward. This keeps the plants healthier by improving airflow around the foliage, makes harvesting much easier, and frees up valuable bed space for additional ground-level crops planted at the base of the trellis. Many experienced raised bed gardeners find that a single well-designed bed with vertical elements can produce as much food as a traditional in-ground garden plot several times its size.
Companion Planting Strategies for Raised Beds
Companion planting is the practice of growing different plant species in close proximity so that they benefit one another in various ways, and raised beds are an ideal setting to implement this strategy. The classic combination known as the Three Sisters, developed and refined by Indigenous farmers over thousands of years, pairs corn, beans, and squash in a mutually supportive trio. The corn provides a natural trellis for the beans, the beans fix atmospheric nitrogen into the soil to feed the other plants, and the squash spreads its broad leaves across the ground to shade out weeds and retain soil moisture for the benefit of all three.
Pest management through companion planting is another valuable technique that reduces or eliminates the need for chemical interventions. Strongly aromatic herbs like basil, marigolds, and nasturtiums are widely used as companion plants because their scents confuse or repel many common garden pests. Planting basil alongside tomatoes is believed to improve both the health of the plants and the flavor of the fruit, while marigolds are particularly effective at deterring nematodes and aphids when planted around the perimeter of a bed. These pest-deterring companions also add color and visual interest to the garden, making your raised bed both productive and beautiful.
Maintaining and Improving Your Raised Garden Bed Season After Season
A raised garden bed is not a one-time installation but rather a living, evolving growing system that rewards ongoing care and attention. At the end of each growing season, take the time to remove spent plant material, pull any remaining weeds, and add a generous top dressing of compost to replenish the nutrients that your crops have drawn from the soil throughout the year. This simple annual amendment is the single most effective thing you can do to maintain the long-term productivity and health of your growing medium, essentially resetting the nutritional profile of the bed so it is ready to support a full crop the following spring.
Over multiple seasons, the soil in a raised bed will naturally compact and settle, gradually reducing the volume of growing medium and the quality of drainage and aeration. Address this by periodically adding fresh compost and other organic materials to bring the soil level back up near the top of the frame. Some gardeners also use a broadfork, a large two-handled garden fork with long tines, to gently loosen and aerate the soil in early spring without fully turning it over, which preserves the soil structure and the beneficial microbial communities that have developed within it. This minimal-disturbance approach to soil care is increasingly recognized as far superior to aggressive tilling.
The wooden frame of your raised bed will require periodic inspection and maintenance to extend its useful life. Check the corners and joints each spring for signs of loosening, splitting, or rot, tightening any screws that have worked loose over the freeze-thaw cycles of winter. Boards that show advanced decay should be replaced promptly before they fail completely, as a collapsing wall can damage plants and spill carefully built soil across the surrounding area. Some gardeners apply a coat of linseed oil or another natural wood preservative to the exterior of their frames every few years to protect the wood from moisture without introducing harmful chemicals anywhere near their food-producing soil.
Seasonal Planning and Crop Rotation in Raised Beds
Thoughtful seasonal planning and crop rotation are practices that transform a good raised bed garden into an outstanding one. Crop rotation, the practice of moving plant families to different beds or different sections of a bed each season, is one of the most effective tools available for preventing the buildup of soil-borne diseases and pests that target specific plant families. Rotating the location of your tomatoes and peppers each year, for example, disrupts the life cycle of soilborne pathogens like early blight and fusarium wilt that can otherwise accumulate to damaging levels in soil where the same crop grows year after year.
A simple four-year rotation plan works well for most small farms and home gardens with multiple raised beds. Group your crops into four families: legumes such as beans and peas, brassicas such as cabbage, broccoli, and kale, root vegetables such as carrots, beets, and onions, and fruiting vegetables such as tomatoes, peppers, and squash. Rotate each family to the next bed in sequence each year so that no family returns to the same bed until four years have passed. This systematic approach keeps pest and disease pressure low, takes advantage of the residual soil improvements left by nitrogen-fixing legumes, and generally leads to healthier, more productive plants across the entire garden year after year.
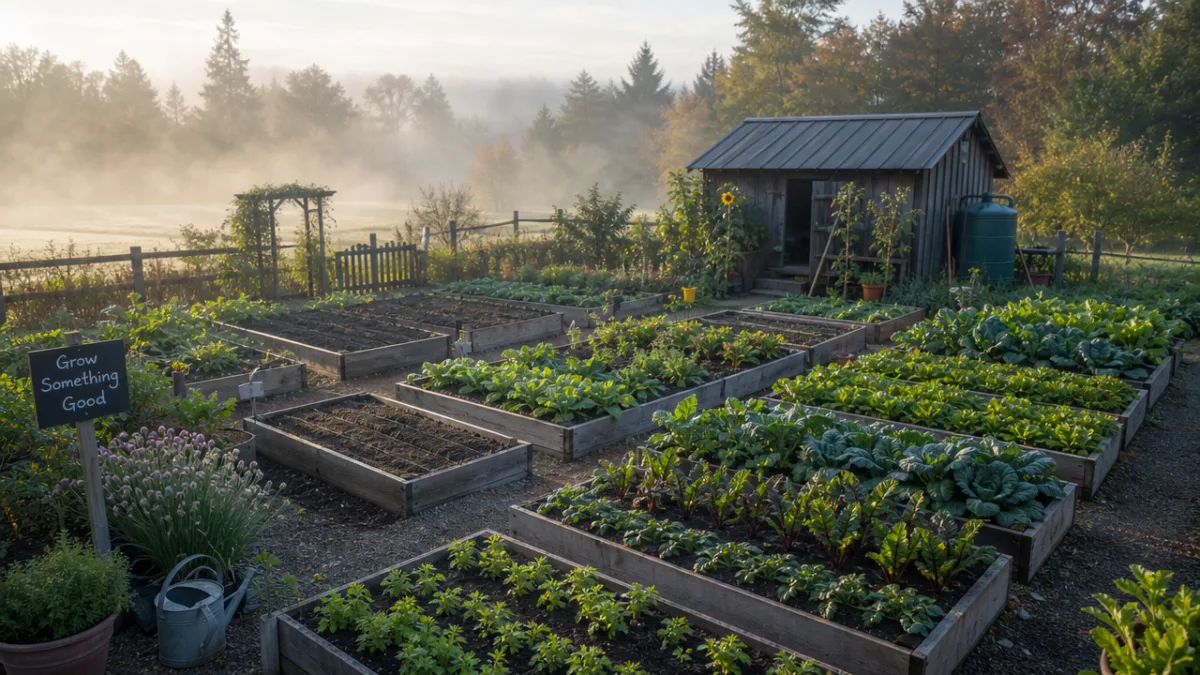
Building your first DIY raised garden bed is genuinely one of the most rewarding projects a gardener can undertake, offering tangible results that you will see and taste within the very first season. The combination of improved soil quality, better growing conditions, reduced weed pressure, and the sheer joy of harvesting food you grew yourself makes every hour of planning and construction effort worthwhile many times over. Whether you build one small bed or develop an entire network of raised growing spaces across your small farm, the principles and techniques covered in this guide will give you a strong, confident foundation to grow from for many seasons to come.








What do you think?
It is nice to know your opinion. Leave a comment.