










DIY Planter With Hose Storage: Build a Beautiful and Functional Outdoor Feature
If you’ve ever tripped over a garden hose — or just winced at the sight of one snaking across your lawn — you already know the problem this project solves. A DIY planter with built-in hose storage combines two things you need anyway into one good-looking structure that actually makes your yard feel more put-together. Honestly, it’s one of the most satisfying weekend builds you can take on, and the finished product looks way more expensive than it actually is.
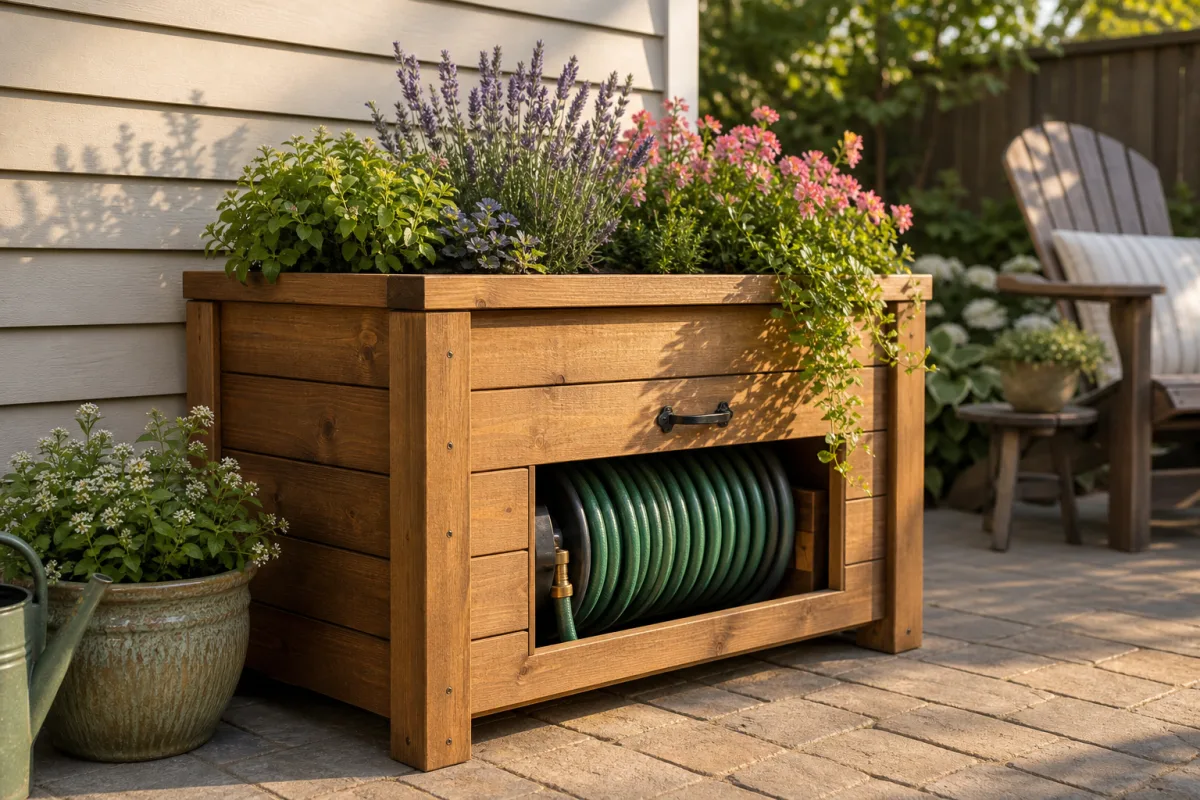
What makes this build so fun is the double life it leads. From the outside, your neighbors see a handsome raised planter spilling over with flowers, herbs, or greenery. Open a hinged panel on the side, though, and there’s your hose, neatly coiled and completely out of sight. It’s the kind of detail that makes a backyard feel intentional rather than thrown together, and it really only takes a clear plan and a couple of focused afternoons to pull off.
Whether you’ve been woodworking for years or you’re still getting comfortable with a tape measure, this project is built to be approachable. The techniques involved aren’t complicated, the materials are easy to find at any hardware store, and you can adjust the scale to fit your space. By the time you’re done, you’ll have something that’ll serve your garden for years — and that you can genuinely say you made yourself.
Materials and Tools You Will Need
Getting your materials together before you start will save you a lot of frustration later. For the main structure, cedar or redwood are your best options — both naturally resist moisture, rot, and insects, which is exactly what you want from something that’s going to live outside year-round. If budget is a concern, pressure-treated pine works well too as long as you seal it properly. You’ll need several 1×6 or 1×8 boards, with the exact quantity depending on how big you want the finished piece to be.
You’ll also need the right fasteners and hardware to hold everything together. Exterior-grade screws in the 2-inch and 3-inch range are the way to go — don’t be tempted to use standard drywall screws, which will rust and fail pretty quickly once they’re exposed to weather. For the hose compartment access panel, which you’ll definitely want to include, pick up two or three heavy-duty exterior hinges, a latch or magnetic closure, and the screws to mount them.
On the tool side, a circular saw or miter saw will handle most of your cuts, and a jigsaw is handy if you want to add any curves or decorative details. A power drill is essential, and a countersink bit will make your screw heads sit flush and clean. Round out your toolkit with a tape measure, a carpenter’s square, sandpaper in a few grits (80 through 220 should cover you), and your choice of exterior stain, paint, or sealant to protect the wood and tie the piece into the rest of your outdoor space.
- Cedar, redwood, or pressure-treated pine boards (1×6 or 1×8, quantity based on dimensions)
- Exterior-grade screws (2-inch and 3-inch)
- Heavy-duty exterior hinges and a latch for the access panel
- Landscape fabric or a plastic liner for the planting compartment
- Circular saw or miter saw, jigsaw optional
- Power drill with countersink and standard drill bits
- Tape measure, carpenter’s square, pencil
- Sandpaper (80, 120, and 220 grit)
- Exterior wood stain, paint, or waterproof sealant
- Wood glue for added joint strength
Planning Your Dimensions and Design
Before you cut anything, grab some paper and sketch out your design. Nail down the dimensions that make sense for your space and your hose length. A good starting point is roughly 48 inches long, 18 inches wide, and 24 to 30 inches tall. That gives you enough room in the planting section to grow something really lush, while the lower compartment has plenty of space for a standard 50- to 100-foot hose. Tweak the proportions to fit your patio, deck, or wherever you plan to put it.
The internal divider between the planting area and the hose storage is really the heart of what makes this project clever. Typically the planting section takes up the top third to half of the structure, with the hose compartment filling the lower portion. A horizontal shelf of boards acts as the floor for the planter above and the ceiling of the storage space below. Just make sure you drill drainage holes through that shelf — you don’t want water pooling down in the hose compartment, which would create a damp, moldy mess inside what’s supposed to be a tidy cabinet.
Think about hose access while you’re still in the planning stage, because it’s easier to design around it now than to retrofit it later. The most common approach is placing the access panel on one of the shorter end walls, so you can pull the hose straight out from the end without bothering the planting area above. Some people prefer a full front-facing door on the lower section, which makes coiling the hose back in a lot easier. Both options work great — it really just comes down to where your spigot is and how the planter will sit in relation to it. Sketch both and go with whatever makes more practical sense for your setup.
Step-by-Step Construction Process
Cut all your boards to length before you start assembling anything. Working with pre-cut pieces is so much easier than measuring and cutting on the fly, and it gives you a chance to check every dimension against your sketch before anything is locked in. Lay all the pieces out on a flat surface roughly where they’ll end up so you can picture the assembly order and catch any problems before they become problems. While everything is still in pieces, give each board a light sanding with 120-grit paper — it’s way easier to do now than trying to reach into tight corners once the box is together.
Start the assembly by building your two end panels first. Attach vertical corner posts to the interior edges of each end board; these posts are what the long side boards will screw into, so they’re doing a lot of structural work. Put a thin bead of exterior wood glue on each joint before driving the screws — that combination is noticeably stronger than either one alone. Keep your carpenter’s square close and check every corner as you go. Small errors at this stage have a way of snowballing into bigger misalignment issues by the time you’re finishing up.
Once your end panels are built and the glue has cured, attach the long side boards to connect the two ends and form the main box. Work from the bottom up and keep checking for square. Next, install the horizontal divider shelf by screwing it into the interior walls from outside the box. Then frame out your access panel opening — a clean rectangular cutout on whichever end or side you planned for. Build the door from matching boards, hang it on its hinges, and install the latch. Finish up by drilling drainage holes along the bottom of the planting compartment and stapling landscape fabric inside to keep soil from washing through.
- Cut all boards to final dimensions and sand smooth with 120-grit paper.
- Build the two end panels with corner posts, using glue and exterior screws.
- Attach the long side boards to both end panels, working bottom to top.
- Install the horizontal divider shelf with drainage holes drilled through it.
- Cut out the access door opening and build the door panel to fit.
- Attach hinges to the door and box frame, then install the latch hardware.
- Drill drainage holes in the planting compartment floor.
- Staple landscape fabric inside the planting area.
- Sand the entire exterior with 220-grit paper and apply finish.
Finishing, Staining, and Weatherproofing
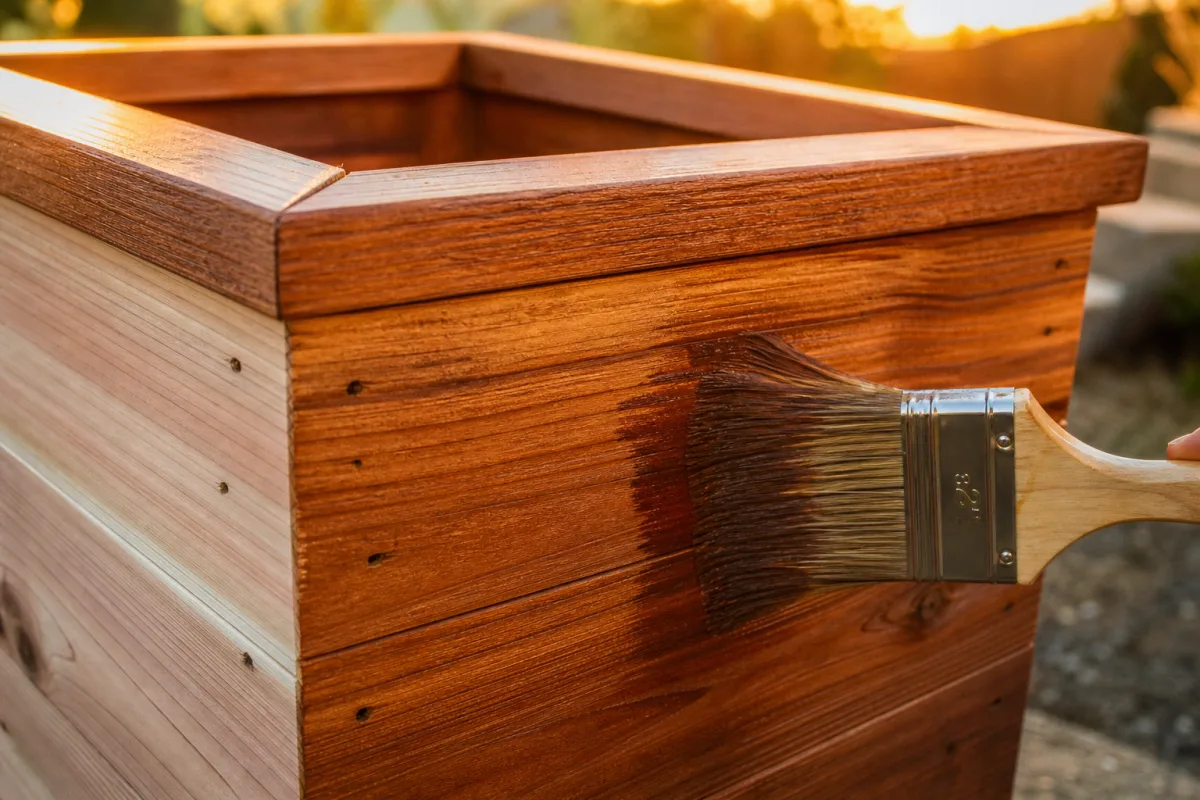
The finishing stage is what takes your build from “raw lumber box” to “thing I’m proud to have in my yard,” and it’s worth giving it the same care you gave the construction. Start with a final sanding pass over the whole exterior using 220-grit paper, paying extra attention to rough end grain and the edges of your access door so it swings cleanly without catching. Wipe everything down with a tack cloth or slightly damp rag to clear the sanding dust, and let the wood dry completely before you touch it with any stain or sealant.
You’ve got a few solid options for the actual finish. A semi-transparent exterior stain lets the wood grain show through while still protecting against UV, moisture, and the freeze-thaw cycles that can really do a number on unprotected wood over winter. If you’d rather paint it to match your home’s trim or outdoor furniture, a good exterior latex paint over a bonding primer is durable and looks great. For the most natural look, a penetrating oil finish like teak oil or linseed oil feeds the wood and keeps it from drying out — just know that you’ll need to reapply it more often than paint or a film-forming stain.
Wherever you have exposed end grain, give it an extra coat of finish. End grain soaks up moisture much faster than face grain, and if you leave it undertreated, it’s usually the first thing to crack or deteriorate. The same goes for the interior walls of the hose storage compartment — even though it’s not getting rained on directly, a wet hose and ambient humidity can still do damage over time, so don’t skip it. Once the finish has fully cured per the manufacturer’s instructions, you’re ready to plant and put the whole thing to work.
Planting and Styling Your New Planter
Now for the genuinely fun part. Start by adding a layer of gravel or small stones to the bottom of the planting compartment on top of your landscape fabric — this improves drainage and keeps the soil from turning into a waterlogged mass at the base. Fill the rest with a high-quality potting mix made for container gardening. Regular garden soil tends to compact too much when used in raised planters and containers, so it’s worth grabbing the right stuff.
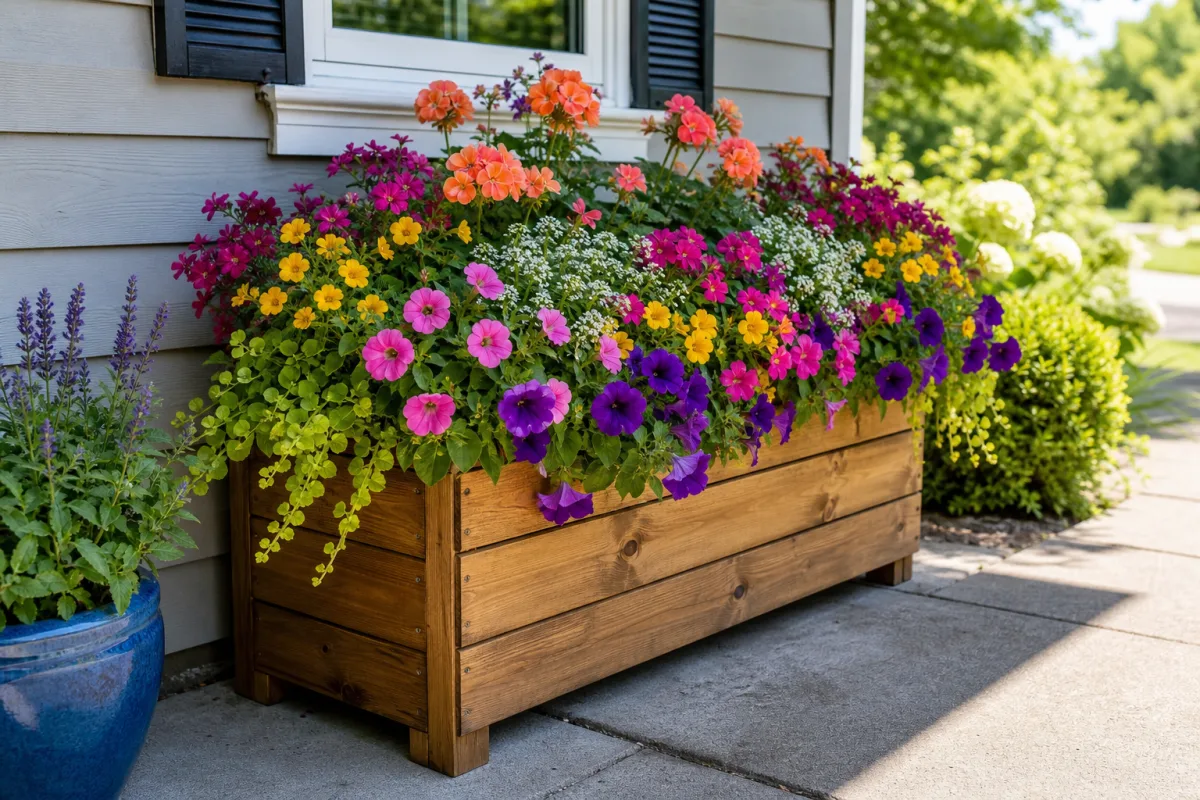
Plant selection really comes down to how much sun your spot gets. Full sun is perfect for lavender, petunias, marigolds, zinnias, or cascading varieties like bacopa and sweet potato vine that’ll spill beautifully over the edges. If you’re working with more shade, impatiens, begonias, ferns, and coleus all do well in lower light and stay colorful through the whole growing season. The classic container formula of “thrillers, fillers, and spillers” — a tall statement plant, some mid-height color, and something that drapes over the edge — works as well here as it does anywhere and gives you a full, polished look without a lot of effort.
Think about how the planter fits into the bigger picture of your outdoor space, too. If it’s sitting near your house, the stain or paint color you chose should play nicely with your siding and trim. A few coordinating pots or garden accessories nearby can pull the whole area together into something that feels intentional. And take a moment to appreciate the practical side of what you built — thread your hose through a small drilled hole in the end panel or along the back, connect it to your spigot, and enjoy having a yard where everything actually has a place.
Maintenance Tips and Long-Term Care
A well-built cedar or redwood planter with a good exterior finish should hold up beautifully for many years, but a little regular attention goes a long way. At the start of each season, take a few minutes to look the whole structure over for any spots where the finish is wearing thin, cracking, or peeling. A light sanding and a fresh coat of stain or sealant takes care of it quickly and is a lot easier than a full refinishing job later if you let things go too long.
The hinges, latch, and any other metal hardware on your access panel will thank you for an occasional spritz of a water-displacing lubricant — it keeps everything moving smoothly and heads off rust before it starts. It’s also worth checking that the hinge screws are still tight, since opening and closing the panel throughout the season can gradually work them loose. If a screw won’t grip anymore, pull it out, pack the hole with a toothpick dipped in wood glue, let it cure, and drive the screw back in. It’s a small fix that holds surprisingly well.
At the end of the growing season, empty out the spent soil and plants, and if you’re in an area that gets serious winters, think about moving the planter into a garage or shed. Freezing temps plus wet soil can stress even a solid wooden structure over time. If moving it isn’t realistic, cover the open top of the planting compartment with a waterproof tarp or a cut piece of plywood to keep excess moisture out through the off-season. A bit of seasonal care like this is really all it takes to keep your DIY planter with hose storage looking sharp for a decade or more.








What do you think?
It is nice to know your opinion. Leave a comment.