










DIY Garden Pot Gnome: How to Make a Cute Companion for Your Flowers
There is something undeniably charming about a garden gnome peeking out from between flower pots, adding a whimsical touch to any outdoor or indoor plant display. The good news is that you do not need to spend a fortune at a garden center to bring this magic into your home. With a few simple materials, some creativity, and a little patience, you can craft an adorable pot gnome that will become the most beloved character in your garden. These cheerful little figures have a way of making any space feel more alive, more personal, and more enchanting, whether they are nestled among succulents on a windowsill or standing guard beside a sprawling vegetable patch outdoors.
DIY garden pot gnomes have surged in popularity in recent years, and it is easy to see why. They combine the satisfaction of handmade crafting with the joy of garden decoration, making them an ideal project for crafters of all skill levels. Whether you are a seasoned maker or picking up a hot glue gun for the very first time, this project is accessible, forgiving, and wonderfully rewarding. The process of transforming humble terracotta pots and simple craft supplies into a personality-filled character is genuinely delightful, and the finished result is something you will be proud to display in your garden for seasons to come.
In this comprehensive guide, you will find everything you need to know to create your very own pot gnome companion, from the materials you will need to gather to the finishing touches that bring your gnome to life with personality. We will walk through each stage of the construction process in detail, offering tips and tricks along the way to help you achieve the best results. By the end of this article, you will have not only a finished gnome but also a new favorite craft technique you can use to make gifts, decorations, and seasonal variations for every time of year. Let the gnome-making adventure begin.
Materials You Will Need
Before you dive into the creative process, it is essential to gather all of your materials so that your crafting session flows smoothly from start to finish. The beauty of this project is that most of the supplies are inexpensive and widely available at craft stores, dollar stores, or online retailers. The star of the show is, of course, the terracotta flower pot, which forms the body of your gnome. You will need at least two pots of different sizes — one medium pot for the body and one small pot for the head — though some designs incorporate additional small pots for feet or arms, adding even more dimension and charm to the finished figure.
Beyond the pots themselves, you will need a selection of additional materials to bring your gnome to life. A styrofoam or wooden ball in an appropriate size will serve as the gnome’s nose, a defining feature that gives these characters their instantly recognizable look. For the hat, which is one of the most iconic elements of any gnome design, you can use a cone-shaped piece of foam, a knitted hat, or even a small terracotta pot turned upside down and painted in a vivid color. You will also need acrylic craft paints in your chosen color palette, as well as brushes of various sizes for detail work.
Other important supplies include a strong adhesive such as E6000 or a heavy-duty hot glue gun with plenty of glue sticks, as the components of your gnome need to bond securely, especially if you plan to display it outdoors where it may be exposed to wind and rain. Additional materials that you may want to incorporate include faux fur or yarn for a beard, which adds enormous amounts of character and texture to the finished gnome, as well as ribbon, twine, moss, or small decorative accessories to personalize your creation further. Having a drop cloth or newspaper to protect your work surface is also a wise preparation step before you begin.
- Two terracotta pots in different sizes (medium for body, small for head)
- One cone-shaped foam piece or small pot for the hat
- One styrofoam or wooden ball for the nose
- Acrylic craft paints in your chosen colors
- Paintbrushes in various sizes
- Hot glue gun and glue sticks or E6000 adhesive
- Faux fur, felt, or yarn for the beard
- Ribbon, twine, moss, or small decorative accessories
- Sandpaper for smoothing rough edges
- Sealant spray for outdoor protection
Preparing and Painting Your Pots
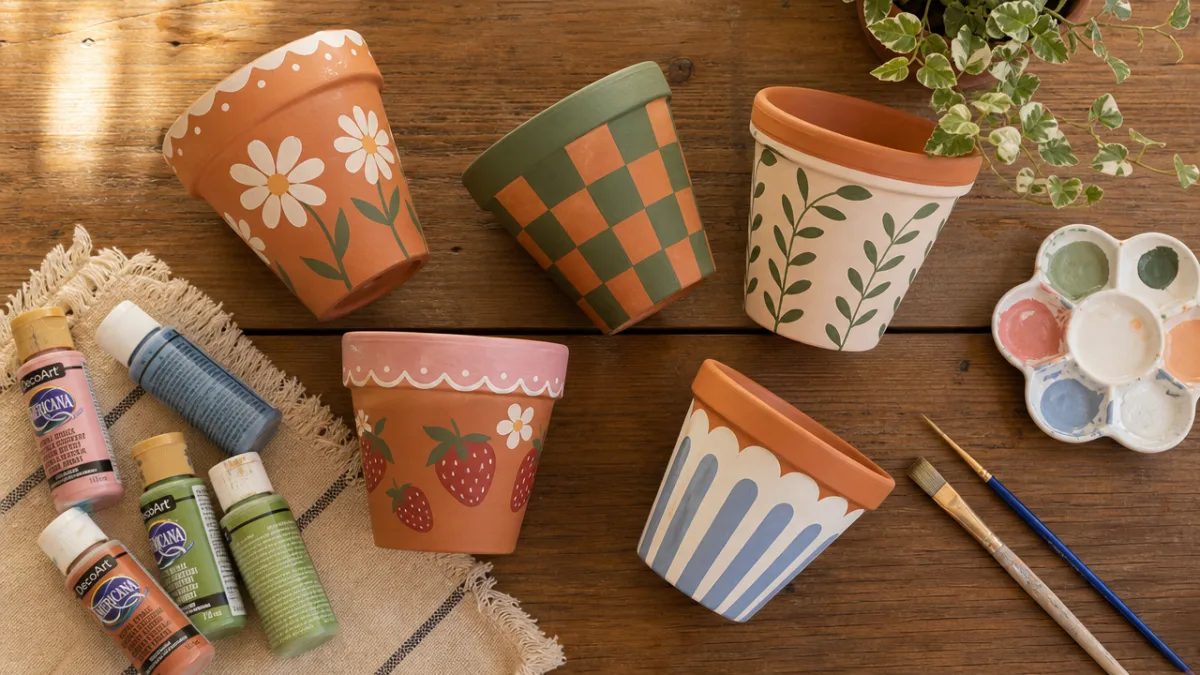
Once your materials are assembled, the first active step in the gnome-making process is to prepare and paint your terracotta pots. Terracotta can be quite porous, which means paint may absorb unevenly if you apply it directly to a raw surface. To achieve a smooth, vibrant finish, it is highly recommended that you begin with a coat of gesso or a dedicated terracotta primer. Apply this base coat evenly across all surfaces you intend to paint, then allow it to dry completely before moving on. This step makes a significant difference in the final appearance of your gnome and is well worth the extra time it requires.
When it comes to choosing your color scheme, the options are wonderfully limitless. Traditional garden gnomes are often associated with rich, earthy tones — deep reds, forest greens, and warm browns — but your DIY pot gnome can wear whatever colors speak to your personal style. Pastel gnomes look stunning in cottage-style gardens, while bold, saturated colors make a strong statement in more contemporary outdoor spaces. You might even create themed gnomes for different seasons, painting them in orange and black for autumn, icy blues and whites for winter, or soft pinks and yellows for spring. The painting stage is where your gnome truly begins to develop its individual identity.
Apply your chosen paint colors using smooth, even strokes, working in thin layers rather than one thick coat to prevent dripping and ensure even coverage. For the body pot, this will typically mean painting the entire exterior in the color you want the gnome’s robe or coat to be. For the hat pot or cone, choose a contrasting or complementary color that will make it pop visually. Allow each layer to dry fully before applying the next, and do not be afraid to add details such as polka dots, stripes, tiny flowers, or simple geometric patterns to add personality and visual interest to your gnome’s outfit. A fine-tipped brush is invaluable for this kind of detail work.
Assembling the Gnome’s Body
With your painted pots dried and ready, it is time to begin assembling the body of your gnome, which is one of the most satisfying stages of the entire project. Begin by turning your larger body pot upside down so that the drainage hole is at the top — this becomes the base structure of the gnome’s torso, and the flat open rim of the pot becomes the bottom, giving your gnome a stable foundation to stand on. If you want your gnome to be especially stable, particularly if it will be displayed outdoors, consider filling the inverted pot with a small amount of sand or gravel through the drainage hole before sealing it, which adds weight and prevents tipping in the wind.
Next, attach the head to the body. In most pot gnome designs, the head is represented by the upturned hat pot or cone sitting directly on top of the body pot, with the nose ball positioned at the front where the hat meets the body, giving the illusion of a face that is almost entirely obscured by an enormous hat and equally impressive beard. To attach the pieces securely, apply a generous amount of hot glue or E6000 adhesive to the contact surfaces and press them firmly together, holding them in place for the recommended bonding time. Make sure your components are aligned properly before the glue sets, as repositioning can be difficult once the adhesive begins to cure.
Once the body and head structure are joined, it is time to add the beard, which is arguably the most important textural element of the entire gnome. Cut a piece of faux fur, felt, or bundled yarn into a triangular or rounded beard shape and glue it to the front of the body pot, positioning it so that it hangs naturally downward and covers the joint between the body and the hat. The beard should be full and fluffy to look authentic and charming, so do not be shy about making it generous in size. If you are using yarn, you can create beautiful texture by cutting loops and layering them, or by using different shades of grey, white, or even chestnut brown to add depth and realism.
Creating the Hat and Facial Features
The gnome’s hat is one of its most defining characteristics, and spending a little extra care on this element can elevate your finished gnome from cute to absolutely irresistible. If you are using a foam cone for the hat, you can bend and shape it slightly before painting to give it a slightly droopy, whimsical silhouette that looks wonderfully handmade and full of character. Alternatively, a knitted or crocheted hat made from chunky wool yarn adds a cozy, tactile quality that is especially appealing in autumn and winter-themed gnomes. Whatever material you choose for the hat, make sure it is properly sealed or weatherproofed if your gnome will be living outdoors.
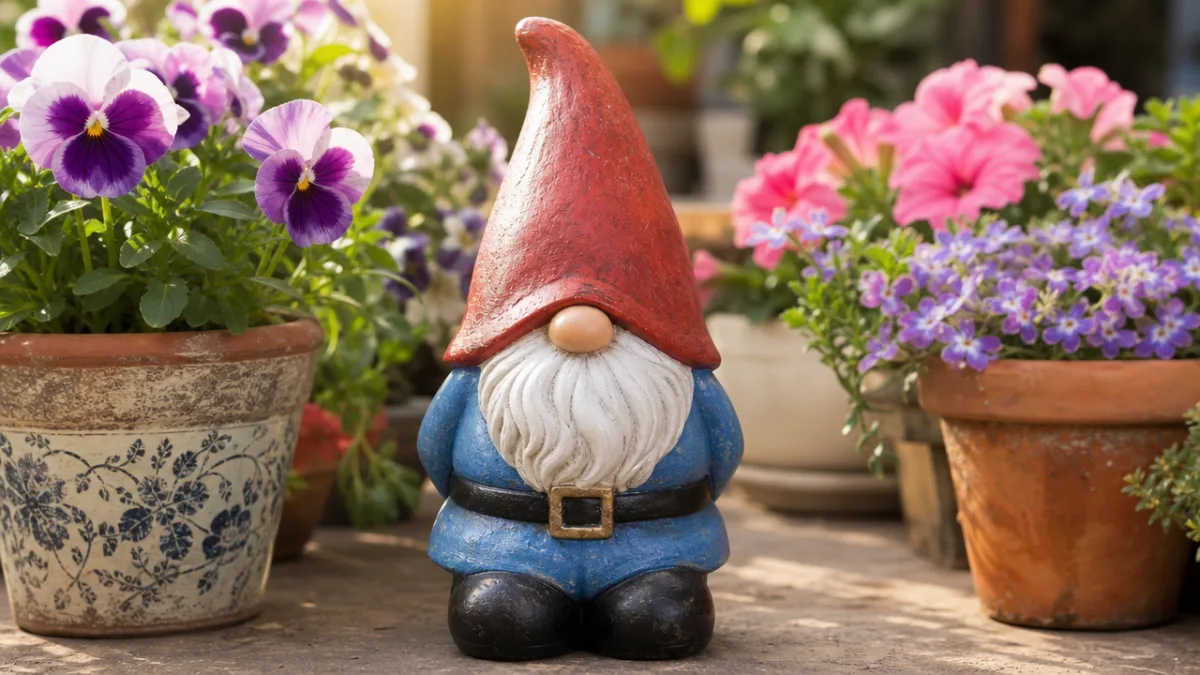
The nose is the only actual facial feature of most pot gnomes, since the hat and beard conspire to cover everything else, and this makes it an especially important detail to get right. Choose a wooden or styrofoam ball in a size that is proportionate to your overall gnome — too small and it will disappear, too large and it will look cartoonish in an unintended way. Paint the ball in a warm, peachy skin tone or, for more whimsical gnomes, in a rosy pink or even a bright red. Sand the surface lightly before painting for better adhesion, then seal with a coat of matte varnish once the paint is dry. Glue the nose in position on the front of the gnome where the hat meets the beard.
At this stage, you might also want to add embellishments to the hat itself to further personalize your gnome. Small artificial flowers, a sprig of dried lavender, a tiny jingle bell, a bow of ribbon, or a miniature bird or butterfly can all be glued to the hat to create a truly unique character. Seasonal embellishments are especially fun — think tiny pumpkins for Halloween, miniature holly sprigs for Christmas, or small Easter eggs for spring. These finishing touches are what transform a simple craft project into a genuinely personal and meaningful decoration that reflects your taste and creativity.
Sealing and Weatherproofing Your Gnome
If your pot gnome is destined to live outdoors, which is where these delightful little figures truly belong, then proper sealing and weatherproofing is an absolutely essential step that should not be skipped. Even if you have used outdoor-formulated acrylic paints, exposure to rain, UV rays, humidity, and temperature fluctuations can cause paint to fade, chip, or peel over time without adequate protection. A good-quality outdoor sealant spray, applied in thin, even coats from a distance of about twelve inches, will create a protective barrier over the entire painted surface that shields it from the elements while preserving the vibrancy of your colors for much longer.
Allow the first coat of sealant to dry completely before applying a second coat for maximum protection, and make sure you are working in a well-ventilated area when using spray sealants, as the fumes can be strong. For gnomes that will be displayed in areas with particularly harsh weather conditions, you might also consider applying a brush-on outdoor mod podge or polyurethane varnish to areas that are especially vulnerable to wear, such as the nose, the base, and any areas where different materials meet. It is also worth bringing your gnome inside during particularly severe weather events such as heavy storms, extended freezing temperatures, or prolonged periods of heavy rain to extend its lifespan.
In addition to protecting the paint and decorative elements, you should also think about protecting the terracotta pots themselves from moisture damage, which can cause terracotta to crack and flake when water penetrates the porous clay and then freezes and expands. Sealing the interior of the pots with a terracotta sealer before assembling your gnome adds an extra layer of protection that is especially valuable in climates with cold winters. A little preventative care at this stage will ensure that your pot gnome companion remains a cheerful presence in your garden for many seasons, becoming a beloved feature that you look forward to setting out each spring.
Styling and Displaying Your Garden Pot Gnome
Once your gnome is complete and fully sealed, the most enjoyable part of the entire project arrives: deciding how and where to display your new floral companion. Pot gnomes are incredibly versatile decorations that can be styled in countless different ways depending on your garden’s aesthetic and your personal preferences. One of the most charming approaches is to nestle your gnome among a grouping of potted plants, positioning it so that it appears to be tending to the flowers or watching over them protectively. This creates a storytelling quality in your garden display that guests and visitors will find absolutely enchanting every time they notice it.
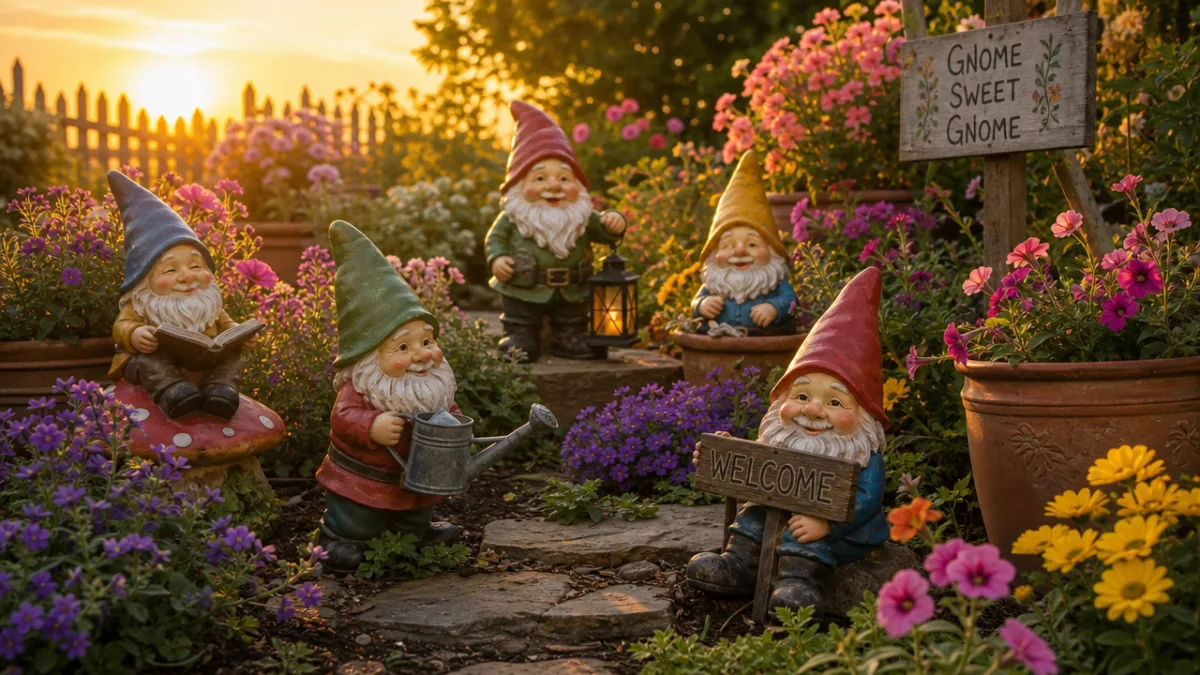
Consider the scale and proportion of your gnome relative to the plants it will be displayed alongside. A small gnome looks adorable peeking out from between compact succulents on a sunny windowsill, while a larger gnome makes more visual impact when placed among statement plants such as hostas, ferns, or flowering hydrangeas in a garden border. You can also create a gnome village by making several pot gnomes of different sizes and personalities and arranging them in a whimsical scene together, perhaps with tiny handmade accessories such as miniature mushrooms, a small bridge made from sticks, or a tiny wheelbarrow filled with pebbles and moss.
Your pot gnome does not need to be limited to outdoor display, either. These charming figures look wonderful on indoor shelves, mantlepieces, and windowsills, especially when paired with houseplants, candles, and other natural elements. You can rotate your gnome display seasonally, creating new versions for different times of year and switching them out to keep your decor feeling fresh and festive throughout the calendar. Share your finished gnomes on social media or give them as gifts to fellow garden lovers — handmade pot gnomes make genuinely thoughtful and unique presents that are far more meaningful than anything purchased from a store. Your little gnome companion is ready to take his place among the flowers.
Tips, Variations, and Creative Inspiration
Now that you have mastered the basic pot gnome technique, a world of creative variations opens up before you. One of the most popular adaptations is the seasonal or holiday-themed gnome, which can be customized for virtually any occasion throughout the year. For Christmas gnomes, incorporate rich red and green colors, add a tiny sack or present as an accessory, and use white faux fur for a snowy beard effect. Halloween gnomes might feature black and orange color schemes with tiny spider or bat embellishments on the hat. Valentine’s Day gnomes in shades of pink and red with heart decorations make wonderfully sweet gifts for loved ones.
Another exciting variation is the fairy garden gnome, which is scaled down to miniature proportions to fit within a fairy garden display. These tiny gnomes can be created using very small terracotta pots, mini foam cones, and miniature accessories, and they look absolutely magical when nestled among fairy garden plants such as thyme, moss, and miniature roses. You can also experiment with different body configurations — some crafters use multiple stacked pots of graduating sizes to create the impression of a gnome in a long flowing robe, while others use additional small pots positioned horizontally to suggest outstretched arms holding a tiny lantern or watering can.
If you are looking for ways to involve children in the gnome-making process, this project is wonderfully adaptable for young crafters as well. Children can paint the pots with full creative freedom, choose their own color schemes and embellishments, and develop their fine motor skills in the process. Older children can participate in the gluing stages under appropriate supervision, while younger children can focus on the painting and decorating aspects. The resulting gnomes, however imperfect they might be in terms of technical precision, will be treasured as creative achievements and beautiful memories of time spent crafting together. There is truly no wrong way to make a pot gnome, which is one of the many reasons this project continues to delight crafters of all ages and experience levels around the world.








What do you think?
It is nice to know your opinion. Leave a comment.