










Introduction to Cinder Block Garden Furniture
Cinder block garden furniture has quietly become one of the coolest DIY trends in outdoor design, and honestly, it makes a lot of sense. What used to be written off as purely industrial material has turned into something creative homeowners and garden lovers are genuinely excited about — a way to build unique, tough, and surprisingly affordable seating and surfaces for their outdoor spaces. Whether you’re working with a sprawling backyard or a tiny patio, cinder blocks offer a lot more design potential than you might expect.
A big part of the appeal is just how practical these things are. Cinder blocks are incredibly strong, they shrug off bad weather, and you can pick them up at any hardware store for a dollar or two each. Compare that to wood that rots, metal that rusts, or plastic that cracks and fades after a few seasons, and suddenly concrete masonry starts looking really attractive. A well-built cinder block piece can genuinely last decades with almost no upkeep — which is a pretty hard combination to beat for an outdoor furniture project.
There’s also something aesthetically interesting about them. Cinder blocks have this bold, industrial character that somehow plays really nicely with natural wood, bright cushions, or trailing plants. The result feels both modern and lived-in at the same time. In this article, we’ll walk through everything you need to know to design and build your own cinder block benches and tables from scratch — no prior construction experience needed.
Planning Your Design and Gathering Materials
Before you buy a single block or cut a single board, it’s worth slowing down and thinking through your design. This is where you figure out the size, layout, height, and overall look of what you’re building. Start by measuring the space where the furniture will actually live — a bench that looks perfect in a large garden can feel overwhelming on a small balcony. Sketch things out on paper or pull up a free design tool online to get a sense of how it’ll look in context.
Standard cinder blocks are roughly 8 inches tall, 8 inches wide, and 16 inches long, and those dimensions are going to drive most of your design decisions. A typical garden bench seat is about 17 to 18 inches off the ground, which works out almost perfectly to two courses of standard blocks stacked on their sides. For tables, you’d go three or four courses high depending on whether you want coffee table height or something closer to a dining table. Working with these natural dimensions rather than fighting them will save you a lot of headaches.
Your exact materials list will depend on the project, but for a basic cinder block bench you’ll generally need:
- Standard 8x8x16 inch cinder blocks — how many depends on bench length and height
- Pressure-treated lumber or cedar boards for the seating surface
- Construction adhesive or masonry adhesive to bond the stacked blocks
- Concrete paint or masonry sealer in your chosen color
- Sandpaper or a wire brush for surface prep
- Outdoor cushions or upholstered pads for comfort
- Gravel or pavers to create a level base beneath the blocks
For the lumber, stick with naturally rot-resistant species like cedar, redwood, or teak, or go with pressure-treated pine rated for ground contact. These will hold up through years of outdoor exposure without warping or decaying. For a six-foot bench, you’ll typically want three to four boards running the length of the seat, spaced slightly apart so water can drain. Wider boards give you a more generous, comfortable seat; narrower boards have a cleaner, more modern look if that’s the direction you’re going.
Step-by-Step Guide to Building a Cinder Block Garden Bench
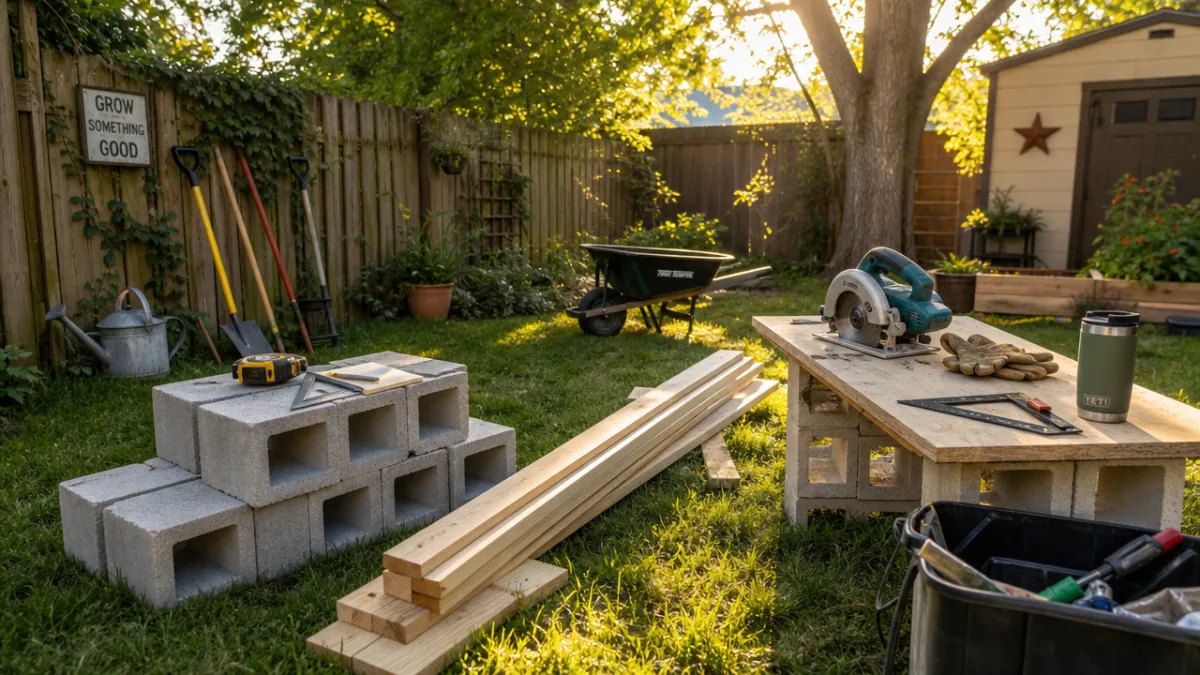
Once you’ve got your plan and your materials sorted, the actual building part is pretty straightforward. Start with your foundation. Even if you’re placing the bench on an existing patio, you want the surface as level as possible. If you’re working on soil or lawn, lay down a thin bed of compacted gravel or a few pavers first. This gives you a stable, level base that won’t shift as the ground moves through seasonal freeze-thaw cycles.
Set down your first course of cinder blocks in whatever configuration you’ve planned. For a standard bench, you’re usually building two support columns — one at each end — with the blocks oriented so the hollow cavities face upward or sideways depending on your design. Apply construction adhesive between each layer to bond them together. Gravity does a lot of the work on its own, but the adhesive prevents wobbling and lateral shifting, which matters a lot if kids or older adults are going to be using the furniture regularly.
Once the columns are built and the adhesive has had time to fully cure, you can lay your seat boards across the top. Space them evenly and decide whether you want to leave them loose — handy if you want to bring them in for the winter — or secure them with construction screws driven through the wood and into the concrete with a masonry bit. For a cleaner look, some people notch the boards slightly so they drop into the hollow openings of the top block course, locking into place without any visible hardware.
The finishing touches are where things really come together. Sand the lumber smooth and apply an outdoor stain, paint, or wood finish that works with your garden’s color palette. For the blocks, masonry paint comes in a huge range of colors and can make plain grey concrete look almost like stone, brick, or something out of a design magazine. Crisp white gives a Mediterranean feel, warm terracotta leans southwestern, and leaving the blocks natural plays up the industrial-chic look that’s been really popular in contemporary garden design lately.
Building a Cinder Block Garden Table
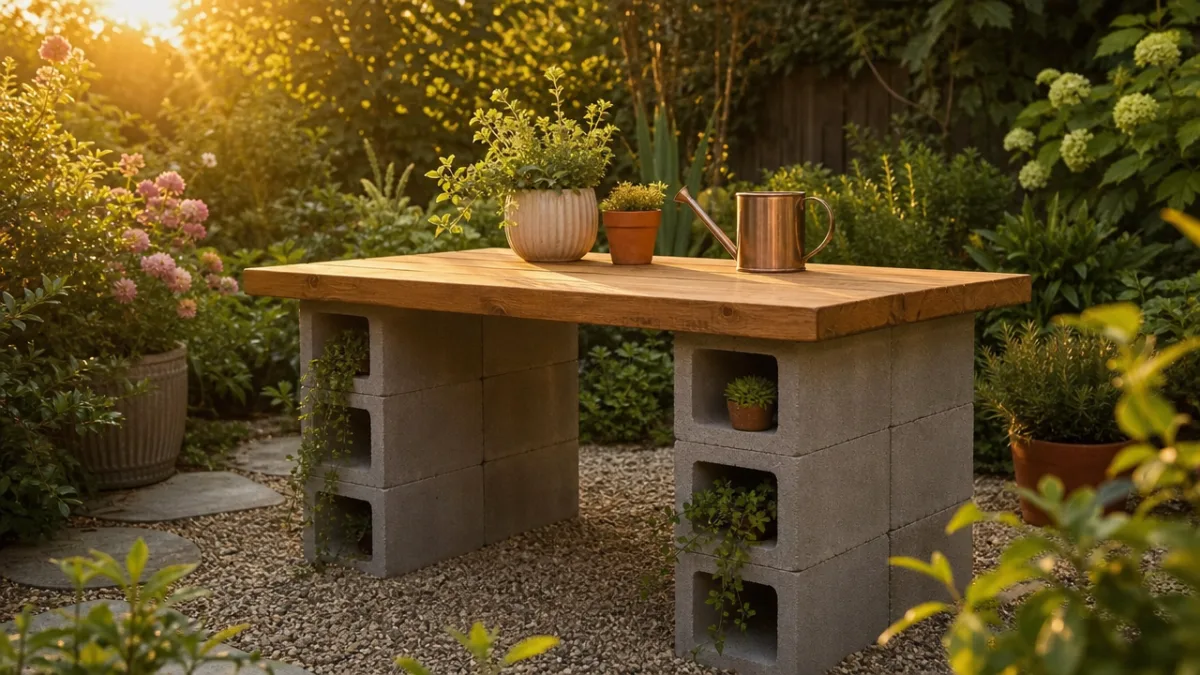
A cinder block table works on the same basic principles as the bench, but gives you a bit more flexibility with height, shape, and surface material. For a coffee table to pair with low outdoor chairs or a sectional, two courses of horizontally stacked blocks gets you right to the perfect height. For a dining table, go three courses high and top it with whatever surface suits you — thick wooden planks, a poured concrete slab, ceramic tile, a glass panel, or even a large piece of natural stone or slate that just rests right on top.
One of the most popular table configurations is arranging blocks in a hollow rectangle or square to form the base. It uses fewer blocks than building solid columns but stays incredibly stable, and it looks really striking. The interior space doesn’t have to go to waste either — fill it with decorative gravel, tuck in a few potted succulents, or wind some small fairy lights through the cavities for a genuinely lovely effect after dark.
For an outdoor dining table that seats four to six people, a common approach is to build four corner pillar supports — each two blocks wide and three courses tall — connected along the longer sides to create a stable perimeter frame. Top it with a door-sized piece of reclaimed barn wood, a butcher block panel, or a run of long cedar planks, and you’ve got a farmhouse-style dining table that would easily cost several hundred dollars in a store but can be put together for a fraction of that with hardware store materials and a free Saturday.
Creative Design Variations and Customization Ideas
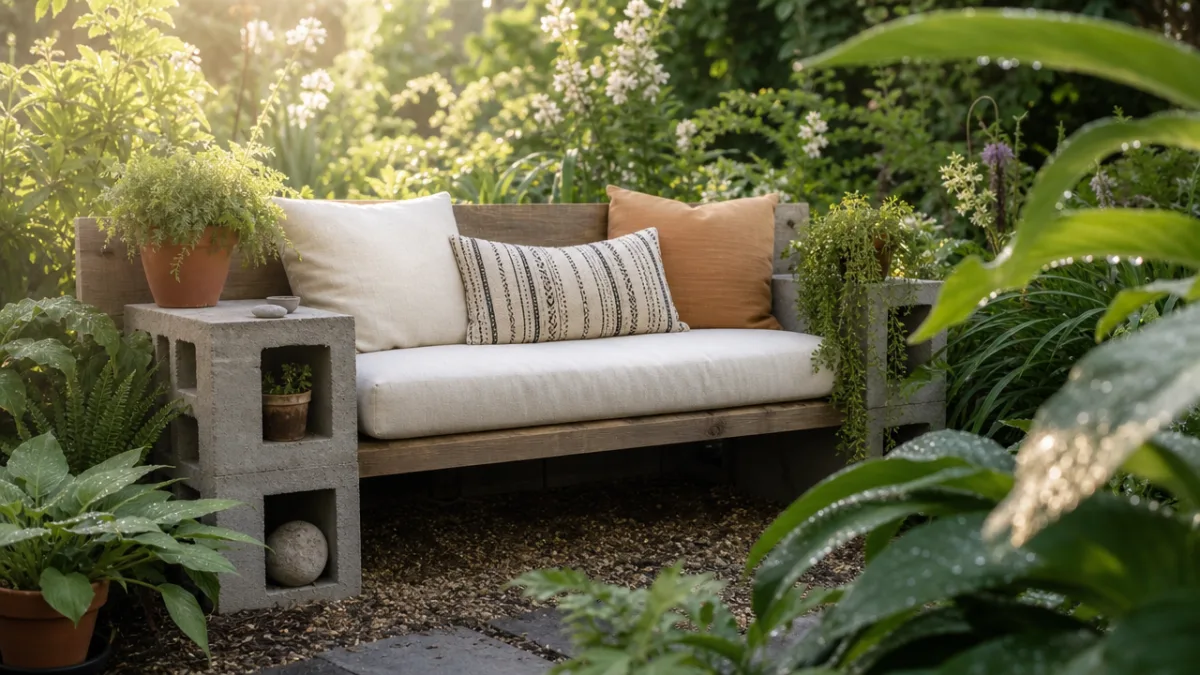
One of the things that makes cinder blocks so fun to work with is that they’re essentially a modular building system, and once you’ve gotten comfortable with the basics, the creative possibilities open up a lot. Try turning blocks on their sides so the hollow cavities face outward, turning them into built-in planters or little storage cubbies right within the body of the furniture. Fill those openings with trailing succulents or colorful annuals and your bench starts to feel like a living sculpture that changes through the seasons.
Color and texture offer a whole other layer of customization. Mosaic tile applied to the block faces with waterproof outdoor grout creates a Mediterranean or Moroccan-inspired look that feels luxurious without costing much at all. Stenciled patterns in contrasting masonry paint can mimic geometric shapes or floral motifs. Some people even press decorative stones, sea glass, or colored pebbles into a thin coat of mortar over the block surface — the result looks like something a professional landscape designer put together.
You can also think bigger and build a whole outdoor living area by combining multiple cinder block pieces into a cohesive set. A matching bench, coffee table, and side table instantly elevate the whole garden space. Add some cinder block planters at varying heights to frame the seating area, or build a low fire pit surround nearby using the same concrete aesthetic for a pulled-together, intentional feel. A few of the most inspiring directions people take these projects:
- A curved, amphitheater-style bench that wraps around a fire pit or focal garden bed
- A combination bench-planter that integrates seating with a vertical herb or flower garden
- A raised potting table at workbench height for avid gardeners
- A tiered plant display stand that doubles as a decorative divider or privacy screen
- A children’s outdoor table and bench set scaled down using half-blocks or different stacking configurations
Don’t forget about comfort, especially if you plan to actually spend time out there. Thick outdoor cushions in weather-resistant fabrics can turn even a bare concrete bench into somewhere you genuinely want to sit. Look for cushions filled with quick-dry foam and covered in solution-dyed acrylic fabric, which holds up against fading, mold, and moisture far better than regular upholstery. A small detail worth adding: non-slip rubber pads under the cushions, or cushion tie-backs, to keep things from sliding around on the smooth wood surface during use.
Maintenance, Safety, and Long-Term Care
One of the strongest arguments for cinder block furniture is how little ongoing work it needs. Concrete doesn’t attract insects, doesn’t rot, doesn’t rust — it’s largely immune to the things that wear out most outdoor furniture over time. That said, a little periodic care will keep everything looking good and working well for the long haul. Every year or two, take a look at the blocks for any signs of cracking, especially if you’re in a climate with hard winter freezes. Water that works its way into small cracks and then expands when it freezes can cause spalling on the surface over time.
Applying a good concrete sealer every two to three years goes a long way toward protecting the blocks from moisture, staining, and general weathering. It’s a quick, inexpensive step that makes a real difference. If your blocks are painted, touch up any chips or worn spots before moisture gets a chance to sneak in underneath. The wood components will need a bit more attention — check them once a year for splinters, warping, or early signs of decay, and reapply your wood finish or stain as needed to keep the protective layer intact.
Safety is worth taking seriously with furniture this heavy and solid. Make sure everything is perfectly level and that the adhesive has fully cured before anyone sits on it. Blocks that haven’t been properly bonded can shift unexpectedly under load. If you’re in an earthquake-prone area, check local building guidelines around anchoring masonry structures. Also keep an eye on the wood seats for any protruding screws or rough spots, and sand them down regularly — particularly if kids are going to be around the furniture all summer.
Over time, you may find that your first project inspires you to expand or rethink your whole outdoor setup — and that’s part of what makes this so enjoyable. Because most DIY cinder block furniture isn’t mortared together permanently, you can take it apart, reconfigure it, and rebuild it as your tastes and needs change. That kind of flexibility is something no store-bought furniture can offer you. With a reasonable investment of time and materials, cinder block garden furniture gives you something genuinely personal and satisfying — and something that’ll hold up beautifully for years to come.








What do you think?
It is nice to know your opinion. Leave a comment.