










Introduction to DIY Frisbee Golf Baskets
Frisbee golf, also known as disc golf, has grown into one of the most popular recreational sports in North America, attracting millions of players who enjoy the combination of precision, strategy, and outdoor activity. While public disc golf courses are wonderful, there is something uniquely satisfying about being able to practice your throws right in your own backyard. Building your own DIY frisbee golf basket is a rewarding weekend project that can transform any outdoor space into a personal practice course, giving you and your family hours of entertainment without the need for expensive equipment or course fees.
The beauty of a homemade disc golf basket lies in its accessibility. Most of the materials required can be found at your local hardware store, and the total cost is typically a fraction of what you would spend on a commercial basket, which can run anywhere from $100 to $400 or more. With some basic tools, a bit of patience, and this comprehensive guide, you can construct a sturdy, functional basket that mimics the feel of professional course equipment. Whether you are a seasoned disc golfer looking to sharpen your skills or a complete beginner eager to try something new, this project is well within reach.
Beyond the practical benefits, building a DIY frisbee golf basket is a fantastic way to engage the whole family in a creative, hands-on activity. Kids and teenagers especially enjoy having a dedicated game setup in the backyard, and the project itself teaches valuable lessons about planning, measurement, and problem-solving. Once your basket is installed, it becomes a gathering point for friends and family, encouraging healthy outdoor activity and friendly competition that can last for years to come.
Materials and Tools You Will Need
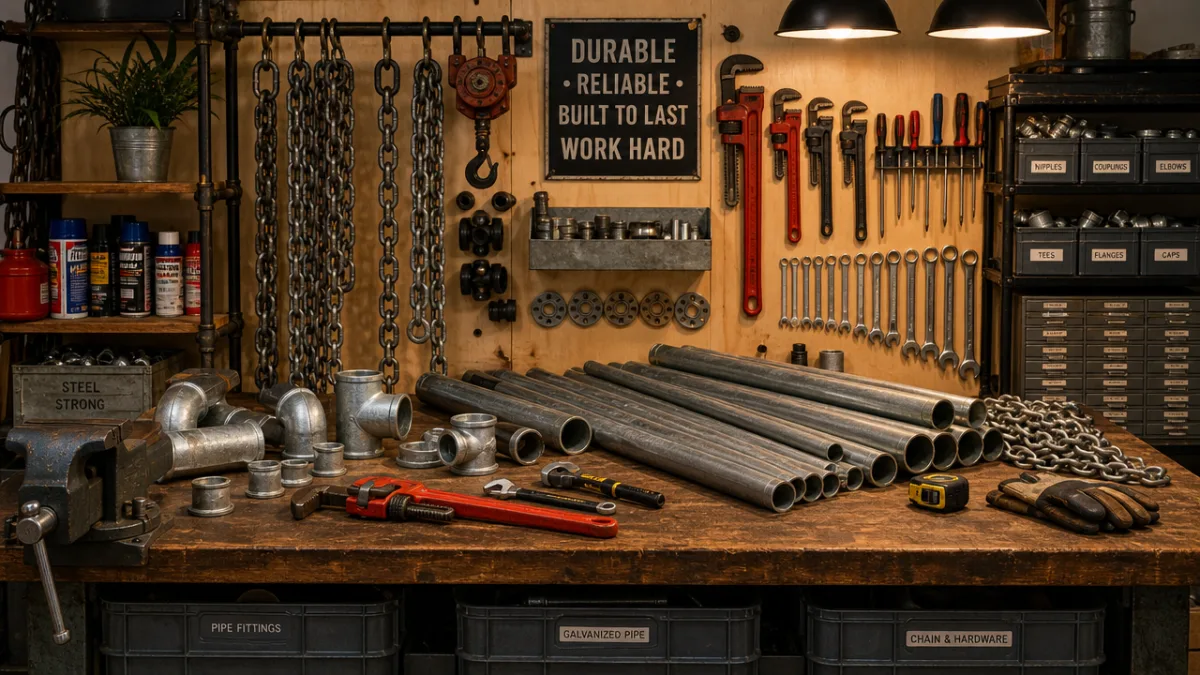
Before you start cutting pipes and welding chains, it is essential to gather all the necessary materials so your build goes smoothly from start to finish. The core structure of a disc golf basket is composed of a central pole, a catching basket, and a series of hanging chains that redirect thrown discs downward into the basket. Most DIY builders choose galvanized steel pipe or electrical conduit for the main pole because of its durability, rust resistance, and affordability. A standard basket stands about 26 to 28 inches off the ground, with the pole reaching a total height of roughly 52 to 54 inches above the ground surface.
Here is a comprehensive list of the primary materials you will need to complete this project:
- One 10-foot length of 1.5-inch galvanized steel pipe or EMT conduit for the main pole
- One 24-inch diameter circular metal ring or hoop, typically made from rebar or bent steel rod
- One smaller 8 to 10-inch diameter top ring to hold the upper chain configuration
- Approximately 18 to 24 lengths of metal chain, each about 30 to 36 inches long
- Wire rope or additional chain for the basket bottom support structure
- Sheet metal or wire mesh for the catching basket bottom
- Pipe flanges, reducing couplings, and threaded fittings as needed for your specific design
- Concrete mix for setting the base post in the ground
- Galvanized bolts, nuts, washers, and zip ties for assembly
- Spray paint or rust-resistant coating in your preferred color
In terms of tools, you will want to have a pipe cutter or angle grinder, a drill with metal bits, pliers, wire cutters, a wrench set, a tape measure, a level, and safety equipment including gloves and eye protection. If you plan to weld any components together, a basic MIG welder and appropriate safety gear will be necessary, though many designs can be completed using mechanical fasteners alone if welding is outside your skill set. Having everything organized and ready before you begin will make the assembly process significantly smoother and more enjoyable.
Step-by-Step Construction Guide
Start the construction process by cutting your main pole to the appropriate length. If you are using a 10-foot pipe and plan to set about 24 inches into the ground, your above-ground pole will be approximately 96 inches or 8 feet tall. This gives plenty of clearance for the basket to sit at regulation height. Use your pipe cutter or angle grinder to make a clean, straight cut, then deburr the edges with a metal file to remove any sharp protrusions that could be hazardous during handling. Take your time with this step, as a clean cut will make all subsequent assembly steps easier and more precise.
Next, prepare your basket rim by bending your rebar or steel rod into a clean 24-inch diameter circle, welding or clamping the ends together securely. This ring will serve as the mouth of your catching basket and needs to be perfectly round and structurally rigid to function correctly. Once your rim is formed, attach evenly spaced support wires or rods that run from the outer rim to the central pole mount, creating the framework for the basket bottom. Cut your wire mesh or sheet metal to fit inside this framework, securing it with heavy-duty zip ties or bolts so that discs landing in the basket stay contained and do not slip through.
With the basket structure assembled, it is time to hang your chains. Attach the upper chain ring to the pole at a height of about 54 to 56 inches from where the pole meets the ground surface. Space your chains evenly around the upper ring, attaching each one with a quick-link connector so they hang freely and swing with impact. The lower ends of the chains should attach to the outer rim of your catching basket, creating a curtain effect that slows and redirects incoming discs. Professional baskets typically use 12 inner chains and 12 outer chains arranged in two concentric circles, and replicating this configuration will give your homemade basket the most authentic playing feel.
Setting the Post and Installation
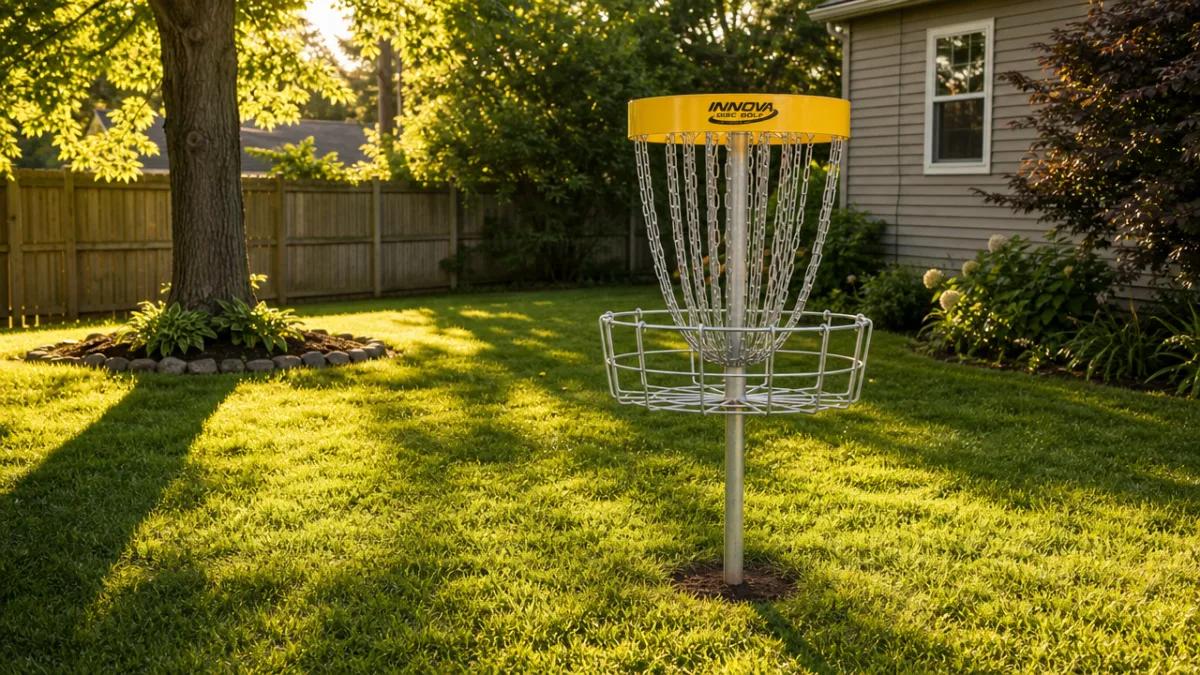
Choosing the right location for your disc golf basket is just as important as the construction itself. Look for a spot in your backyard that offers a clear flight path for at least 50 to 100 feet, ensuring you have room to throw from varying distances and angles. Consider the natural terrain of your yard, as gentle slopes and the presence of trees or shrubs can add interesting challenges similar to those found on professional courses. Also think about foot traffic and safety — you want to make sure that the basket is positioned so that stray discs will not fly toward areas where people gather, such as patios, garden beds, or play equipment.
Once you have selected your location, dig a hole approximately 24 to 30 inches deep and about 6 inches in diameter using a post-hole digger or an auger attachment for a power drill. Pour a dry concrete mix into the hole, then slide your main pole into the center. Use a level on two perpendicular sides of the pole to confirm it is perfectly vertical before the concrete begins to set. Brace the pole in place using scrap lumber or stakes if needed, and fill the remaining space in the hole with concrete mix, tamping it down firmly to eliminate air pockets. Most concrete mixes will reach working strength within 24 to 48 hours, so resist the temptation to attach the basket and test your throws too soon.
After the concrete has fully cured, slide the assembled basket and chain assembly onto the pole and secure it at the correct height using a pipe flange, set screws, or a drilled bolt through the pipe. Double-check all connections one final time, giving each chain a firm tug to confirm the quick-links are fully closed and the basket rim is sitting level. If you applied rust-resistant paint or coating to your metal components before assembly, inspect any areas that may have been scratched during installation and touch them up to prevent corrosion. A well-installed basket anchored properly in concrete should remain stable and safe even in strong winds or during enthusiastic play sessions.
Safety Considerations and Best Practices
Safety should be a top priority throughout both the construction and ongoing use of your DIY disc golf basket. During the building phase, always wear appropriate personal protective equipment, including heavy work gloves when handling cut metal edges and safety glasses when using an angle grinder or drill. Sharp metal burrs left on cut pipe or wire can cause serious lacerations, so take the time to file or grind all cut edges smooth before moving on. If you are welding, ensure you are working in a well-ventilated area and using a proper welding helmet to protect your eyes and face from arc flash and UV radiation.
Once the basket is installed and in use, establish clear ground rules for everyone who plays in your backyard. Always confirm that the area behind and around the basket is clear of people before throwing, as a fast-flying disc can cause injury if it strikes someone unexpectedly. Teach younger players to stand well behind the thrower during each shot and to wait until the disc has come to rest before retrieving it. It is also wise to inspect the basket periodically for signs of wear, such as cracked welds, loose chains, or corroding metal, and address any issues promptly to maintain the integrity and safety of the structure.
Beyond personal safety, consider the impact of your basket on neighboring properties. Throwing discs near fences or property lines increases the risk of a wayward throw landing in a neighbor’s yard or striking their property. A simple backstop made from a section of cargo netting or shade cloth mounted behind the basket can catch errant discs and keep the game contained within your own space. This kind of thoughtful installation demonstrates respect for those around you and helps ensure that your backyard disc golf setup remains a positive addition to the neighborhood rather than a source of conflict or concern.
Variations, Upgrades, and Course Design Ideas
Once your first basket is successfully built and installed, you may find yourself eager to expand your backyard course and experiment with different configurations. One popular upgrade is adding a second tee pad made from artificial turf or rubber mat material, which gives you a consistent launching surface and reduces wear on your lawn. You can also create a simple scoreboard from a small chalkboard or whiteboard mounted on a post near the course start, adding a competitive element that makes casual rounds feel more official and exciting for players of all ages and skill levels.
If your yard is large enough, consider designing a multi-hole layout that winds around trees, flower beds, and other natural obstacles. Even a simple three-hole course with varying distances of 50, 75, and 100 feet can provide a surprisingly rich and varied playing experience that challenges players to develop different throwing techniques. Use stakes, flags, or painted rocks to mark tee boxes for each hole, and experiment with par values based on the difficulty of each shot. Some backyard course designers even incorporate elevation changes by positioning baskets at the top or bottom of gentle slopes, which dramatically changes the flight dynamics of approaching discs.
For those looking to go beyond the standard design, consider building a portable version of your basket rather than a permanently installed one. Using a weighted base filled with sand or concrete rather than a buried pole allows you to move the basket around your yard to create fresh layouts or to store it away during winter months in colder climates. Portable designs typically use a wider, heavier base plate with a receiver socket that the pole slides into and locks with a quick-release pin. While slightly less stable than a buried post, a well-designed portable basket is still functional for casual play and offers the significant advantage of flexibility in course design and seasonal storage.
Maintaining Your Basket for Long-Term Use
A well-built DIY disc golf basket can last for many years with proper care and routine maintenance. The biggest enemy of any outdoor metal structure is moisture, which leads to rust and eventual structural weakening. To combat this, apply a fresh coat of rust-inhibiting spray paint or clear sealant to all metal surfaces at least once a year, or more frequently if you live in a high-humidity or coastal environment where salt air accelerates corrosion. Pay particular attention to any areas where metal components meet or overlap, as water tends to collect in these joints and cause hidden rusting that may not be immediately visible from the outside.
The chains are another component that deserves regular attention. Over time, the individual chain links can stretch, rust, or develop rough edges from repeated disc impacts, which may cause them to catch or tangle rather than swinging freely. Inspect each chain at the start of every playing season, replacing any links that show significant corrosion or deformation. Applying a light coat of spray lubricant to the chains once or twice a year helps keep them moving freely and prevents rust from taking hold. Quick-link connectors should also be checked to ensure they remain fully closed and have not worked loose through vibration and repeated use.
Finally, monitor the concrete footing and pole base for any signs of shifting or heaving, which can occur in climates with significant freeze-thaw cycles during winter. If the pole develops any lean or wobble, address it promptly by digging around the base, releveling the pole, and adding additional concrete to restore a firm foundation. Keeping a seasonal maintenance checklist posted near your basket or in a garden shed can help you stay on top of these tasks consistently, ensuring that your backyard disc golf setup remains a safe, enjoyable feature of your outdoor space for seasons to come. With the right care, your DIY basket will serve as a centerpiece for backyard fun and friendly competition year after year.








What do you think?
It is nice to know your opinion. Leave a comment.