










DIY Cedar Garden Bed: The Complete Guide to Building Your Own Raised Garden Box
Why Cedar Is the Perfect Wood for Your Raised Garden Bed
When it comes to selecting the right material for a raised garden bed, cedar stands out as the clear champion among woodworking enthusiasts and gardening professionals alike. Unlike pine or fir, cedar contains natural oils that act as a built-in preservative, making the wood highly resistant to rot, decay, and insect infestations without the need for chemical treatments. This means your garden bed will not only last longer but will also remain completely safe for growing vegetables, herbs, and fruits that you and your family plan to eat.
Cedar is also remarkably lightweight compared to other rot-resistant hardwoods like black locust or teak, which makes it significantly easier to handle during the building process. A full-length cedar board can typically be managed by a single person, reducing the need for a large crew and making this a truly achievable weekend project. Its workability with standard woodworking tools means you won’t need to invest in specialized equipment, and the wood cuts, drills, and fastens beautifully without excessive splintering or cracking.
Beyond its practical advantages, cedar brings a naturally beautiful, warm reddish-brown aesthetic that enhances any garden space. As it weathers over the seasons, it transitions to a distinguished silvery-gray patina that many gardeners find even more attractive than the original finish. With proper construction, a cedar raised garden bed can easily last 15 to 20 years or more, making the initial investment in quality materials an exceptionally wise long-term decision for any serious gardener.
Materials and Tools You Will Need Before You Begin
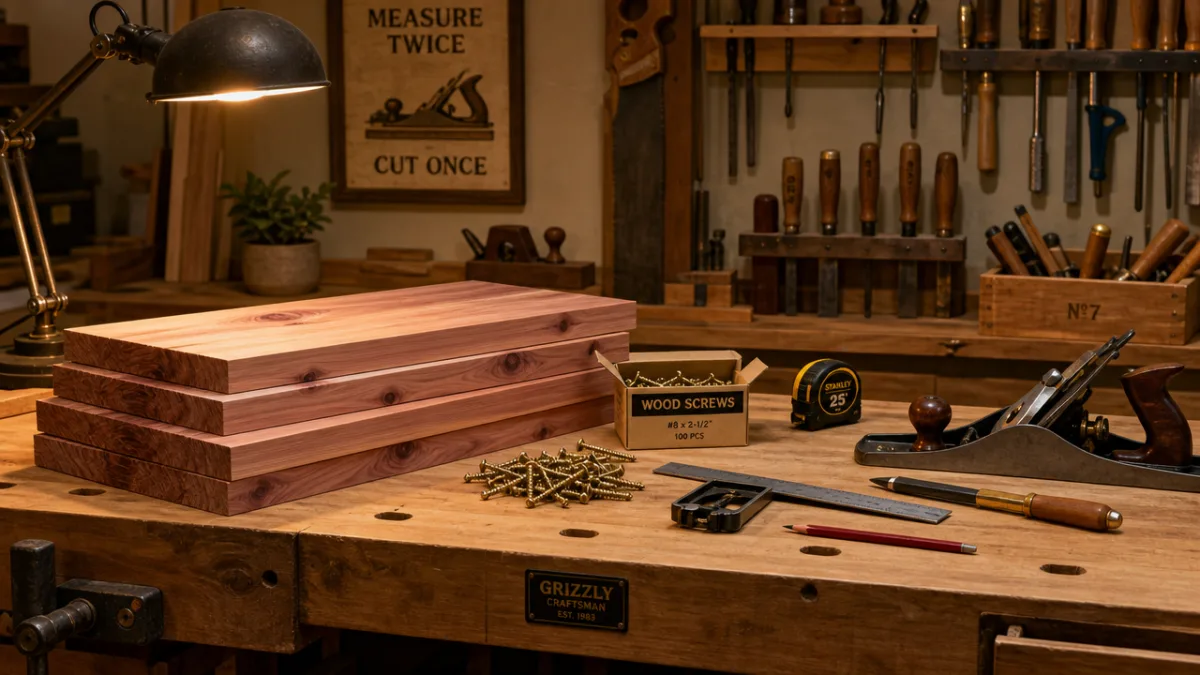
Before picking up a single board, taking the time to gather every material and tool on your list will save you countless frustrating trips to the hardware store mid-project. The most common size for a beginner raised garden bed is 4 feet wide by 8 feet long by 12 inches tall, which provides excellent growing depth for most vegetables while keeping the bed narrow enough to reach the center from either side without stepping inside. For this standard size, you will need approximately six 2×6 cedar boards cut to the appropriate lengths, along with corner posts to give the structure its rigidity and stability.
In addition to your cedar lumber, you will need a selection of hardware and fastening supplies. Galvanized or stainless steel screws are strongly preferred over standard steel screws because they will not rust and stain the wood or leach harmful metals into your soil over time. Deck screws in the 3-inch range are ideal for joining the board layers together, and 4×4 cedar corner posts cut to the height of your bed will form the structural backbone of the entire assembly.
On the tools side, the project is refreshingly straightforward and requires only basic woodworking equipment. A circular saw or miter saw will handle all your cutting needs, while a power drill with a Phillips-head bit will drive your screws with ease. A tape measure, carpenter’s square, and level are essential for ensuring your finished bed is straight and true. Optional but helpful additions include clamps to hold boards in place while you fasten them, and a marking pencil or chalk line for accurate cutting guides.
- Six 2×6 cedar boards (standard 8-foot lengths from the lumber yard)
- Four 4×4 cedar corner posts, cut to 12 inches each
- 3-inch galvanized or stainless steel deck screws (approximately 2 lbs)
- Circular saw or miter saw for cutting lumber to length
- Power drill with Phillips-head bit
- Tape measure, carpenter’s square, and level
- Landscape fabric or hardware cloth for the bottom (optional but recommended)
- Safety glasses and work gloves
Step-by-Step Construction Guide for Your Raised Garden Box
Begin by cutting your cedar boards to the correct lengths based on your desired bed dimensions. For the standard 4×8 foot bed, you will need two boards cut to 8 feet for the long sides and four boards cut to 45 inches for the short sides, which accounts for the thickness of the corner posts in the final assembly. Always measure twice and cut once, and use a carpenter’s square to ensure your cut lines are perfectly perpendicular to the edge of the board before you begin cutting.
Once all your pieces are cut, the assembly process moves quickly and satisfyingly. Start by attaching the short side boards to two of the corner posts, pre-drilling pilot holes to prevent the cedar from splitting, then driving your deck screws firmly home. With two short-side assemblies completed, connect them together using the long side boards, again pre-drilling and screwing through the boards directly into the faces of the corner posts. Check the entire frame with your carpenter’s square as you work, making small adjustments before tightening all screws completely.
For added structural strength on larger or taller beds, consider adding a center support stake on each long side, driven into the ground or attached flush with the bottom of the frame. This prevents the long boards from bowing outward under the pressure of the soil over time, a common issue with beds that are not properly reinforced. Once your frame is complete and square, lay it in its chosen location and check it with a level, adding or removing soil beneath the corners as needed to ensure the entire structure sits flat and even.
Building a Double-Height Garden Bed
If you want extra soil depth for deep-rooted crops like tomatoes, carrots, or squash, building a double-height bed using two layers of 2×6 boards is an excellent and straightforward upgrade. Simply assemble two complete frames to the same dimensions and stack one directly on top of the other, offsetting the corner posts or using internal corner brackets to join them together securely. This double-layer approach also makes the bed more comfortable to work at, reducing the amount of bending and kneeling required during planting, weeding, and harvesting.
When building upward to a height of 12 inches or more, it becomes especially important to use longer corner posts that run the full interior height of the bed. A 4×4 post that extends from the bottom to the top of the frame creates a continuous structural spine that dramatically improves rigidity and prevents the walls from shifting under the weight of moist soil. You can also add interior cross-supports by running a length of board across the width of the bed at the midpoint, attached with metal brackets, which further distributes the outward pressure of the soil loading.
Consider lining the interior walls of a double-height bed with a layer of hardware cloth or galvanized wire mesh before filling with soil. This acts as a barrier against burrowing pests like voles and moles that can tunnel up from below and devastate root crops. The wire should be stapled directly to the interior face of the bottom course of boards and should cover the entire floor area of the bed. This simple addition requires very little time and expense but provides significant long-term protection for your garden investment.
Preparing and Filling Your Raised Garden Bed with the Right Soil Mix
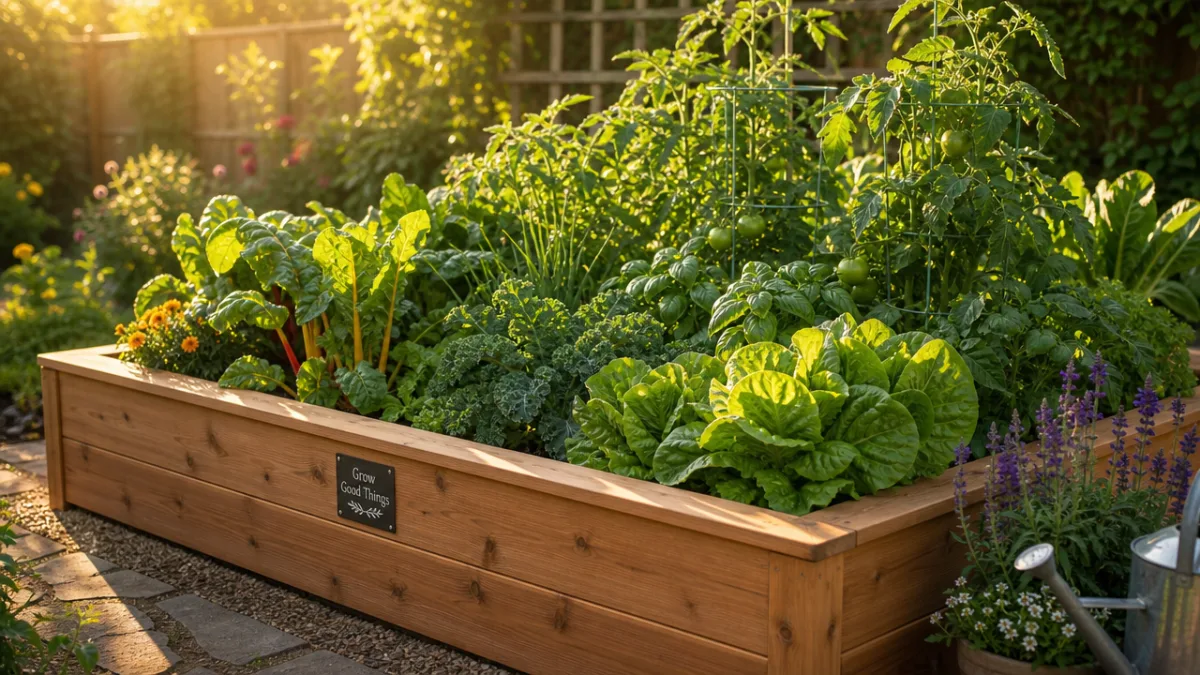
The soil you put inside your raised garden bed is arguably more important than the bed itself, and getting the mix right from the very beginning sets the foundation for years of abundant harvests. Unlike in-ground gardening where you are often working to improve existing native soil, a raised bed gives you the rare and wonderful opportunity to start with a perfectly engineered growing medium tailored specifically to your plants’ needs. The most widely recommended approach is the classic Mel’s Mix, developed by square foot gardening pioneer Mel Bartholomew, which combines equal parts compost, peat moss or coconut coir, and coarse vermiculite.
Quality compost is the heart of any great raised bed soil, providing a rich, biologically active environment teeming with beneficial microorganisms that break down organic matter and make nutrients available to plant roots. You can purchase premium bagged compost from your local garden center, but an even better option is to source a blend of multiple types, such as mushroom compost, aged manure compost, and leaf mold compost, to create a diverse and nutritionally complete foundation. The broader the biological diversity in your compost, the more resilient and self-sustaining your garden ecosystem will become over time.
Vermiculite and peat moss or coconut coir serve the critical function of improving drainage and aeration within the bed, ensuring that plant roots receive both the moisture and the oxygen they need to thrive. Clay-heavy or compacted soil in a raised bed would suffocate roots and lead to pooling and root rot, making these lightweight amendments essential rather than optional. As the years pass and your soil settles, plan to top off the bed each spring with a generous 2 to 3-inch layer of fresh compost to replenish nutrients and maintain the ideal soil height and texture throughout the growing season.
Soil Amendments and Fertilization Strategies
Even with an excellent starting soil mix, the intensive nature of raised bed gardening means that nutrients are consumed more quickly than in traditional in-ground plots. Because you are growing plants in a concentrated space with optimized conditions, they grow faster and more vigorously, which also means they draw on soil nutrients at a higher rate. Developing a consistent fertilization routine will ensure your plants never hit a nutritional wall mid-season and continue producing abundantly from the first warm days of spring through the final harvest of fall.
Organic slow-release fertilizers such as granular fish meal, blood meal, bone meal, and kelp meal are excellent choices for raised beds because they feed the soil biology as well as the plants themselves. Unlike synthetic fertilizers that deliver a quick nutrient spike followed by a crash, organic amendments break down gradually over weeks and months, providing a steady stream of nutrition that mirrors the natural cycles plants evolved with. Work these amendments into the top few inches of soil at the beginning of each season and supplement with liquid fertilizers like fish emulsion or compost tea every two to three weeks during peak growing periods.
Pay particular attention to calcium and magnesium levels in your raised bed, as deficiencies in these minerals are extremely common and responsible for frustrating problems like blossom end rot in tomatoes and peppers and interveinal chlorosis in leafy greens. A handful of dolomitic limestone or a few crushed eggshells worked into each planting hole provides a slow-release source of both minerals while also helping to buffer soil pH toward the neutral range that most vegetables prefer. Testing your soil pH annually with an inexpensive test kit will help you identify and correct any imbalances before they negatively affect your plants.
Planting Strategies, Companion Planting, and Seasonal Succession
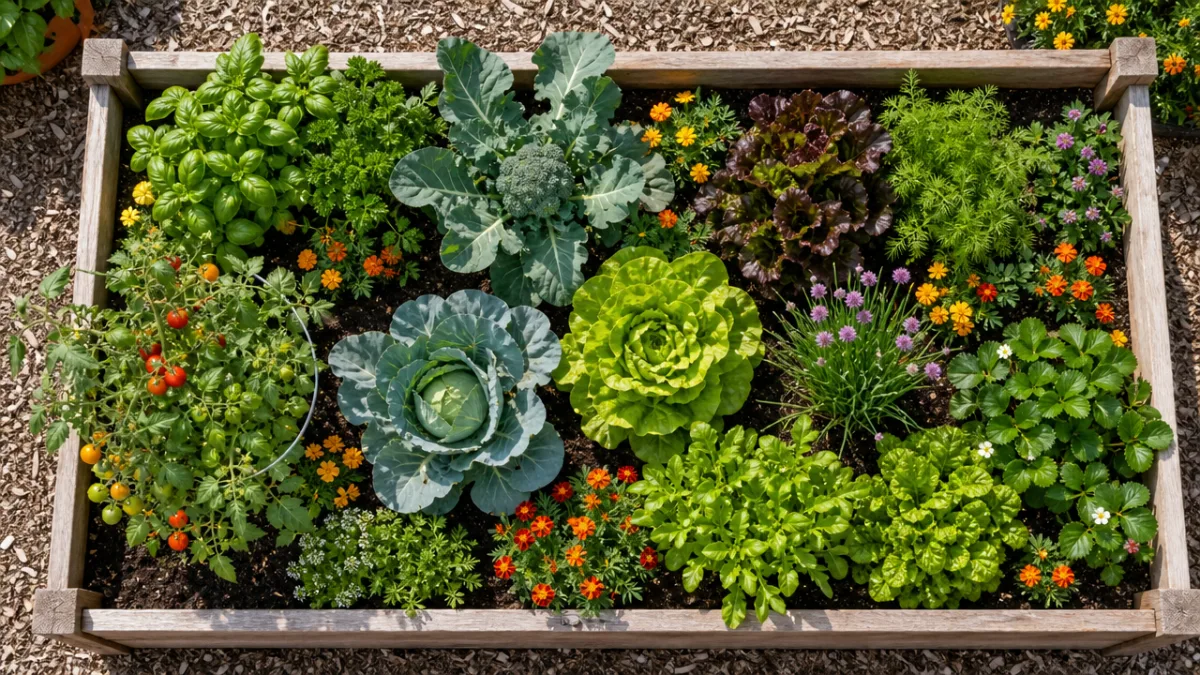
One of the greatest advantages of a raised garden bed over conventional row gardening is the ability to pack plants in much more densely, a technique known as intensive planting or square foot gardening. Because your raised bed soil is loose, well-aerated, and deeply fertile, plant roots can explore in all directions without fighting through compaction, which means you can space transplants and seeds much closer together than traditional spacing charts suggest. This closer spacing also serves as a natural weed suppression strategy, because as the plants grow and their leaves spread, they shade out the bare soil between them and deny weed seeds the light they need to germinate.
Companion planting takes the intensive approach a step further by deliberately pairing different plant species that benefit one another through complementary growth habits, pest deterrence, or nutrient interactions. The classic “Three Sisters” combination of corn, beans, and squash is perhaps the most famous example, where corn provides a climbing structure for beans, beans fix atmospheric nitrogen into the soil to feed the heavy-feeding corn and squash, and squash’s broad leaves shade the ground to retain moisture and suppress weeds. Similarly, planting fragrant herbs like basil, dill, and marigolds throughout your bed can help deter common garden pests and attract beneficial insects like ladybugs and parasitic wasps that prey on aphids and caterpillars.
Succession planting is the practice of sowing new seeds or transplanting new starts every two to three weeks throughout the growing season to ensure a continuous, overlapping harvest rather than a single overwhelming glut of produce all at once. Fast-maturing crops like salad greens, radishes, and bush beans are perfectly suited to this approach and can be sown multiple times between spring and fall in most climates. As one planting of lettuce begins to bolt in summer heat, a new sowing made two weeks later will be just reaching maturity and ready to step in, providing an uninterrupted supply of fresh, tender greens for your table throughout the entire season.
- Plan your bed layout on paper before planting, grouping plants by height to prevent taller crops from shading shorter neighbors
- Direct sow cool-season crops like spinach and peas as soon as the soil can be worked in early spring
- Wait until after the last frost date to transplant warm-season crops like tomatoes, peppers, and cucumbers
- Sow a new succession of fast-maturing crops every two to three weeks from spring through midsummer
- Plant a fall garden in late summer by direct sowing cold-tolerant crops as temperatures begin to cool
- After the final harvest, plant a winter cover crop to protect and enrich the soil until spring planting begins again
Maintaining Your Cedar Garden Bed Through Every Season
A well-built cedar raised garden bed requires remarkably little structural maintenance from year to year, but a few simple seasonal tasks will help it look great and perform at its best for many decades to come. At the beginning of each spring, take a few minutes to inspect all the joints and corners of your bed, checking for any screws that may have loosened over the winter and tightening them back down with your drill. This is also an excellent time to look for any boards showing signs of significant weathering or cracking and to treat the exterior of the bed with a food-safe, natural wood preservative like tung oil or raw linseed oil if you want to slow the graying process and maintain the wood’s original warm color.
Through the growing season, the most important maintenance task is consistent watering, as raised beds drain more freely than in-ground plots and can dry out more quickly during hot weather. Installing a simple drip irrigation system connected to a timer is one of the single most impactful upgrades you can make to a raised bed garden, delivering water directly to the root zone while keeping foliage dry and reducing the risk of fungal diseases. Mulching the surface of the bed with a 2 to 3-inch layer of straw, shredded leaves, or wood chips after planting will further reduce evaporation, moderate soil temperature extremes, and significantly cut down on the time you spend watering by hand.
As the growing season winds down in autumn, the most valuable end-of-season investment you can make in your raised bed is planting a cover crop or adding a generous topdressing of compost and aged manure that will break down slowly over the winter months. Green manure crops like winter rye, crimson clover, and Austrian field peas grow vigorously in cool weather, protect the soil surface from erosion and compaction, and add significant organic matter and nutrients when tilled under in spring. This annual cycle of building organic matter is the single most effective long-term strategy for maintaining and continuously improving the productivity of your raised cedar garden bed for as long as you choose to tend it.
Extending Your Growing Season with Covers and Cold Frames
One of the most exciting features of a raised garden bed is how easily it can be transformed into a protected cold-frame growing environment with just a few inexpensive additions. By cutting lengths of PVC pipe or flexible electrical conduit and bending them into hoops anchored to the interior sides of the bed, you can create a simple tunnel frame over which you drape a layer of clear plastic sheeting or row cover fabric. This low-tech season extender traps heat from the sun during the day, creates a protected microclimate around your plants, and can add four to six weeks of growing time at both ends of the traditional garden season.
For even more protection during hard freezes, a more substantial cold frame lid made from old storm windows or corrugated polycarbonate panels can be built to rest directly on top of the walls of the raised bed. The thermal mass of the soil inside the bed stores daytime heat and slowly releases it overnight, keeping temperatures inside the cold frame several degrees warmer than the outdoor air on clear, cold nights. With this simple setup, many gardeners in temperate climates are able to harvest fresh spinach, kale, mache, and other cold-hardy greens throughout the entire winter without any additional heating equipment whatsoever.
Investing in a raised cedar garden bed is ultimately an investment in a healthier, more intentional, and more rewarding relationship with the food you grow and eat. From the satisfying physical process of building the box itself to the daily pleasure of tending your plants and the incomparable reward of harvesting fresh produce just steps from your kitchen door, a well-planned raised bed garden transforms outdoor space into a living, productive, and deeply nourishing part of your home. With the right materials, a solid construction plan, and the knowledge of how to prepare, plant, and care for your bed through every season, this is a project that will reward your time and effort many times over for years to come.








What do you think?
It is nice to know your opinion. Leave a comment.