










How to Plant, Grow, and Harvest Nasturtiums
Introduction to Nasturtiums: A Garden Gem Worth Growing
If you’re looking for a flower that practically does everything, nasturtiums might just be your new best friend in the garden. Whether you’ve been gardening for decades or you’re just getting started, these cheerful plants are hard to beat. Their blooms come in fiery oranges, sunny yellows, and deep crimsons that light up any space — from a sprawling backyard bed to a single pot on an apartment balcony. But honestly, the good looks are just the beginning.
What really makes nasturtiums stand out is that every single part of the plant is edible. Flowers, leaves, seeds — all of it has a distinctive peppery, slightly tangy bite that home cooks and restaurant chefs have been enjoying for years. That alone transforms them from a pretty ornamental into a genuine kitchen garden plant, the kind that earns its spot twice over. Toss the blooms into a salad, use them as a garnish, or pickle the seeds — there’s a lot more going on here than meets the eye.
And if that weren’t enough, nasturtiums are also quietly doing important work in your garden ecosystem. They draw in bees and butterflies, and they’re well known for acting as trap crops — basically luring aphids away from your tomatoes and brassicas before those pests can cause real damage. If you’re interested in organic or companion planting, nasturtiums are the kind of ally you didn’t know you needed. They’re low-maintenance, genuinely useful, and surprisingly hard-working plants.
Choosing the Right Variety for Your Garden
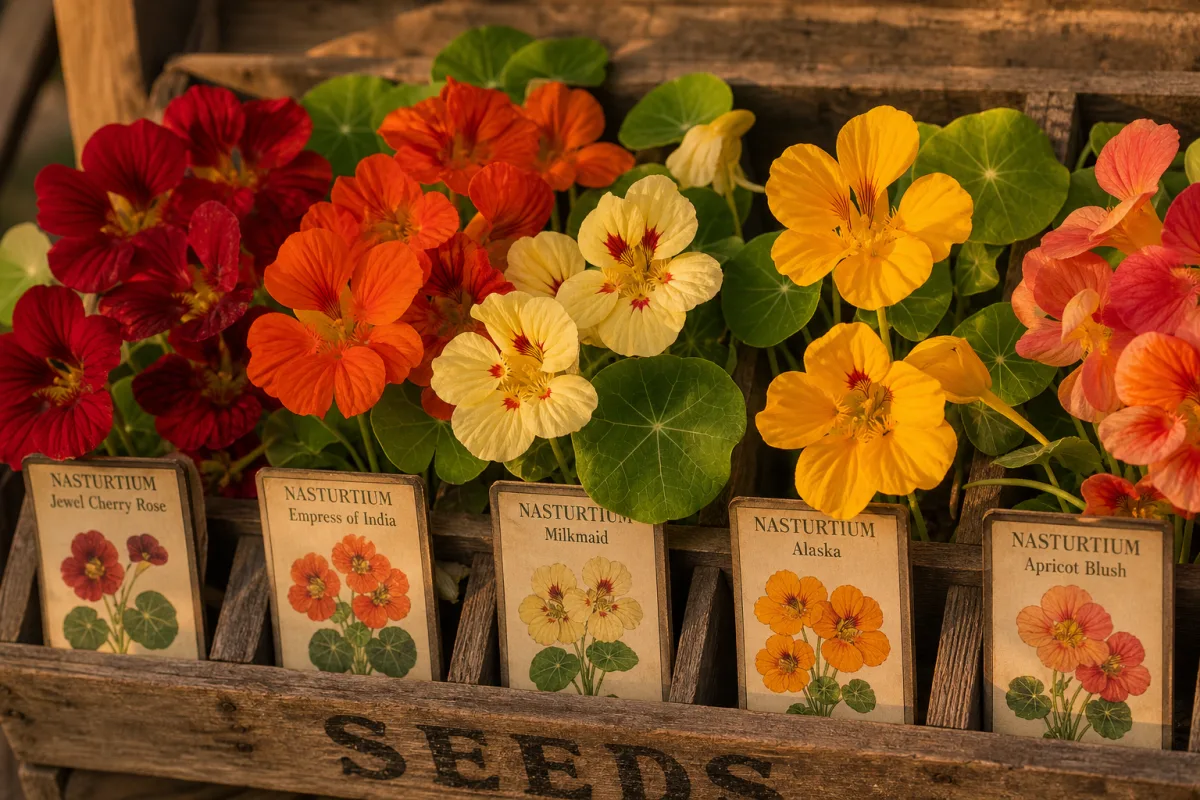
Before you start scattering seeds everywhere, it’s worth taking a few minutes to think about which type of nasturtium will actually suit your space. There are two main growth habits to know about: compact, bushy varieties and trailing or climbing ones. Compact types like the Alaska Mix or the Jewel Series stay nicely mounded and look great in containers, window boxes, or along a border edge. They’re easy to manage and perfect if you’re working with a smaller area.
Trailing varieties are a whole different story — in the best way. Something like Empress of India, Moonlight, or the vigorous Spitfire can send stems cascading several feet in every direction, which makes them stunning draped over a raised bed, tumbling down a retaining wall, or clambering up a trellis. They cover a lot of ground from just a handful of seeds, so if you want big impact without a lot of investment, these are the ones to reach for.
Color is another thing worth thinking through, especially if you’re growing nasturtiums to eat or to match a specific look in your garden. Single-color varieties give you something more polished and intentional, while mixed seed packets lean into that loose, cottage-garden charm. Some varieties like the Alaska Mix even have gorgeous variegated leaves — cream and green marbled together — so the plant looks interesting even when it isn’t blooming. Just take a good look at the seed packet before you buy, since maturity times, plant heights, and even flavor can vary a fair amount from one cultivar to the next.
How to Plant Nasturtiums: Soil, Timing, and Sowing
Here’s something that trips up a lot of new growers: nasturtiums actually prefer poor to average soil. It feels counterintuitive, but reaching for the compost bag before planting them is exactly the wrong move. When you grow nasturtiums in rich, heavily fertilized soil, they put all their energy into producing big, lush leaves and almost no flowers — which kind of defeats the purpose. What they really want is a lean, well-draining soil with a pH somewhere between 6.0 and 7.5. Simple as that.
Timing matters too, since nasturtiums are frost-sensitive warm-season annuals. Wait to sow outdoors until all frost risk has passed and the soil has warmed to at least 55 to 65 degrees Fahrenheit. For most of North America, that window falls somewhere between late April and early June. One more important note: nasturtiums really don’t like being transplanted because they develop a taproot that hates being disturbed. Skip the seed trays and sow directly into the ground where you want them to grow.
The good news is that nasturtium seeds are big, chunky, and easy to handle — they’re genuinely one of the friendliest seeds for beginners to work with. Sow them about half an inch to an inch deep, spacing compact varieties around ten to twelve inches apart and trailing types up to eighteen inches. If you want to give germination a little boost, soaking the seeds in water for twelve to twenty-four hours beforehand can soften the seed coat and speed things up. In warm soil you should see seedlings poking through within a week or two, and flowers typically follow about fifty to sixty days after sowing.
Growing and Caring for Nasturtiums Throughout the Season
Once nasturtiums are up and growing, they really don’t ask for much. Watering is moderate — they prefer to dry out a little between waterings rather than sitting in constantly wet soil, which can lead to root rot and fungal problems. During hot, dry spells, a deep watering once or twice a week at the base of the plant is plenty. In cooler or rainier climates, nature will often handle most of the work for you throughout the season.
As for fertilizing, the short answer is: don’t bother. If your soil is extremely poor and the plants are looking genuinely stressed, a single light application of a balanced, low-nitrogen fertilizer early on can help — but use it sparingly. Anything high in nitrogen will just push more leafy growth at the expense of flowers, so steer well clear of lawn fertilizers or anything designed for leafy vegetables. The best advice is to leave them alone and let them do their thing. Nasturtiums thrive on a little neglect in a way that most plants simply don’t.
Deadheading makes a real difference if you want a long, continuous bloom. As flowers fade, pinch or snip them off — ideally taking the whole flower head along with the little seed pod forming behind it, unless you’re planning to save seeds. If plants start looking leggy or straggly during the heat of midsummer, cutting them back by about a third can give them a fresh lease on life and encourage a nice new flush of growth and flowers once things cool down a bit in late summer.
Pests are generally not a big concern, though aphids will show up from time to time — usually clustered on the undersides of leaves or along the stems. Since nasturtiums are often used specifically as trap crops to pull aphids away from other plants, a moderate amount of aphid activity on them isn’t automatically a problem. If things get out of hand, a strong blast from the hose or a spray of diluted insecticidal soap will sort it out quickly without compromising the plant’s edibility.
Harvesting Nasturtiums: Flowers, Leaves, and Seeds
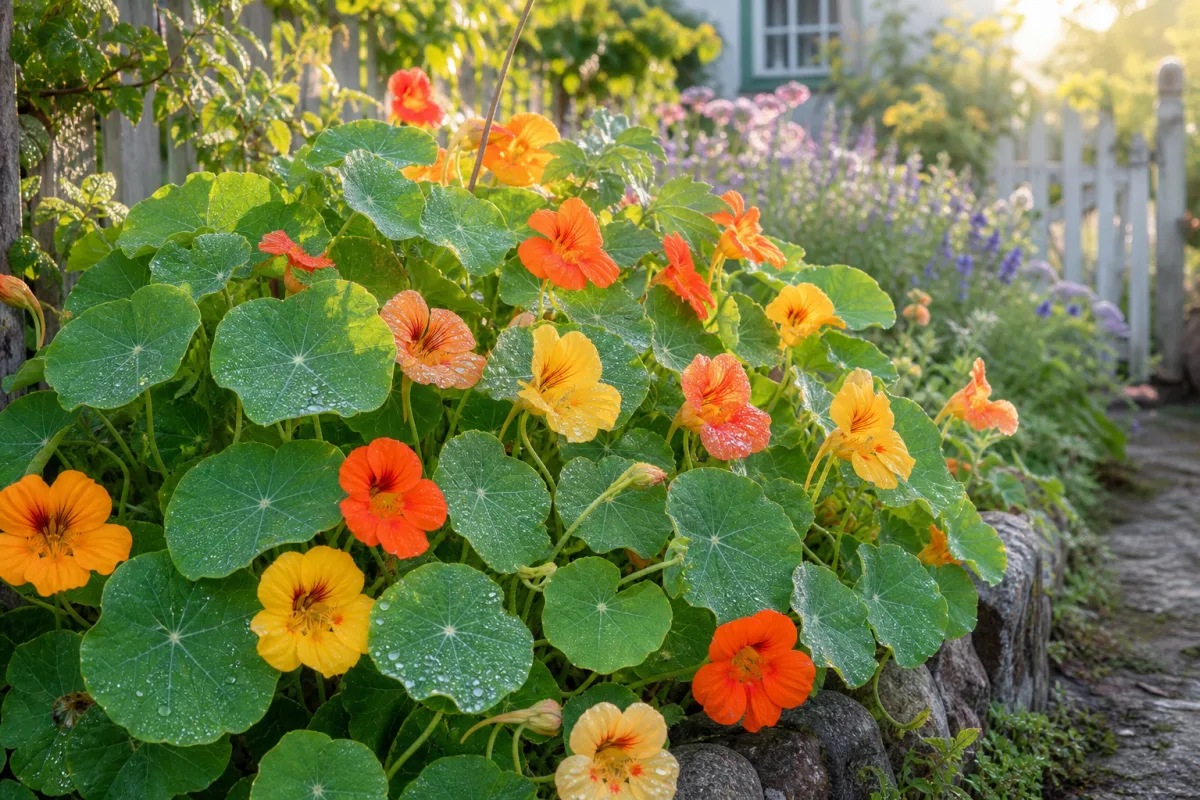
Harvesting nasturtiums is genuinely one of the more enjoyable parts of growing them — there’s always plenty to pick, and the more you harvest, the more the plant produces. Flowers are the most popular thing to collect, and in a mild climate you can keep picking them from late spring right through the first autumn frosts. Morning is the best time to harvest, after the dew has dried but before the afternoon heat sets in. Look for blooms that have fully opened and are still bright and fresh-looking, and skip any that are starting to fade or show brown edges.
The leaves are just as worth picking, and they’re surprisingly nutritious — packed with Vitamin C, iron, and other beneficial compounds. Young leaves harvested early in the season are your best bet: milder in flavor and easier to work with in salads or as a garnish. As the season progresses and temperatures climb, the peppery kick intensifies, which some people love and others find a bit much in larger amounts. You can harvest leaves at any point just by snapping or cutting individual stems, and regular picking keeps the plant looking tidy and productive all season long.
Then there are the seeds, which are perhaps the most unexpected harvest of all. Picked while still green and firm, nasturtium seeds can be pickled just like capers — rinsed and dropped into a brine of white wine vinegar, salt, and herbs for a few weeks. The result is often called “poor man’s capers,” which honestly undersells them a little. They have a tangy, peppery depth that tastes far more sophisticated than the handful of ingredients involved would suggest. If you’ve never tried them, it’s absolutely worth picking a few pods next time you’re in the garden.
Saving Seeds and Growing Nasturtiums Year After Year
One of the best things about nasturtiums, practically speaking, is how easy they are to save seeds from. Once you’ve grown them once, you may never need to buy a seed packet again. Because pure variety nasturtiums are open-pollinated, seeds saved from your plants will produce offspring that closely resemble the parents — with just enough natural color variation to keep things interesting over time. It’s a simple way to become a little more self-sufficient in the garden and, over several seasons, to develop your own unique mix.
To save seeds, just let some of your flowers go without deadheading them. The pods that form behind the blooms will swell and slowly change from green to tan or brownish as they dry out on the plant. Keep an eye on them, because once they’re fully ripe they tend to drop quickly. The ideal moment to pick them is when they’ve turned beige or light brown but haven’t yet fallen — at that point you can just pluck them off by hand. Spread them out on a paper towel or screen in a warm, dry, well-ventilated spot for a week or two to make sure they’re fully dry before you put them away.
Properly dried nasturtium seeds store really well — up to five years in a cool, dark, dry spot in an airtight container like a glass jar or a paper envelope tucked inside a sealed bag. Labeling them with the variety, color, and harvest year is a small step that saves a lot of head-scratching come planting season. Many gardeners also find that nasturtiums handle the seed-saving process themselves, dropping seeds into the soil in late summer or autumn and popping back up the following spring with no help from anyone. Once you’ve grown them a season or two, you may find your garden practically takes care of itself.
Culinary Uses: Bringing Nasturtiums Into Your Kitchen
Most people start with nasturtiums in a salad and are pleasantly surprised by how much flavor a few petals can add. That peppery bite and pop of color does something a plain bowl of greens just can’t. But the kitchen uses go much further than that. Whole flowers stuffed with soft herb cream cheese make a genuinely impressive appetizer with very little effort, and petals scattered over cold soups or grain bowls give you that restaurant-quality finish at home. It’s one of those ingredients that looks fancy but requires almost nothing from you.
You can also cook with them, infuse them into oils or butters, and make flavored vinegars that turn a beautiful golden or pink color from the pigments in the petals. Nasturtium butter — softened butter blended with finely chopped flowers and leaves — is wonderful on grilled fish, chicken, or just spread over warm bread. And freezing individual blooms into ice cubes is one of the easiest ways to make a summer drink or cocktail look genuinely stunning. Once you start thinking of nasturtiums as an ingredient rather than just a garnish, the possibilities open up considerably.
There’s also a real nutritional case for eating them regularly. Nasturtium flowers and leaves contain glucosinolates, which are sulfur-based compounds with antimicrobial and antifungal properties, along with lutein for eye health, beta-carotene, and a solid hit of Vitamin C. None of that is a reason to treat them as medicine, of course, but it does mean that every time you toss a few flowers into your lunch you’re getting something genuinely good out of it. For a plant that’s this easy to grow and this versatile to use, that feels like a pretty good deal.








What do you think?
It is nice to know your opinion. Leave a comment.