










Which Blocking Method for Which Yarn? A Complete Fiber Guide
Understanding Why Blocking Matters
Blocking might just be the most transformative step in any knitting or crochet project — and yet it’s probably the most skipped. When you finally weave in your last end and hold your finished piece, it almost never looks the way the pattern imagined it. Stitches are uneven, lace looks squished and impossible to read, seams pull in weird directions. Blocking fixes all of that. With just water and a little gentle tension, you coax the fabric into the shape it was always meant to be.
Why does it work so well? It comes down to the fiber itself. Most natural yarns — and plenty of blends — respond to water and heat by relaxing their twisted structure. The individual strands swell a little, then resettle as they dry, locking in whatever shape you’ve pinned them into. It’s not just a cosmetic touch-up, either. Blocking genuinely changes the drape, stitch definition, and feel of your fabric in ways nothing else can replicate.
That said, the wrong blocking method can do real, permanent damage. Wool agitated in hot water will felt. Acrylic hit with close-range steam can go completely limp — a process called killing. Delicate silk can warp under too much tension. So understanding which method works for which fiber isn’t just advanced finishing knowledge. It’s something every maker needs to know.
Wet Blocking: The Classic Method for Natural Fibers
Wet blocking is exactly what it sounds like: you fully soak your finished piece in cool or lukewarm water, press out the extra moisture, and then pin it to your target measurements on a blocking mat to dry. For most natural protein fibers — wool, alpaca, cashmere, mohair — this is the gold standard. Full saturation lets the fiber absorb water all the way through, which means maximum relaxation before you shape it.
To do it right, fill a clean basin with cool to lukewarm water. A splash of wool wash or a gentle no-rinse conditioner is optional but nice — it softens the fiber and leaves things smelling pleasant. Submerge your piece and let it soak for at least fifteen to twenty minutes. Don’t agitate it, squeeze it, or wring it, because that’s how you end up with felt instead of a sweater. When you lift it out, support the whole thing with both hands so the weight doesn’t stretch it out, then press it gently between two towels to pull out the excess water.
Then comes the satisfying part: pinning. Lay your damp piece on a foam blocking mat and use rust-proof T-pins or blocking wires to stretch it out to your schematic measurements. With lace, this step is almost magical — an unblocked lace shawl looks like a sad little wad of yarn, but once you wet block it and pin out all those points and pattern repeats, it opens up into something genuinely beautiful. Plan for it to take twelve to twenty-four hours to dry completely before you touch those pins, depending on the weight of your yarn and how humid your space is.
Steam Blocking: Quick Results for Wool and Blends
Steam blocking uses the heat and moisture from a clothes steamer or steam iron — held above the fabric, not touching it — to relax and reshape fiber without getting everything soaking wet. It’s faster than wet blocking, and it’s especially handy when you’re finishing individual pieces before seaming, since you’re working with drier, more manageable sections. Most wool yarns, wool blends, and many plant fibers handle steam well, though you do need a careful hand, because too much heat or holding the steam too close can damage even tough fibers.
The technique isn’t complicated, but it does demand your attention. Keep your steamer or iron at least an inch or two above the fabric surface — if you press it directly onto knitted or crocheted fabric, you’ll flatten the texture and kill the three-dimensional quality of your stitches. Move slowly and evenly, letting the steam work its way into the fiber. You’ll actually feel the fabric soften under your hands almost right away. Use your palms to gently smooth and shape as you go.
Steam blocking is particularly great for taming the curl on Stockinette edges or straightening out ribbing before seaming. It’s also a smart choice for colorwork, where you want better stitch definition but you’re nervous about color bleeding during a full soak. One important habit: always test steam on a swatch before you take it to your finished piece, especially with blended yarns, where the synthetic portion might react to heat in ways you don’t expect.

Spray Blocking: A Gentle Touch for Delicate Fibers
Spray blocking sits nicely in the middle ground between the full soak of wet blocking and the heat of steam blocking. Here, you pin your finished piece to its final measurements first, then mist it with cool water from a spray bottle until the fabric is evenly damp all the way through. Because you’re pinning before any water touches it, you have precise control over both how much moisture it gets and exactly what shape it dries into. That makes it a great fit for delicate fibers that need gentle moisture but really shouldn’t be agitated or exposed to heat.
Silk and silk blends love spray blocking. Silk is a protein fiber with that gorgeous natural luster, but it can go limp or misshapen if you manhandle it when wet. A light misting and some gentle tension is all it needs. Bamboo, which has a similar drapey quality, is another fiber that benefits from this more controlled approach. Cotton and linen can also be spray blocked, though they’re a bit more stubborn about holding a new shape — you might need to get them thoroughly damp, or even resort to full wet blocking, to see meaningful results.
Spray blocking is also the go-to method when you can’t safely submerge a finished garment — maybe it has embellishments, elements that aren’t colorfast, or sections of different fibers that would react differently to a full soak. Misting carefully and selectively lets you treat one area more aggressively than another, which is a level of nuance wet blocking just can’t give you. Keep a measuring tape nearby and check your dimensions regularly as the fabric relaxes, adjusting pins as needed before things start to dry.
Blocking Acrylic Yarn: Kill Blocking and Beyond
Acrylic yarn is its own animal when it comes to blocking. Because it’s a synthetic fiber made from petroleum-based polymers, water does basically nothing to it — you could soak an acrylic piece all afternoon and it would just dry right back to whatever shape it started in. The only way to permanently change its structure is heat, which is where kill blocking (or just “killing”) comes in. That means applying steam directly or very close to the fabric surface, which causes the polymer fibers to soften and permanently lose their elasticity.
Kill blocking is not something to do on a whim, because there’s no going back. When you kill acrylic, it becomes soft, flat, and drapey — which is actually ideal for things like amigurumi pieces that need to lie flat, or garments where you want softness over structure. But if you accidentally kill a hat or a textured bag, that structure is gone for good. The stitches lose definition, and the whole thing can take on a slightly limp, almost fabric-like quality that some people love and others find really disappointing.
If you want to even out your acrylic stitches without killing them, there are gentler options. Tossing the finished piece in the dryer on low heat with a damp towel is one approach — the combination of mild heat, moisture, and tumbling can smooth things out without triggering permanent changes. You can also try steaming from farther away than you’d use for wool, which gives a little heat to relax the surface without crossing the threshold into true killing. Either way, test on a swatch first.
Plant Fibers: Cotton, Linen, and Bamboo
Plant fibers — cotton, linen, hemp, bamboo — are a whole different world from protein fibers like wool. Wool has tiny microscopic scales that interlock when agitated and naturally wants to relax back into its fiber structure. Plant fibers don’t have any of that. They’re smooth, inelastic, and pretty stubborn about changing shape. They also don’t have the same memory as animal fibers, which means they’re harder to block and less likely to hold a blocked shape over time, especially after washing.
Cotton, probably the most common plant fiber in yarn, does best with wet blocking and plenty of moisture — sometimes even a slightly warmer water temperature than you’d use for wool. Full saturation really matters here, because cotton soaks up a lot of water and needs to be thoroughly damp before you start pinning. On the plus side, because cotton has almost no elasticity, it won’t spring back when you stretch it to your measurements, so it’s actually pretty cooperative about hitting exact dimensions. Just check and readjust your pins periodically as it dries, since it can relax and shift a bit.
Linen starts out stiffer than cotton but softens up dramatically after wet blocking and a few washes — linen knitters often talk about a “break-in” period over the first several washes where the fabric progressively gets softer and more drapey. Bamboo has a silkier, more fluid quality closer to viscose and responds nicely to spray blocking or a gentle wet block. Hemp is probably the most stubborn of the bunch and really benefits from a thorough soak — sometimes you need a few blocking sessions before you get the softness and shape you’re after.
Special Fibers: Mohair, Alpaca, and Blends
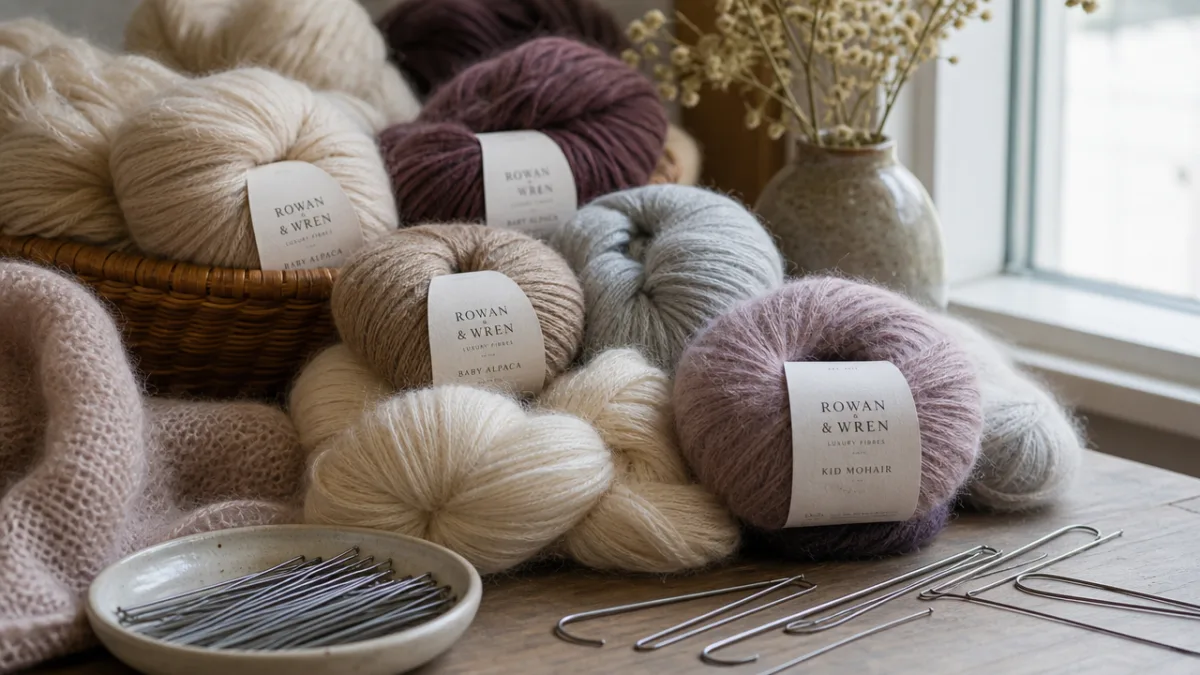
Outside of the standard wool and cotton categories, there are some special and luxury fibers worth talking about on their own terms. Mohair, which comes from the Angora goat, has long, fine, silky fibers that create that dreamy halo effect everyone loves. That halo is also what makes mohair a little tricky to block — the fine fibers can tangle or mat if they’re handled too much while wet. Stick with cool water, no agitation, and keep your handling to an absolute minimum while the piece is damp.
Alpaca is incredibly soft and shares a few characteristics with wool, but it doesn’t have wool’s natural elasticity or its tendency to felt. That’s good news in one way, but it also means alpaca fabric has a habit of growing and stretching under its own weight — and blocking can make that worse. Wet blocking is fine, but you need to keep the piece lying completely flat the entire time it dries. Never hang alpaca to dry when it’s wet, because the weight of the water will stretch it out permanently. Pin it firmly to your intended measurements and don’t trust it to behave on its own.
Blended yarns are where things get interesting, because you’re dealing with two or more fiber types that may want completely different treatment. The general rule is simple: block to the needs of the most delicate fiber in the blend. A wool-acrylic blend should be wet blocked gently, not killed. A silk-cotton blend should be spray blocked or gently wet blocked, not hit with aggressive steam. Your yarn label will tell you the fiber percentages you need to make that call — and a test swatch before you start the project means you can try your chosen method safely before it matters.
Building Your Blocking Kit and Best Practices
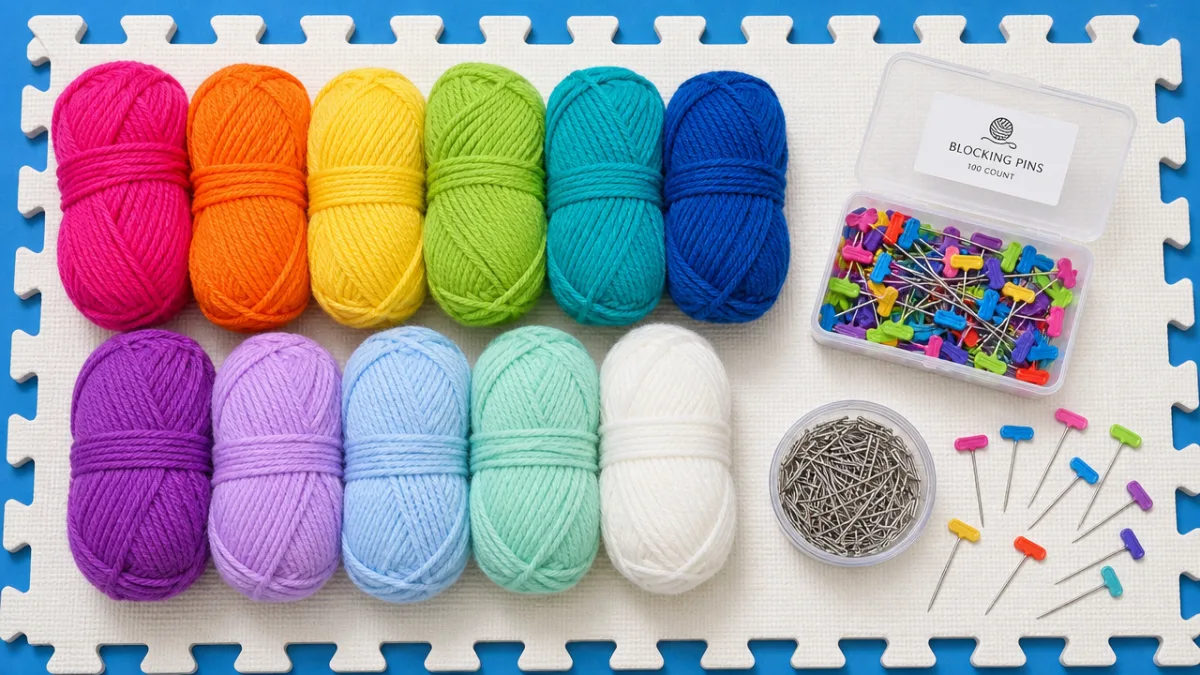
The right tools make blocking so much easier, and putting together a solid kit is one of the best investments you can make as a knitter or crocheter. The foundation is a set of interlocking foam mats — the kind that look like kids’ play mats — which are soft enough to take pins while keeping moisture off your work surface. Look for ones with a grid printed on top, because that grid is genuinely useful for pinning to straight, accurate measurements without constantly picking up a ruler.
Rust-proof T-pins are non-negotiable. Regular sewing pins are too short, and they will rust when wet, leaving orange stains on your finished project. Blocking wires are worth the investment if you regularly make shawls, scarves, or lace — they thread through an entire edge in one pass and give you perfectly straight lines without the tedium of pinning every quarter inch. Round out the kit with a clean spray bottle, some gentle wool wash, and a few absorbent towels. If you work a lot with wool and blends, a clothes steamer is a great addition too.
Good habits matter just as much as good tools. Always swatch before a project, and block that swatch the same way you plan to block the finished piece — it tells you exactly how the fabric will behave and lets you adjust your needle size if your blocked gauge is off. Keep your yarn bands until the project is completely done so you always have fiber content info when it’s time to block. And please, be patient with the drying process. Reaching for a hair dryer or setting your piece in direct sunlight leads to uneven drying and the kind of distortion that undoes all your careful pinning. Good blocking is slow, deliberate work — and the results are absolutely worth it.








What do you think?
It is nice to know your opinion. Leave a comment.