










Top-Down Crochet Sweater: Your Complete Guide to a Cozy & Seamless Creation
Introduction to Top-Down Crochet Sweater Construction
The top-down crochet sweater is one of the most beloved construction methods in the modern yarn crafting world, and for very good reason. Unlike traditional sweater-making that requires you to stitch together multiple flat pieces at the end, top-down construction allows you to work in a continuous, seamless fashion from the neckline all the way down to the hem. This method has revolutionized how crocheters approach garment making, reducing finishing work while simultaneously improving the overall drape and fit of the finished piece.
What makes this approach particularly appealing to both beginners and experienced crocheters is the ability to try the sweater on as you work. Because you begin at the neckline and increase gradually outward through the yoke, you can slip the project over your head at any point to check the fit before committing to a full length. This interactive quality removes much of the guesswork and frustration that often accompanies sweater projects, especially for those who have struggled with sizing in the past or who fall between standard measurements.
The seamless nature of a top-down sweater also produces a cleaner, more polished look that rivals — and often surpasses — the appearance of machine-knitted garments. Without visible seams running along the shoulders or underarms, the finished sweater drapes naturally across the body, moves fluidly with the wearer, and has a professional aesthetic that makes it suitable for gifting or wearing to any occasion. Whether you’re making your very first wearable garment or adding to a well-stocked handmade wardrobe, understanding the top-down method is a skill worth investing in.
Choosing the Right Yarn for Your Sweater Project
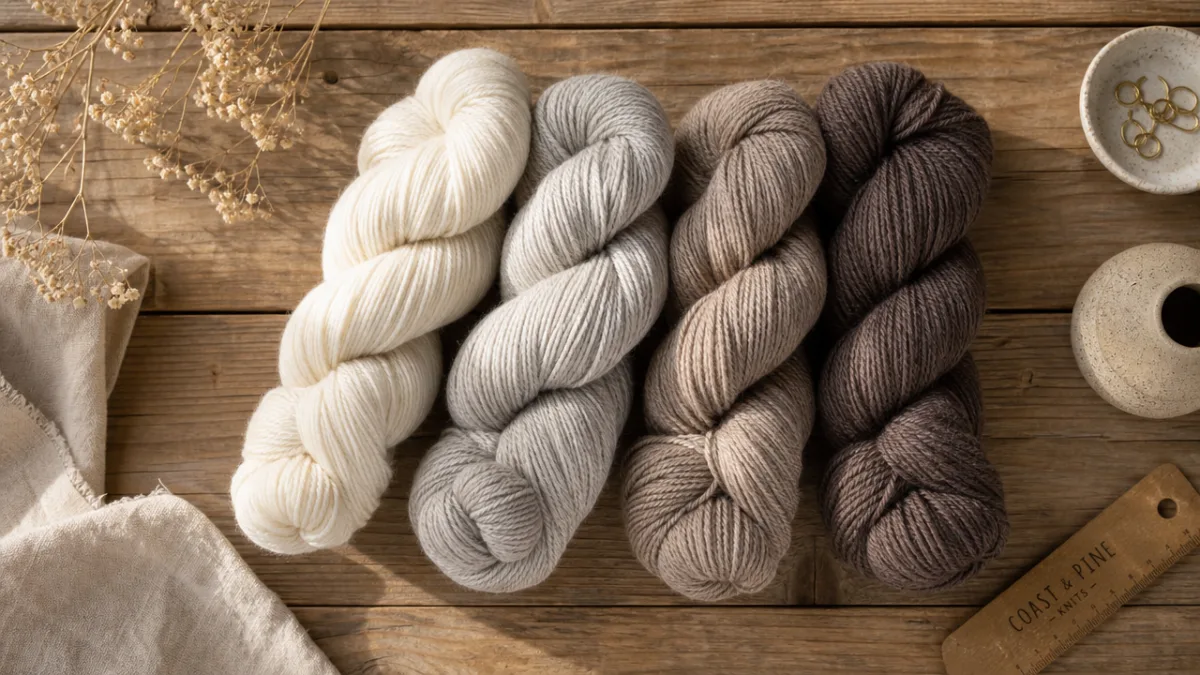
Selecting the right yarn is arguably the single most important decision you will make for your top-down crochet sweater, and it deserves careful thought before you purchase a single skein. Yarn weight plays a crucial role in determining the finished fabric’s characteristics — a bulky weight yarn will produce a thick, warm, and quick-to-work-up sweater ideal for winter, while a DK or sport weight will create a more refined, lightweight fabric suitable for transitional seasons or layering. Always consider the climate you live in and how you intend to wear the finished garment when narrowing down your options.
Fiber content is equally important when planning a sweater. Wool and wool blends are classic choices because they offer natural elasticity, warmth, and breathability, and they hold their shape beautifully over time. Merino wool in particular is prized for its softness against the skin, making it ideal for a garment worn directly next to the body. If you or your recipient have wool sensitivities, acrylic blends or plant-based fibers like cotton and bamboo are excellent alternatives that offer durability, easy machine washing, and a satisfying drape — though they may require a slightly different approach to shaping since they lack the natural spring of animal fibers.
For a cozy sweater specifically, many crocheters swear by yarns that have a slight halo or texture, such as alpaca blends, mohair-silk combinations, or brushed acrylic. These fibers create a soft, cloud-like fabric that photographs beautifully and feels luxurious to wear. Keep in mind that fuzzy or hairy yarns can make it more difficult to see individual stitches, so they are generally better suited to crocheters who are already comfortable with their chosen stitch pattern. Whatever yarn you choose, always purchase enough skeins from the same dye lot to complete the project, as dye lots can vary noticeably between batches and create uneven color throughout your sweater.
Essential Tools and Gauge Swatching
Before a single stitch of your sweater is worked, assembling the right tools will set you up for success and save considerable frustration down the line. Your most critical tool is, of course, the crochet hook, and the correct size will depend entirely on your chosen yarn and your personal tension. Most yarn labels recommend a hook size, but those recommendations are a starting point rather than a rule — many crocheters naturally work tighter or looser than average and will need to adjust up or down accordingly. Ergonomic hooks with cushioned or rubberized handles are a worthwhile investment for a large project like a sweater, as they significantly reduce hand fatigue during extended crocheting sessions.
In addition to your hook, you will want to have a flexible measuring tape for checking your body measurements and your swatch dimensions, stitch markers for keeping track of increases and section boundaries, and a yarn needle for any minimal finishing work such as weaving in ends. Locking stitch markers are particularly useful for top-down sweaters because they can be easily moved as the yoke expands. Some crocheters also find a row counter helpful for tracking their progress through the yoke increases, which follow a precise mathematical sequence that must be worked consistently to produce an even, symmetrical result.
Gauge swatching is non-negotiable when it comes to crochet sweaters, and it is the step that most new garment makers are tempted to skip — almost always to their eventual regret. Crocheting a swatch of at least four inches by four inches in your chosen stitch pattern, washing and blocking it the same way you would the finished sweater, and then measuring it carefully will tell you exactly how many stitches and rows you are producing per inch. This information allows you to calculate your starting chain and increase rate so the sweater fits your body rather than the pattern designer’s hypothetical average. Even a small discrepancy of half a stitch per inch can translate into several inches of difference in circumference by the time you reach the body of the garment.
Understanding the Top-Down Yoke Construction
The yoke is the heart of a top-down crochet sweater and the section where all the magic of this construction method becomes evident. Most top-down patterns begin with a foundation chain or magic ring at the back neck, then establish a set number of stitches to represent the four key sections of the yoke: the back, the two sleeves, and the front. These sections are separated by stitch markers, and increases are worked at each marker at regular intervals — typically every other row or round — causing the yoke to grow steadily outward like a circular shawl worn across the shoulders. When the yoke reaches the correct depth, the sleeve stitches are placed on hold and the body is worked separately below.
Understanding how the increases interact with one another is key to achieving a well-fitted yoke. The rate of increase determines the angle of the shoulder and the overall shape of the garment. Patterns designed for crochet specifically account for the fact that crochet stitches are typically taller than they are wide, which means that a crochet yoke grows differently than a knitted one and requires adjusted mathematics. Working with a pattern specifically written for crochet — rather than attempting to adapt a knitting pattern — is strongly recommended for anyone new to garment construction, as the stitch geometry differs substantially between the two crafts.
A number of popular yoke styles exist within the top-down framework, offering different silhouettes and aesthetic effects. The raglan yoke is perhaps the most common, featuring four distinct increase lines that radiate from the neckline to create a diagonal seam effect. The circular or seamless yoke distributes increases more evenly around the full circumference, producing a smooth, rounded shoulder with no visible increase lines. The hybrid or modified yoke combines elements of both. Each style suits different body types and fashion preferences, so exploring the visual differences before committing to a pattern will help ensure you love the finished result.

Working the Body and Achieving the Perfect Fit
Once the yoke is complete and the sleeve stitches have been placed on hold — usually on a length of scrap yarn or a spare cable needle — working the body of the sweater is a deeply satisfying and relatively straightforward process. The underarm stitches are cast on or chained to bridge the gap where the sleeves were separated, and the body is then worked in continuous rounds or back-and-forth rows depending on whether you are making a pullover or a cardigan. The round-by-round nature of working in the body means you can frequently try the sweater on and assess the length, making it one of the most intuitive parts of the entire project.
Shaping the body to flatter different figures is one area where the top-down method truly shines. Waist shaping can be added by working decrease stitches at the sides to nip in at the natural waist, then working increase stitches below to flare back out over the hips. This kind of tailoring is remarkably easy to customize by simply measuring your own body at the waist and hip, calculating the difference, and distributing the necessary decreases and increases evenly across a comfortable span of rows. A cropped sweater, a hip-length pullover, or a long tunic can all be achieved with the same yoke construction simply by stopping at different points in the body.
Hem finishing is the final step in the body section, and the choice of edging can dramatically affect the look and feel of the sweater. A simple row or two of single crochet creates a clean, minimal hem that lies flat and does not distract from the main stitch pattern. Ribbing, either worked separately in a different stitch or simulated through front and back post stitches, adds a classic, stretchy finish that helps the hem hug the body and prevent rolling. Picot edging, shell stitch borders, or other decorative finishes are lovely choices for more feminine or fashion-forward designs. Whatever you choose, consistency between the hem, cuffs, and neckband will give the finished sweater a cohesive, intentional appearance.
Finishing, Blocking, and Caring for Your Sweater
With the sleeves completed and reattached by working down from the held stitches, and all ends woven in securely with a yarn needle, your top-down crochet sweater is technically finished — but blocking is the transformative final step that elevates a handmade garment from homespun to truly professional. Blocking is the process of wetting or steaming the finished piece and then shaping it to its final measurements while it dries. This step evens out stitch tension, opens up lace or textured patterns, smooths any uneven areas, and sets the shape of the garment so it holds its proportions during wear and washing.
The blocking method you use should match the fiber content of your yarn. Wool and animal fibers respond beautifully to wet blocking — submerge the finished sweater in cool water, gently squeeze out the excess without wringing, roll it in a towel to remove remaining moisture, and then lay it flat on a blocking mat or clean dry towels, pinning it to the correct measurements. Plant-based fibers like cotton often benefit from steam blocking, which relaxes the stitches quickly without requiring the extended drying time of wet blocking. Acrylic yarns are best handled with a light steam from an iron held an inch or two above the surface, as direct heat can permanently flatten and damage synthetic fibers.
Long-term care for your handmade sweater will ensure it remains beautiful and wearable for years to come. Always check the care label on your yarn for washing instructions, and when in doubt, hand wash in cool water with a gentle wool wash or mild detergent, then lay flat to dry to prevent stretching. Store your sweater folded rather than hanging, as the weight of the fabric on a hanger will cause the shoulders to stretch out of shape over time. With proper care, a well-made top-down crochet sweater can last for decades and become one of those beloved, irreplaceable wardrobe pieces that you reach for again and again throughout every cozy season.
- Wet blocking is ideal for wool and animal fiber yarns — soak, squeeze gently, and pin flat to dry.
- Steam blocking works well for cotton, linen, and other plant-based fibers, speeding up the process.
- Acrylic-safe steam should be used carefully with synthetic yarns — never let the iron touch the fabric directly.
- Hand washing in cool water with gentle detergent extends the life of any handmade crochet garment significantly.
- Flat drying preserves the shape and prevents gravity from stretching out shoulder seams or hems.
- Folded storage rather than hanging keeps the garment’s proportions intact between wearings.

Tips, Troubleshooting, and Inspiring Variations
Even experienced crocheters encounter occasional challenges when making a top-down sweater, and knowing how to troubleshoot common issues will save you time and yarn. One of the most frequently encountered problems is a yoke that is either too tight across the shoulders or too loose and droopy. If the yoke is too tight, the fix is usually to increase your hook size, re-swatch, and restart — or, if you’re too far along to start over, you can try adding an extra increase row at the point where tightness becomes noticeable. A yoke that is too loose and droopy often means the increases were worked too rapidly, and this can sometimes be corrected by working a few rows without any increases until the proportions look correct when tried on.
Another common issue is sleeves that feel too tight or restrictive, which typically occurs because the held stitches at the underarm do not account for enough ease. When you pick up the sleeve stitches and begin working the sleeve, try the tube over your arm before working too many rounds. If it feels snug, you can add a few extra stitches evenly around the first round of the sleeve to create more room without affecting the appearance of the join significantly. Conversely, a sleeve that is too wide can be tapered more aggressively with decrease rounds spaced closer together as you work down toward the cuff.
Once you have mastered the basic top-down construction, the creative possibilities are genuinely endless. Color blocking allows you to switch yarn colors at any point — perhaps a contrasting yoke with a neutral body, or bold colorful cuffs on an otherwise simple sweater. Textured stitch patterns such as bobbles, cables (simulated in crochet through post stitches), or shell sequences can be worked into the body for visual interest. Pocket additions, button bands on a cardigan variation, and decorative collar treatments all offer additional ways to personalize your sweater and make it a truly one-of-a-kind garment that reflects your own creative vision and personal style.
- Always swatch and block your gauge swatch before beginning — it is the most important step in garment making.
- Take accurate body measurements before choosing your pattern size, as sizing varies between designers.
- Use stitch markers generously throughout the yoke to keep increase sections clearly delineated.
- Try the sweater on frequently during the yoke and body stages to catch fit issues early while they are still easy to correct.
- Work the sleeves one at a time so you can compare them side by side and ensure they match in length and shaping.
- Block your finished sweater before deciding on any final adjustments, as blocking can significantly change the size and drape.
- Keep notes throughout your project documenting hook size, row counts, and any modifications you made for future reference.
The journey of making a top-down crochet sweater is as rewarding as the finished garment itself. Each round worked brings you closer to a wearable piece of art that you have shaped with your own hands, customized to your own measurements, and finished with your own creative choices. The seamless construction, the intuitive try-as-you-go fitting process, and the satisfying rhythm of working in continuous rounds make this method one of the most enjoyable in all of crochet. Whether this is your first sweater or your fiftieth, approaching the project with patience, the right tools, and a willingness to swatch and adjust will reward you with a cozy, beautiful garment you will wear with genuine pride for many seasons to come.








What do you think?
It is nice to know your opinion. Leave a comment.