










Crochet Oversized Poncho Free Patterns That Are Easy & Elegant
The Timeless Appeal of the Crochet Poncho
There’s something about a well-made crochet poncho that just works. It has roots in South American textile traditions, but over the decades it’s found its way into modern wardrobes and honestly never left. Throw one on over a simple outfit on a cool autumn evening, or layer it up when the temperatures really drop — either way, you get something that’s equal parts warm and effortlessly stylish.
What sets a crocheted poncho apart is that breathable, textured quality you can only get from yarn and hook. There’s a visual depth to the fabric that catches the light in a way woven or knitted alternatives just can’t match. The stitches become part of the design itself, turning a practical layering piece into something you actually made with your own hands — and that shows.
The oversized fit has especially taken off lately, and it’s easy to see why. The relaxed drape skims the body without clinging, which is flattering on pretty much everyone. It looks just as good for a lazy afternoon at home as it does for a night out. And when you factor in that you can make one yourself using a free pattern? The appeal is hard to argue with, no matter your experience level.
Why Free Patterns Are a Great Starting Point
The crochet community is genuinely one of the most generous corners of the crafting world, and the sheer number of high-quality free patterns out there is proof of that. Talented designers share their work on personal blogs, Pinterest, Ravelry, and all kinds of craft platforms — which means beginners and experienced makers alike can access professional-level instructions without spending a dime. If you’re looking to build your skills without a financial commitment, free patterns are absolutely the way to go.
With oversized ponchos specifically, free patterns tend to be designed with beginners in mind. The basic poncho shape is forgiving — there’s no complex shaping, no fitted seams, nothing that requires you to be an expert. Designers can focus on beautiful stitch work rather than tricky construction, which is why so many popular free poncho patterns use just two or three stitches and still produce a finished piece that looks like it came from a boutique. If you’ve only been crocheting for a few weeks, you can absolutely tackle one of these.
There’s also a real freedom that comes with working from a free pattern. Since you haven’t paid for it, you can experiment without feeling precious about it — swap out the yarn weight, try a different color, make it longer. That kind of low-stakes creativity is where a lot of makers really find their voice. Over time, playing around with free patterns builds both confidence and skill in ways that just following instructions to the letter never quite does.
Essential Stitches and Skills for Poncho Making
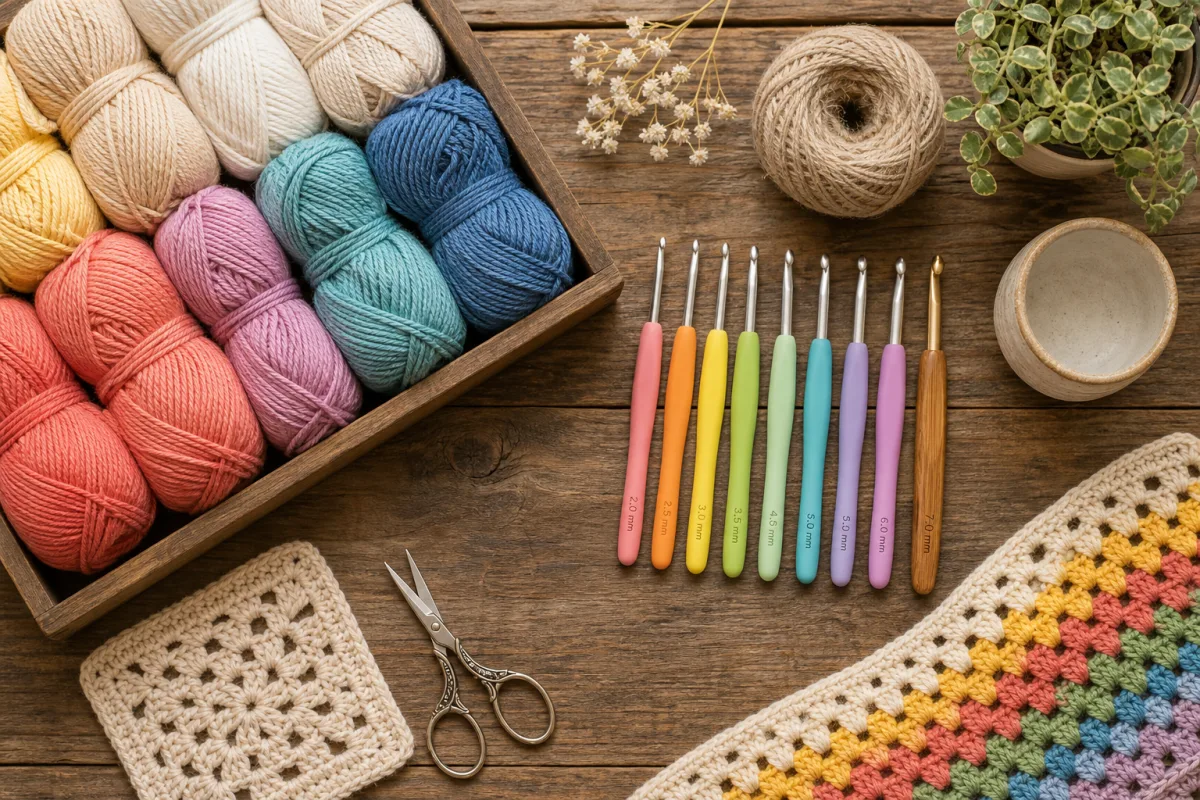
Before you jump into your first poncho pattern, it’s worth getting comfortable with the stitches you’ll see most often. The chain stitch is where almost everything starts — it forms the foundation row in most projects and doubles as a decorative fringe or hem edging in lots of poncho patterns. Getting your chains even and consistent is a small thing that makes a big difference in how polished the final piece looks.
Double crochet is really the workhorse of poncho construction. It creates fabric that’s open enough to drape beautifully but still has enough body to keep you warm. A lot of free poncho patterns are built almost entirely from double crochet, with occasional chain spaces thrown in for airiness or a lacy feel. Once you can work double crochet at a steady gauge, you’ll be surprised how quickly a poncho body comes together — especially if you’re working with chunky or bulky yarn.
Beyond the basics, some of the prettiest free patterns bring in things like granny squares, shell stitches, or V-stitches. These sound fancier than they are — each one is really just a cluster of familiar stitches worked in a specific order, repeated across the row. Learning these combinations is the step that takes your work from flat, solid fabric to the kind of richly textured surface that makes people ask “did you really make that yourself?”
Here are some stitches commonly found in oversized poncho patterns:
- Chain stitch (ch): The foundation of most crochet projects and often used for fringe and decorative borders.
- Single crochet (sc): A tight, dense stitch ideal for edging and collar details that require structure.
- Double crochet (dc): The most common stitch in poncho patterns, offering height, drape, and quick coverage.
- Treble crochet (tr): A tall stitch that creates an open, airy fabric perfect for lightweight summer ponchos.
- Shell stitch: A cluster of double crochets fanned out from one stitch, creating a scalloped, elegant texture.
- Granny square motif: A classic modular unit that can be joined to form a full poncho with charming retro appeal.
Choosing the Right Yarn for Your Poncho
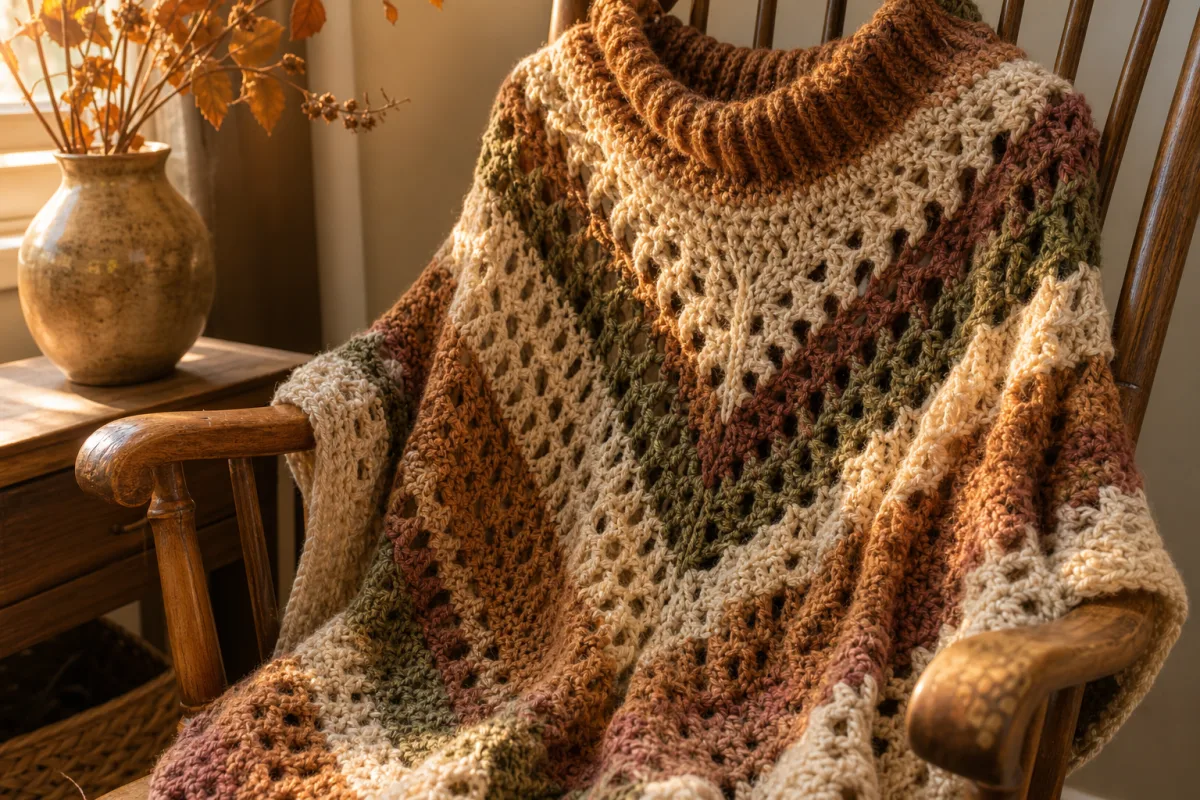
Yarn choice is honestly one of the most important decisions you’ll make when starting a poncho, and it’s worth thinking through carefully. The weight of your yarn affects how fast the project works up, how warm it’ll be, and how it drapes when you actually wear it. If you’re making a cozy winter poncho, a chunky or super bulky wool blend is a great pick — it’s warm, it has lovely loft, and it moves fast on the hook.
For something you can wear more of the year, try a worsted weight in a natural fiber like cotton, bamboo, or a linen blend. These materials have a fluid, breathable drape that won’t make you overheat when the weather isn’t frigid, which means you’ll actually reach for the poncho in spring and fall too. Cotton especially gives you really crisp stitch definition — whatever pattern texture you choose will show up clearly and cleanly in the finished fabric.
Don’t overlook the practical stuff either, like dye lots. An oversized poncho needs a lot of yarn — often somewhere between 600 and 1,000-plus yards depending on the size — so you’ll almost certainly be working with multiple skeins. Buy them all at once and make sure every skein has the same dye lot number on the label. Even a subtle shade difference between lots can show up as a visible stripe in your finished work, and it’s the kind of thing that’s hard to unsee once you notice it.
A helpful yarn weight guide for poncho projects:
- Bulky or super bulky (weight 5-6): Works up fastest, ideal for beginners, produces warm winter ponchos with minimal time investment.
- Worsted weight (weight 4): The most versatile option, suitable for most free patterns and wearable across multiple seasons.
- DK or sport weight (weight 3): Creates a lighter, more refined fabric with excellent drape, best for lacy or open-work designs.
- Fingering or lace weight (weight 1-2): Produces delicate, intricate fabric ideal for warm-weather ponchos but requires patience and experience.
Step-by-Step Guide to Beginning Your First Poncho
Starting a poncho can feel overwhelming if you think of it as one big project all at once. The trick is to break it into stages and not rush. Before you even pick up your hook, read the entire pattern from beginning to end. It sounds obvious, but this one step makes a real difference — you’ll get a feel for how everything fits together, spot any techniques you need to brush up on, and avoid that sinking feeling of hitting an unexpected instruction halfway through.
Next, make a gauge swatch. Yes, really — this step is worth it. Gauge is just the number of stitches and rows that fit into a four-inch square, and it directly determines whether your finished poncho comes out the right size. A lot of newer crocheters skip the swatch and end up with a poncho that’s comically large or frustratingly small. Spending fifteen minutes swatching and adjusting your hook size if needed can genuinely save you hours of do-overs later.
Once you’ve confirmed your gauge, start your foundation chain and work the body of the poncho according to the pattern. Most oversized poncho designs are built one of three ways: a single large rectangle that gets folded and seamed, two matching rectangles joined at the shoulders, or a piece worked in the round from a central neck opening outward. Knowing which construction your pattern uses helps you visualize the shape as it grows under your hook, so nothing feels mysterious.
As you work through the rows or rounds, measure regularly. Your gauge can shift as you settle into a project — especially if you started out a little tense. Checking every few inches lets you catch any drift before it becomes a problem. And when you’re done, please block your pieces before seaming. Wet the fabric, pin it to the right dimensions on a foam mat, and let it dry fully. It’s one of those finishing steps that feels a bit fussy but completely transforms the look of the finished piece, evening out the stitches and giving the fabric that smooth, polished drape that makes a handmade poncho look intentional rather than homemade.
Styling Your Oversized Crochet Poncho
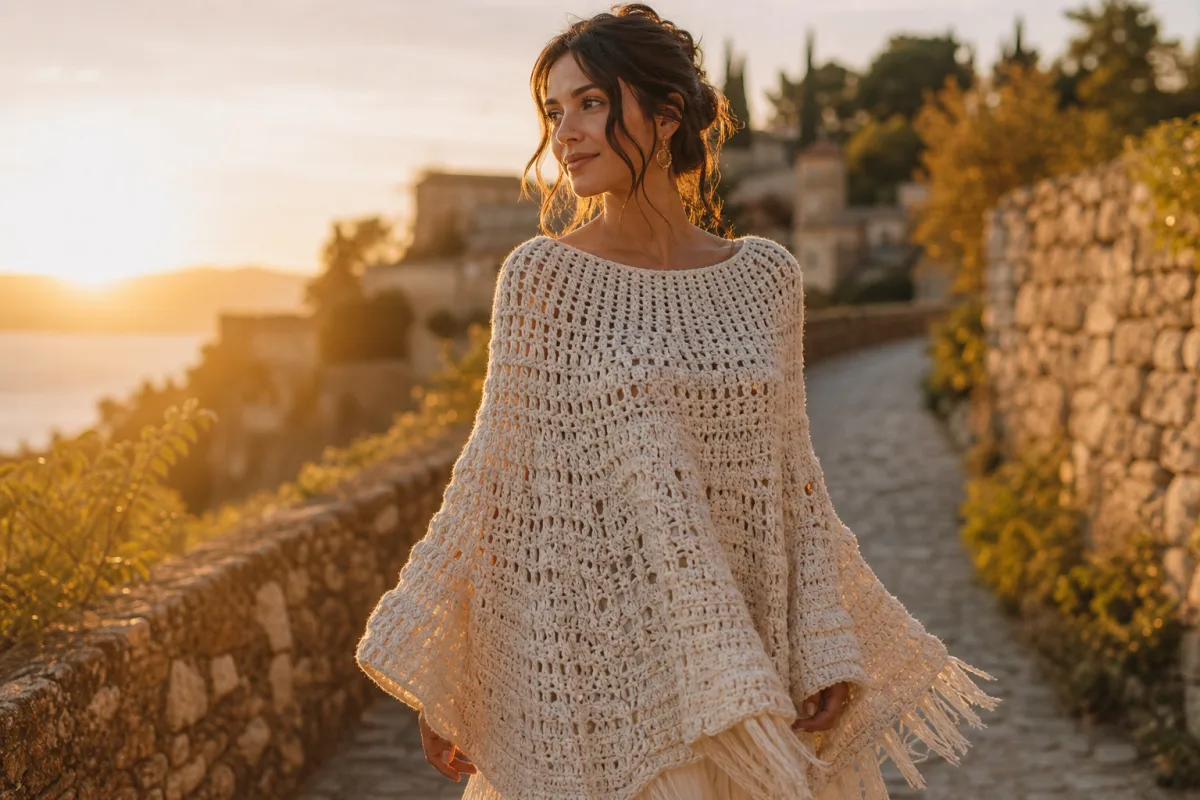
One of the best parts of having a handmade oversized poncho is figuring out all the different ways to wear it. The easiest approach is to throw it over a fitted long-sleeve top and jeans and let it hang naturally. That relaxed, slightly bohemian silhouette pairs effortlessly with ankle boots and simple jewelry — the poncho is the statement, so you don’t need much else competing with it.
If you want something a little more put-together, try belting it at the waist with a wide leather or fabric sash. It completely changes the shape — suddenly there’s definition at the waist and the whole look feels more intentional and fashion-forward. The combination of soft, textured crochet and the clean line of a belt is genuinely striking, and it’s a great reminder that a poncho doesn’t have to be purely casual.
Layering is where things get really fun. In transitional seasons, a chunky crochet poncho over a lightweight turtleneck and under a long structured coat gives you this great multi-textured look that feels rich and considered. When it’s warmer, a lightweight open-work poncho in cotton or bamboo works beautifully as a beach cover-up or layered over a sundress for a cool evening. The more you wear it, the more you’ll realize how adaptable the shape is — which is honestly a solid argument for making more than one and building up a little collection in different weights, stitch patterns, and colors.
Customizing and Personalizing Your Pattern
Once you’ve finished your first free pattern poncho, the natural next move is to start making it more you. The easiest place to start is color — even swapping a neutral for a deep jewel tone can make the exact same stitch pattern feel completely different. Try working the poncho in two or three complementary colors, changing yarn between sections or stripes to add visual rhythm and keep things interesting across the body of the piece.
Fringe is another customization that’s both easy and satisfying. Cut lengths of yarn a few inches longer than you want the finished fringe to be, fold each piece in half, and use your hook to pull the folded loop through a stitch along the hem, then pass the ends through the loop and pull tight. Work your way along the entire lower edge and suddenly your poncho has movement, texture, and that unmistakably boho feel. Or you can keep it more subtle — just adding fringe at the two pointed corners of a rectangular poncho gives you a nice accent without going full festival-wear.
Embellishments open up a whole other world of possibilities. Crochet flowers, leaves, or geometric motifs worked separately and sewn on as appliqués can completely change the personality of a piece. A few small flowers in a contrasting color scattered along one shoulder gives you an asymmetrical, garden-inspired look that feels both handmade and genuinely designed. Buttons, wooden toggles, or decorative clasps can also be added to create a front opening in pull-over-style ponchos, which is both practical and a fun change to the overall silhouette.
Key customization ideas to consider for your next poncho project:
- Striped color blocking: Alternate two or three yarn colors in regular intervals for a bold, graphic effect.
- Fringe edging: Add cut yarn fringe along the hem and sleeve openings for bohemian movement and texture.
- Crochet flower appliqués: Work small motifs separately and sew them on as decorative accents.
- Adjusted length: Work additional rows to create a maxi-length poncho, or fewer for a cropped, modern silhouette.
- Collar variation: Add a ribbed or rolled-neck collar for extra warmth and a finished, polished appearance.
- Mixed stitch sections: Combine a solid double crochet body with a lacy shell-stitch border for elegant contrast.
The beauty of starting from a free pattern is that it gives you a reliable, tested structure to build on while leaving all the creative decisions up to you. Two makers can work from the exact same pattern and end up with pieces that look nothing alike, just through the choices they make around color, fiber, embellishments, and proportions. That’s really the heart of what makes crochet so personal — a shared starting point that always leads somewhere entirely your own.








What do you think?
It is nice to know your opinion. Leave a comment.