










How To Tea-Dye Fabric Easily And Without Fail
What Is Tea Dyeing and Why You Should Try It
Tea dyeing is one of those wonderfully old-fashioned techniques that crafters and textile lovers have been using for centuries — and it’s still just as relevant today. The idea is simple: you steep fabric in a strong brew of tea until it soaks up a warm, golden-brown color that looks beautifully aged and vintage. Whether you’re working on a costume, sprucing up some home décor, or just curious what that crisp new fabric would look like with a bit of old-world character, tea dyeing delivers results that no synthetic dye can quite match.
What makes tea dyeing so appealing — especially if you’re just getting started with fabric crafts — is how little you actually need to pull it off. There are no special tools, no chemical mordants, and no intimidating learning curve. Honestly, if you have tea, water, a pot, and some fabric, you’re already most of the way there. It’s one of those rare crafts that’s genuinely beginner-friendly without feeling too basic.
Tea dyeing is also wonderfully forgiving, which is a huge part of why people love it. Chemical dyes can go sideways fast — streaky patches, harsh edges, colors that don’t quite match what you expected. Tea, on the other hand, tends to settle into fabric in a soft, organic way. The subtle variations in color that come out of an imperfect dip? They actually look intentional. Every piece ends up a little different, and that’s kind of the whole point.
Choosing the Right Tea and Fabric for the Best Results
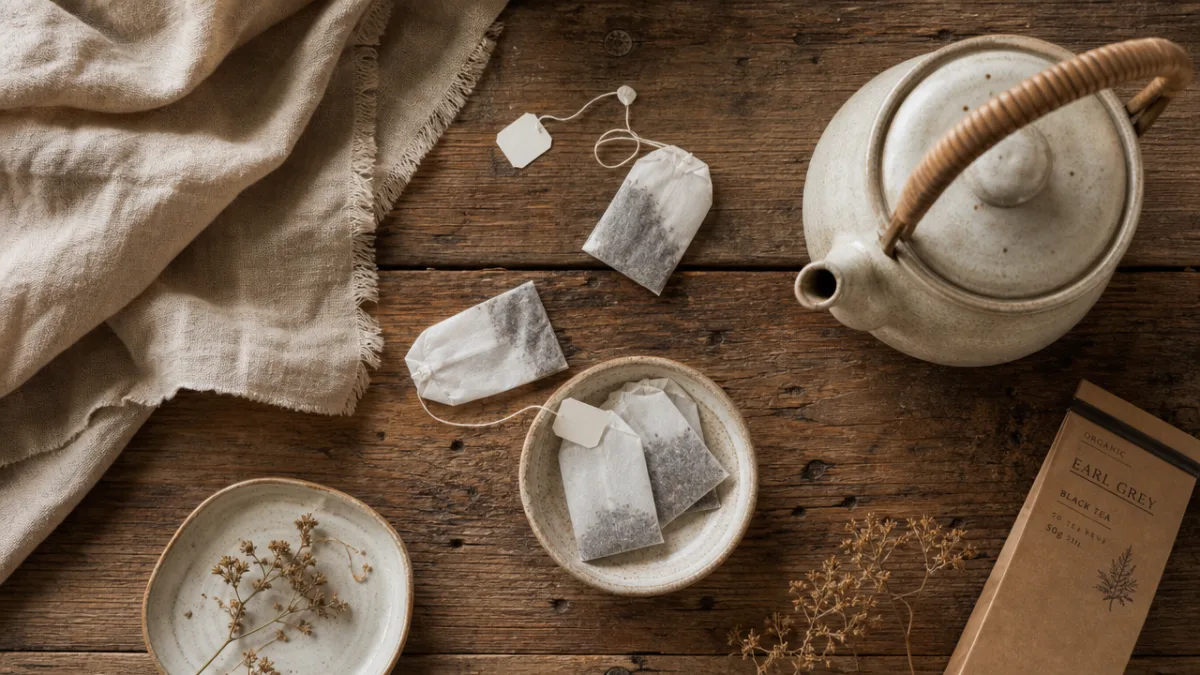
Not all tea will give you the same result, and it’s worth thinking about this before you start. Black tea is the go-to for most people — it produces those deep amber and warm brown tones that really nail the aged linen or antique parchment look. Green tea gives you something softer and more muted, closer to a yellowy-beige. Herbal teas like chamomile are even subtler, with a gentle golden tint. If you want rich, noticeable color, stick with plain unflavored black tea, whether that’s bags or loose-leaf.
The fabric you choose matters just as much as the tea. Natural fibers — cotton, linen, silk, muslin — are what you want. They’re porous enough to absorb the tannins in tea (the compounds that actually create the color), so the dye takes hold properly. Synthetic fabrics like polyester or nylon are basically water-resistant when it comes to tea dyeing; you’ll get very little color change, if any. If you’re working with a fabric blend, the natural fibers will soak up the dye and the synthetic ones won’t, which can actually create some interesting textured effects if that’s something you’re going for.
Before you dye anything, wash your fabric — this step matters more than it might seem. A lot of new fabric comes treated with sizing, starch, or chemical finishes that essentially act as a barrier and cause the dye to absorb unevenly. A thorough wash beforehand gets rid of all of that. If the fabric has been sitting in storage for a while, a hot wash with a little dish soap is especially effective. Starting with clean, slightly damp fabric is one of the simplest things you can do to get a smooth, even result.
Gathering Your Supplies and Setting Up Your Workspace
The good news is you probably already have most of what you need. Your main vessel should be a large pot or basin — big enough that your fabric can move around freely in the liquid. If the pot is too small, the fabric ends up bunched against itself and the sides, and you’ll get blotchy patches where the dye couldn’t absorb evenly. Stainless steel or enamel pots are ideal because they won’t react with the tannins in the tea and they’re easy to clean afterward.
Here is a straightforward list of everything you will need before you begin:
- 10 to 20 black tea bags, depending on how dark you want the color to be
- A large stainless steel or enamel pot
- Enough water to fully submerge your fabric
- Pre-washed, natural fiber fabric
- Long-handled tongs or a wooden spoon for stirring
- White vinegar to help set the dye
- A drying rack or clothesline
- Old towels to protect your work surface
Take a few minutes to set up your workspace before you get started — it’ll save you a lot of scrambling later. Tea stains countertops, floors, and clothing surprisingly well (it’s basically doing the same job on fabric, after all), so cover your surfaces with plastic sheeting or old newspaper. Throw on an old apron or clothes you don’t mind getting stained, and grab some rubber gloves if you’d rather not have brown-tinged hands for the rest of the day. Having everything laid out and within reach before you heat the tea bath means the whole process flows smoothly from start to finish.
The Step-by-Step Tea Dyeing Process
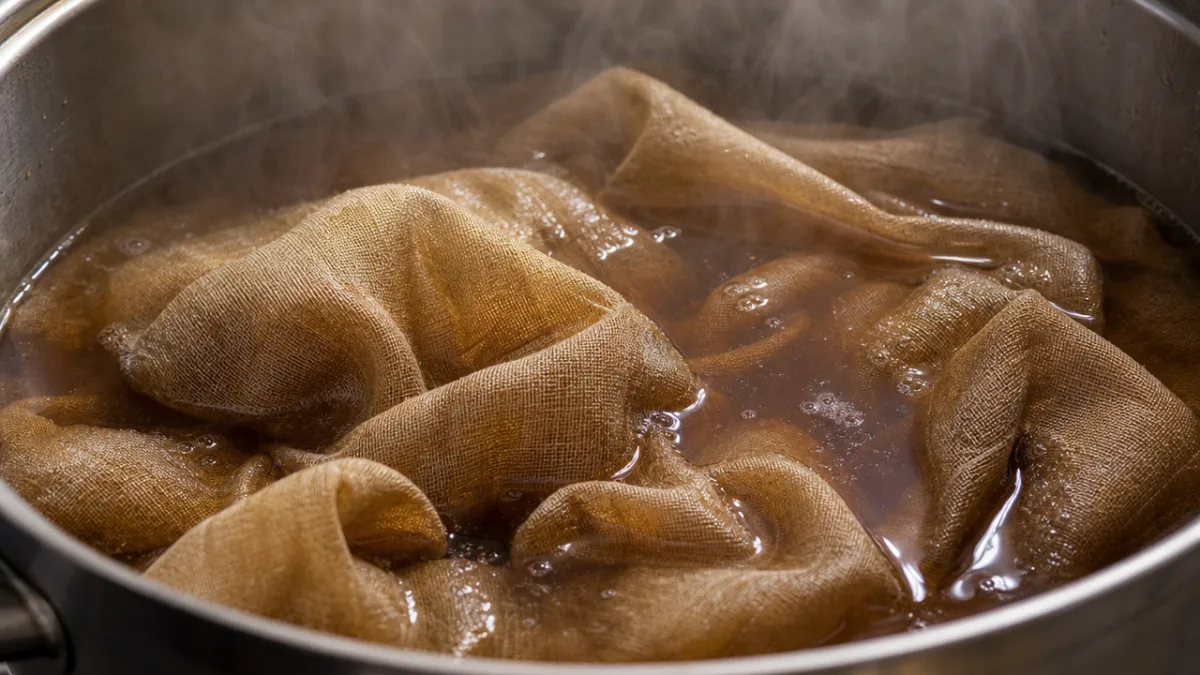
Start by filling your pot with enough water to generously cover your fabric, then bring it to a gentle boil. Once it’s hot, drop in your tea bags and let them steep for at least ten to fifteen minutes. The longer they steep, the stronger and darker your dye bath will be. If you’re going for a rich, deep antique effect, let them go for up to thirty minutes and use as many as twenty bags per yard of fabric. Give the bags an occasional squeeze against the side of the pot to get every last bit of color out of them.
When your tea bath looks strong enough, remove the bags — lift them out carefully, squeeze out as much liquid as you can, and discard them. Now’s the time to add a splash of white vinegar: roughly half a cup per gallon of water. Vinegar acts as a mild mordant, which is a fancy way of saying it helps the tannins bond more firmly to the fabric fibers. This improves how well the color holds up over time and reduces how much it fades when you wash it. Stir everything together briefly before adding your fabric.
Lower your pre-dampened fabric slowly into the tea bath, using tongs to make sure it’s fully submerged. Stir it around during the first few minutes to encourage even absorption, then ease off to occasional gentle agitation. How long you leave it in the bath is really up to you and the look you’re after. For a light, barely-there antique tint, fifteen to twenty minutes is usually plenty. For a deeper amber or pronounced brown, let it soak for an hour or more, checking on it periodically. Just keep in mind that wet fabric always looks darker than it will once dry — so factor in some color loss before you decide it’s done.
Once you’re happy with the color, pull the fabric out and gently wring out the excess liquid. You can give it a quick rinse in cool water to stop it from transferring color to everything it touches while it dries, though plenty of crafters skip this step to hold onto as much color as possible. Hang it up to air dry somewhere with good airflow. Hold off on the tumble dryer for now — intense heat before the dye has properly set can cause uneven color and speed up fading. Let it dry completely before you iron it or use it in a project.
Techniques for Achieving Different Effects and Finishes
One of the best things about tea dyeing is how much you can change the final look just by tweaking your technique a little. If you want a smooth, even color all the way across, the trick is to keep the fabric moving with gentle, consistent stirring and never let it fold or bunch in the pot. But if you actually want that rustic, uneven aged effect — which honestly looks fantastic for vintage and historical projects — crumple the fabric loosely before dropping it in and leave it mostly undisturbed. The places where the fabric folds will absorb less dye, giving you lighter streaks and natural-looking variations that mimic real aging beautifully.
If you want to push the technique further, there’s a lot of room to experiment. Tie dyeing with tea works the same way as traditional tie dye — twist, pleat, or bind sections with rubber bands before you dip the fabric — and you’ll get patterns similar to shibori, just in soft, muted tea tones instead of bright colors. You can also skip the bath entirely and apply tea directly with a brush or sponge, which gives you much more control — great for faux stains, aged edges on paper, or creating specific effects on a fabric panel. For an ombre look, try partially dipping the fabric and slowly lifting it out of the bath over time so the color transitions from deep amber at the bottom to pale cream at the top.
Layering is another technique worth trying once you’ve got the basics down. Dipping the fabric in the bath multiple times — letting it partially dry between each round — lets you build up color gradually and with more control than just leaving it to soak for a long stretch. You can also mix different types of tea in a single bath; black tea and chamomile together, for instance, creates a warm golden undertone that’s really lovely. And if you want to go deeper into the brown and taupe end of the spectrum, try adding coffee or walnut hull to your tea bath. Every combination teaches you something new about how natural dyes behave, and the experiments are half the fun.
Setting the Dye and Caring for Your Tea-Dyed Fabric
After your first successful tea dye, the inevitable next question is: how do I make it last? Tea dye isn’t as permanent as synthetic fabric dye, and without a little attention to setting and aftercare, the color will fade fairly quickly with regular washing. The good news is that there are easy, no-fuss ways to improve how well it holds up, and you don’t need any special products to do it. The vinegar step during dyeing is a solid start, but there’s more you can do once the fabric is dry.
Heat setting is probably the most reliable method for extending the life of your color. Once the fabric is completely dry, press it firmly with a hot iron on whatever setting is appropriate for your fabric type. The heat encourages the tannins to bond more deeply with the fibers, which makes the color more stable and better able to withstand washing. If ironing feels tedious, you can also throw the dry, dyed fabric in a clothes dryer on high heat for twenty to thirty minutes — it achieves essentially the same result across the whole piece at once, and it only takes a few extra minutes for a meaningful payoff.
Going forward, how you wash your tea-dyed fabric makes a real difference. Cold water is your friend — heat causes natural dyes to release from fibers much more readily, so hot washes will fade your color faster. Use a gentle, pH-neutral detergent rather than a harsh biological one, which can aggressively strip natural pigments. For the first few washes, launder your tea-dyed pieces separately or with similarly toned dark items, since some residual tea may bleed a little before it fully stabilizes. And keep them out of direct sunlight when drying — UV rays are particularly unkind to tea-dyed fabric and will fade it faster than almost anything else.
Creative Project Ideas Using Tea-Dyed Fabric
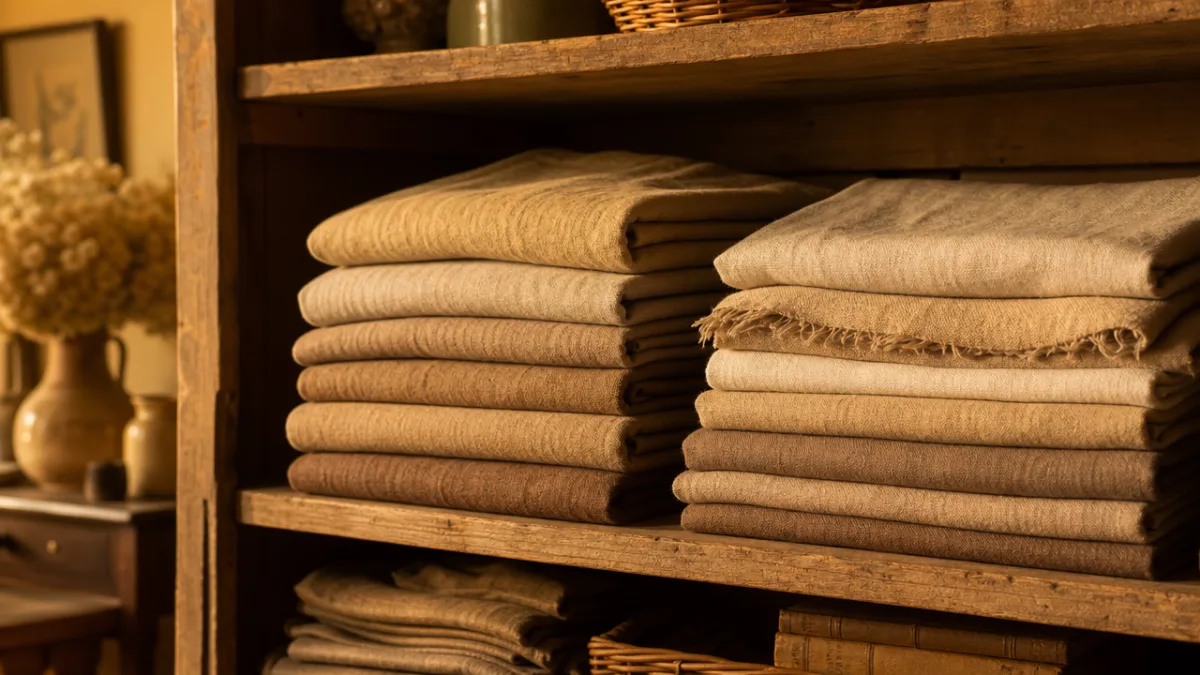
Once you’ve got the basic technique down, the possibilities open up pretty quickly. In the home, tea-dyed linen is absolutely gorgeous for curtain panels, table runners, and pillow covers — it fits right in with farmhouse, cottagecore, and bohemian interiors, complementing natural wood, rattan, and terracotta in a way that mass-produced textiles rarely manage. There’s a warmth and handmade quality to it that you just can’t buy off a shelf.
For costume makers and historical reenactors, tea dyeing is genuinely invaluable. New fabric has a brightness and crispness that looks jarring in historical contexts, but a tea dye treatment can age cotton or muslin almost instantly, giving it that muted, worn-in quality that period costumes need. Theatrical costume designers, LARP participants, and Renaissance fair regulars all use this technique to add authenticity without the cost and complexity of commercial aging methods. Even lace trim and ribbon can be tea dyed to match a larger piece, so everything coordinates into a cohesive vintage look.
Tea dyeing also works beautifully beyond fabric. Paper, natural cord, cotton ribbon, dried flowers, even feathers — all of these can take on that warm, aged tone. Mixed media and journal artists love tea-dyed paper as a background for collage or watercolor, and quilters use tea-dyed fabrics to create historically inspired blocks that wouldn’t look out of place in a Victorian or Amish setting. Whatever kind of making you’re into, tea dyeing is the kind of technique that rewards curiosity and experimentation, and it brings a warmth to handmade projects that’s really hard to replicate any other way.








What do you think?
It is nice to know your opinion. Leave a comment.