










Evergreen Pressed Rosemary Candles: How to Make Beautiful Herbal Candles at Home
The Art and Appeal of Herbal Candle Making
There’s something really special about bringing together two ancient crafts — herbalism and candle making — into one beautiful object. Pressed rosemary candles live right at that crossroads. They’re visually stunning and smell incredible, with those preserved sprigs giving the whole thing a look that’s somehow both rustic and elegant. Whether you’re making them for yourself or wrapping one up for someone you love, these candles have a handmade quality that genuinely shows.
But the appeal of herbal candles runs deeper than just how they look. Rosemary has a rich history that spans thousands of years and dozens of cultures — it was used medicinally, culinarily, and spiritually long before it ended up in anyone’s candle. Ancient Greeks and Romans associated it with memory and remembrance, weaving it into garlands for scholars and funerals alike. When you press a sprig into warm wax, you’re quietly participating in all of that history, and that gives the craft a kind of depth that no store-bought candle can offer.
The good news for anyone new to this is that pressed rosemary candles are genuinely approachable. You don’t need a professional setup or a long list of expensive equipment. If you’re a seasoned candle maker looking to add a botanical dimension to your work, this is a natural next step. And if you’ve never made a candle before in your life, this is a wonderful place to start. The craft rewards patience and a little attention to detail, and the results are well worth it.
Understanding Your Materials: Wax, Wicks, and Herbs
Before you dive in, it’s worth taking a moment to understand what you’re actually working with, because your material choices shape everything about the finished candle. Wax is the big one. Soy wax is probably the most popular option among herbal candle makers — it’s natural, burns cleanly, and has a lower melting point that makes it forgiving for beginners. Beeswax is another fantastic choice, and it brings its own naturally warm, honey-like scent along with a beautiful golden color that looks stunning next to dried green rosemary.
Wicks are something a lot of beginners don’t think too carefully about, but they really matter. A wick that’s too thin won’t create a full melt pool, and you’ll end up with tunneling — that frustrating situation where the wax burns straight down the middle and leaves a thick ring of untouched wax around the sides. Go too thick, though, and you’ll get a flame that’s too large, which burns hot and can push soot into the air. For most standard jar or pillar candles, a medium-weight cotton wick is a reliable starting point, and you can adjust from there depending on your container’s diameter.
And then there’s the rosemary itself. Fresh sprigs are gorgeous, but they have to be completely dried before they go anywhere near a candle. Any moisture left in the herb will cause crackling and popping when you burn it, and in a worse-case scenario, it can become a fire hazard. Pressing your rosemary for one to two weeks between absorbent paper pulls out that moisture reliably. When you’re picking out sprigs, look for ones with consistent color and leaves that are still intact — those are the ones that will look best pressed against the wax. Skip anything yellowed or moldy.
Preparing Your Rosemary: The Pressing and Drying Process
Preparing the rosemary is the part of this project that requires the most planning ahead — it’s not difficult, but it does take time. Start with the freshest sprigs you can get your hands on. If you’re cutting from your own garden, morning is the best time to harvest, after the dew has dried off but before the afternoon heat starts to diminish the essential oils in the leaves. Those oils are what give your finished candle that beautiful herbal fragrance, and they also help the rosemary hold onto its green color as it dries.
To press them, lay individual sprigs flat between sheets of absorbent parchment paper or unprinted newsprint, then tuck the whole thing inside a heavy book or a flower press with some extra weight on top. The pressure flattens the sprigs so they’ll lie as flush as possible against the wax later on. In the first week, swap out the paper every few days — this pulls moisture away faster and keeps mold from developing on the plant material.
After one to two weeks, you’ll be able to tell your rosemary is ready: the leaves will feel papery and completely dry, and the stems will snap rather than bend. Go through your batch and set aside the prettiest sprigs for the candles. Any that curled or didn’t press quite flat can go into potpourri or the kitchen instead. Store the ones you’ve selected in a cool, dry spot, and try to use them within a few weeks while the color is still at its best.
Step-by-Step Guide to Making Pressed Rosemary Candles
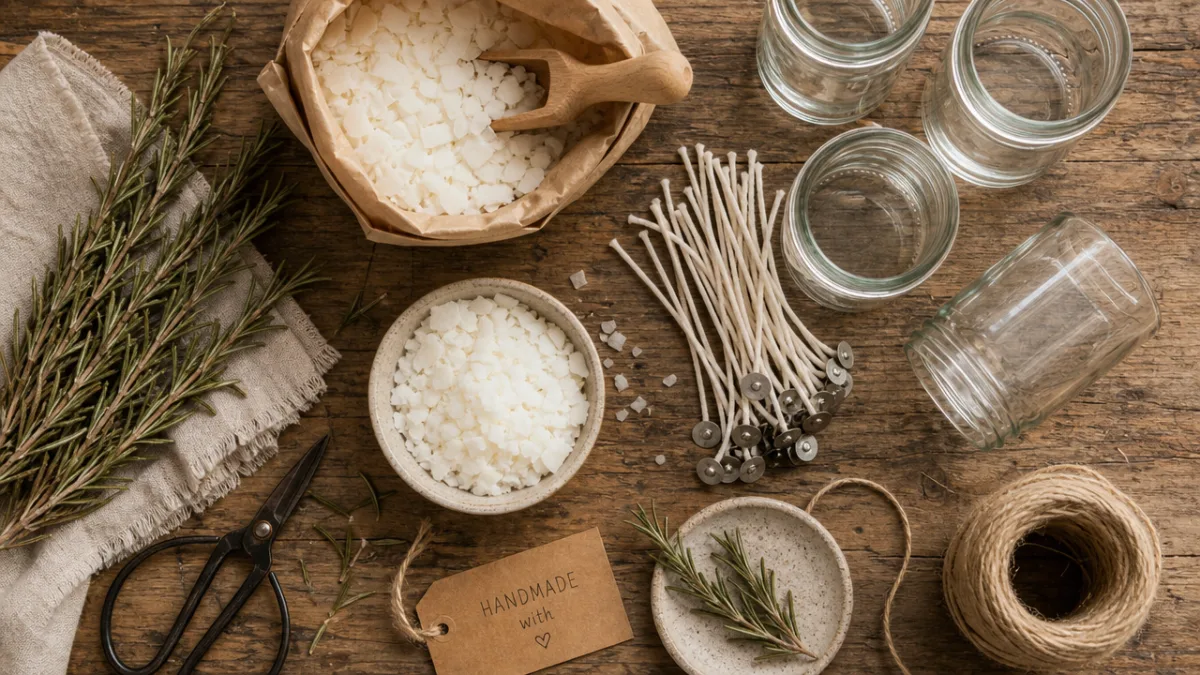
Once your rosemary is ready and your supplies are gathered, it’s time to actually make the candles. Start by setting up your workspace properly — lay down newspaper or a silicone mat, because wax is genuinely annoying to scrub off a countertop. Get your double boiler or wax melting pitcher, your thermometer, containers, pre-tabbed wicks, and rosemary all within arm’s reach before you begin. Having everything organized in advance makes the whole process smoother and much less stressful.
Melt your wax in a double boiler over medium heat and keep a close eye on the temperature. Soy wax is typically ready to pour somewhere between 120 and 140°F, while beeswax needs a bit more heat — around 145 to 165°F. While the wax melts, secure your wicks in the center of each container. A wick centering tool is helpful here, but two pencils laid across the top of the jar with the wick threaded between them works just as well. If you’re adding fragrance oil, stir it in gently when the wax hits about 185°F and mix for a couple of minutes to make sure it’s fully incorporated, then let the wax cool down to pouring temperature.
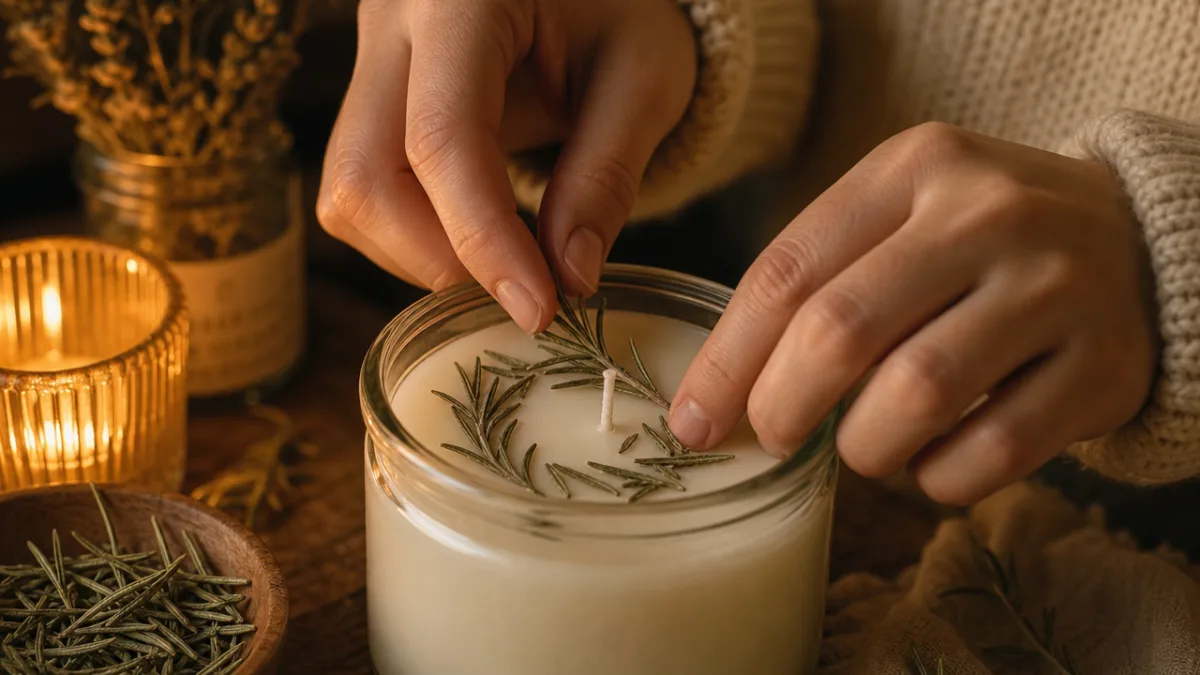
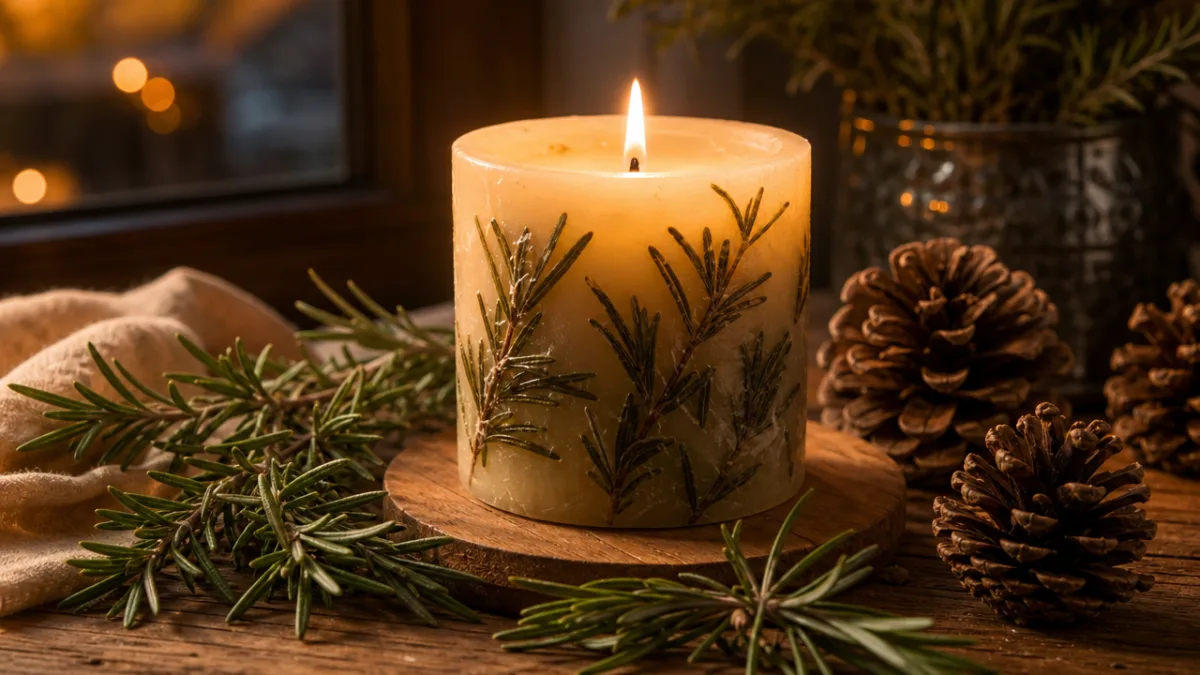
How you apply the rosemary depends on the look you’re going for. If you want it embedded on the interior surface of a container candle, pour a thin first layer of wax and wait until it has the consistency of soft butter, then gently press your sprigs against the inside of the jar wall. Pour the remaining wax carefully over and around them. For pillar candles, it’s easier to work after the candle has fully set: brush a thin coat of melted wax onto the outside surface and press the rosemary into it while it’s still tacky.
Once everything is poured and positioned, leave the candles completely undisturbed for at least 24 to 48 hours. Soy wax especially benefits from a longer cure — up to two weeks — because that’s when the fragrance really binds with the wax and the scent throw becomes much stronger and more even. Don’t try to speed things up by moving them somewhere cooler. Rapid temperature changes can cause the wax to crack or pull away from the container, and the surface will end up uneven. It’s one of those situations where patience genuinely pays off.
Here is a simple checklist of everything you will need to gather before you begin:
- Soy wax or beeswax flakes (amount depends on container size)
- Pre-tabbed cotton wicks sized for your container diameter
- Glass jars, tins, or pillar molds
- A double boiler or dedicated wax melting pitcher and pot
- A candle thermometer
- Fragrance oil or essential oils (optional)
- Thoroughly dried and pressed rosemary sprigs
- A wick centering tool or two pencils
- Parchment paper and a silicone mat for your workspace
- A heat-resistant stirring utensil
Fragrance Combinations and Creative Variations
Rosemary on its own already smells wonderful in a candle, but pairing it with complementary oils can take the whole thing to another level entirely. It’s a surprisingly versatile herb when it comes to blending. For something bright and energizing, try pairing it with lemon, lavender, eucalyptus, or thyme — that combination evokes a sun-warmed Mediterranean herb garden in the best possible way, and it works beautifully in spring and summer candles.
If you’re aiming for something warmer and more atmospheric — the kind of scent that feels made for cold evenings — rosemary pairs wonderfully with cedarwood, sandalwood, frankincense, or clove. Those woody and resinous notes play nicely off rosemary’s slightly camphorous quality, and the result feels rich and contemplative in a way that’s hard to pin down but easy to love. This combination is especially good with beeswax, whose natural honey undertone ties everything together into something that feels genuinely sophisticated.
And once you’re comfortable with the basics, there’s a lot of room to play creatively. Try pressing rosemary alongside lavender buds, dried citrus slices, small pinecones, or star anise for a more layered visual effect. You can also experiment with natural wax dyes — turmeric gives a soft yellow, and alkanet root produces a lovely muted purple — to create candles that look like they belong in a high-end shop. These touches don’t require much extra effort, but they make a noticeable difference in the finished result.
Caring for Your Herbal Candles and Safety Considerations
Botanical candles are beautiful, but they do need a little more attention than a plain jar candle. Because there’s dried plant material on or near the wax, there’s a real chance it could catch a spark if the flame gets close enough — especially as the candle burns down toward areas where rosemary is present. Always burn these on a heat-resistant surface and never walk away and leave them going. The same common-sense fire safety rules that apply to any candle apply here, just with a bit more awareness.
Trimming your wick to about a quarter inch before every lighting makes a meaningful difference in how your candles perform. A longer wick creates a bigger flame that eats through the wax too fast, shortens the candle’s overall life, and tends to produce soot on the inside of glass containers. A small pair of scissors does the job perfectly well if you don’t have a dedicated wick trimmer. It’s also worth letting your candle burn long enough each time for the melt pool to reach the edges of the container before you put it out — this prevents tunneling and helps you get the most out of every pour.
When it comes to storage, keep your pressed rosemary candles away from direct sunlight. UV exposure will yellow the wax and fade the rosemary from green to an unpleasant dull brown. A cool, dry spot away from heat and strong smells is ideal. If you’re storing candles that are meant to be gifted, wrap them in tissue paper and box them rather than using cellophane, which can trap moisture and affect both the wax and the botanicals over time. A little care in storage means they’ll look just as good when they’re finally lit as they did the day you made them.
Some important safety reminders to keep in mind when burning botanical candles include:
- Never leave a burning candle unattended or within reach of children or pets.
- Keep burning candles away from flammable materials including curtains, paper, and decorative items.
- Extinguish the candle if any botanical material on the surface begins to smolder or catch fire.
- Do not burn candles for more than four hours at a time to prevent the container from overheating.
- Allow the candle to cool completely before relighting or moving it.
- Discontinue use when approximately half an inch of wax remains at the bottom of the container.
Sharing Your Craft: Gifting and Presenting Herbal Candles
Honestly, one of the best parts of making these candles is giving them away. A pressed rosemary candle works for almost any occasion — housewarmings, holidays, sympathy, gratitude, or just because you were thinking of someone. There’s a warmth to a handmade gift that a purchased one simply can’t replicate. The person receiving it knows that you grew or selected the herbs, dried and pressed them, melted and poured the wax, and put the whole thing together yourself. That’s not something you can fake, and most people feel it when they hold one in their hands.
Presentation makes a real difference too. Think of the container as part of the gift — a vintage glass jar, a ceramic vessel, or a small copper tin can all be repurposed by the recipient long after the candle is gone, which adds an extra layer of thoughtfulness. Tuck in a small handwritten tag with the fragrance notes, any herbs included, and a few burning tips. Tie it on with natural twine, a sprig of fresh rosemary, or a dried flower, and the whole package becomes something people genuinely want to display before they even light it.
If you ever find yourself making these in larger batches — for wedding favors, holiday gifting, or a local craft market — it helps to work in organized stages rather than trying to do everything at once. Press and dry large quantities of rosemary ahead of time, then dedicate separate sessions to melting, pouring, and decorating. Keep notes on each batch: wax type, fragrance amount, wick size, pour temperature. That information becomes invaluable when you want to replicate a batch that turned out beautifully, or figure out what went sideways with one that didn’t. Over time, those notes turn into a personal reference guide that grows with you as a maker.








What do you think?
It is nice to know your opinion. Leave a comment.