










19 DIY Shade Outdoor Cheap Ideas That Actually Work | Budget Backyard Fixes
Why Backyard Shade Is a Game-Changer for Outdoor Living
Being outside should feel like a treat, but brutal summer heat has a way of making your backyard completely unbearable before 10 a.m. The good news? You don’t need a contractor, a permit, or a fat wallet to fix that. With the right approach and a free weekend, you can turn a scorching patio into a shady spot your family will actually want to hang out in all summer long.
And it’s not just about comfort — shade pulls real practical weight too. It can drop surface temperatures on patios, decks, and outdoor furniture by 10 to 15 degrees Fahrenheit. That means no more scorching chair backs, your outdoor cushions will hold up longer, and your plants won’t look half-dead by August. It also cuts down on UV exposure for your whole family, which makes every cookout, outdoor dinner, or lazy Sunday afternoon that much more enjoyable.
The 19 ideas in this roundup cover a wide range of budgets, skill levels, and backyard sizes. Whether you’re renting and can’t touch the structure, working with a tiny balcony, or trying to tame a big suburban yard, you’ll find at least a handful of options that genuinely fit your situation. The goal here isn’t shade that looks pretty in photos — it’s shade that actually keeps you cool when it counts.
Budget-Friendly Shade Sails and Canopy Solutions
Shade sails have exploded in popularity lately, and honestly, they deserve the hype. These triangular or rectangular panels of UV-resistant fabric stretch between anchor points — trees, fence posts, your house — and instantly create that layered, resort-style shade look for a fraction of what a pergola costs. A decent shade sail runs anywhere from $30 to $150 depending on size, and all you really need to hang one is a few eye bolts, carabiners, and turnbuckles to dial in the tension. The result looks polished and intentional while doing serious work against the sun.
If you want to stretch your dollar even further, skip the pre-made shade sails and head to an agricultural supply store for shade cloth by the roll. It’s the exact same UV-blocking woven material, just sold in bulk at a much lower price per square foot. You can cut it to whatever shape you need, finish the edges with a basic zigzag stitch or grommets, and hang it in configurations that actually fit your yard. This is especially handy for covering large stretches — vegetable gardens, play areas, big open patios — where a standard shade sail just won’t cut it.
Pop-up canopies and gazebos are another great option when you want shade right now with zero installation. Cheap versions do have a habit of folding in the wind, but if you stake them down properly, add sandbag weights to the legs, and choose a model with reinforced poles, you’ll get years of solid use out of one. A lot of families rely on a single 10-by-10 canopy for everything from weekend grilling to birthday parties, then fold it flat and tuck it in the garage for winter. For the flexibility it gives you, it might honestly be the most useful thing on this whole list.
DIY Pergola and Overhead Structure Ideas
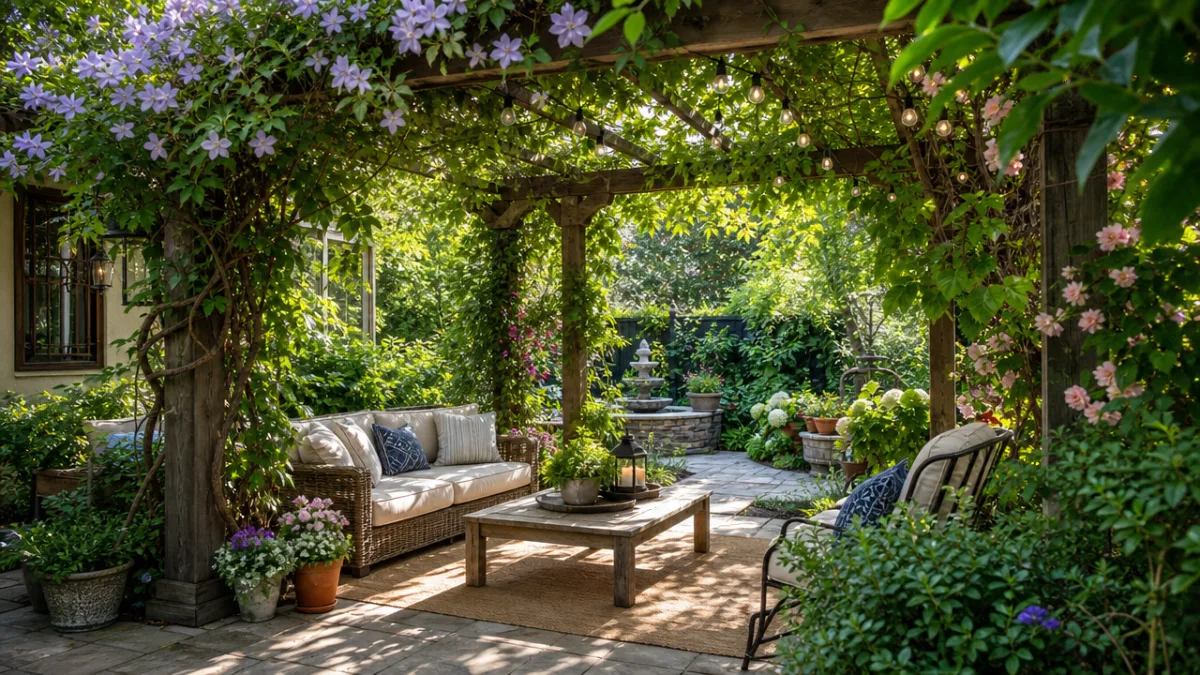
A pergola feels like the ultimate backyard upgrade — beautiful, architectural, completely customizable — and a lot of people assume it’s out of reach. It’s really not. A basic four-post pergola can go up over a long weekend using standard lumber from your local home improvement store for as little as $300 to $600 in materials. You set four posts in concrete or bolt them to existing decking, run beams between them, and lay evenly spaced rafters across the top. The open lattice overhead gives you partial shade on its own, and more importantly, it becomes the base for everything else: fabric, plants, lights, screens, you name it.
If building from raw lumber feels like a stretch, pergola kits have come a long way. The better ones now come with pre-drilled parts, clear instructions, and every piece of hardware you need — two people can realistically put one together in a day. Options range from cedar kits to powder-coated aluminum frames that basically take care of themselves for years. Add some shade fabric, a few climbing plants, or a retractable canopy, and a kit pergola genuinely delivers the look and function of a custom structure without the custom price tag or the guesswork.
Renters and anyone who’d rather not commit to a permanent structure should look at freestanding pergolas with weighted feet. No ground anchors, no attachment to your house — just set it up, weigh it down, and you’re done. A clever trick is to attach planter boxes to each leg and fill them with soil. You get wind resistance from the added weight, and the whole base looks lush and intentional rather than industrial. This approach is showing up more and more in city gardens and small courtyard spaces where putting a shovel in the ground simply isn’t an option.
Fast-Growing Vines and Living Shade Solutions
There’s something deeply satisfying about growing your own shade, and it happens to be one of the cheapest routes you can take. Fast-growing climbers like hops, passionflower, and wisteria — or annuals like morning glory and scarlet runner bean — can cover a trellis, pergola, or fence in a single season and just keep getting better every year. Beyond blocking the sun, you get rustling leaves, the cooling effect of plants releasing moisture into the air, and a genuinely pleasant place to sit underneath. No shade sail or umbrella can really compete with that feeling.
Building a simple trellis to give those vines something to climb is a one-afternoon project that costs almost nothing. A few pieces of wood, some wire or lattice panel, and basic fasteners are all it takes. If you want an even faster approach, just stretch horizontal rows of galvanized wire between eye screws anchored in a fence or wall — plants grab onto it easily, it practically disappears once the foliage fills in, and the whole thing costs under $20. It’s one of those projects where the results look way more impressive than the effort involved.
Need results faster than a perennial vine can deliver? Combine fast annuals with a slower perennial framework. Annual vines like hyacinth bean or moonflower can grow a foot or more per week at peak summer — they can blanket a large trellis within two months of going in from seed. They won’t survive winter in most places, but they bridge the gap perfectly while something like Virginia creeper or hardy kiwi slowly establishes itself on the same structure. You get the shade you need right now, and a more permanent natural solution quietly building itself in the background.
Portable and Creative Shade Ideas for Any Space
Big outdoor umbrellas are genuinely underrated, and the cantilever style — where the pole offsets to the side so nothing interrupts the space underneath — is particularly great for dining tables and lounge setups. No installation, no tools, just set it up and you’ve got serious shade coverage. The key is not skimping on the base weight and making sure the fabric is actually UV-rated so it doesn’t fade and fall apart in a season. Buy one in August or September when retailers are clearing summer inventory and you can often find them 40 to 60 percent off — well worth waiting for.
Bamboo and reed roll-up screens are one of those solutions that most people walk right past at the garden center without realizing how versatile they are. You can lay them flat overhead on a porch or pergola to filter direct sun, hang them vertically to cut off that brutal low-angle afternoon light, or run them along a fence for a combination of privacy and shade. They’re usually $15 to $40 depending on size, and the natural material look fits into outdoor spaces in a way that plastic or synthetic alternatives just don’t. Simple, inexpensive, and genuinely attractive.
If you enjoy a good salvage project, there’s a lot of creative territory to explore here. Old wooden pallets can be broken down and reassembled into overhead lattice panels. Heavy outdoor canvas or even stiff burlap can be cut and hemmed into custom shade cloths. Wooden shutters mounted on a simple frame overhead give you an industrial-chic shade structure with built-in adjustability. The raw materials are often free or nearly free at salvage yards, estate sales, and online marketplaces — all it really takes is a bit of time and a willingness to think outside the box.
Enhancing Your Shade with Smart Complementary Strategies
Overhead shade is a great start, but it’s only part of the picture if you really want your outdoor space to feel cool and comfortable. Pairing your shade structure with a few other heat-reduction tricks makes a noticeable difference. An outdoor misting system, for instance, attaches right to the edge of a pergola or shade sail frame and cools the air beneath through evaporation. Basic misting kits start around $25 to $40 and hook up to a standard garden hose — for how much they improve the feel of a shaded area on a hot day, they’re one of the best cheap upgrades you can make.
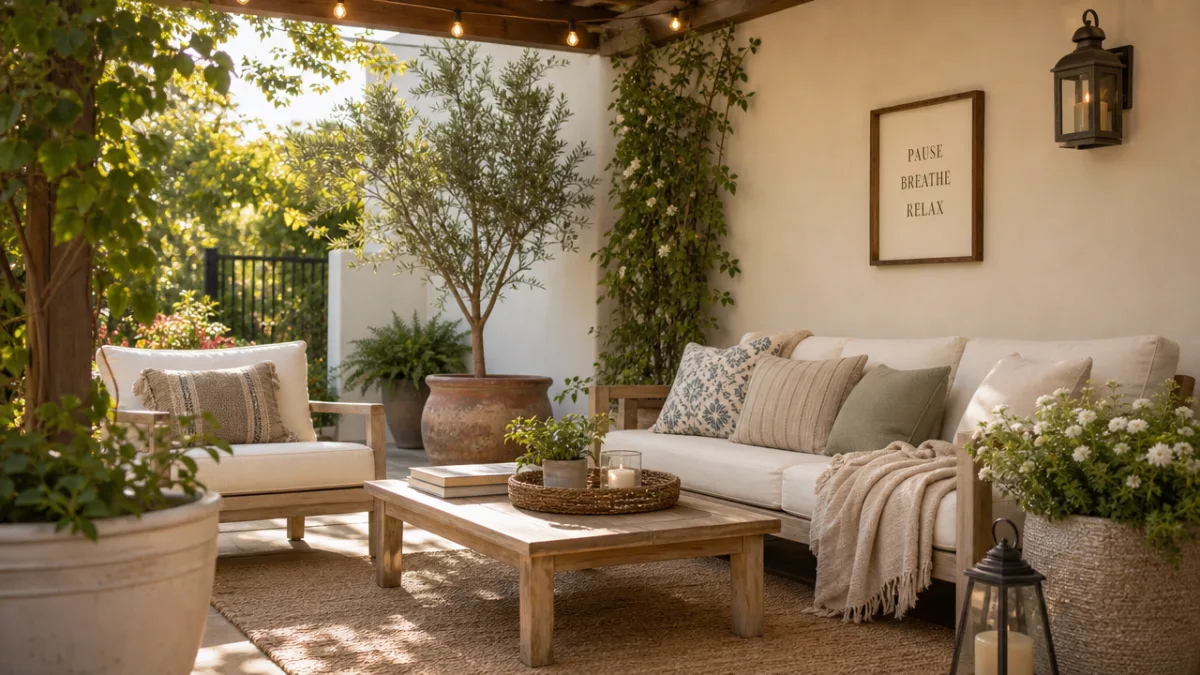
What you put on the ground and in your furniture matters more than most people realize. Light-colored surfaces reflect heat instead of soaking it up, so swapping in light-toned outdoor rugs, cushion covers, and furniture finishes can make a shaded space feel meaningfully cooler. Same goes for what’s underfoot — dark gravel and black rubber mulch radiate a surprising amount of heat upward. Replacing them with pale stone, light sand, or natural wood chips creates a cooler microclimate from the ground up to pair with the shade you’ve got overhead.
Finally, think about the plants around the edges of your shade setup. Dense low shrubs can block radiant heat bouncing off nearby pavement. Clusters of container plants create pockets of cool air through their combined shade and transpiration. Tall ornamental grasses like miscanthus or pampas grass can act as living windbreaks that also cut off that low afternoon sun slipping under your overhead structure. When you start thinking of the whole outdoor space as a cooling system rather than just one shaded spot, everything works together and the results are genuinely impressive.
- Shade sails and cloth: Best for large areas and a modern aesthetic; easily adjusted or removed seasonally.
- DIY pergolas: Ideal for creating a permanent architectural feature that supports additional shade layers like fabric or vines.
- Climbing vines: The most natural and cost-effective long-term solution, with the bonus of beauty and wildlife habitat.
- Cantilever umbrellas: Perfect for targeted, portable shade over dining and lounging areas with no installation required.
- Bamboo and reed screens: Versatile, inexpensive, and aesthetically pleasing for both overhead and vertical applications.
- Misting systems: An excellent complementary strategy that dramatically boosts the cooling power of any shade structure.
- Reflective surfaces and pale materials: A passive strategy that reduces radiant heat and makes shaded areas noticeably more comfortable.
Planning and Executing Your DIY Shade Project Successfully
Before you buy a single thing or pick up a tool, spend a few days just watching your yard. Walk out there in the morning, at noon, and in the late afternoon and notice where the sun is hitting hardest during the hours you actually want to be outside. Sun angles shift more than you’d expect between seasons, and your neighbor’s fence or that big tree in the corner can create surprising shade patterns you’d never notice otherwise. While you’re at it, take stock of what you already have — trees, fence posts, walls — that could anchor a shade structure, and pay attention to where the wind tends to come from. This whole observation phase costs nothing, and it’ll save you a lot of headaches later.
Once you’re ready to build, do your prep work before you ever head to the store. Write out a complete materials list with actual dimensions, then add ten percent to whatever quantities you come up with — you will use it. If you’re working with wood, let it sit outside for a day or two before you start cutting so it can adjust to the outdoor humidity. Wood that goes up before it acclimates tends to warp after installation, and that’s a frustrating problem to deal with after you’ve already put in the work. Have your tools laid out and ready to go — drill, saw, level, tape measure, the right fasteners — so you can actually get into a rhythm instead of stopping every twenty minutes to dig something out of the garage.
The last piece of advice is probably the most useful: don’t expect to get it perfect on the first try, and don’t stress about it. The best backyard shade setups tend to evolve over a few seasons as you figure out what actually works for your space, tweak things, add new elements, and quietly retire the stuff that didn’t pan out. Pick one or two of the most affordable, highest-impact ideas from this list, get them up and working, and go from there. The time and money you put into backyard shade are pretty modest compared to how many more hours you’ll actually spend outside — and that makes it one of the smartest home improvement projects you can tackle.








What do you think?
It is nice to know your opinion. Leave a comment.