










Crochet Pom Pom Border Edging Tutorial: A Complete Guide to Whimsical Finishing Touches
Introduction to Pom Pom Border Edging
You know that feeling when you finish a crochet project and it’s almost perfect, but something’s still missing? A pom pom border edging might be exactly that missing piece. It adds texture, dimension, and a genuinely playful quality to blankets, scarves, hats, shawls, and all kinds of home décor. Whether you’ve been crocheting for years or just recently got the hang of it, this tutorial covers everything you need to know to create a pom pom edging that makes your projects feel truly finished — and a little bit special.
Pom pom borders have really taken off over the past few years, and a lot of that has to do with the boho and cottagecore aesthetics that have swept through the crafting world. You’ll spot this edging on chunky throw blankets tossed over farmhouse sofas, sweet baby items, and festival accessories alike. What makes it so appealing is how versatile it is — choose a rustic handspun yarn and you get something earthy and casual; go with a fine merino and the result looks almost refined. The pom poms do a lot of the work for you.
Before we get into the step-by-step part, it’s worth understanding what actually sets a pom pom border apart from other edging styles. Unlike a shell stitch or a picot edge, this technique creates three-dimensional clusters that physically pop off the surface of your fabric. Those little fluffy rounds can be crocheted directly into the edge or attached separately after the fact — both approaches look great, and we’ll walk through both in this guide.
Materials and Tools You Will Need
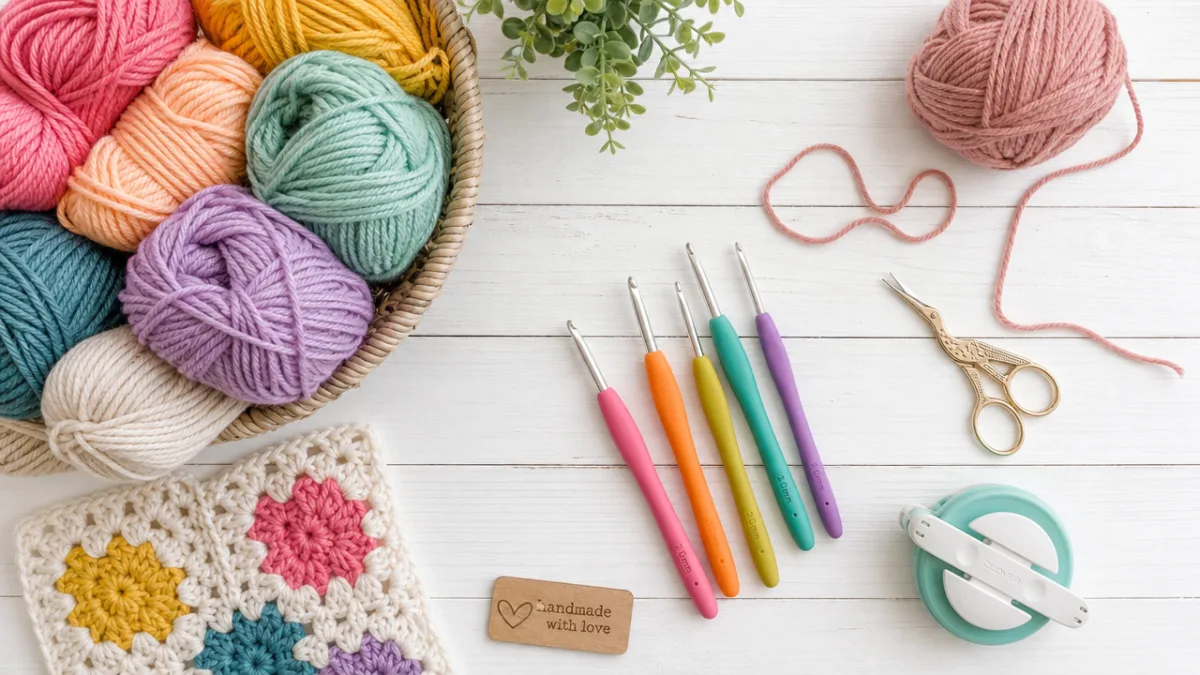
Getting your materials together before you start makes the whole process so much smoother. For the edging itself, you’ll want a yarn that has some body to it and holds its shape. Worsted weight is the go-to for beginners because it’s forgiving to work with and gives you nicely defined stitches. That said, bulky yarn creates wonderfully dramatic oversized pom poms if you want something bold, and fingering weight produces the daintiest little clusters — ideal for baby items or delicate accessories.
When it comes to fiber, wool and wool blends are a great choice because they felt ever so slightly with handling, which actually helps the pom pom keep its round shape over time. Acrylic is also excellent, especially for anything that’ll get washed a lot, like baby blankets or kitchen items. Cotton tends to produce flatter, less fluffy pom poms, so if volume is what you’re after, go for something with a higher wool or acrylic content. And if you’re feeling adventurous, boucle or mohair yarns can give your pom poms a wonderfully unusual texture.
Beyond yarn, there are a few tools you’ll want on hand. A crochet hook in the right size for your yarn is obviously essential — the yarn label will point you in the right direction. You’ll also need sharp scissors for trimming your pom poms into tidy spheres, a yarn needle for weaving in ends, and optionally a pom pom maker if you’re planning to create them separately. A tape measure or small ruler is surprisingly helpful for keeping your pom pom sizes consistent, which makes a real difference in how the finished border looks.
- Worsted, bulky, or fingering weight yarn in your chosen color or colors
- Crochet hook sized to match your yarn (commonly 5mm to 6mm for worsted weight)
- Sharp scissors for trimming pom poms into uniform spheres
- Yarn needle for weaving in ends neatly
- Pom pom maker tool (optional but highly recommended for beginners)
- Tape measure or ruler for consistent sizing
- Stitch markers to keep your place in the edging pattern
Understanding the Basic Pom Pom Crochet Stitch
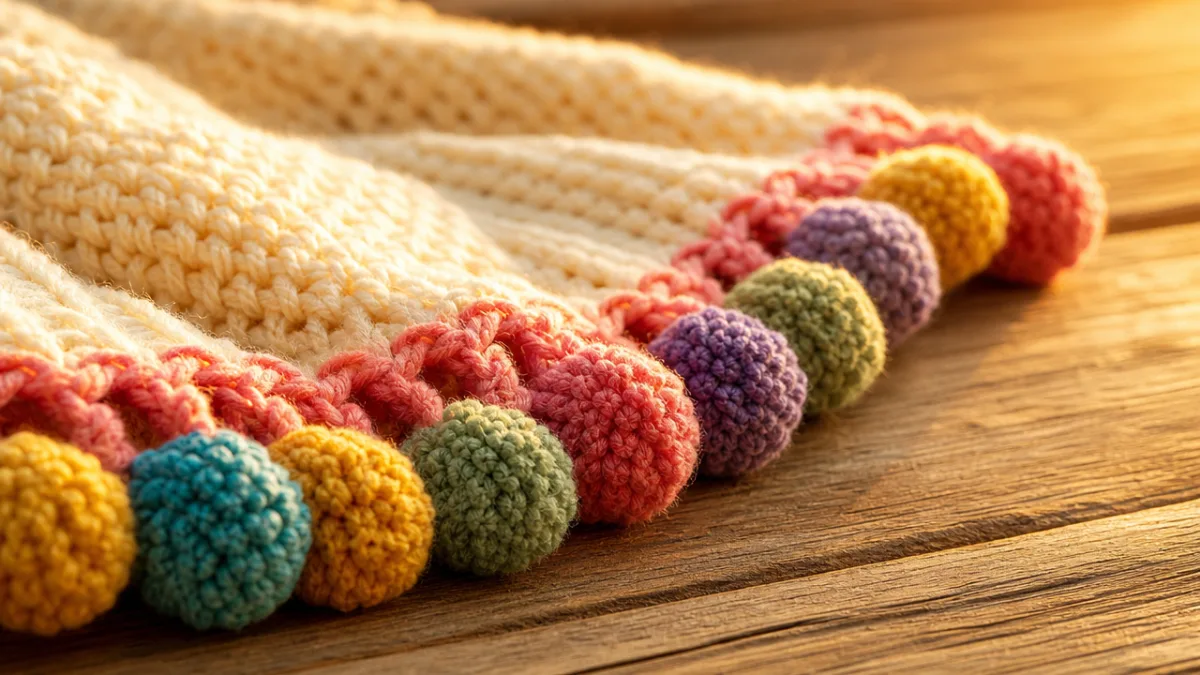
The crocheted pom pom stitch — sometimes called a bobble or popcorn stitch depending on the exact technique — is the heart of this whole border style. While you can absolutely make a pom pom border by wrapping and attaching real pom poms to a crochet chain, a lot of crocheters prefer to build the effect entirely with crochet stitches for a finish that’s more integrated and durable. The most common approach uses a cluster of double crochet stitches all worked into the same stitch, then joined at the top to form a rounded, three-dimensional bump that really does look like a little pom pom.
Here’s how it works: you yarn over and insert your hook into the stitch, pull up a loop, yarn over again, and draw through the first two loops. That leaves two loops on your hook. You repeat that process four to six more times in the same stitch until you’ve got a whole collection of loops sitting there, then yarn over one final time and pull through all of them at once. That last pull cinches everything together at the top and causes the whole cluster to puff outward into that satisfying round shape. More repetitions before the final pull-through means a bigger, puffier pom pom — it’s that simple.
Tension is honestly the trickiest part of learning this stitch. Too tight, and your clusters come out flat and dense instead of round and puffy. Too loose, and they look floppy and undefined. Most crocheters find that working just a little looser than their usual tension gives the best results, so it’s really worth spending a few minutes swatching before you commit to your actual project. A handful of practice clusters is all it takes to get the feel of it, and once that muscle memory kicks in, the stitch starts to feel almost automatic.
Step-by-Step Tutorial for the Pom Pom Border
Now that you’ve got your materials and you know the basic stitch, let’s get into the actual border. Start by looking at the edge of your finished project — if it’s clean and consistent, you can attach your border yarn directly. Join with a slip stitch at any corner or chosen starting point, then chain three to get started. That chain-three counts as your first double crochet in most traditional patterns, though some designers prefer a standing double crochet for a neater join if you’ve tried that before.
Work a single crochet or slip stitch into each stitch along the edge to build an even base row for your pom pom border to sit on. This foundation round is especially important if your edge is at all uneven, or if you’re applying the border to fabric rather than crocheted stitches. The whole point is to give yourself a consistent, stable surface so your pom poms end up evenly spaced and uniform. Once that foundation round is done, don’t cut the yarn — just keep going straight into the pom pom round without breaking your thread.
For the pom pom round, work one single crochet into the first foundation stitch, chain three, then work your pom pom cluster into that same stitch. Chain three again and slip stitch back into the single crochet to close the unit. Skip two foundation stitches, single crochet into the third, and repeat. Keep going with that sequence — single crochet, chain three, pom pom cluster, chain three, slip stitch — all the way around, adjusting at corners as needed. At each corner, working two or three pom pom units into the corner stitch is what lets the edging turn the bend without pulling or bunching.
- Join your border yarn to the edge of your project with a slip stitch at any corner or starting point.
- Work a foundation round of single crochet evenly around the entire edge of your project.
- Begin the pom pom round by working one single crochet into the first foundation stitch.
- Chain three, work the pom pom cluster stitch into the same stitch, chain three, and slip stitch to close.
- Skip two stitches, then single crochet into the next stitch and repeat the pom pom unit.
- At corners, work two to three pom pom units into the corner stitch for neat turning.
- Continue around the entire edge, then join with a slip stitch and fasten off.
- Weave in all ends securely and block your finished piece if desired.
Once you’ve finished the last pom pom unit and rejoined to your starting point, fasten off and weave in your ends with a yarn needle. Don’t rush this part — loose ends have a way of unraveling and undoing all your hard work over time. Thread the tail through several stitches in different directions so it’s really anchored, then trim any excess close to the surface. If you want the best possible finish, blocking your piece gives the pom poms a chance to settle into their final shape and the border will lie smooth and even all the way around.
Tips for Customizing Your Pom Pom Border
This is honestly one of the most fun parts — there are so many ways to make a pom pom border your own. Color is the most obvious place to start. You can stick with the same yarn as your main project for a tonal, cohesive look, or go with a contrasting color to make the pom poms really stand out. For something truly playful, try switching colors with each pom pom unit to get a rainbow effect along the edge. That approach is especially charming on children’s items and anything with a festival or boho vibe.
Playing with size is another great way to add personality. Instead of making every pom pom the same, try alternating between small clusters (three double crochets before the pull-through) and larger ones (six or seven for maximum puffiness) to create a more dynamic, almost rhythmic border. You can also tweak the chain length between units — shorter chains pull the pom poms close together for a dense, almost ruffled look, while longer chains give you an airier, more open edging. A quick swatch will tell you a lot about which combination works for your particular project.
If you’d rather work with actual wrapped pom poms instead of crocheted clusters, the process shifts a bit but it’s still very approachable. Make your pom poms separately with a pom pom maker or the trusty two-finger wrap method, leave a long yarn tail when you tie them off, and then use those tails to sew or tie each pom pom directly onto a simple single crochet foundation border. This method is great when you want seriously fluffy, voluminous pom poms made from multiple strands or from novelty yarns that don’t play well as crochet stitches.
Project Ideas and Inspiration for Your Pom Pom Border
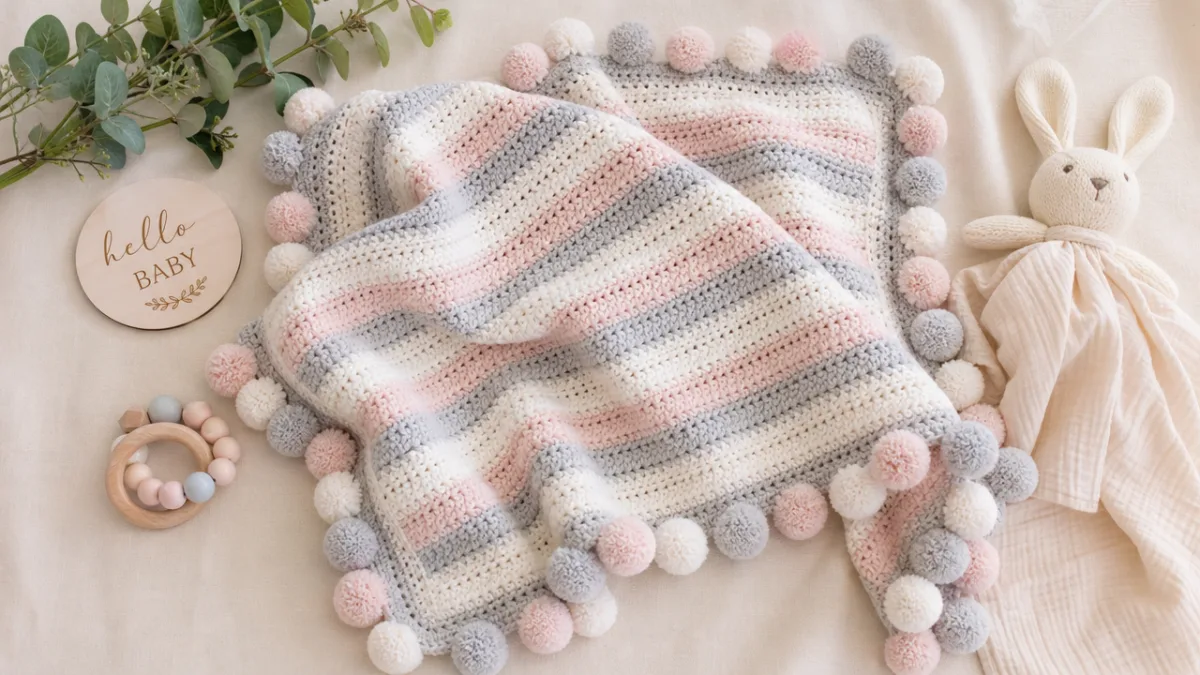
Once you’ve got this technique down, you’ll start mentally adding pom pom borders to everything you make. Blankets and throws are probably the most popular application, and it’s easy to see why — the large surface area turns the edging into a real focal point, and even the simplest striped blanket looks like something intentionally designed when it has a great border. A chunky throw with oversized pom poms in a contrasting earthy tone is just one of those combinations that always works.
Baby items are another natural fit. The soft, rounded shapes feel perfectly at home on infant accessories, and baby blankets, loveys, and tiny hats all look wonderfully sweet with a delicate pom pom border. Just make sure everything is very securely attached and that there are no loose ends — safety really matters here. Crocheted pom pom clusters are generally the safer choice for baby items over attached pom poms, since they’re part of the fabric itself rather than separate pieces that could come off.
Wearable accessories are where things get really exciting. Scarves with pom pom edging along both short ends have that effortlessly bohemian quality that never really goes out of style. Shawls look stunning with a pom pom border along the curved lower edge, and the added dimension actually helps them drape better over your shoulders. Even bags and totes get an artisanal upgrade with a pom pom border around the opening. Honestly, once you start seeing the possibilities, this technique tends to become a permanent fixture in your finishing toolkit.
Troubleshooting Common Pom Pom Border Challenges
Even if you’ve been crocheting for years, a new technique always comes with a learning curve, and the pom pom border has a few predictable snags worth knowing about upfront. Uneven pom pom sizing is probably the most common frustration — some clusters come out big and puffy while others look flat and sad. Almost every time, this comes down to tension shifting as you work. The fix is pretty simple: consciously relax your grip, work at a steady pace, and take breaks when your hands start to tense up. It also helps to count the loops on your hook before that final pull-through each time, just to make sure every cluster has the same number going in.
A border that ruffles or puckers instead of lying flat is another thing beginners run into. This typically happens when you’re fitting too many pom pom units into the available stitches — the extra fabric has to go somewhere, so it ruffles outward. The solution is to increase the number of stitches you skip between units. Moving from skipping two stitches to skipping three usually does the trick. On the flip side, if your border looks stretched and sparse, decrease the number of stitches you skip to bring the pom poms in closer together.
Finally, some beginners find that their pom pom clusters look more like elongated blobs than actual round spheres. The secret to getting that nice round shape is all in the final pull-through — you need to draw through all the loops at once in one smooth, confident motion, not in pairs. Pulling through decisively and letting the cluster fall toward the front of your work is what coaxes it into that satisfying round shape. It might take a little practice to get the feel of it, but once it clicks, your pom pom borders will look polished enough to sell at a craft fair.








What do you think?
It is nice to know your opinion. Leave a comment.