










How to Grow Wallflowers from Seed: A Complete Guide
Introduction to Wallflowers
Wallflowers (Erysimum cheiri) are among the most beloved cottage garden plants, celebrated for their intensely fragrant blooms in shades of orange, yellow, red, and purple. These hardy biennials have graced English gardens for centuries, filling spring borders with color and perfume at a time when few other flowers are at their best. Growing wallflowers from seed is a deeply rewarding experience that gives you access to a far wider range of varieties than you would ever find at a garden center.
Understanding the life cycle of a wallflower is the key to success. Unlike annual flowers that complete their life cycle in one growing season, wallflowers are biennial by nature, meaning they spend their first year producing leafy growth and their second year putting on a spectacular floral display. This means you need to plan ahead, sowing seed in late spring or early summer so the plants have a full season to establish before they flower the following spring.
Growing from seed is not only economical but also genuinely satisfying. A single seed packet costing just a few pounds can produce dozens of robust plants, enough to fill a generous border or to share generously with neighbors and friends. Many gardeners find that once they begin growing wallflowers from seed, they never look back, enjoying the ritual of sowing, growing on, and planting out as an integral part of their gardening year.
Choosing the Right Varieties
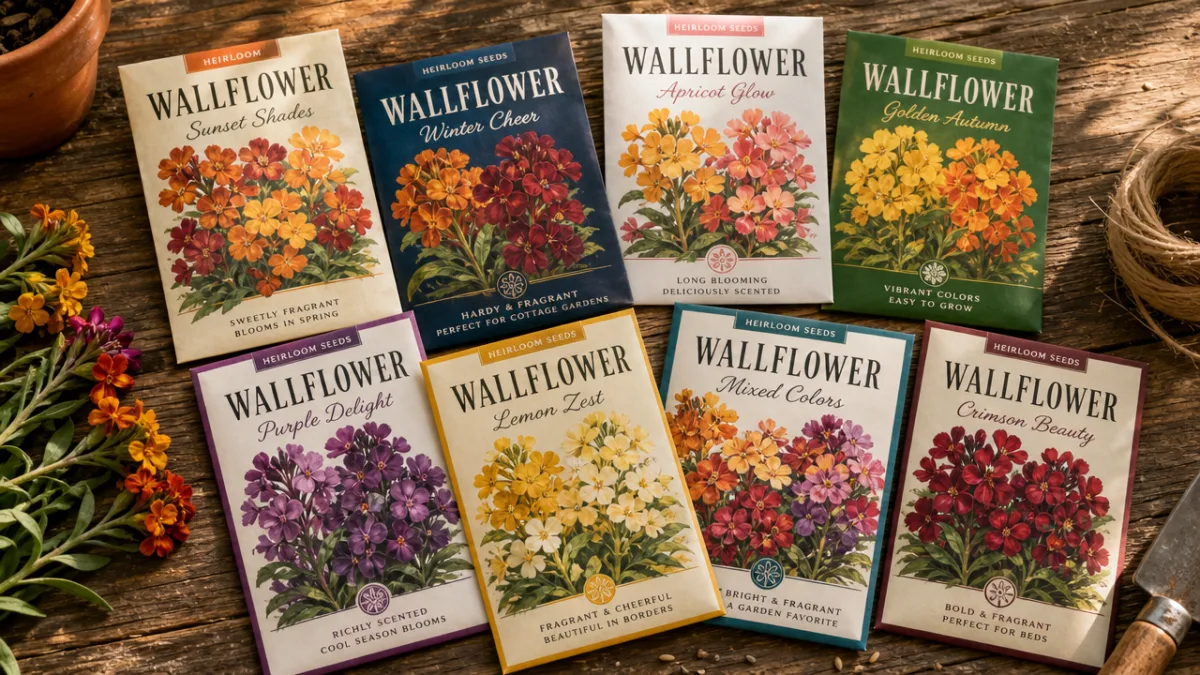
The range of wallflower varieties available from seed is extraordinary. Classic English wallflowers in the Erysimum cheiri group offer the most intense fragrance and include varieties such as ‘Blood Red’, ‘Fire King’ (a vivid orange), ‘Ivory White’, and the ever-popular ‘Bedder’ series which produces compact, bushy plants ideal for formal bedding schemes. These traditional wallflowers are the ones most commonly associated with that intoxicating, clove-like scent that drifts across the garden on warm spring afternoons.
Beyond the classics, there is a world of perennial Erysimum species and hybrids worth exploring. Varieties like ‘Bowles’s Mauve’ produce long-lasting purple flowers over many months and, while often propagated by cuttings, can also be grown from seed with variable but often delightful results. The ‘Sugar Rush’ series is a more modern introduction, bred to flower in the first year from seed if sown early enough under heat, making them a fantastic option for impatient gardeners who cannot wait through two seasons for their reward.
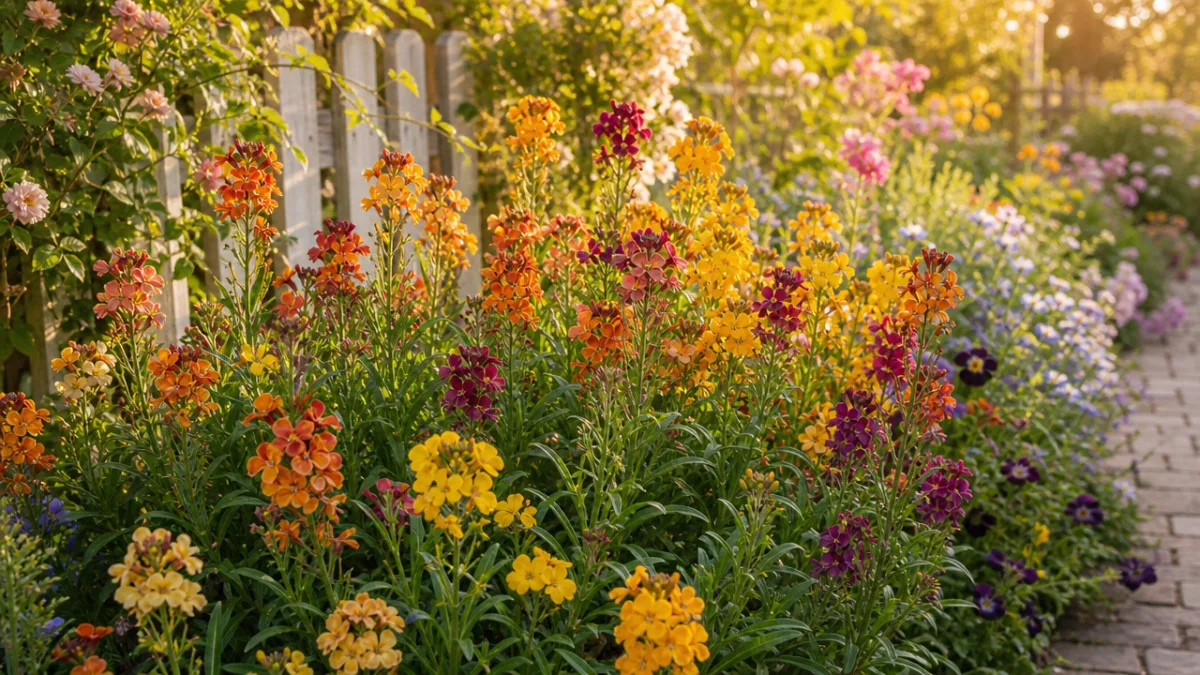
When choosing varieties, consider the color palette of your garden and the height you need. Traditional wallflowers range from dwarf forms of about 25cm (10 inches) to tall types reaching 60cm (24 inches) or more. Mixing heights adds structure and visual interest to a planting scheme. It is also worth selecting fragrant varieties deliberately, as some modern hybrids have sacrificed scent in favor of novelty colors, and the fragrance is often considered the wallflower’s greatest gift to the spring garden.
When and How to Sow Wallflower Seeds
Timing is everything when it comes to sowing wallflowers. For traditional biennials, the ideal sowing window is between May and July in the Northern Hemisphere. Sowing too early in spring risks producing plants that are not hardy enough to withstand their first winter, while sowing too late in summer leaves insufficient time for plants to develop the sturdy root systems they need to survive cold weather and produce abundant flowers. A June sowing is considered by many experienced gardeners to be the sweet spot.
You have two main sowing options: sowing directly into the ground outdoors, or starting seeds in trays or pots. Direct sowing is simple and effective. Choose a prepared seedbed in a sunny position with well-drained soil, scatter the seeds thinly, cover lightly with fine soil or vermiculite, water gently, and keep the surface moist until germination occurs, usually within seven to fourteen days. Once seedlings are large enough to handle, thin them to about 15cm (6 inches) apart to give each plant space to develop.
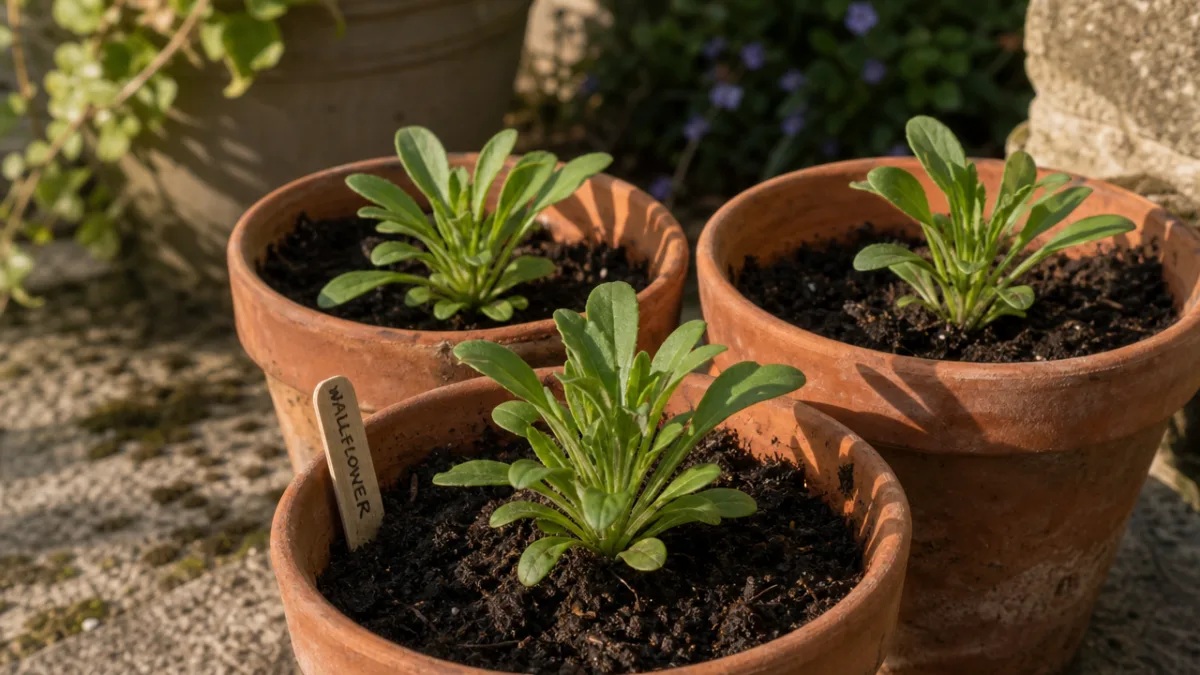
Sowing in trays gives you more control and is particularly useful if your outdoor space is fully planted during the sowing period. Fill seed trays or small pots with a good-quality seed compost, sow seeds on the surface spaced about 2cm apart, and cover with a fine layer of vermiculite. Place the trays in a bright, sheltered spot outdoors or in an unheated greenhouse. There is no need for artificial warmth; wallflowers germinate readily in warm outdoor conditions. Prick out seedlings into individual cells or small pots when they have produced their first true leaves.
Whichever method you choose, there are a few general principles that greatly improve germination rates and early growth. Always use fresh seed, ideally purchased from a reputable supplier in the current season, as wallflower seed viability declines significantly after the first year. Water from below when possible by sitting trays in a shallow bath of water, which encourages seedling roots to grow downward in search of moisture and produces more robust plants from the outset. Label everything clearly with variety name and sowing date, a habit that pays dividends later in the season.
Growing On and Transplanting
Once your wallflower seedlings have reached about 8 to 10cm (3 to 4 inches) in height, they are ready for their first important treatment: pinching out. Using your thumb and forefinger, nip out the very tip of the growing shoot. This simple action encourages the plant to branch out from the base, producing a bushy, multi-stemmed specimen that will carry far more flowers than a single-stemmed plant would. It may feel counterintuitive to damage a plant you have carefully nurtured, but pinching out is one of the most beneficial things you can do for a young wallflower.
Through the summer months, your wallflower plants should be growing steadily in a sunny, well-drained nursery bed or in their pots. If growing in containers, pot them on into progressively larger pots as roots fill the available space, using a soil-based compost mixed with some grit to ensure good drainage. Keep plants well-watered during dry spells but avoid waterlogging, which can cause root rot. A light liquid feed with a balanced fertilizer every two to three weeks will keep plants growing vigorously through the summer.
The main transplanting into their final flowering positions takes place in autumn, typically between September and November, depending on your climate and the readiness of your plants. Choose a position in full sun where the soil is reasonably well-drained; wallflowers are tolerant of poor soils but dislike sitting in wet conditions during winter. Before planting, dig some garden compost into the bed to improve structure, and if your soil is acidic, add some garden lime, as wallflowers prefer a neutral to slightly alkaline soil pH. Space plants between 30 and 45cm (12 to 18 inches) apart depending on the expected final size.
Soil Preparation and Feeding
Wallflowers are not demanding plants, but getting the soil conditions right makes a significant difference to the quality and duration of the spring display. They perform best in a free-draining soil with a neutral to slightly alkaline pH, ideally between 6.5 and 7.5. Heavy clay soils that remain wet in winter are a common cause of disappointment with wallflowers, as the roots can rot during cold, waterlogged conditions. Improving drainage by incorporating grit or coarse sand into clay soils before planting is a worthwhile investment.
If you are planting wallflowers into a border that has just been cleared of summer bedding, take the opportunity to fork over the soil, remove any weeds, and incorporate a balanced slow-release fertilizer. Wallflowers growing in reasonably fertile soil generally need no additional feeding once established in their final position; overfeeding with nitrogen-rich fertilizers can actually be counterproductive, encouraging lush, soft leaf growth at the expense of flowers. The goal is sturdy, compact growth that will stand up well to winter winds.
Lime is a topic worth understanding when it comes to wallflowers. Being members of the Brassicaceae family, wallflowers share a preference for alkaline growing conditions with their relatives the cabbages and kale. If your soil is naturally acidic, dusting the planting area with garden lime or ground limestone in autumn and again in early spring can make a noticeable improvement to plant health and flower production. A simple soil pH test, available inexpensively from any garden center, will tell you where your soil sits on the pH scale and whether liming is necessary.
Winter Care and Overwintering Successfully
One of the great virtues of wallflowers is their hardiness. In most temperate climates, established wallflower plants will sail through winter without any special protection, continuing to develop their root systems during mild spells and simply sitting tight during colder periods. In severe winters with prolonged hard frosts, however, young or recently transplanted plants can suffer. Providing a light mulch of bark chips or straw around the base of plants in late autumn can protect roots from the most severe freezing temperatures.
Wind is often a greater threat to wallflowers in winter than frost. Cold, drying winds can desiccate foliage and loosen plants in the soil, a problem known as wind rock. If your garden is exposed, staking young plants temporarily with short canes can help anchor them until their roots are firmly established. You may also notice that some leaves turn yellow during winter cold spells; this is normal and the plants will typically recover and produce fresh growth as temperatures begin to rise in late winter and early spring.
In particularly harsh winters or in gardens at higher altitudes, it may be wise to keep a few plants in reserve in pots in a cold greenhouse or sheltered cold frame. This provides insurance against significant losses outdoors and also means you can bring a few plants under glass in late winter to enjoy their flowers a few weeks earlier than the outdoor plants will perform. Plants grown in pots and brought into a cool but frost-free environment from January onwards will often begin flowering in February or March, a genuine treat during the darker months of the year.
Common Problems and How to Solve Them
Wallflowers are generally trouble-free plants, but there are a handful of issues to be aware of. Club root, a soil-borne disease caused by the organism Plasmodiophora brassicae, is the most serious problem that can affect wallflowers, particularly where the disease is already present in soil that has grown brassica vegetables. Infected plants develop swollen, distorted roots and become stunted and unhealthy. There is no cure once plants are infected, so prevention is essential: practice crop rotation, lime the soil to raise pH above 7 (which discourages club root), and buy disease-free seed or plants from reputable sources.
Flea beetle can damage wallflower seedlings and young plants, creating small holes in the leaves that weaken plants and allow disease to enter. These tiny, hopping beetles are most active in warm, dry conditions. Keeping seedlings well-watered, which reduces the stress that makes them more vulnerable, and covering seedbeds with fine insect-proof mesh will help protect young plants. Established, well-grown plants generally tolerate minor flea beetle attack without any lasting harm, so the critical period is the early seedling stage.
Downy mildew can appear on wallflowers growing in cool, damp conditions with poor air circulation, causing yellowish patches on the upper leaf surface and a grey or white mold on the undersides. Improving spacing between plants to allow air to move freely, avoiding overhead watering, and removing affected leaves promptly will help control this fungal disease. If problems are severe and persistent, consider whether your planting site has adequate drainage and sunlight, as wallflowers growing in unsuitable conditions will always be more susceptible to disease problems of all kinds.
Collecting Seed and Planning for Next Year
One of the most pleasurable aspects of growing wallflowers from seed is the self-sufficiency that comes from collecting your own seed for future seasons. After the flowers fade in late spring or early summer, the plants produce long, narrow seed pods that gradually turn brown as they ripen. Monitor the pods carefully as they approach maturity; if left too long, they will split open and scatter their seed on the ground. Harvest the pods by cutting the whole seed stem when most pods have turned brown but before they begin to split.
Bring the harvested seed stems indoors and lay them on a sheet of paper or a tray in a warm, dry room. Leave them for two to three weeks until the pods are fully dry and brittle. Then split the pods open and shake the seed free. Spread the seed on a sheet of paper and pick out any obvious debris, then allow the seed to dry for a further week before storing it in a labeled paper envelope in a cool, dry, dark place. Properly stored wallflower seed will remain viable for one to two years, though germination rates do decline over time.
Planning ahead is the wallflower grower’s most important skill. Because of their biennial nature, there is always a gap between the thrill of watching plants flower and the satisfaction of sowing the next generation. Keeping a garden diary where you record sowing dates, variety names, and observations about performance will transform your results over the years, allowing you to refine your timing, identify which varieties suit your garden best, and build the kind of deep plant knowledge that separates enthusiastic beginners from truly accomplished gardeners. The wallflower, with its ancient history and irresistible fragrance, richly rewards that patience and attention.








What do you think?
It is nice to know your opinion. Leave a comment.