










Decorating with Picture Frames: How to Give Your Garden a Stunning Edge
Gardens have always been a place to put your own stamp on the world, but lately there’s a trend that’s been quietly winning over gardeners and decorators in equal measure: taking picture frames outside. What used to live strictly above the mantelpiece has found a whole new calling on patios, along garden beds, and tucked into backyard retreats. It’s a mashup of home décor and outdoor living that somehow just works — giving even the most ordinary garden a layered, artistic quality that feels genuinely personal rather than pulled from a catalog.
What makes this trend so appealing is how low-barrier it really is. You don’t need a big budget or a landscape architect on speed dial. Whether you’re working with a tiny balcony, a rambling backyard, or a front yard that’s seen better days, adding frames to the mix brings a sense of deliberate artistry that’s hard to achieve any other way. Old frames from thrift shops, flea markets, or that pile of forgotten stuff in the garage can become the star of a garden makeover that costs next to nothing but looks like you spent a fortune.
This guide covers the many ways you can bring picture frames into your garden — from living plant displays and vertical gardens to focal-point markers and purely decorative touches. You’ll find practical advice on weatherproofing, picking the right styles and sizes, and getting the placement just right. By the end, you’ll be eyeing every old frame you own with a very different kind of enthusiasm.
Choosing the Right Frames for Outdoor Use
Not all picture frames are up to the challenge of living outdoors, and getting the materials right is honestly the most important thing you’ll do in this whole process. Wood frames are a natural favourite for garden use — they sit beautifully among plants and take paint or stain well — but untreated wood won’t last long against rain and sun. Before you put any wooden frame outside, seal it properly with an outdoor-grade polyurethane varnish or exterior paint. And go for frames with solid, chunky timber construction rather than thin veneer or composite board, which tends to fall apart far sooner.
Metal frames — especially wrought iron, cast iron, or powder-coated steel — are a brilliant option for the garden and bring a lovely vintage or industrial edge to the space. They hold up well against rain and temperature swings without much fuss. Untreated iron will gradually develop a rusty patina that plenty of gardeners actually love the look of. If you’d rather keep things looking crisper, a coat of rust-resistant spray paint or clear sealant once a year will do the job.
Plastic and resin frames don’t always get the credit they deserve, but in a garden that sees a lot of rain or intense sun, they’re a genuinely smart choice. Many modern resin frames are styled to look like carved wood or ornate plaster, so you’re not sacrificing aesthetics for practicality. One thing that’s easy to overlook: always check that the backing material and hanging hardware are weather-resistant too. It’s frustrating when the frame itself holds up perfectly but the fixings rust out from underneath it.
- Seal wooden frames with exterior-grade varnish or paint before installation to prevent warping and rot over time.
- Choose wrought iron or powder-coated metal frames for maximum durability and a classic garden aesthetic.
- Consider resin or plastic frames for low-maintenance options that resist UV damage and moisture effectively.
- Inspect the backing board and hanging hardware to ensure all components can withstand outdoor conditions year-round.
- Look for frames with deep profiles rather than flat ones, as they provide better structural integrity when mounted vertically outdoors.
Creating Living Picture Frames with Succulents and Moss
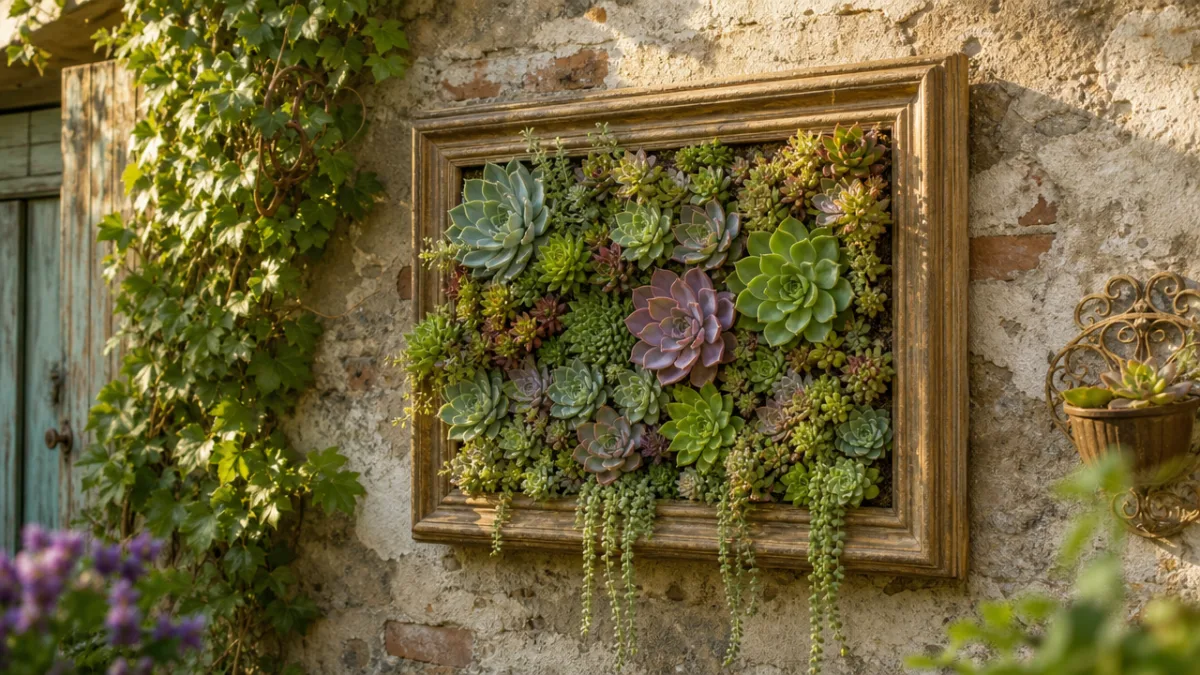
If there’s one application of this trend that genuinely stops people in their tracks, it’s living plant frames — where the frame becomes a three-dimensional canvas filled with actual growing things. Succulent frames are probably the most popular version of this, and it’s easy to see why: succulents are tough, drought-tolerant, and come in such a wild range of colours and shapes that you could make a hundred of these and never repeat yourself. The basic method is to attach a shallow wooden box to the back of the frame as a planting tray, fill it with well-draining succulent compost, and press your plants in through the front. Give it a few weeks and the roots will anchor in, after which you can stand it upright or lean it against a wall for something that looks genuinely like living artwork.
Moss frames are a softer, more woodland feel — great for shaded spots where succulents would struggle. Sheet moss, cushion moss, and preserved moss all work well, either on their own for a quiet, textural look or layered with ferns, air plants, and small woodland flowers for something richer. Living moss likes humidity and indirect light, so it’s well-suited to covered patios, shaded garden walls, or those lovely indoor-outdoor transitional spaces like garden rooms. If the maintenance side puts you off, preserved moss is treated to hold its colour and look without ever needing water — all the charm, none of the watering schedule.
Succulents and moss are just the beginning, though. Herbs, trailing ivy, sedums, and dwarf alpine plants have all been used to great effect in living frames. Herb frames near the kitchen door or outdoor dining table are particularly satisfying — you get the visual impact and a ready supply of rosemary, thyme, basil, or mint right where you actually use them. Whatever you plant, the two things that matter most are drainage (roots sitting in wet soil won’t survive long) and enough depth in the tray for the roots to properly establish. Get those two things right and a living frame can be a fixture in your garden for seasons to come.
Using Frames as Garden Focal Points and Framing Devices
Even without any plants in them at all, picture frames can do a lot of compositional heavy lifting in a garden. The idea comes straight from art and photography: put a frame around something and you immediately tell the viewer that this thing matters, that it’s worth pausing over. Set a large ornate frame at the end of a garden path and you’ve created a sense of destination — visitors are drawn forward, curious about what the frame is pointing them toward. The frame itself becomes part of the experience rather than just a decoration hanging on the wall.
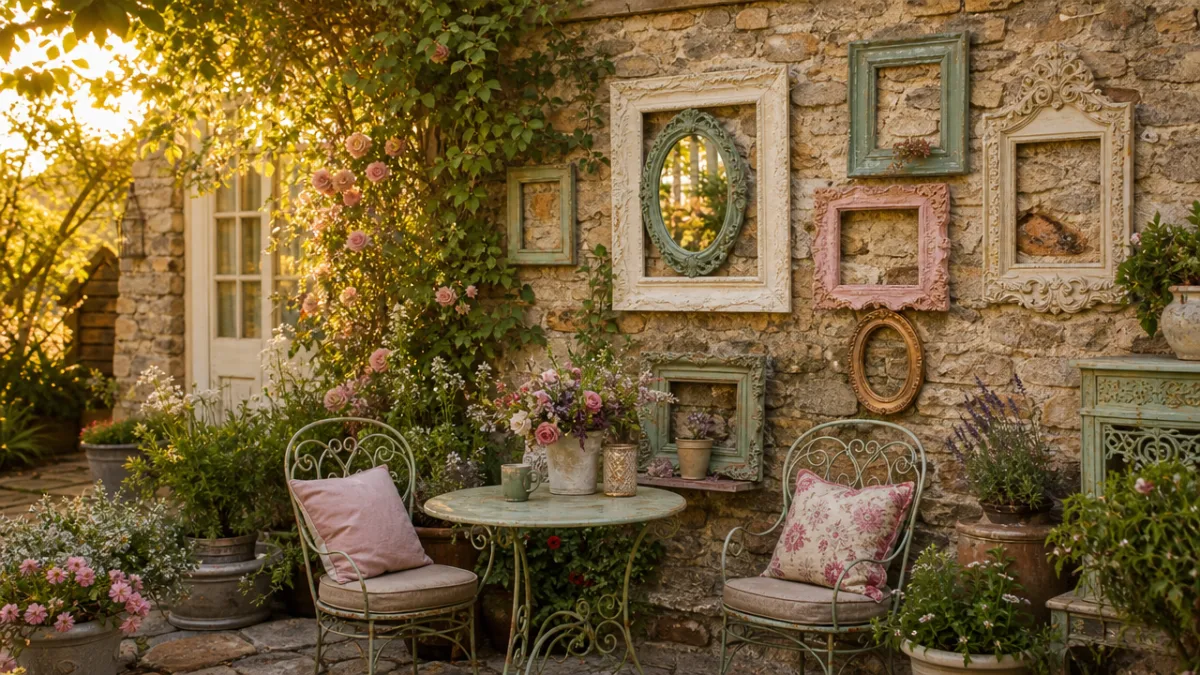
One of the cleverest uses of this technique is mounting old window frames or large picture frames on garden walls, fences, or hedges to create the impression of windows or doorways. Flush against a solid surface, painted in a colour that complements or contrasts with the wall behind it, a faux window breaks up the monotony of a long fence line and adds a playful, almost theatrical quality to the space. Take it a step further and put a mirror inside the frame, and suddenly you’ve created a convincing illusion of depth — the reflected planting makes the garden look twice as big. It’s a particularly handy trick in smaller gardens where every visual inch counts.
Frames are also great for drawing attention to garden features that might otherwise be passed over — a specimen plant that deserves more notice, a decorative plaque, a sundial, a small sculpture. Framing these elements is a quiet signal to anyone moving through the garden that this is a moment worth slowing down for. In formal garden designs, symmetrically placed pairs of frames can reinforce the geometry of the space. In a cottage or naturalistic garden, a single weathered frame leaning against a stone wall or half-hidden by climbing roses contributes perfectly to that layered, informal charm.
Building Vertical Gardens and Trellis Structures from Frames
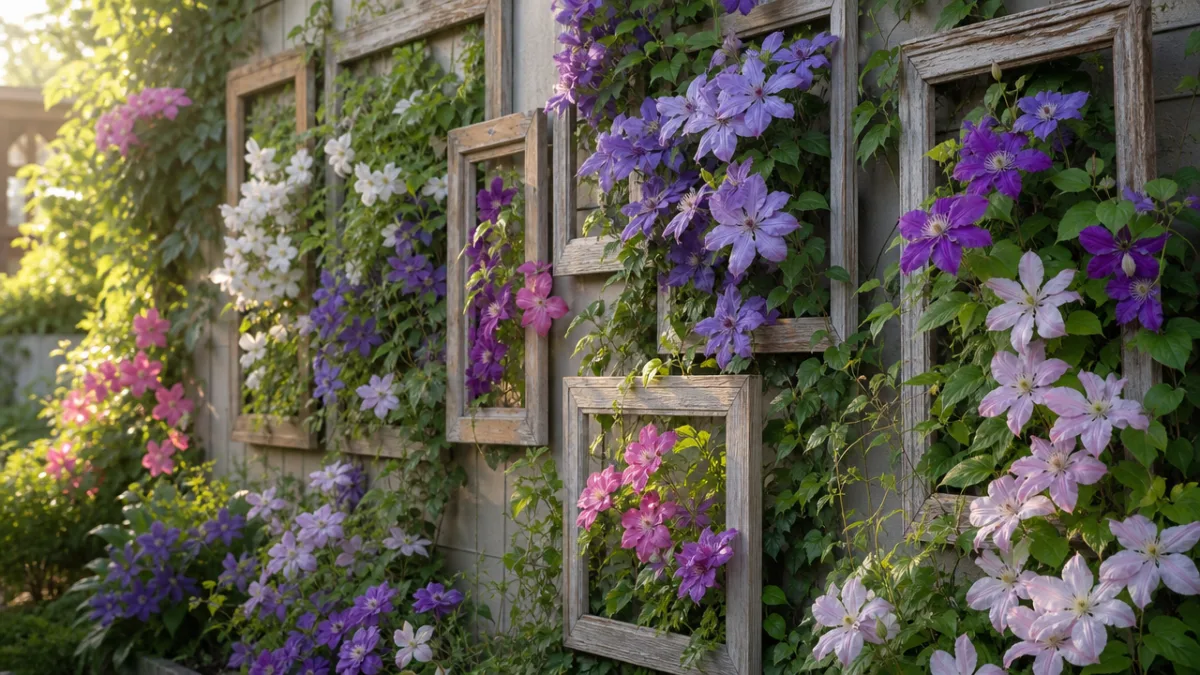
When you’re short on ground space, going vertical is the obvious solution — and picture frames give you a really elegant way to do it. A row of frames fixed to a fence or wall, each fitted with mesh, chicken wire, or wooden slats, becomes a modular vertical garden where every frame holds a different plant, herb, or trailing flower. The great thing about this approach is the flexibility: you can swap plants out with the seasons, moving from summer annuals to autumn chrysanthemums to winter evergreens without any major effort or expense.
Bigger frames — anything roughly two feet by three feet or larger — can be turned into standalone trellis panels for climbers like clematis, sweet peas, jasmine, or climbing roses. Stretch garden wire or jute twine in a grid across the inside of the frame, fix it firmly to the edges, and you’ve got a structured, attractive support that guides climbing stems upward in a way that looks intentional rather than chaotic. These trellis frames can stand on their own with stakes driven into the ground, or go straight onto the wall with heavy-duty outdoor fixings that spread the load once the plants get established and heavy.
Arrange several trellis frames together at different heights and angles and you end up with something genuinely architectural — a feature that works as a privacy screen, a windbreak, and a flowering display all at once. Mixing frames of different sizes, shapes, and finishes keeps it from looking too uniform or constructed. And once the climbing plants really get going and start spilling beyond the edges of the frames, the whole thing softens into something that feels more grown than built — which is really the best possible outcome in a garden.
- Select frames with robust construction to support the weight of wire mesh, soil, and established plant root systems.
- Use galvanized wire or coated mesh when fitting frames with trellis inserts to prevent rust and corrosion over time.
- Anchor freestanding trellis frames securely with ground stakes or a weighted base to withstand wind pressure.
- Choose climbing plants appropriate to your local climate and the available light conditions in the installation area.
- Train young climbing stems through the trellis framework early in the season to establish the growth pattern you want.
Weatherproofing, Maintenance, and Seasonal Care
The honest truth about garden frames is that how long they last comes down almost entirely to how well you prep them at the start and how consistently you keep an eye on them afterward. For wooden frames, proper preparation means sanding everything smooth, putting on a good wood primer, and finishing with at least two coats of exterior-grade paint or varnish. Don’t rush through the joints and corners — those are the spots where moisture gets in first, and once it does, things go downhill quickly. Frames with carved detail need a bit of extra patience to make sure the sealant reaches into every groove without clogging the design.
Even with solid preparation, you’ll need to check in on your frames from time to time. The start of each season is a natural moment to do a quick inspection — look for peeling paint, surface rust, cracked wood, or joints that have started to work loose. Catching these things early means a light sand and a touch-up coat is all you need; leave them too long and you’re looking at more serious repairs. Metal frames benefit from a thin coat of automotive wax or clear lacquer spray each year, which slows oxidation and keeps the surface looking clean without much effort.
Seasonal transitions need a bit of planning too. In areas with hard frosts, anything porous — terracotta pots, unglazed ceramic accessories used alongside your frames — should come indoors before the freeze-thaw cycle starts cracking things. Living frames with frost-tender succulents or tropical plants may need to move to a sheltered spot or a heated greenhouse for the winter, while frames planted with hardy perennials or evergreens can generally stay put. And after any spell of heavy wind or driving rain, it’s worth taking a few minutes to check that wall anchors and hanging fixings are still holding firm — especially for larger, heavier installations where a failure could do real damage.
Styling Tips for a Cohesive and Beautiful Finish
Getting individual frames right is one thing, but what really elevates the whole thing is having a clear overall vision that ties everything together. Colour coordination is one of the easiest and most effective ways to do that. Pick a consistent palette for your frames — chalky whites and soft greys for a coastal or Scandinavian-inspired feel, say, or deep forest green, navy, and burgundy for something more dramatic and opulent — and immediately the whole display looks considered rather than collected. Even better, pull colours directly from the plants already growing in your garden so the frames feel like they belong there rather than being dropped in from outside.
Scale and proportion are worth thinking through carefully too. Mixing frames of very different sizes can look spectacular when it’s done with intention — a gallery-wall effect that’s dynamic and full of life. But frames that are too small for their surroundings tend to disappear, while frames that are too large can overwhelm a modest planting area or courtyard. A helpful rule of thumb: match the visual weight of the frame to the visual weight of what’s around it. A generous herbaceous border can carry a large statement frame as a focal point. A small courtyard planting is better served by something medium-scale that complements the plants rather than competing with them.
Texture is the third piece of the puzzle, and it’s one that’s easy to underestimate. Putting frames with different surface finishes together — a smooth painted one next to a rough-hewn distressed one, or a sleek metal frame beside a heavily moulded gilded piece — creates variety and tactile interest that stops the display from looking flat. The materials already in your garden — stone walls, timber decking, brick paths, gravel — give you a rich textural backdrop that your frames should respond to and work with. When colour, scale, texture, and plant material are all pulling in the same direction, picture frames stop being decorative novelties and become something much more: a genuine expression of a garden that’s been thought about, cared for, and made entirely your own.








What do you think?
It is nice to know your opinion. Leave a comment.