










Cinder Blocks and Wood: How to Build a Stunning DIY Bookshelf That Looks Like It Cost a Fortune
The Rise of Industrial DIY: Why Cinder Block Shelving Is Having a Major Moment
There’s something genuinely satisfying about walking into a room, spotting a beautiful floor-to-ceiling storage wall, and then finding out it cost almost nothing to build. That’s the exact magic behind cinder block and wood bookshelves — one of the most-shared DIY projects floating around social media right now. What started as a scrappy college dorm solution has quietly grown into a real interior design trend that homeowners, renters, and decorators are all getting behind.
The appeal makes total sense when you think about it. Cinder blocks — technically called concrete masonry units — are cheap, easy to find, and incredibly sturdy. Pair them with smooth wooden planks, whether pine, oak, or plywood, and you get this really compelling contrast of textures that looks deliberate and sophisticated rather than thrown together. The raw weight of the concrete alongside the warmth of the wood hits that industrial-meets-organic sweet spot that interior designers typically charge a lot of money to recreate. Doing it yourself for hardware store prices makes it even better.
Social media has a lot to do with how popular this build has become. Before-and-after posts and reels regularly pull tens of thousands of views because the transformation is just so striking — a pile of grey blocks and a few boards turns into a custom storage wall in a single afternoon. It’s the kind of thing that makes people stop scrolling and think, “wait, I could actually do that.” The project tagged by Cian Grove, with over 61,000 views and 504 reactions, is a great example of how much excitement a deceptively simple idea can generate.
Understanding Your Materials: Cinder Blocks, Wood Types, and What to Buy
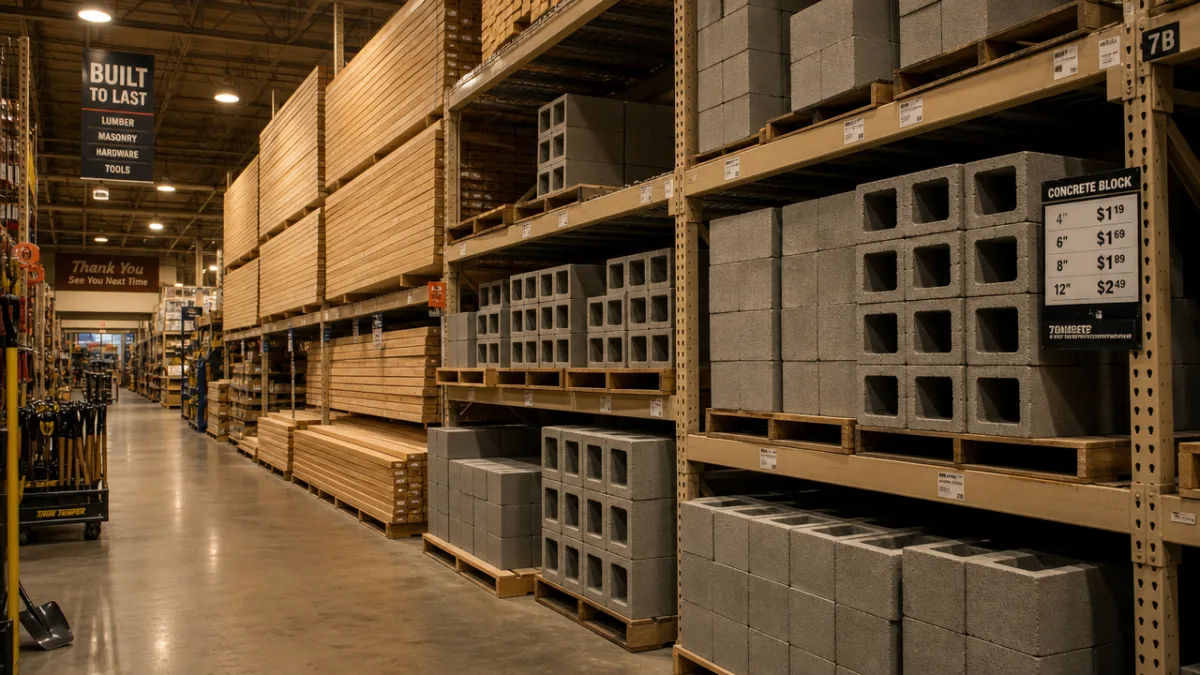
Before you make the trip to the hardware store, it’s worth taking a few minutes to understand what you’re working with — it’ll help you make smarter choices that affect both how the finished shelf looks and how long it holds up. Standard cinder blocks are typically 8 by 8 by 16 inches and are your most affordable option. Half blocks, which come in at 8 by 8 by 8 inches, are really handy for adjusting shelf heights or finishing off a column at a different level. If you want something a bit more polished, decorative concrete blocks with open patterns or smoother finishes are out there too.
On the wood side, you’ve got a lot of options at different price points. Whitewood or common pine from the lumber aisle is the most budget-friendly choice and takes paint or stain really well. If you want more visible grain and a richer look, oak or poplar are worth the extra spend. A lot of builders also swear by smooth plywood cut to width — it’s stable, gives you a clean modern edge, and is usually very affordable. For shelf depth, somewhere between 10 and 12 inches tends to work nicely with cinder blocks and fits most books, plants, and decorative objects without looking awkward.
Here’s a general materials list to help you plan your shopping trip:
- Standard cinder blocks (quantity depends on unit width and number of shelves)
- Half cinder blocks for varying shelf heights
- Wooden boards cut to your desired shelf length, 10–12 inches wide
- Sandpaper (120-grit and 220-grit) for finishing wood edges
- Wood stain, paint, or sealant in your chosen finish
- Concrete paint or sealant if you want to change the block color
- A level to ensure everything stays straight during assembly
- Furniture pads or felt feet to protect your floor from the block bases
- Optional: wall anchors or L-brackets if mounting to a wall for added safety
One thing to keep in mind before you start buying: these blocks are heavy. A single standard block typically weighs somewhere between 26 and 33 pounds, and a full shelving wall can add up to several hundred pounds in a hurry. That’s usually fine in most homes, but if you’re in an apartment or an older place with wooden subfloors, it’s worth thinking through the scale of your build before you commit.
Planning Your Layout: Measuring, Designing, and Visualizing the Final Look
The biggest mistake people make with this project is skipping the planning stage and just stacking blocks until something looks right. You can technically pull it off that way, but you’ll almost always end up with something slightly off-center, unevenly spaced, or just not quite right for the wall it’s on. Even spending thirty minutes sketching out a rough plan — or plugging your dimensions into a free online room planner — will save you a lot of frustration and heavy lifting later. Measure your wall carefully and note any baseboards, outlets, switches, or vents that might get in the way.
Think about what’s actually going on those shelves, because that should drive how much height you leave between levels. A standard paperback is around 7 inches tall, so a 9 to 10 inch gap works well for novels and smaller books. If you’re planning to store large art books, vinyl records, or any kind of audio equipment, you’ll need noticeably more clearance. Mixing single-height blocks (8 inches) with double-stacked ones (16 inches) gives you the flexibility to build a more dynamic layout rather than a rigid, uniform grid.
It’s also worth deciding early on whether you want a symmetrical or asymmetrical design. A perfectly symmetrical unit — every column the same height, every shelf at the same level — looks clean and structured. An asymmetrical layout, where some columns are taller and some sections are left more open for artwork or larger objects, tends to feel more relaxed and contemporary. A lot of the most visually interesting versions of this build use a staggered approach that creates rhythm and gives the eye somewhere interesting to travel across the wall.
Step-by-Step Build Process: Assembling Your Cinder Block Bookshelf
Once your plan is set and your materials are home, the actual build is refreshingly simple. Start by clearing your wall space completely and giving the floor a good clean. If you’re working on hardwood or tile, stick adhesive felt pads to the bottoms of your base blocks before anything else — this protects the floor and makes it easier to nudge things into position without dragging concrete across your surfaces. Set down your first row of blocks and check them with a level. Even a slight tilt at the base will compound into a noticeable lean by the time you’re stacking the upper shelves.
Lay your first wooden board across the base blocks, centered and even. Check that it’s level too — if your floor has any unevenness, a thin piece of cardboard or a furniture leveling pad under a block can sort that out quickly. Place the next course of blocks on top of the board, positioning them so the weight sits evenly across the plank. Keep alternating boards and blocks until you hit your target height. In most cases you don’t need any glue or fasteners between layers — the sheer weight of the blocks keeps everything stable. That said, if you have young kids around or the unit is somewhere that sees a lot of vibration, a simple L-bracket at the top securing it to the wall is a sensible precaution.
Here’s a quick summary of the assembly sequence:
- Clean the floor area and apply felt pads to base blocks.
- Position the first row of blocks and level them carefully.
- Lay the first wooden shelf board across the blocks, checking for level.
- Stack the next course of blocks on top of the board, centered over the wood.
- Repeat the alternating pattern of boards and blocks to your desired height.
- Step back periodically to check alignment and visual balance.
- Secure the top of the unit to the wall with an L-bracket if needed for safety.
- Style and decorate the finished shelves with books, plants, and objects.
One tip that’s really worth following: do all your wood finishing — sanding, staining, painting — before assembly, not after. Working on flat boards laid out on sawhorses or a tarp is so much easier than trying to apply stain neatly to shelves that are already sandwiched between heavy blocks. Give the boards at least two coats of whatever finish you’re using and let them cure fully before you start stacking. Depending on the product and how humid your space is, that usually means waiting 24 to 48 hours.
Finishing Touches: Styling, Painting, and Making It Look Intentional
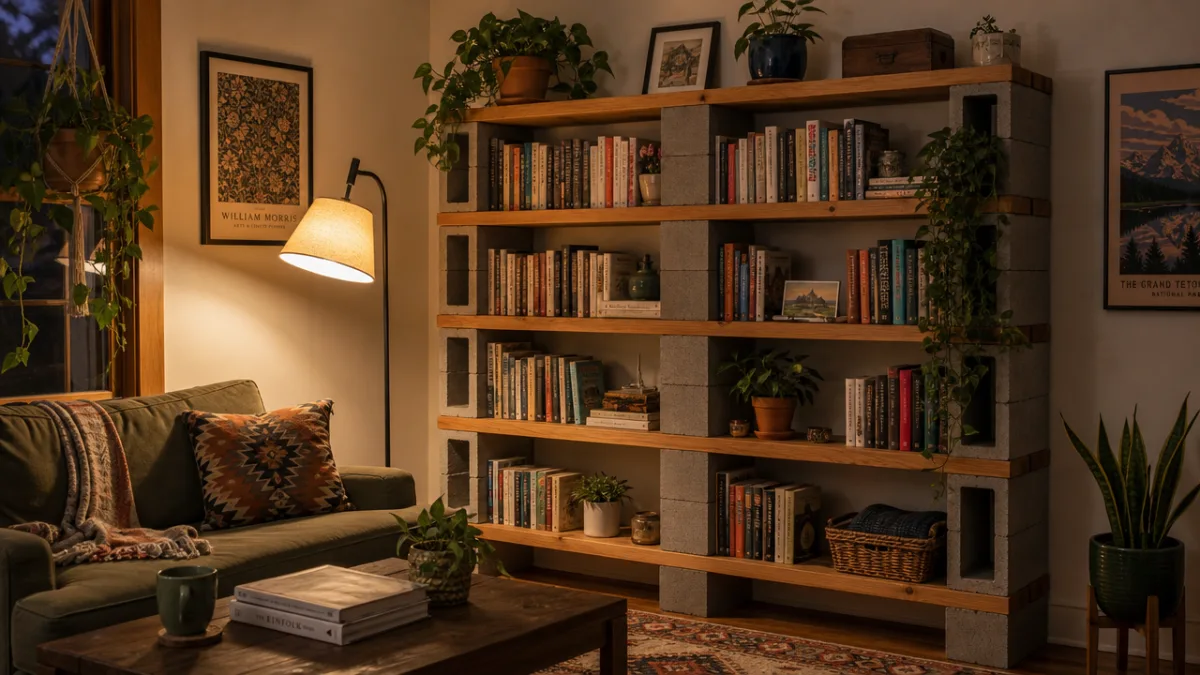
The difference between a cinder block shelf that looks like a last-minute hack and one that looks like a deliberate design choice usually comes down to the finishing and styling decisions. Paint is one of the most powerful tools you have here. Raw grey blocks have a certain industrial charm, but painting them can completely change the personality of the unit. Crisp white makes the whole thing feel airy and Scandinavian. Charcoal or black creates a dramatic, anchoring statement piece. Terracotta or dusty sage softens everything and gives it a more earthy, organic feel. Whatever direction you go, use a concrete-specific primer first so the paint actually bonds and lasts.
Your wood finish should work with the block color, not against it. If the blocks are white or light grey, warm wood tones like honey oak or walnut look really nice against them. If the blocks are darker, a lighter wood finish or even white-painted boards can keep things from feeling too heavy. Think about the finish type too — a matte stain feels casual and natural, while a semi-gloss polyurethane looks more polished and is genuinely easier to wipe down, which matters if the shelves are near a kitchen or anywhere a bit messy.
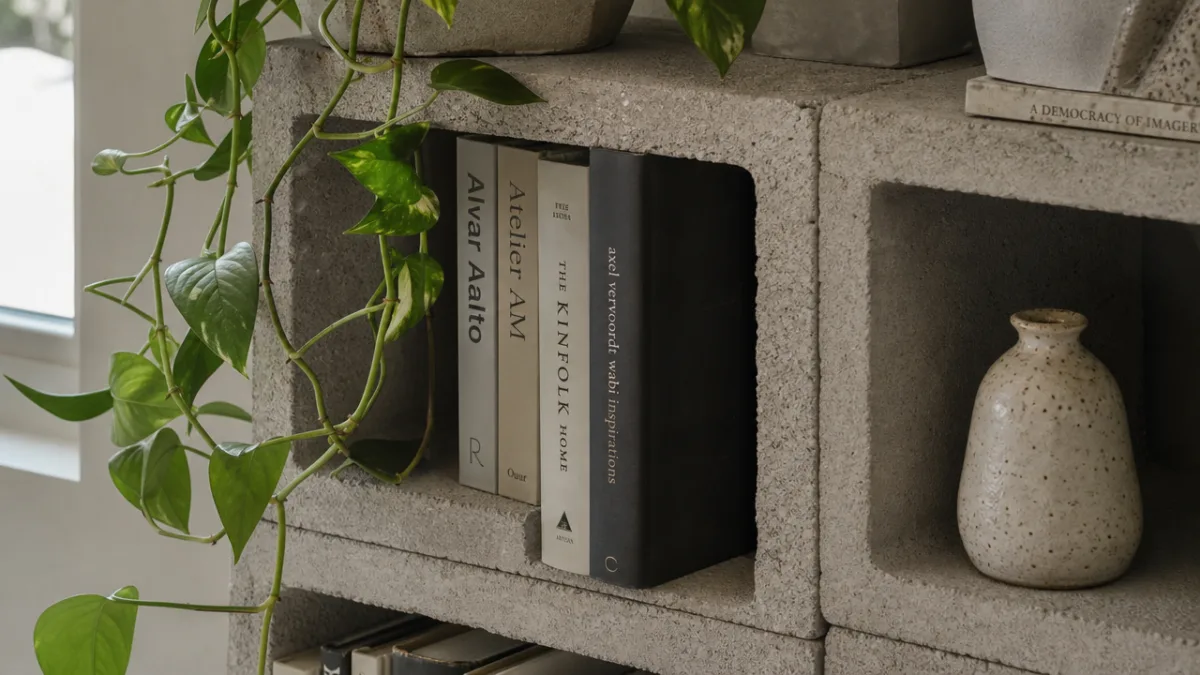
Styling the shelves is where your personality gets to come through, but a few simple principles help keep things looking intentional rather than just full. Group books by color or size to bring some visual order. Mix upright stacks with horizontal ones for variety. Add some plants — a trailing pothos, a compact snake plant, a handful of small succulents — to bring in life and softness. And leave some breathing room between objects. Packing every inch tends to make things look cluttered; a little negative space is what lets the eye actually appreciate what’s there. One well-chosen object — a piece of art, a sculptural vase, something meaningful — placed deliberately in one section can pull the whole composition together.
Cost Breakdown and Why This Build Beats Buying Retail
It helps to look at the real numbers here. A comparable designer bookshelf — same footprint, similar materials, that custom wall-filling presence — from a high-end furniture retailer can easily run anywhere from $800 to $3,000 or more. Even the more affordable flat-pack options rarely come in under $300 to $400 for a full wall unit, and those usually involve a lot of assembly time and don’t give you much flexibility in sizing or configuration.
The cinder block and wood version, on the other hand, can typically be done for well under $150 in materials for a standard six-foot-wide, six-foot-tall unit — sometimes quite a bit less if you shop around. Individual blocks usually run between $1.50 and $3.00 each at most home improvement stores. An 8-foot pine board wide enough for shelving typically costs between $8 and $20 depending on species and quality. Even after you factor in paint, sandpaper, stain, and any hardware, the total for a full wall of shelving rarely climbs above $100 to $200. The savings compared to buying retail are pretty hard to ignore.
Beyond the money, there’s a customization advantage that no store-bought product can come close to matching. You control the exact width, height, shelf spacing, wood species, finish color, block color, and overall layout. You can make it fit perfectly into a narrow alcove, run it across an entire living room wall, or keep it compact for a bedroom corner. It also scales naturally over time — if you want more shelves down the road, you just buy a few more blocks and boards and keep going. That kind of flexibility is genuinely rare in furniture, and it’s one of the most compelling reasons to build this rather than buy something similar.
Renter-Friendly Adaptations and Small-Space Variations
A lot of people wonder whether this build works if you’re renting, and the answer is pretty much yes. Since the unit is completely freestanding and held together by gravity rather than wall anchors, it leaves zero damage behind when you take it apart. You can disassemble the whole thing in under an hour, move the blocks and boards out in a few trips, and leave your apartment exactly as you found it. That makes it one of the more genuinely renter-friendly storage solutions out there, which explains a big part of why it’s so popular with people in apartments or anyone who moves around a lot.
For smaller spaces, scale is the main thing to think about. A wall-to-wall unit might not be realistic in a studio or compact bedroom, but a narrower, taller version — two or three columns of blocks — can work beautifully as a standalone shelving tower. Half blocks let you keep the height lower without sacrificing too many shelves, which is ideal in rooms with low ceilings or anywhere you want the shelving to feel proportionate rather than imposing. Some people also use this technique to build room dividers — a freestanding unit that faces both directions and acts as an open partition between a living area and a sleeping space.
There are also some really fun variations on the basic idea worth exploring. Some builders spray-paint their blocks in bold accent colors to turn the shelving into a focal point rather than a backdrop. Others use reclaimed wood — old pallet boards, salvaged barn wood — to add character and a bit of history to the materials. Glass blocks offer an interesting twist, letting light pass through the structure and giving the whole thing a more translucent, contemporary quality. The core principle stays the same regardless of what you use: alternating horizontal boards with vertical supports. That simplicity is exactly what makes this project so adaptable to different styles, budgets, and spaces.








What do you think?
It is nice to know your opinion. Leave a comment.