










Make Christmas Soy Wax Candles That Smell Like the Holidays
Why Soy Wax Is the Perfect Choice for Holiday Candles
If you want your handmade Christmas candles to actually smell amazing and burn beautifully, soy wax is where you want to start. Paraffin wax — the kind used in most cheap candles — comes from petroleum and produces that annoying black soot you’ve probably noticed on the inside of candle jars. Soy wax, on the other hand, is made from hydrogenated soybean oil, so it burns cleaner, lasts longer, and fills your home with fragrance without leaving a film of gunk on everything nearby. It’s a genuinely better product, and once you start using it, you won’t want to go back.
Soy wax also has a lower melting point than paraffin, which gives it that soft, creamy look that makes finished candles so pretty. It’s also much more forgiving to work with, especially if you’re newer to candle making. The wax melts at a friendlier temperature, so the risk of burning yourself during pouring is lower, and it adheres well to glass containers — which means fewer of those frustrating sinkholes and air pockets that can ruin an otherwise perfect candle. Around the holidays, when your candles are going to be sitting out as décor or wrapped up as gifts, that kind of smooth, professional finish really matters.
Here’s another thing that makes soy wax so great for Christmas candles specifically: it holds fragrance really well. You’ll get a strong scent throw both when the candle is burning and when it’s just sitting on the shelf — candle makers call that second one the “cold throw,” and it’s honestly what makes a home feel instantly welcoming when guests walk in the door. Good soy wax makes everything about your finished candle better, from how it looks to how long it lasts to how good it smells. It’s worth spending a little extra to get a quality batch.
Gathering Your Supplies and Setting Up Your Workspace
Before you start melting anything, get everything together and set up your space first — it makes the whole process so much more relaxed and actually enjoyable. You’ll need soy wax flakes, cotton or wood wicks, wick holders or clothespins, glass jars or tins, a double boiler or pouring pitcher, a thermometer, fragrance oils or essential oils, candle dye chips if you want color, and a stirring utensil that you keep just for candle making. Having everything within arm’s reach before you begin means you’re not scrambling around mid-pour trying to find your thermometer while hot wax sits waiting.
Setting up your workspace well is just as important as having the right supplies. Lay down newspaper or an old tablecloth, because soy wax is surprisingly stubborn once it hardens on a countertop or gets into fabric. Keep paper towels close by, and use a dedicated pitcher or old pot that you won’t mind permanently committing to wax duty — fragrance oil and dye tend to linger even after a good wash. Ventilation matters too, especially when you’re working with fragrance oils, so crack a window or switch on the kitchen fan and you’ll be much more comfortable throughout the whole session.
Choosing your containers is honestly one of the most fun parts of making Christmas candles. Clear glass mason jars let the warm flicker of the flame show through beautifully, while vintage amber glass gives everything a cozy, old-fashioned glow. Holiday-themed tins are practical and look great under a tree, and small ceramic crocks add a nice rustic touch. Whatever you land on, just make sure the containers are clean, completely dry, and free of any chips or cracks — a crack in glass plus hot wax is not a combination you want. You can also warm your containers slightly in a low oven beforehand, which helps the wax stick evenly and prevents lumpy surfaces.
Choosing the Best Christmas Fragrance Combinations
The scent is really the whole point of a Christmas candle, isn’t it? The right fragrance combination can take you straight back to Christmas morning, or make your kitchen smell like someone’s been baking since dawn. When you’re shopping for fragrance oils, look for ones that are specifically formulated for soy wax — not all fragrance oils work the same way across different wax types. You also want a fragrance oil with a high flash point, which means it’ll bind better to the wax and give you a stronger, more consistent scent that holds up throughout the life of the candle.
Some of the most classic Christmas scents lean into warm spices — cinnamon, clove, nutmeg — the kind of thing that immediately makes you think of mulled wine or a tray of fresh cookies. Evergreen notes like balsam fir, cedar, and pine bring in that fresh, just-cut-tree feeling that’s hard to beat. Then there are the sweeter options: vanilla, brown sugar, caramelized apple — rich and comforting in a way that feels like a warm blanket on a cold night. Don’t be shy about mixing two or three complementary oils together, either. Creating your own signature Christmas blend is genuinely one of the most satisfying parts of this whole process.
Here are some winning fragrance blend ideas to inspire your holiday candle collection:
- Winter Wonderland: A blend of white cedar, fresh snow accord, and a whisper of eucalyptus for a crisp, clean holiday feel.
- Fireside Christmas: Combine smoky sandalwood, warm amber, and a touch of cinnamon bark for a rich, cozy evening atmosphere.
- Spiced Orange Grove: Bright sweet orange, clove bud, and a hint of ginger create a cheerful and energizing holiday kitchen scent.
- Classic Christmas Tree: Balsam fir, spruce needle, and a base note of warm vanilla mimic a freshly decorated evergreen perfectly.
- Sugar Cookie Warmth: Blend vanilla bean, brown butter, and a touch of cardamom for a bakery-inspired holiday candle that feels like a hug.
As for how much fragrance oil to add, the general rule of thumb is six to ten percent fragrance load by weight. So for every 100 grams of soy wax, you’re working with six to ten grams of fragrance oil. Starting around eight percent is a solid middle ground — strong enough to really fill a room, but not so much that the oil starts seeping out of the wax (that’s called fragrance pooling, and it’s as unpleasant as it sounds). Always use a digital kitchen scale to weigh your fragrance oil rather than trying to measure by volume. It takes about thirty extra seconds and makes a huge difference in consistency.
Step-by-Step Instructions for Making Your Holiday Candles
Alright, your workspace is ready and your fragrances are lined up — time to actually make some candles. Start by measuring out the right amount of soy wax flakes for your containers. A handy trick: fill your container with water, pour it into a measuring cup, and use that volume as your guide for how much wax you’ll need in fluid ounces. Add a little extra on top of that estimate, because soy wax often sinks slightly in the center as it cools and you’ll likely want to do a small second pour to fill that in. Getting your quantities right upfront saves a lot of hassle later.
Melt your soy wax flakes using a double boiler — that just means setting a pouring pitcher inside a pot of simmering water and letting the wax melt slowly and evenly. Please don’t melt wax directly on an open flame or leave it unsupervised in a microwave, because wax is flammable and temperatures can spike fast. Keep your thermometer in the wax and aim to bring it up to around 170–180°F. Once it’s fully melted and clear, pull it off the heat and let it cool a bit before you add your fragrance and any dye. The sweet spot for adding those and then pouring is around 135–145°F for soy wax.
While the wax is cooling down, go ahead and set up your containers. Dip the little metal tab at the bottom of each wick in a drop of melted wax and press it firmly to the center of the jar, holding it for about thirty seconds until it sticks. Then use a wick holder, a pair of chopsticks, or honestly just a clothespin balanced across the rim of the jar to keep the wick standing straight and centered. It sounds fussy, but a wick that shifts off-center will cause your candle to burn unevenly, so it’s absolutely worth taking an extra minute to get it right.
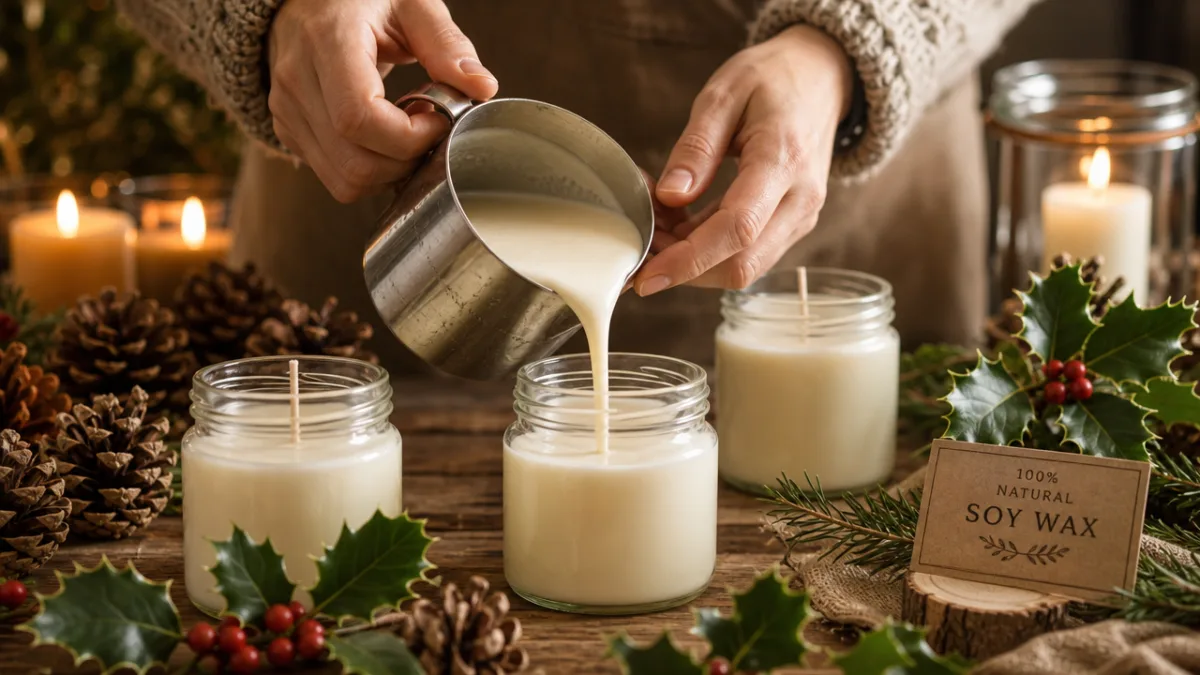
Once your wax hits that target pouring temperature, stir in your fragrance oil and keep stirring for a solid two minutes — you really want it fully incorporated, not just swirled in. If you’re adding dye, drop in a small piece of dye chip now and stir until it’s completely dissolved, adding more until you hit the color you’re going for. Deep red, forest green, warm gold, and creamy ivory are all beautiful choices for Christmas candles. Then pour your wax slowly and steadily into each container, staying close to the surface to cut down on bubbles, and fill each jar just below the rim.
Curing, Trimming, and Finishing Your Christmas Candles
Here’s the step most people want to skip, and really shouldn’t: curing. Curing is the time it takes for the fragrance oil to fully bond with the soy wax at a molecular level, and it has a dramatic impact on how strong and how good your candle actually smells when you burn it. Technically you need a minimum of 48 hours, but if you can leave your candles to cure for a full week, the scent throw will be noticeably better. Cover them loosely with a cloth or paper towel to keep dust off, set them somewhere at room temperature away from any drafts, and just let them do their thing.
You might notice a white, powdery film on the surface of your candles once they’ve set — that’s called frosting, and it’s totally normal with soy wax. It happens because of the natural crystalline structure of vegetable-based wax, and it doesn’t affect the scent or burn performance at all. If it bothers you aesthetically, you can do a second top pour at a slightly lower temperature to get a cleaner surface. Or you can just leave it — a lot of people actually love the frosted look as a sign that the candle is genuinely natural and handmade. It’s kind of a little proof that you made the real thing.
Before you send your candles out into the world — or just light one yourself — trim that wick. Before the very first burn and before every burn after that, trim it down to about a quarter of an inch (roughly six millimeters) above the wax surface. A wick that’s too long creates a big, messy flame that produces soot, eats through your wax way too fast, and can actually be a fire hazard. A properly trimmed wick gives you a clean, steady flame that burns evenly, keeps your jar looking nice, and extends the life of the candle. It takes about five seconds and it makes a real difference.
Packaging and Gifting Your Homemade Holiday Candles
A homemade candle is already a lovely gift, but the right packaging takes it from “oh, how sweet” to something that genuinely feels special and considered. Think layers of tissue paper in seasonal colors tucked into a small kraft paper box, or a decorative tin with a ribbon tied around it in deep red, forest green, or gold. You don’t need to do anything elaborate — a little ribbon and some nice tissue goes a long way toward making a handmade gift feel luxurious rather than just homespun.
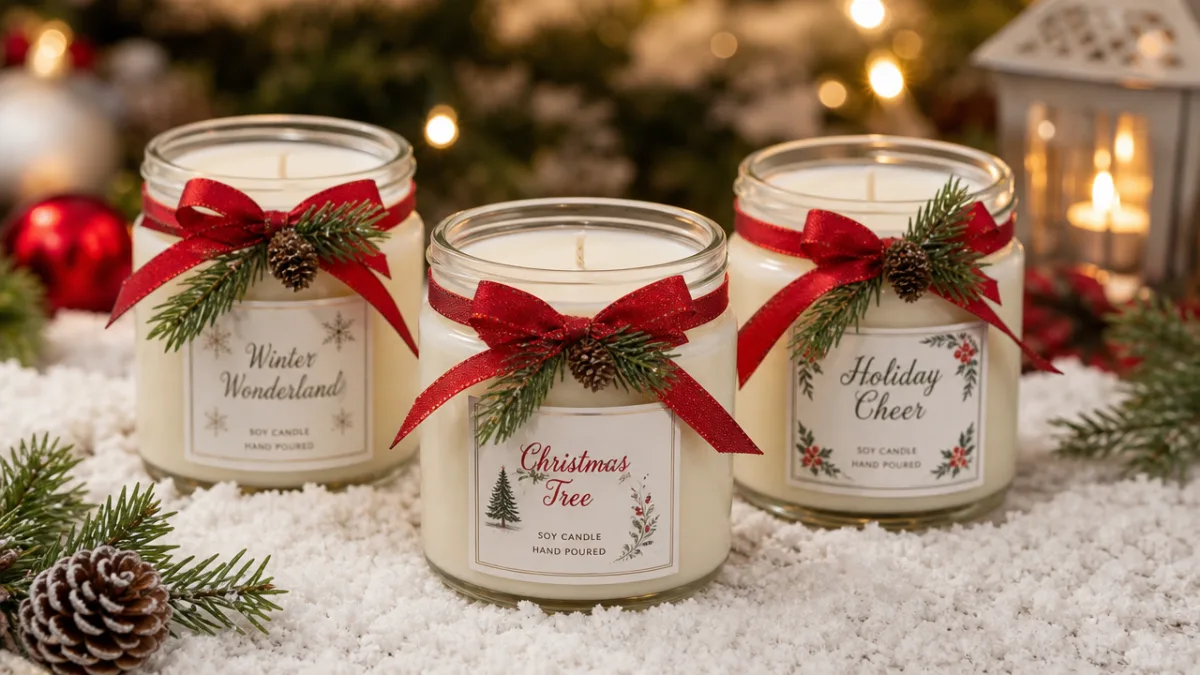
Custom labels are a really nice touch if you want to go one step further. You can design something simple using free tools online and print them at home — include the fragrance name, the pour date, an estimated burn time, and basic safety info like wick trimming reminders and fire safety notes. A short personal holiday message on the back of the label, or even just a small handwritten card tucked inside, turns a beautiful product into something genuinely meaningful. Those are the details people remember. Long after the wax is gone, they’ll remember that you made it for them and took the time to make it feel special.
If you’re making candles in bigger batches for multiple gifts or for selling at a holiday market, working in organized stages will keep you sane and your results consistent. Consider these practical tips for batch production:
- Prepare and label all containers before you begin melting any wax, securing wicks in every jar in one continuous session.
- Melt wax in large batches, dividing it into separate pouring pitchers for each different fragrance or color combination.
- Pour all candles of one fragrance before cleaning your pitcher and moving to the next scent, minimizing equipment washing time.
- Allow all candles to cure on a flat, stable shelf where they will not be disturbed, labeling each batch with the fragrance name and pour date.
- Package your candles in assembly-line style once they are fully cured, completing all labels, wrapping, and ribbons in one dedicated packaging session.
Making Christmas soy wax candles is one of those crafts that really pays off the more care you put into it. Whether you’re filling your own home with the scents of the season, checking names off your gift list, or turning a hobby into a little holiday side business, the process is genuinely rewarding from start to finish. There’s something that just feels right about lighting a candle you made yourself on a cold December evening and watching it throw that warm, golden glow across a room full of holiday decorations. This year, give something that came from your own hands — light, warmth, and a scent that makes people feel exactly like Christmas.








What do you think?
It is nice to know your opinion. Leave a comment.