










Planting Clematis: Get to Know the Queen of the Vines
Introduction to Clematis: Why This Vine Earns Its Royal Title
There are climbing plants, and then there’s clematis. With its sweeping cascades of flowers, endlessly varied bloom shapes, and talent for turning an ordinary fence or trellis into something genuinely breathtaking, it’s easy to see why gardeners the world over have crowned it “Queen of the Vines.” The color range alone is staggering — palest lavender to deepest purple, snow white to rich crimson — which means there’s almost always a variety that will fit right into whatever you’ve got going on in your garden.
The genus is huge — over 300 species and thousands of cultivars — so whether you’re after giant dinner-plate blooms or dainty nodding bells, you’re almost certainly going to find one that stops you in your tracks. Some varieties stay compact enough for a patio container, while others will happily climb thirty feet and swallow a whole pergola whole. That range is a big part of why clematis appeals to everyone from first-time gardeners to seasoned plant obsessives.
It’s a practical plant too, not just a pretty one. Clematis can soften hard architectural lines, hide an ugly fence, bring some vertical life to a flat border, or weave a thread of color through a rose arbor. Paired well with other plants, it creates layered, ever-changing scenes that look different every month. Once you know how to plant and care for it, the sky — or at least the top of your garden wall — really is the limit.
Choosing the Right Clematis for Your Garden
Before you pick up a trowel, the single most important decision you’ll make is choosing the right variety for where you live and what you want. Clematis are generally split into three pruning groups, which also give you a rough sense of when they flower and how vigorously they grow. Group 1 blooms in early spring on old wood, Group 2 produces its big showy flowers on both old and new wood in late spring and early summer, and Group 3 flowers on new wood in late summer and autumn. Knowing which group your plant belongs to will shape pretty much everything about how you look after it.
When you’re choosing, think about where the plant will actually be growing. South- and west-facing spots tend to be sunny and warm, which suits a lot of the large-flowered hybrids perfectly. North-facing walls, which gardeners often write off as hopeless, are actually brilliant for certain varieties — the vigorous white Clematis montana and the delicate alpine clematis both handle shade with no complaints at all. East-facing spots sit somewhere in between, offering gentle morning sun without the intense heat of a western afternoon.
It’s also worth thinking about color and timing — specifically, when do you most want your garden to look good? With a bit of planning, clematis can give you something to look at from late winter, when Clematis cirrhosa opens its creamy freckled bells, right through to late autumn, when the fluffy seed heads of Clematis tangutica glow in the low golden light. Mix early and late bloomers, or pair a large-flowered hybrid with a viticella type, and you’ll have a display that keeps evolving all year long.
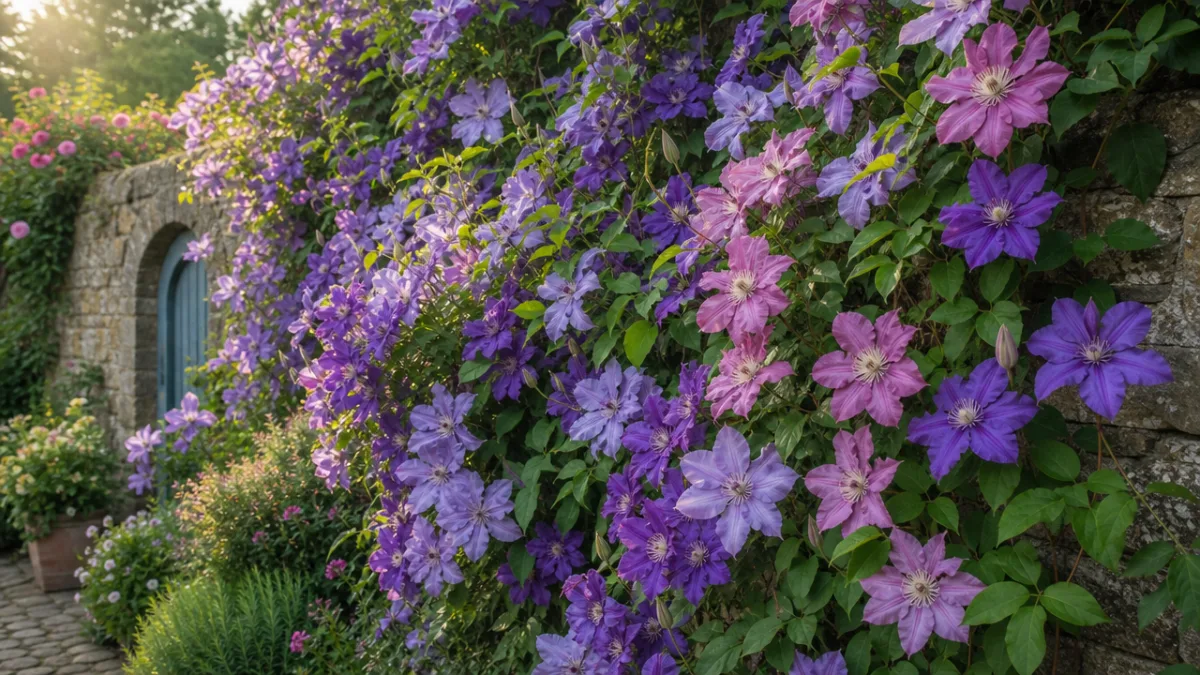
Understanding Soil Preparation and Planting Location
Clematis does have a reputation for being a bit fussy about where it’s planted, but once you get your head around what it actually needs, it’s not complicated at all. The old saying is to keep its roots cool and its head in the sun, and that really does sum it up nicely. The top of the plant loves warmth and light, but the roots need to stay cool, moist, and sheltered from the drying effects of direct sun and wind.
Soil prep is one of those steps where it genuinely pays to take your time, because a clematis planted into well-prepared ground will reward you for decades. Dig a generous hole — at least twice as wide and deep as the root ball, which for a typical container-grown plant usually means about eighteen inches in each direction. Clear out any stones, weeds, or compacted lumps, and break up the subsoil with a fork to help with drainage. Clematis really can’t stand sitting in waterlogged soil, and poor drainage is one of the quickest ways to lose a plant.
Mix plenty of well-rotted compost or manure back into the excavated soil before you refill the hole. If your soil is heavy clay, add some horticultural grit to help it drain; if it’s light and sandy, extra organic matter will help it hold onto moisture. A handful of slow-release granular fertilizer worked into the backfill gives your new plant a solid nutritional foundation to draw on during that first season when it’s finding its feet. The effort you put in at this stage genuinely compounds over time as the plant matures and settles in.
How to Plant Clematis Correctly: A Step-by-Step Approach
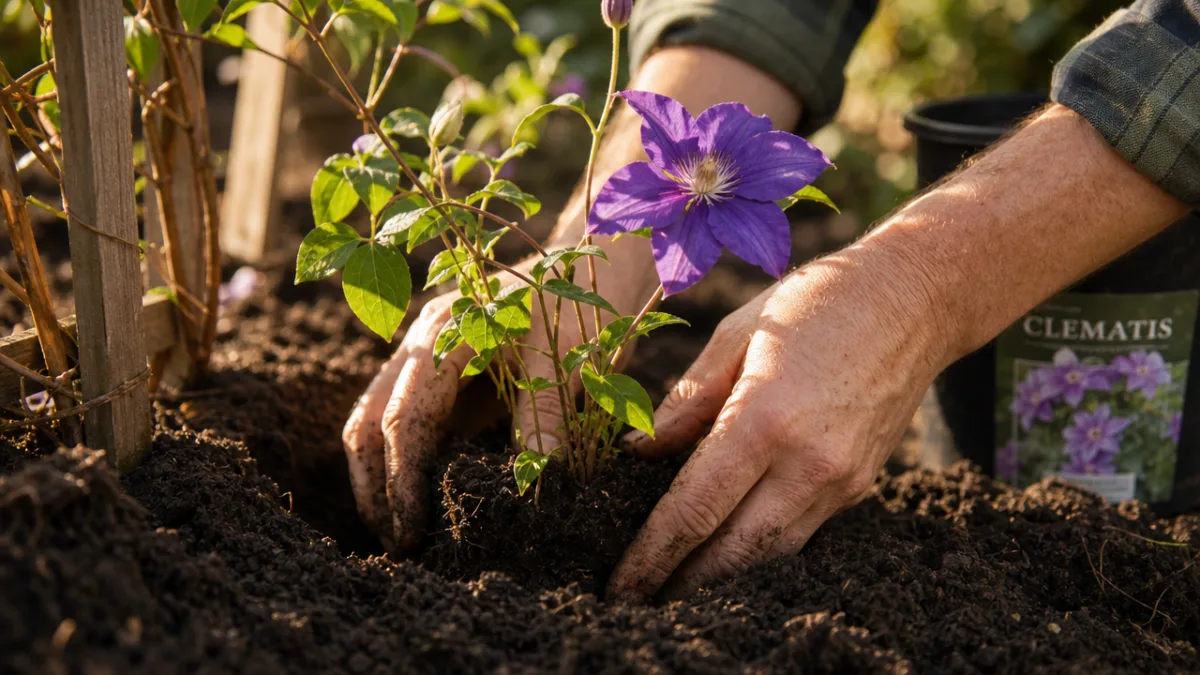
Here’s where clematis differs from most other garden plants: the crown — that’s the point where the stems meet the roots — should go two to three inches below the soil surface when you plant it. This isn’t a mistake; it’s deliberate. Planting deep protects against clematis wilt, a fungal disease that can cause young stems to collapse without warning. When the crown is buried, dormant buds below ground can push out fresh, healthy new growth the following season even if the plant gets hit hard above soil level.
Give the container a thorough watering before you take the plant out, so the root ball holds together and you don’t disturb the roots. Gently tease apart any roots that have been circling the bottom of the pot, encouraging them to spread outward rather than carry on spiraling. Lower the plant into the prepared hole at a slight angle toward your support structure so the stems are already heading in the right direction. Fill the hole back in carefully, firming the soil gently around the roots to get rid of any air pockets — but don’t pack it down so hard that you compromise the drainage you worked hard to create.
Once it’s in the ground, water generously and put down a good layer of mulch around the base, keeping it a few inches back from the stems to avoid rotting. Good mulching materials include:
- Well-rotted garden compost, which enriches the soil as it breaks down
- Bark chips, which are long-lasting and visually tidy
- Garden gravel or slate, which retains moisture while also keeping the root zone cool
- Spent mushroom compost, which is alkaline and particularly beneficial since clematis prefers a neutral to slightly alkaline pH
Tie the stems loosely to your support using soft garden twine or plant clips, being careful not to pinch the stems. At this stage, don’t just leave the plant to figure it out on its own. Taking a few minutes to weave the stems through a trellis or around a wire frame will train it into the right shape early on and help it cover its structure evenly and attractively as it takes off.
Watering, Feeding, and Ongoing Care Through the Seasons
Once a clematis is settled in, it’s a genuinely satisfying plant to look after — but that first season is really important. Water regularly and deeply, especially during dry spells, keeping the root zone consistently moist without ever letting it get soggy. A slow, thorough watering once or twice a week works much better than frequent shallow top-ups, which keep the roots hanging around near the surface instead of heading deeper into the soil where moisture is more reliable.
Feeding makes a real difference to how well clematis performs. From early spring when the new shoots start appearing, use a high-potassium liquid fertilizer — a tomato feed works perfectly — every two weeks throughout the growing season. Potassium nudges the plant toward flowering rather than producing masses of leafy growth, which is exactly what you’re after. Top that up with an annual layer of well-rotted organic matter around the base each spring, which gradually improves the soil and feeds the roots as it breaks down over the coming months.
Keep an eye out for the usual suspects through the growing season. Slugs and snails can do real damage to the tender new shoots in spring when the growth is at its most vulnerable. Aphids sometimes cluster on the soft shoot tips and, while they rarely seriously harm an established plant, a heavy infestation can slow things down and leave behind sticky residue that attracts sooty mold. Earwigs occasionally chew ragged holes in the petals of large-flowered varieties, which is annoying but not usually a big deal. Catching these issues early and dealing with them — whether you prefer organic or conventional methods — keeps them from getting out of hand.
Pruning Clematis: Understanding the Three Groups
Pruning is the part of clematis care that makes a lot of gardeners nervous, and fair enough — prune at the wrong time and you can easily sacrifice a whole year’s worth of flowers. But the system behind it is actually quite logical once the underlying principle clicks: you just need to know whether your variety flowers on growth it makes this year, or on growth it made last year. That’s really the key to everything, which is why it’s worth finding out your plant’s pruning group before you buy it.
Group 1 clematis — the early-flowering species like Clematis montana, Clematis alpina, and Clematis macropetala — need very little regular pruning. They bloom on old wood that ripened the previous summer, so if you want to cut them back, do it straight after flowering so the plant has the whole growing season to build up the new stems that will carry next year’s display. These are also generally the most vigorous of the three groups and can be left largely to their own devices for years, with the occasional tidy-up to keep them from escaping their allotted space.
Group 2 varieties — the big, showy large-flowered hybrids — just need a light tidy in late winter or very early spring. Take out any dead or damaged wood and cut the remaining stems back to the topmost pair of healthy, plump buds. You’ll get a first flush of flowers on the old wood, then a second often even better flush on the new growth that comes through summer. Group 3 clematis, which includes the viticella types and most late-flowering species, is the most straightforward of all: cut everything back to about twelve inches from the ground in late winter, and stand back. The plant will come storming back with strong new growth that will flower abundantly from midsummer onward.
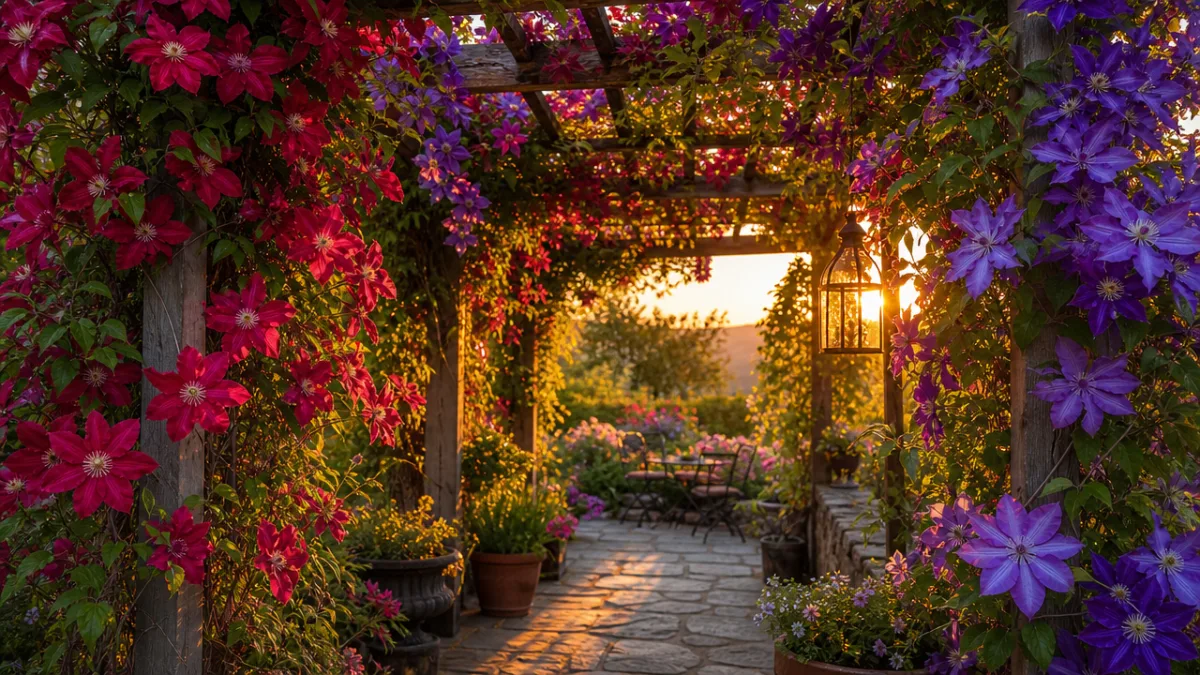
Companion Planting and Creative Uses for Clematis in the Garden
One of the real joys of growing clematis is discovering how well it plays with other plants. The classic combination with roses is a classic for good reason — they share similar growing needs, support each other physically and visually, and bloom in a sequence that stretches the season beautifully. A viticella clematis scrambling through a large shrub rose, its nodding purple bells mingling with the rose’s big blowsy pink blooms, creates exactly the kind of effortlessly romantic effect that can be genuinely hard to pull off with other plant combinations.
But the pairing possibilities go well beyond roses. Let a late-flowering Group 3 variety scramble through a large winter-flowering shrub like Viburnum farreri and it will pick up the slack through summer when the shrub has nothing to offer. Clematis can thread its way through ornamental trees, particularly open-canopied ones where light filters through, creating magical drifts of color well above the garden floor. Even a mature apple tree can become a spectacular host for a robust clematis cultivar.
And don’t feel limited to growing it upward. Clematis can sprawl horizontally across a bank, tumble over a retaining wall, or cascade from the top of a raised planter in a dramatic waterfall of bloom. Some of the smaller species — Clematis integrifolia and its hybrids in particular — are actually non-climbing varieties that work beautifully as herbaceous border plants, weaving between perennials with a relaxed informality that you wouldn’t necessarily expect from their genus. The versatility of clematis really is one of its best qualities, and it rewards gardeners who are willing to think outside the conventional trellis.
Clematis earns its place in a functional sense too, not just as a visual one. A vigorous variety trained along a boundary fence gives you privacy, softens hard lines, and creates wildlife habitat all at once. The flowers bring in bees and butterflies in real numbers, while the fluffy seed heads that follow add texture and interest well into autumn and winter, and make useful nesting material for small birds. When you think of clematis as both a beautiful and genuinely purposeful plant, it stops being just a garden ornament and becomes something much more worthwhile.








What do you think?
It is nice to know your opinion. Leave a comment.