










Crochet Butterfly Pattern: A Complete Guide to Creating Beautiful Winged Masterpieces
Introduction to Crochet Butterflies
Crochet butterflies might just be some of the most charming little motifs you can make in the fiber arts world. Whether you’ve been crocheting for years and want something fresh to try, or you’re newer to the craft and looking for a project that feels genuinely rewarding, butterfly patterns hit a sweet spot — they’re visually impressive without being impossibly complicated. These whimsical creatures have a way of transforming perfectly ordinary projects into something special, adding bursts of color, texture, and personality wherever they land.
Part of what makes crocheted butterflies so appealing is how adaptable they are. The same basic pattern can shrink down into a tiny jewelry charm or grow into a bold wall art centerpiece, just by changing your yarn weight and hook size. Their symmetrical wing structure is also genuinely good practice — working both sides of a motif evenly is one of those skills that quietly improves everything else you make.
And honestly? They’re just fun to make. There’s something deeply satisfying about watching a flat bit of yarn gradually take on the unmistakable shape of a butterfly — upper wings, lower wings, a little body, and those delicate antennae. A lot of crafters find that once they’ve made their first one, they can’t stop. Before long there are butterflies on the hats, the bags, the blankets, the throw pillows… you get the idea.
Materials and Tools You Will Need
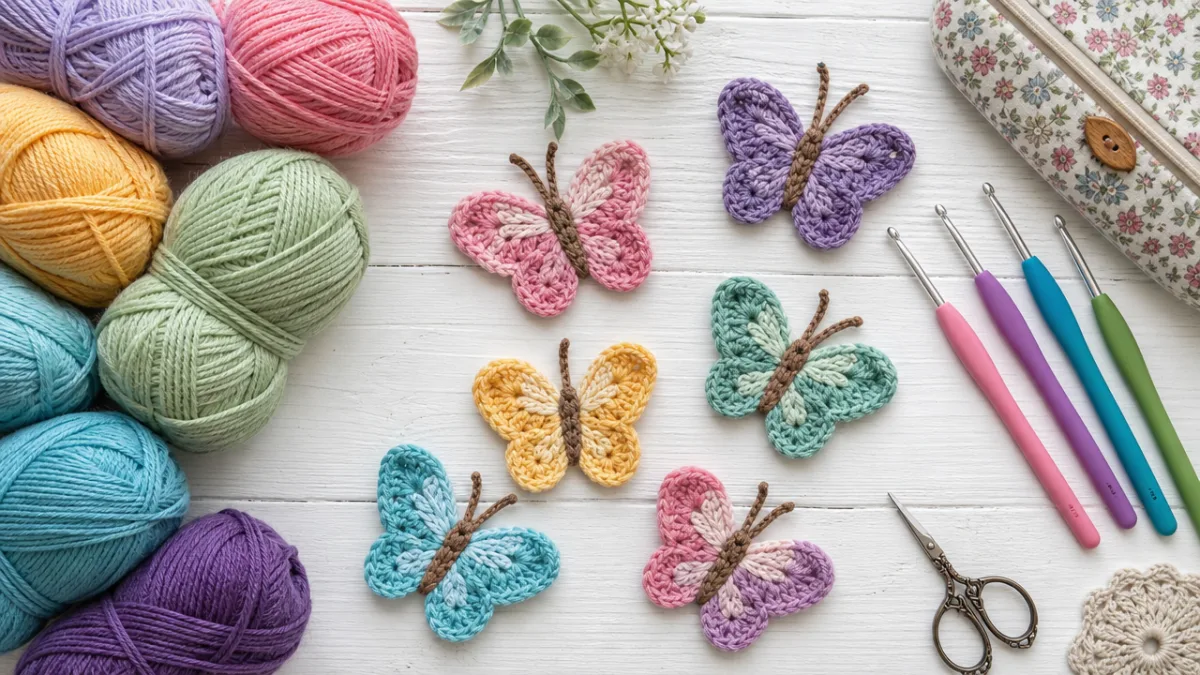
Getting your materials together before you start will make the whole process so much smoother. The good news is that butterflies are small projects, which means they don’t eat through much yarn at all — they’re actually one of the best ways to finally use up those little leftover skeins you’ve been hoarding. Choosing your colors thoughtfully is half the fun, whether you’re going for something realistic or delightfully fantastical.
For yarn, worsted weight is the most beginner-friendly choice. It’s easy to see your stitches, and the finished butterfly will have a nice, solid structure. That said, lighter weights like fingering or sport produce something altogether more delicate and lacy — perfect if you’re making butterflies for jewelry or hair accessories. One tip worth knowing: yarn with a slight sheen, like a cotton blend or mercerized cotton, gives butterfly wings a luminous quality that genuinely mimics the iridescent look of the real thing.
Before you cast on, make sure you’ve got all of these on hand:
- A crochet hook sized for your yarn (typically 3.5mm to 5mm for worsted weight)
- Scissors and a yarn needle for weaving in ends
- Stitch markers to keep track of rounds or key stitches
- Blocking mats and rust-proof pins if you plan to block your finished butterfly
- Wire or pipe cleaners if you’d like poseable antennae
- Craft glue or a hot glue gun for mounting or embellishing
Having a few different colors available is where things get really fun. You can play around with color combos inspired by real species — the deep oranges and blacks of a Monarch, the electric blues of a Morpho, the soft pastels of a Cabbage White. Even just a few yards of a contrast color is enough for the body or a wing accent, which makes this one of the most economical projects in your crochet toolkit.
Understanding the Basic Crochet Stitches Used
Here’s some reassuring news: most crochet butterfly patterns rely on a pretty small set of stitches. If you’re comfortable with the chain stitch, slip stitch, single crochet, half double crochet, double crochet, and treble crochet, you have everything you need for the vast majority of butterfly patterns out there. The real key is understanding how those different stitch heights work together to create the curves and layered look that make butterfly wings so graceful.
The double crochet is probably the most important stitch to have down solid. Its medium height lends itself naturally to smooth, rounded shapes — especially when worked in fans or shells — which is exactly what butterfly wings call for. Shell stitches, where you work several double crochets into the same stitch or space, build those rounded lobes you see on both the upper and lower wings. If you’ve never done much shell work before, it’s worth spending a few minutes practicing before you dive into a butterfly pattern, just to get your tension feeling consistent.
Picot stitches and chain loops are the other details worth knowing about. They show up frequently as decorative edging on butterfly wings, giving that lovely lacy, scalloped look that makes crocheted butterflies so visually distinct. A picot is simple enough — chain three, then slip stitch back into the first chain to make a tiny pointed loop. Scattered along the outer wing edges, they add a finishing elegance that takes the whole piece up a notch. More advanced patterns sometimes bring in front post and back post stitches too, which add a subtle dimensional texture right on the wing surface itself.
Step-by-Step Crochet Butterfly Pattern Instructions
Alright, let’s actually make one! This pattern is designed to be approachable for intermediate beginners and produces a butterfly about four inches across in worsted weight yarn with a 4mm hook. You’ll work the upper wings first, then the lower wings, and finally bring everything together with the body and antennae — those last details are what really make it come alive.
To start the upper wings, make a slip knot and chain 4, then join with a slip stitch to form a ring. In round one, chain 3 (this counts as your first double crochet), work 2 double crochets into the ring, chain 2, then work 3 more double crochets into the ring. That’s your first cluster. Next, chain 5, then work 3 double crochets, chain 2, and 3 more double crochets all into the ring for the second cluster. Chain 5, then join to the top of your starting chain 3. You’ve just built the foundation of both upper wings at once in a single joined piece.
Round two is where the wing shape really starts to develop, so follow these steps in order:
- Slip stitch across to the chain-2 space, chain 3, then work 2 double crochets, chain 2, and 3 double crochets into that same space
- Work a shell of 5 double crochets into the chain-5 arch between the wings
- Work 3 double crochets, chain 2, and 3 double crochets into the second chain-2 space
- Work another 5-double crochet shell into the next chain-5 arch
- Join with a slip stitch and fasten off, leaving a tail for assembly
The lower wings follow the same basic idea but are intentionally smaller and rounder, just like on a real butterfly. Start a new piece, chain 4, and join into a ring. Work a single round of 3 double crochets, chain 2, 3 double crochets, chain 3, 3 double crochets, chain 2, and 3 double crochets all into the ring, then close with a chain 3 arch and join. That slightly asymmetric structure is what gives the lower wings their characteristic teardrop shape. Once you’ve fastened off, hold both wing pieces together and use your yarn needle and tail to whip stitch them at the center. Then take a tightly crocheted chain of about 15 stitches, fold it in half to form the body, and secure it at both the top and bottom of the joined wings. Done!
Blocking and Finishing Your Crochet Butterfly
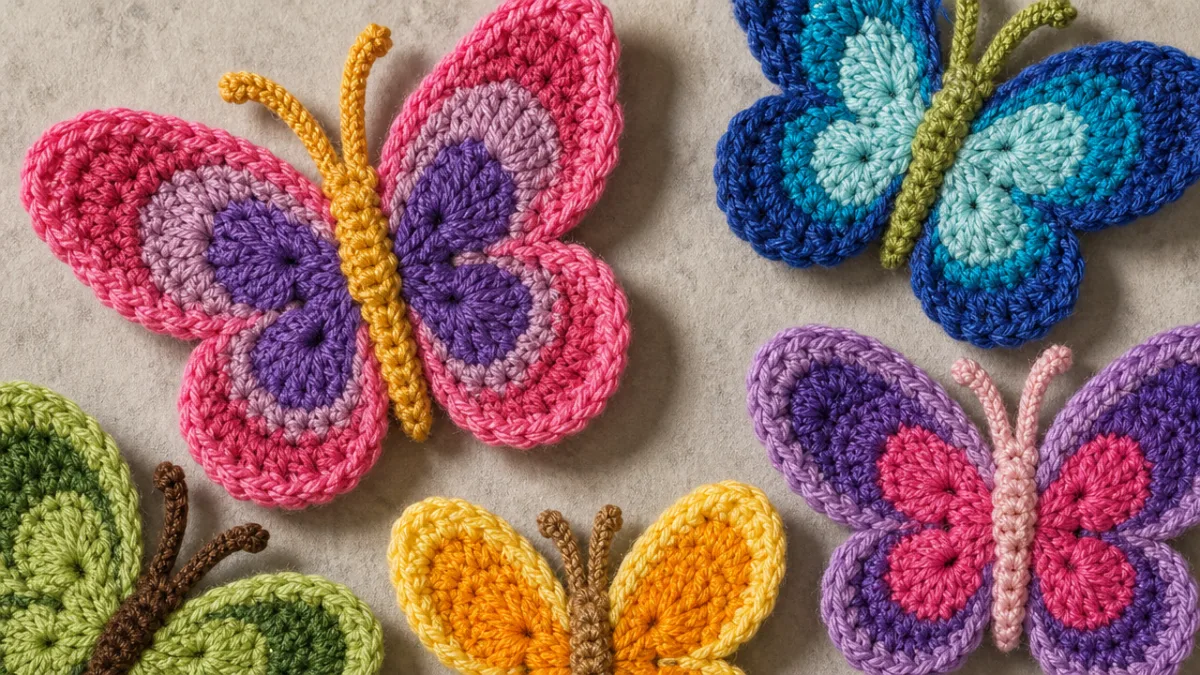
Blocking is one of those steps that newer crocheters often skip, and honestly it’s understandable — it feels a bit fussy when you just want to see the finished thing. But it really does make a remarkable difference. Blocking uses moisture and gentle shaping to relax the fibers and encourage the stitches to open up and settle into their intended positions. An unblocked butterfly might look a little rumpled or uneven; a blocked one will have crisp, open wings that show off all that stitch work beautifully.
To wet block your butterfly, submerge it briefly in cool water and gently squeeze out the excess moisture — no wringing or twisting. Lay it flat on your blocking mat and use rust-proof pins to shape each wing, stretching them gently outward and pinning along the outer edges to hold everything in place while it dries. Check that the upper wings are symmetrical with each other, and the same for the lower wings. Then step away and let it dry completely before unpinning, which can take anywhere from a few hours to overnight depending on your yarn and the humidity in your space.
Once it’s dry, weave in all your remaining yarn ends with the yarn needle, threading each tail through several stitches in different directions so nothing works its way loose later. If you’re sewing the butterfly onto a larger project as an appliqué, a matching thread or a thin strand of yarn works well. If you want a stiffer result — for a brooch or a standalone decorative piece — a light coat of fabric stiffener spray does the trick, or you can mix water and white craft glue to a thin consistency, brush it on, reshape the butterfly while it’s still wet, and let it dry fully before touching it.
Creative Ways to Use Your Crochet Butterflies
One of the best things about learning this pattern is realizing just how many ways you can actually use these little guys. Once you’ve made the pattern a few times and it starts coming together quickly, you’ll find yourself building up a collection of butterflies in different colors and sizes almost without trying — and then the fun of figuring out where to put them all begins. The options are genuinely wide open.
On the wearable side, butterflies are stunning on knitted or crocheted hats and headbands. A single large butterfly on the front of a simple beanie immediately makes it feel like something special. They work beautifully on cardigans too, either as one statement motif at the neckline or scattered loosely across a shoulder. Crocheted butterfly hair clips and barrettes are perennial favorites for kids, but plenty of adults love them just as much — there’s nothing wrong with a little handmade whimsy in your accessories.
For around the home, here are some ideas that tend to land really well:
- Arrange butterflies in graduating sizes and complementary colors inside a shadow box frame for a piece of fiber wall art that looks genuinely gallery-worthy
- String them along a length of twine or ribbon for a whimsical garland — perfect for a nursery, a child’s room, or a party
- Sew them onto plain throw pillow covers to add instant handmade charm to any sofa or bed
- Use them as gift toppers or tags on wrapped presents — it’s the kind of detail people actually save
- Glue them onto a wreath form with other floral elements for a seasonal door decoration that feels truly one-of-a-kind
Butterflies also slot beautifully into larger crochet projects. A baby blanket dotted with soft pastel butterflies is the kind of gift that gets kept for years. You could also use a butterfly as the central motif in a granny square variation and join many of them together into a colorful lap blanket or wall hanging. However you end up using them, crochet butterflies bring a warmth and handmade artistry to everything they touch — which is probably why so many crocheters keep coming back to this motif again and again.
Tips for Customizing and Advancing Your Butterfly Patterns
Once you’ve got the basic pattern down, a whole range of creative directions opens up. Many crocheters eventually develop their own signature take on the butterfly — small adjustments to the shape, a different edging, a personal color palette — that make their butterflies immediately recognizable as theirs. Even subtle tweaks, like swapping one stitch type for another or adding an extra round of picots, can give you a noticeably different result without requiring you to reinvent the whole pattern.
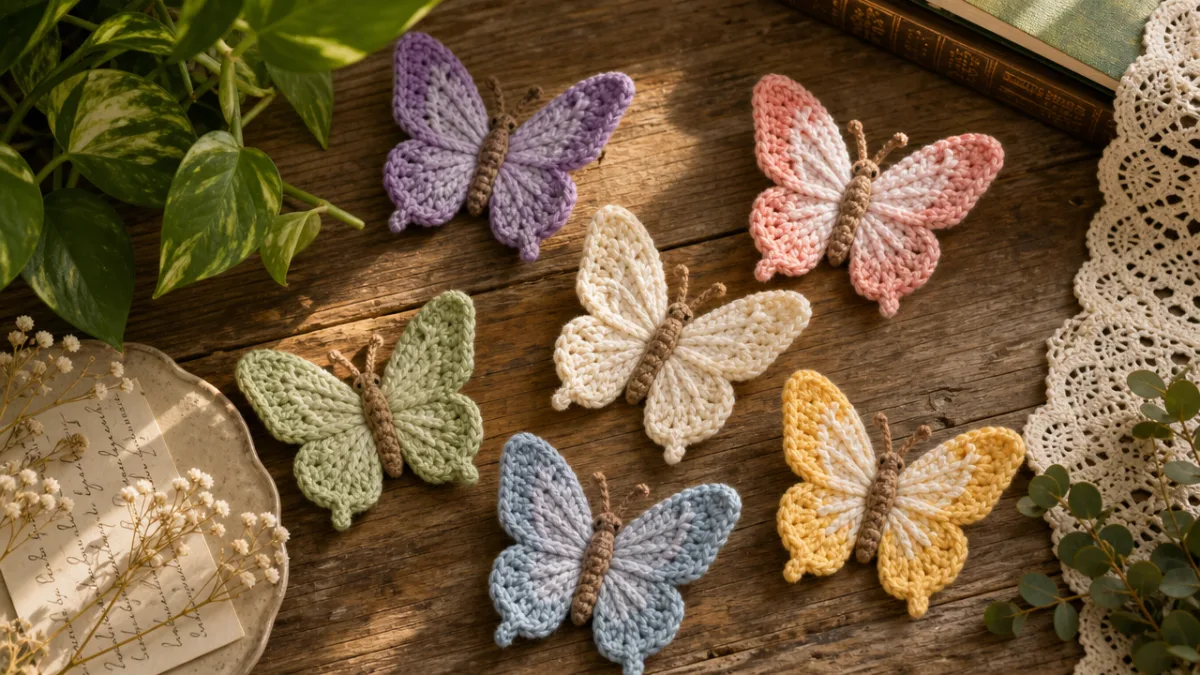
Color choice is probably the single most impactful way to make a butterfly your own. Working the inner wings in one color and switching to a contrasting shade for the outer edge creates a gorgeous two-toned effect that echoes the markings of real butterfly species. Ombre effects — gradually shifting through a range of related hues from the body outward — produce something that looks almost painted. And if you’d rather let the yarn do the work for you, variegated or self-striping yarns can create stunning wing patterns all on their own, with no deliberate color changes required on your end.
For anyone wanting to push further, there are some really exciting directions worth exploring. Three-dimensional butterflies that can actually stand upright use wire armatures inside the wings, letting you pose them in a natural resting or in-flight position. Surface embroidery and beadwork on finished wings can add intricate spotted or striped details inspired by specific species. Tunisian crochet, with its distinctive woven texture, produces butterfly wings that look completely different from standard crochet — in the best possible way. No matter where you are in your crochet journey, the butterfly motif has a way of continuing to offer something new. It’s one of those patterns that grows with you.








What do you think?
It is nice to know your opinion. Leave a comment.