










Recycling Yarn from a Jumper: A Complete Guide to Unraveling and Reusing Knitwear
Why Recycling Yarn from Old Jumpers Is Worth Your Time
There’s something genuinely satisfying about taking an old, worn-out, or never-quite-right jumper and turning it back into usable yarn. In the knitting world, this is called “frogging” or “unraveling,” and it’s one of the most sustainable things a fiber lover can do. Instead of bagging up a perfectly good sweater for the bin or letting it sit forgotten at the back of a drawer, you can pull it apart and end up with beautiful yarn that’s ready for something new. The eco-friendly angle is reason enough, but honestly, the creative and financial payoffs are just as good.
Good natural fibers — merino wool, cashmere, alpaca, mohair — don’t come cheap. A single skein of something luxurious can easily set you back ten to forty dollars or more, which means one jumper could be hiding the equivalent of several skeins of premium fiber. And a lot of vintage and thrift-store finds are made from blends and qualities you simply can’t buy new anymore, which makes that reclaimed yarn genuinely special. This isn’t just about saving money — it’s about preserving something worth keeping.
There’s also something almost meditative about the unraveling itself. Each stitch you pull free is essentially undoing the work of whoever made the garment, whether by hand or machine. A lot of knitters find the rhythm of it really calming — a quiet counterpoint to the act of making something new. It also teaches you a lot about how knitted fabric actually works, which tends to make you a more intuitive knitter when you pick up your needles again.
Choosing the Right Jumper to Unravel
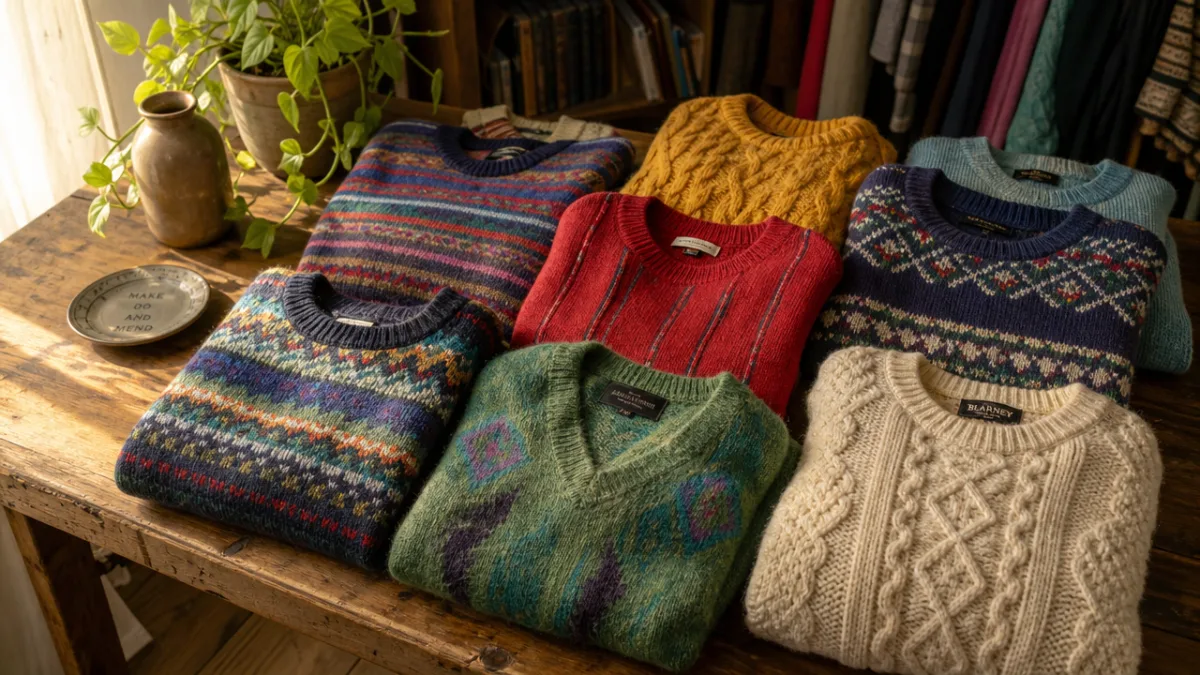
Not every jumper is worth unraveling, and learning to spot the good candidates will save you a lot of frustration. Fiber content is the most important thing to check first. Natural fibers — wool, cashmere, alpaca, cotton, linen, silk — come apart beautifully and can be brought back to life with a good wash. Synthetics like acrylic and polyester can technically be unraveled too, but they tend to hold onto all that kinked, crimped memory from sitting in stitch formation, and they’re much harder to refresh afterward. Always flip the jumper over and read the care label before you commit.
How the jumper was made matters just as much as what it’s made from. Hand-knitted garments are usually the easiest to work with — each stitch is just a loop through a loop, so once you find the right end, the whole thing unravels in one continuous strand. Machine-knitted jumpers can be trickier. Many are made using a “cut and sew” method, where flat panels of fabric are cut to shape and stitched together like woven cloth. Cut into one of those and you’ll end up with a pile of short, unusable bits rather than anything you can knit with. Look for seams that are linked or looped rather than sewn with a separate thread — that’s usually a good sign.
Before you start, take a good look at the condition of the fabric. A bit of pilling or light wear is usually fine, depending on what you’re planning to make. But if the fibers have felted together — meaning they’ve matted and fused — the yarn can’t be separated without breaking, and it’s probably not worth your time. Hold it up to a light source and try to gently tease apart a small area near a seam before you dive in. Moth damage, rotting, or serious thinning in the parts of the jumper that take the most strain will also weaken the yarn and cause problems down the line.
Tools and Preparation Before You Begin
Getting your tools together before you start makes the whole thing go much more smoothly. You’ll want a small pair of sharp scissors or a seam ripper for taking apart the seams, a tapestry needle for finding your starting stitch, and either a swift or the back of a chair to wind the yarn onto as it comes free. A ball winder is handy but not essential. It’s also worth having a basin of warm water and some gentle wool wash nearby, because you’ll almost certainly want to wash and set the yarn once you’re done unraveling.
The actual preparation step — before you touch a single stitch — is taking the jumper apart at its seams. Use your seam ripper or scissors to open the seams joining the sleeves to the body, the side seams, and the shoulder seams. Go slowly here; it’s easy to accidentally nick the main yarn if you rush. Once you’ve got the panels separated, look at each one to find the cast-off edge — that’s where you’ll start unraveling. In hand-knitted garments, the yarn ends are usually woven in at that edge, and you’ll need to tease them out to find the working end.
It’s also worth thinking about your workspace before you begin. Yarn being pulled from old knitting has a tendency to tangle, especially if it’s been kinked up in stitches for years. A clear, flat, smooth surface really helps. Some people tuck the panel they’re working on into a large zip-lock bag or a pillowcase and feed just the free end of the yarn out through the opening — it sounds a bit fussy, but it does a great job of stopping the loose yarn from catching on itself or on anything nearby.
The Unraveling Process Step by Step
Once you’ve found the cast-off edge and freed the tail of yarn, you’re ready to start. Give the tail a gentle pull and see which direction lets the stitches release most easily. Usually, pulling parallel to the row of stitches will cause them to cascade free one by one in a satisfying chain. If the yarn resists or starts to knot up, stop and take stock — you might be pulling the wrong way, or there could be a join or knot in the yarn that needs a little careful handling before you move on.
As the yarn comes free, wind it loosely around your swift, a chair back, or your elbow and hand to form a skein. Don’t wind it into a tight ball at this stage — that kind of tension can distort the fiber and make it harder to use later. Keep it loose and airy. If you come across a knot or a join where the original knitter switched balls, just cut the yarn there, secure the end of the skein you’ve already wound, and start a new one. Tying a small piece of scrap yarn around each skein helps you keep them organized as you go.
More than anything, this process rewards patience. Some rows practically fly apart, while others — especially around high-stress areas like the underarms or elbows — will need more careful attention. If the yarn breaks, don’t worry about it. Just tie the two ends together with a weaver’s knot or a square knot and keep going. You can sort out all those joins later when you’re winding the yarn into balls for your next project. The aim is to get back as much usable fiber as you can, not to do everything perfectly.
Washing, Setting, and Reconditioning Reclaimed Yarn
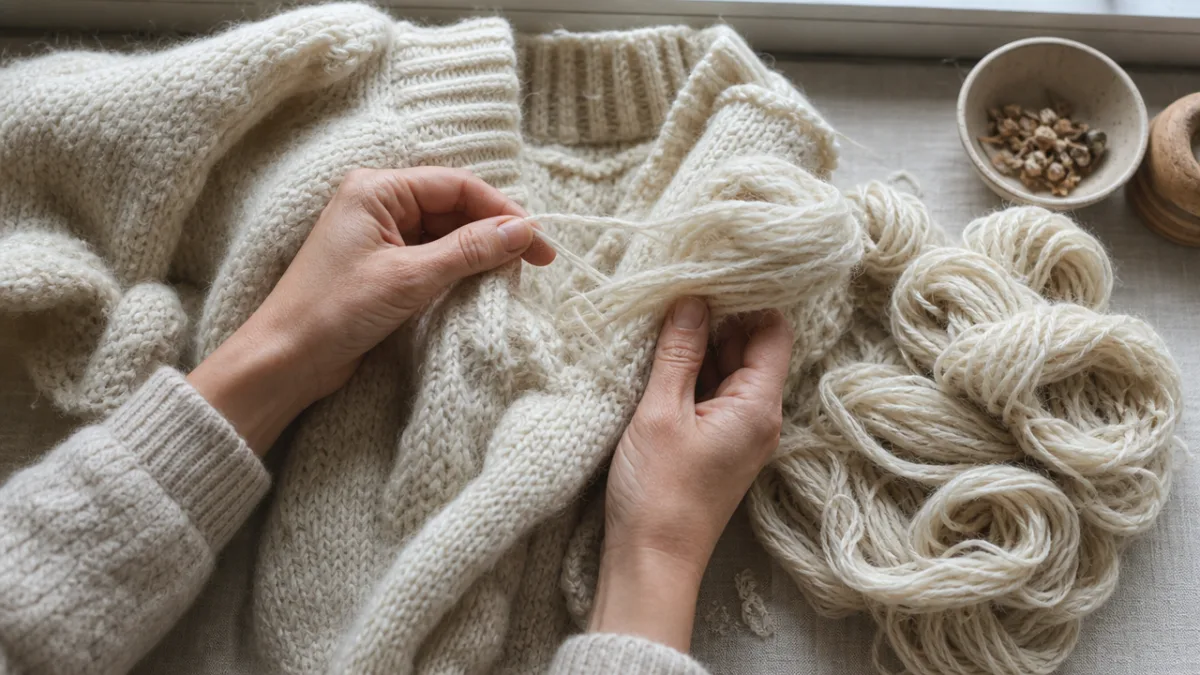
Once you’ve unraveled everything and wound your yarn into loose skeins, the next step is washing and setting the fiber. Unraveled yarn holds onto the kinked, crimped shape of all those stitches it spent years sitting in, and that kinkiness isn’t just a cosmetic thing — it can actually affect how the yarn knits up and how your finished fabric looks. Washing the skeins and hanging them with a little weight while they dry — this is called “setting” — relaxes the fibers and gets them back to something close to their original, pre-knitted state.
Before you wash, tie each skein loosely in at least four places using scrap yarn in a figure-eight pattern. This stops the skein from tangling in the water. Fill a basin with warm (not hot) water and add a small amount of gentle wool wash or a no-rinse soap. Submerge the skeins and leave them to soak for twenty to thirty minutes without stirring or agitating them — that kind of movement can cause wool to felt. When the time is up, gently squeeze out the water (no wringing or twisting), then roll the skeins in a clean towel to get rid of the excess moisture.
To set the yarn, hang each damp skein over a towel rail, shower rail, or hanger, and attach a light weight to the bottom. A kitchen scale weight, a small bag of coins, or even a wooden spoon all work perfectly well. The gentle downward pull straightens those crimped fibers as everything dries. Leave them somewhere well-ventilated and out of direct sunlight, which can fade and weaken natural fibers over time. Once they’re fully dry, you’ll be pleasantly surprised — most of the kinkiness will be gone, and the yarn will feel soft, lofty, and genuinely lovely to work with again.
Creative Projects and Ideas for Your Reclaimed Yarn
Once your yarn is washed, set, and ready to go, the fun part begins. Reclaimed yarn works beautifully for everything from small accessories to full garments, depending on how much you’ve managed to retrieve. Because the yarn has already lived one life as a piece of clothing, it carries a certain warmth and character that brand-new yarn doesn’t always have. A lot of knitters find that reclaimed yarn inspires especially personal projects — there’s something meaningful about making something new from the story of something old.
Here are some project ideas particularly well-suited to reclaimed yarn:
- Hats and beanies — A great starting point that typically needs only one to two hundred grams of yarn, which makes it perfect if you’ve got a smaller haul from a single jumper.
- Cowls and scarves — Wonderfully flexible projects that work with almost any yarn weight and quantity, and small variations in texture from joins are easy to work around.
- Fingerless mittens and gloves — A lovely way to show off a smaller amount of something luxurious like reclaimed cashmere or merino, and quick enough to finish in a weekend.
- Patchwork blankets — If you’ve built up yarn from several unraveled jumpers, combining them into a cozy, mismatched blanket is a beautiful way to celebrate the variety.
- Stuffed toys and amigurumi — Reclaimed yarn with a bit of fuzz or texture gives handmade soft toys a wonderfully tactile quality.
- Dishcloths and home textiles — Cotton or linen reclaimed from summer jumpers or lightweight cardigans is great for practical everyday knitting around the house.
When you’re picking a pattern, keep in mind that your yardage probably won’t match a standard purchased skein. It’s worth taking a moment to calculate your meterage — measure a length of known weight and use one of the free online calculators to figure out how many meters per hundred grams you’ve got. That way you can find patterns that suit what you actually have, rather than hoping you’ll have enough. Working within the constraints of your reclaimed material often leads to the most creative outcomes anyway.
Tips for Building a Sustainable Yarn Recycling Practice
Yarn recycling is most rewarding when it becomes a regular habit rather than something you try once and forget about. Building a real practice around it starts with training your eye to spot good candidates wherever you are. Charity shops, thrift stores, car boot sales, and second-hand marketplaces online are all brilliant hunting grounds. Get into the habit of reading labels automatically and feeling fabric to judge its quality. After a while it becomes second nature, and you might be surprised how quickly you can build up a stash of reclaimed luxury fiber for very little money.
Keeping a simple record of your skeins is genuinely useful. Jot down the fiber content, approximate weight, estimated meterage, and what garment it came from. A small label tied to the skein in pencil is all you need. When you sit down to plan something new, you’ll have a clear picture of what you’ve got to work with and can make sensible decisions about what to make and whether you have enough. It also adds a lovely layer of history to your finished objects — you know exactly where that yarn came from.
And finally, think about sharing the practice with others. Showing a friend how to unravel a jumper, running a yarn recycling session at your local knitting group, or just posting your process online can nudge people toward more sustainable fiber habits. The knitting and crochet community has always been great at sharing knowledge and skills, and yarn recycling fits right into that spirit. Every jumper that gets a second life instead of ending up in a bin is a small but real contribution to a more thoughtful approach to craft and consumption. The yarn is already in there — you just have to start pulling.








What do you think?
It is nice to know your opinion. Leave a comment.