










Wooden Pallet Garden Bar: Build Your Ultimate Outdoor Entertaining Space
Introduction: Why a Wooden Pallet Garden Bar Is the Perfect Backyard Project
There is something undeniably satisfying about transforming humble, reclaimed materials into a stunning centerpiece for outdoor entertaining. A wooden pallet garden bar does exactly that — taking what would otherwise be discarded industrial timber and crafting it into a functional, stylish bar that becomes the heart of any backyard gathering. Whether you host summer barbecues, evening cocktail parties, or casual weekend get-togethers with friends, a pallet bar gives your garden a defined social space that feels both intentional and rustic.
The appeal of pallet furniture has grown enormously over the past decade, and for good reason. Pallets are typically made from hardwood species like oak, pine, or poplar, which means they are durable enough to withstand outdoor conditions when properly treated and sealed. Beyond their structural integrity, pallets carry a wonderful weathered aesthetic that blends beautifully with garden greenery, string lights, and natural stone or gravel surfaces. The warm, textured grain of aged timber creates an atmosphere that no flat-pack furniture can replicate.
Perhaps most compelling is the cost factor. A complete pallet garden bar can be built for a fraction of the price of a commercially manufactured outdoor bar unit. Pallets can often be sourced for free or at very low cost from local warehouses, hardware stores, garden centers, or online marketplaces. When you factor in the customization possibilities — size, shape, shelving configuration, surface finishes, and decorative details — a DIY pallet bar is genuinely one of the best value-for-effort home improvement projects available to any gardener or outdoor enthusiast.
Sourcing and Selecting the Right Pallets for Your Garden Bar
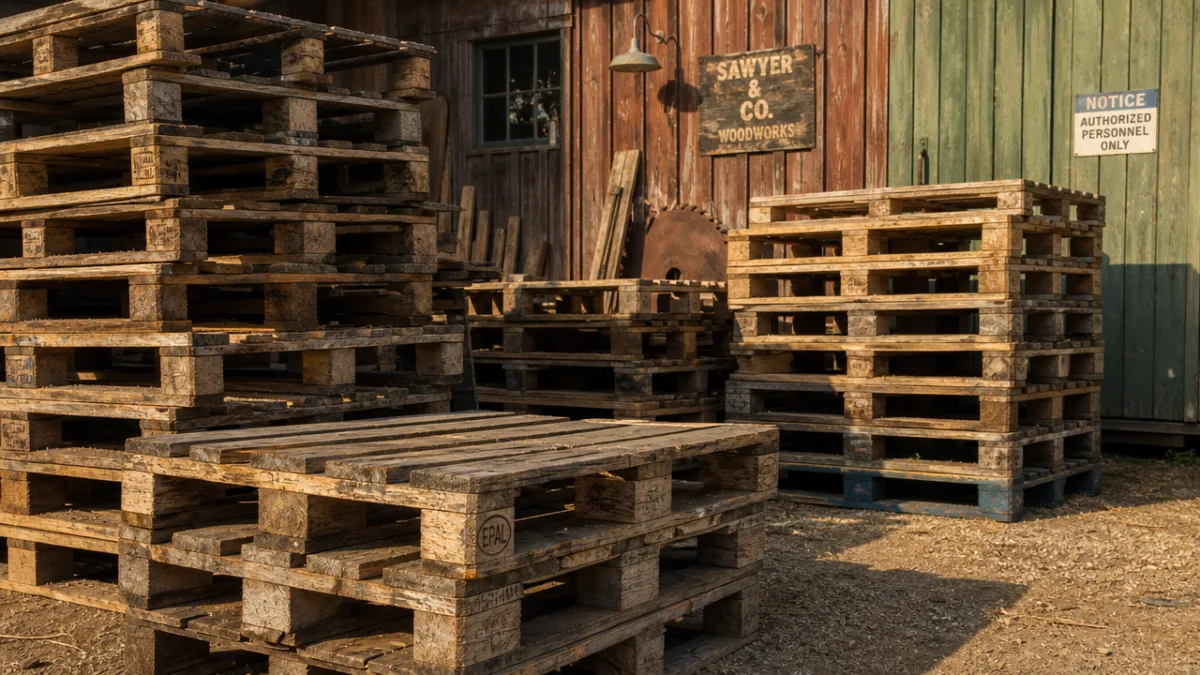
Not all pallets are created equal, and choosing the right ones is the single most important step before you ever pick up a hammer. The first thing you need to look for is the IPPC stamp, which is a small mark burned or printed onto the side of the pallet indicating how it was treated. You want pallets stamped with “HT,” which stands for heat-treated. These have been processed using high temperatures to eliminate pests and bacteria, making them safe for home use. Avoid any pallet stamped “MB,” which indicates methyl bromide treatment — a chemical fumigant that can leach into skin and soil.
Structural integrity is the next consideration. Run your hands along every board and look for cracks, splits, soft spots caused by rot, or boards that are warping significantly. A slight warp in a decorative panel can be managed, but load-bearing sections of your bar — the top surface, the base, and the side supports — need to be straight and solid. Gently press on the boards with your thumb; any that feel spongy or give under pressure should be avoided. A good pallet will feel firm and the boards should be securely nailed or stapled at the stringers without any loose movement.
When it comes to quantity, a standard garden bar typically requires between four and eight pallets depending on the desired dimensions. A good rule of thumb is to collect more pallets than you think you need, because some boards will inevitably be unusable once you start dismantling and inspecting them closely. Sourcing from the same supplier or batch will also help ensure consistency in timber color, thickness, and grain, which gives your finished bar a more cohesive, intentional appearance rather than a patchwork look.
- Always check for the HT (heat-treated) stamp on every pallet before use.
- Avoid pallets with signs of chemical staining, oil residue, or strong chemical odors.
- Look for Euro pallets (EPAL-stamped) — they tend to be higher quality and more consistent in size.
- Standard Euro pallets measure 1200mm x 800mm, which makes planning your bar dimensions straightforward.
- Source extras to account for damaged boards and off-cuts needed for framing.
Tools, Materials, and Safety Preparation
Building a pallet garden bar requires a modest set of tools that most intermediate DIY enthusiasts will already have in their garage or workshop. At minimum, you will need a circular saw or jigsaw for cutting boards to length, a power drill with a selection of drill bits and screwdriver heads, a hammer, a crowbar or pallet buster for dismantling pallets, sandpaper in a range of grits from coarse to fine, clamps for holding pieces in position during assembly, and a measuring tape with a carpenter’s square for ensuring everything is level and true. A spirit level is absolutely essential — an uneven bar surface will drive you mad every time you set a glass down.
Beyond tools, you will need a selection of materials to complete the build. Exterior-grade wood screws in multiple lengths — typically 50mm and 75mm — are your primary fasteners and are far more secure than nails for structural connections. You will need wood filler for any gaps or knot holes you want to smooth over, exterior wood primer, and your chosen topcoat finish, whether that is a UV-resistant varnish, an outdoor wood stain, or exterior paint. If you plan to add a tiled or glass mosaic top surface to your bar, add tile adhesive, grout, and the tiles themselves to your shopping list. You may also want to purchase a length of smooth timber such as a pine board or reclaimed scaffold plank for the bar top surface, since pallet boards alone can be too uneven for a comfortable serving surface.
Safety is not an afterthought in this kind of project. Pallet wood frequently contains old nails, staples, and splinters that can cause serious injury if you are not careful. Wear heavy-duty work gloves at all times during dismantling and handling raw pallet boards. Eye protection is essential when cutting, sanding, or drilling. A dust mask is highly recommended during sanding, particularly if the pallets are old and may have accumulated fine wood dust and debris. Work on a stable, flat surface and ensure any cut boards are properly supported so they do not shift or bind the saw blade during cutting. Taking these precautions from the start keeps the build enjoyable rather than hazardous.
Step-by-Step Construction Guide for Your Pallet Garden Bar
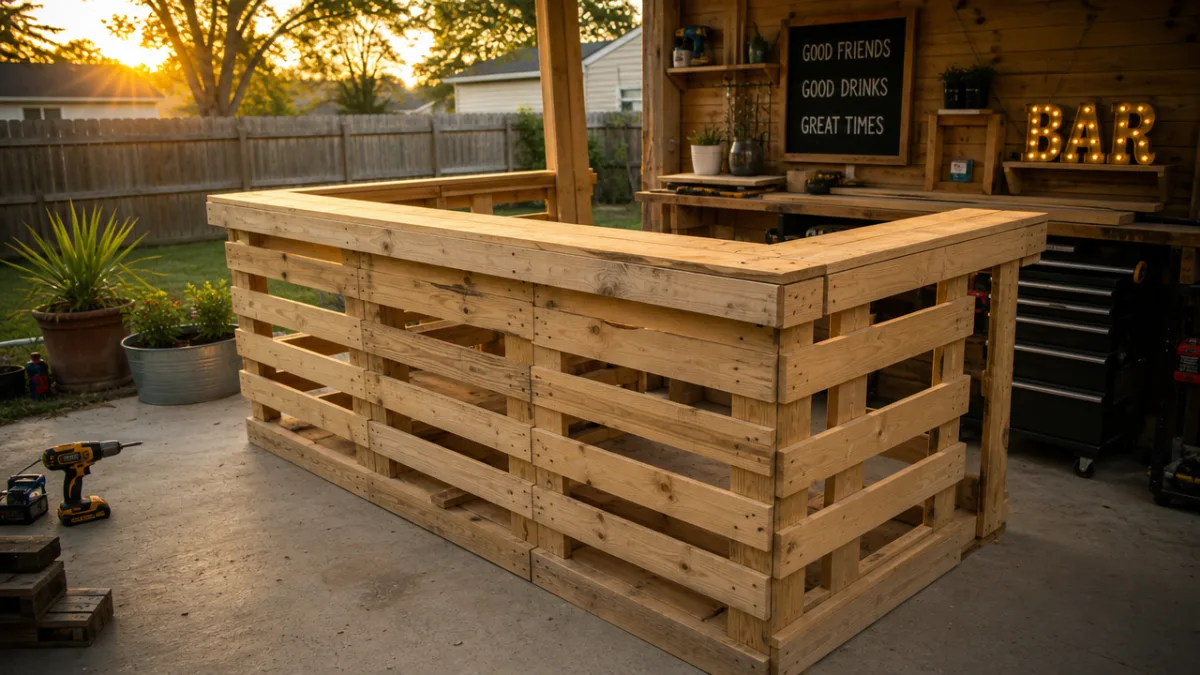
Begin by planning your bar on paper before you touch a single piece of timber. Sketch out the dimensions you want — a standard outdoor bar is approximately 110cm to 120cm in height, which is comfortable for standing adults, with a depth of around 50cm to 60cm for the serving surface. Decide whether you want a straight bar, an L-shaped configuration to fit into a corner, or even a U-shape to create a more enclosed social space. Mark out the footprint with stakes and string in your garden to confirm the scale feels right in the actual space before you commit to cutting any wood.
The base structure is built first. Stand two pallets vertically on their long edge and secure them together using heavy-duty screws through the stringers, forming the front face of your bar. Repeat this for the back if you are building a freestanding double-sided bar, or use a single layer of pallets against a fence or wall for a simpler build. Add a pallet or cut pallet sections horizontally at the top to create the framework for your bar surface, and use additional boards cut from dismantled pallets to fill any gaps or reinforce weak points in the frame. Diagonal bracing on the interior of the structure adds significant rigidity and prevents the bar from racking side to side over time.
Once the frame is solid and level, turn your attention to the bar top. This is the surface that will take the most wear, so invest in quality here. A smooth scaffold board or planed pine board works brilliantly as an overhang surface, or you can lay a row of sanded pallet boards edge to edge and fill the joints with exterior wood filler for a continuous surface. Sand the top progressively through the grits — 80, 120, then 180 — before finishing with at least three coats of exterior varnish or a durable outdoor lacquer. Between each coat, lightly sand with 240-grit paper and wipe away all dust before applying the next layer. This process creates a hard, waterproof surface that will handle drinks, plates, and the inevitable spills of any good party.
- Sketch your design and confirm dimensions in the garden space before cutting anything.
- Build and secure the vertical base structure first, checking for plumb and level throughout.
- Add horizontal framing at the top and reinforce with internal diagonal bracing.
- Install the bar top surface, sand smooth, and apply multiple coats of exterior finish.
- Fit lower shelves using cut pallet boards for bottle and glass storage.
- Add decorative cladding to the front face using thinner pallet boards for a polished look.
- Seal all exposed surfaces and allow to fully cure before placing the bar outdoors.
Finishing Touches: Decoration, Lighting, and Personalisation
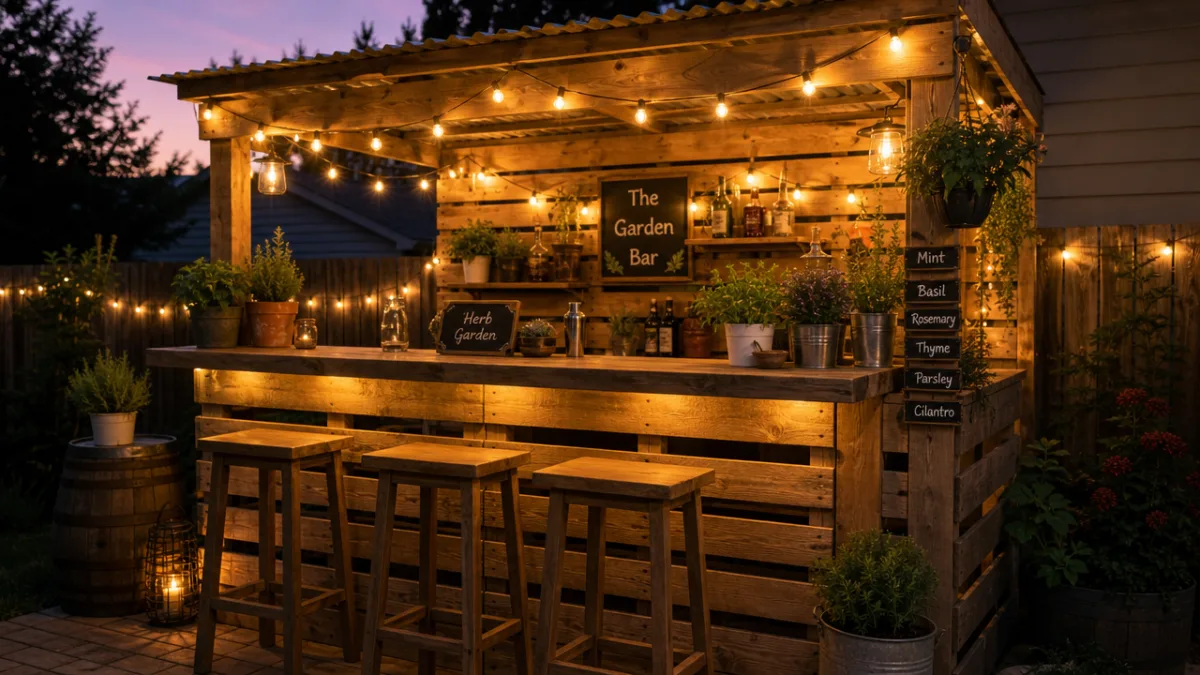
The finishing stage is where a functional structure becomes a genuinely beautiful feature of your garden. Once all the varnish or stain has fully cured — allow at least 48 hours in dry weather — begin layering the decorative elements that give your bar its personality. Outdoor fairy lights or warm-white LED strip lights tucked along the underside of the bar top create a magical glow in the evening and make the whole space feel festive and inviting. Solar-powered string lights draped over nearby pergolas or fences extend the lighting scheme without adding to your electricity bill.
Consider adding hooks and rails to the front or sides of the bar for hanging bar tools, small planters, or towels. A simple magnetic knife strip can hold a bottle opener and other metal tools in easy reach. Small potted herbs — rosemary, mint, basil, and thyme — placed along the top or on shelving below are not just decorative; they also provide fresh garnishes for cocktails and soft drinks, making your bar genuinely functional in the garden setting. Trailing plants like ivy or string-of-pearls in hanging planters add a lush, overgrown charm that reinforces the rustic pallet aesthetic wonderfully.
Personalisation is what ultimately separates a great pallet bar from a generic one. Consider painting or stencilling a name or motto onto the front face — everything from a family surname to a cheeky pub-style sign adds tremendous character. Reclaimed tin signs, vintage bottle openers, and salvaged hooks from antique markets are inexpensive additions that reinforce the upcycled ethos of the whole project. A small chalkboard panel set into the front of the bar is a brilliant touch, allowing you to write up the day’s cocktail menu or a welcome message for guests. These small details are remembered long after the evening ends.
Maintenance, Weather Protection, and Seasonal Care
A wooden pallet garden bar is a long-term investment in your outdoor living space, and like any timber structure exposed to the elements, it requires consistent care to maintain its appearance and structural integrity. At the end of every season — or at minimum once per year — inspect the entire bar closely. Look for any boards that have cracked or split due to temperature fluctuations, check all screws and fasteners to ensure nothing has loosened, and look for early signs of wood rot, which typically appears as dark discoloration and a soft, spongy texture in the affected timber. Catching these issues early prevents them from spreading and potentially compromising the whole structure.
Applying a fresh coat of exterior wood oil, stain, or varnish annually is the single most effective thing you can do to prolong the life of your pallet bar. Before reapplying any finish, lightly sand the surface to remove any peeling or flaking from the previous year’s coat, then wipe away all dust and allow the timber to dry completely. Apply the new coat evenly and allow to cure fully before exposing the bar to heavy use. In very wet climates, covering the bar with a fitted waterproof cover during the winter months — particularly when it is not in use — makes a significant difference to how the timber weathers over time.
If any individual boards do need replacing, the modular nature of pallet construction makes this straightforward. Source matching timber, cut it to size, sand and finish it to match the existing boards as closely as possible, and screw it into place. Over the years, the different ages and weathering of boards can actually add to the character of a pallet bar, giving it a patina and depth that mass-manufactured furniture could never achieve. With proper care, a well-built wooden pallet garden bar will serve as the centrepiece of your outdoor entertaining space for a decade or more — an enduring reward for the effort and creativity you invested in building it.
Inspiring Ideas to Customise Your Pallet Bar Further
Once your core bar structure is complete, the creative possibilities for expanding and customising it are genuinely exciting. One of the most popular additions is a built-in cooler or ice bucket compartment. By cutting a rectangular opening into the bar top and fitting a zinc or galvanised metal tub into it, you create a permanent drink chilling station that keeps bottles cold throughout long summer evenings without the clutter of a separate ice bucket. Line the interior edges with waterproof sealant and add a simple drain plug at the bottom for easy emptying, and you have a feature that rivals expensive commercial outdoor bars.
Overhead structures paired with the bar dramatically enhance the sense of place. A simple pergola built above the bar from treated timber posts and cross-beams creates the perfect framework for climbing plants, hanging lights, and even a retractable shade canopy. Wisteria, jasmine, and hop plants grow quickly and enthusiastically over such structures, creating a lush green canopy that provides shade during the day and fragrance in the evening. The combination of a rustic pallet bar beneath a flowering pergola creates a garden space that feels genuinely magical — the kind of setting that makes guests want to linger long into the night.
For those who want to take the project in a more polished direction, mixing materials opens up extraordinary design possibilities. Combining the warmth of pallet timber with elements like industrial pipe fittings for footrests and towel rails, concrete or slate tiles for the bar top, and cast iron hooks and brackets creates a sophisticated aesthetic that sits comfortably in both rustic cottage gardens and contemporary urban outdoor spaces. The key is to choose a palette of complementary materials and stick to it consistently throughout every element of the bar, from the structure itself to the accessories and plantings that surround it. This discipline is what elevates a DIY project from a pleasant craft activity to a truly impressive piece of garden design.








What do you think?
It is nice to know your opinion. Leave a comment.