










Introduction to DIY Mini Game Boxes: Bringing Joy in a Compact Package
There is something undeniably magical about a small box that unfolds into an entire world of entertainment. DIY mini game boxes have surged in popularity among crafters, parents, educators, and hobbyists alike, offering a wonderfully creative way to bundle fun into a portable, personalized package. Whether you are building one as a gift, a travel activity kit, or simply a rainy-day project for the family, the concept rewards both the maker and the recipient with layers of thoughtfulness and ingenuity.
The beauty of a DIY mini game box lies in its flexibility. Unlike store-bought board games that arrive fully formed and fixed in their design, a handmade version can be tailored precisely to the interests, ages, and personalities of the people who will play it. You might fill yours with card games, tiny dice, a folded game board, miniature puzzle pieces, or even a collection of trivia questions written on small slips of paper. The box itself becomes as much a part of the experience as the games inside it.
Beyond the fun factor, making a mini game box is an excellent exercise in planning, creativity, and resourcefulness. You will find yourself thinking through how games work, what components are essential, and how to scale things down without losing the spirit of the original activity. This process quietly builds problem-solving skills and spatial reasoning, making it a genuinely enriching craft project for people of all ages. From the first sketch to the final ribbon tied around the lid, every step of the journey is deeply satisfying.
Why Mini Game Boxes Make Perfect Gifts
Handmade gifts carry an emotional weight that no retail item can quite replicate. When someone receives a DIY mini game box, they are not just holding a collection of games — they are holding hours of someone else’s care and creativity. The personal touches you build in, whether that is a favorite color scheme, a shared inside joke printed on a card, or games chosen specifically around the recipient’s passions, communicate something profound about how well you know and appreciate that person.
Mini game boxes are also wonderfully practical gifts for people at nearly every life stage. Children love the novelty of tiny, colorful game components. Teenagers appreciate something unique and personalized in a world saturated with mass-produced goods. Adults, especially those who travel frequently for work, find compact entertainment kits genuinely useful. Even seniors benefit from small game collections that provide mental stimulation and can be enjoyed solo or with visiting family members without requiring elaborate setup.
From a budget perspective, DIY mini game boxes can be as affordable or as elaborate as you choose to make them. A simple version might cost only a few dollars in supplies and rely heavily on recycled materials and printed components. A more polished version might incorporate laser-cut wooden pieces, custom-illustrated cards, and a beautifully painted or decoupaged box. Either way, the result feels infinitely more valuable than its monetary cost suggests, because the time and intention invested in making it simply cannot be bought off a shelf.
Gathering Your Materials: Everything You Need to Get Started
Before you dive into the crafting process, assembling the right materials will save you a great deal of frustration and help your project come together smoothly. The foundation of any mini game box is, naturally, the box itself. Craft stores sell plain wooden or cardboard boxes in a variety of sizes, but you can also repurpose tins, cigar boxes, small jewelry boxes, or even sturdy shipping boxes lined with decorative paper. The ideal box should be large enough to hold your game components comfortably but small enough to feel genuinely portable and compact.
Once you have your box sorted, you will want to think through the specific games or activities you plan to include, because this will determine the rest of your materials list. Common components for DIY mini game boxes include small dice, tiny notepads or score sheets, miniature pencils, playing cards (either store-bought or printed at home), small tokens or pawns made from polymer clay or wood beads, folded paper game boards, and sealed bags or envelopes to organize different games within the box. Having a variety of storage solutions inside the box will keep everything tidy and easy to find.
Decorating supplies deserve their own consideration, since the exterior and interior presentation of your box will significantly affect the overall impression it makes. Acrylic paints, decoupage medium and decorative paper, washi tape, rubber stamps, stickers, and fine-line markers are all excellent tools for personalizing your box. If you want a more polished, professional finish, consider using mod podge to seal painted or papered surfaces. A small clasp, a piece of velvet ribbon, or a tiny lock can add delightful finishing details that make the box feel like a proper keepsake.
Organizing Your Workspace for Success
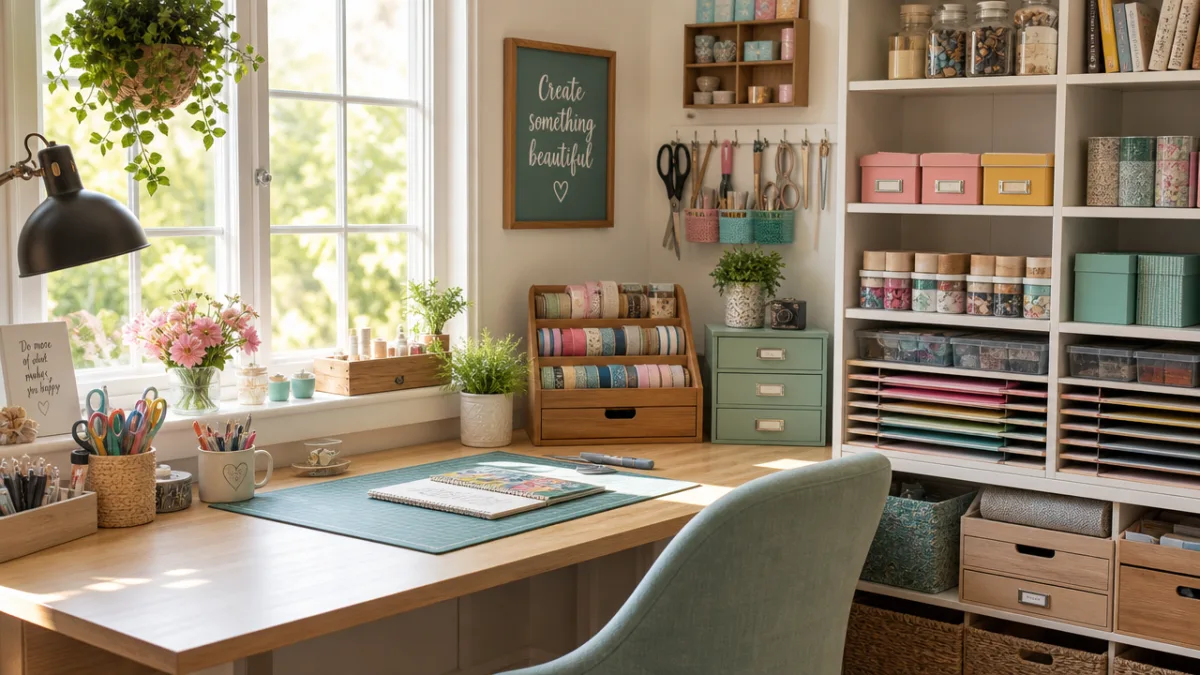
A tidy, well-organized workspace will make your crafting session significantly more enjoyable and efficient. Before you begin, lay out all of your materials on a clean, flat surface and group them by category — decorating supplies together, game components together, organizational tools such as glue, scissors, and rulers in their own accessible spot. This simple act of preparation prevents the maddening interruptions that come from hunting for a specific tool or material halfway through a fiddly task.
Consider protecting your work surface with a craft mat, a piece of wax paper, or even old newspapers before you start painting or applying adhesives. Acrylic paint and decoupage glue can be surprisingly difficult to remove from tables once they dry, and a ruined work surface has a way of dampening enthusiasm for future projects. Having a small cup of water and a few paper towels within reach will also help you manage any drips or spills quickly before they become permanent fixtures.
Lighting is another often-overlooked element of a productive craft space. Natural daylight is ideal for detailed work such as hand-lettering game cards or painting intricate designs on your box lid, because it renders colors accurately and reduces eye strain. If you are working in the evening or in a room with limited windows, a bright daylight-spectrum desk lamp positioned to minimize shadow on your work will make a noticeable difference in both your accuracy and your enjoyment of the process.
Designing Your Mini Games: Ideas for Every Interest and Age Group
The game design phase is arguably the most exciting and creatively demanding part of making a DIY mini game box. This is where you decide what experiences you want the box to deliver and then figure out how to shrink those experiences into a compact, portable format. The most successful mini game boxes tend to include a variety of game types — a mix of luck-based games, skill-based games, and knowledge games ensures that everyone has a chance to shine and that the box offers genuine replay value across multiple sessions.
For younger children, consider including tactile, visually engaging games that do not require reading. Miniature memory card games printed with bright illustrations are an excellent choice, as are simple matching games, color-sorting activities using small colored beads or tokens, and basic dice games with large, easy-to-read dice. You can print game cards at home, cut them to size, and laminate them with sticky laminate sheets for durability. Even a tiny set of dominoes, made by stamping dots on small rectangles of cardstock, can provide hours of entertainment for small hands and developing minds.
For older children, teenagers, and adults, the game possibilities expand considerably. Trivia question cards tailored to shared interests — film, sports, science, history, or pop culture — make wonderful additions. Word games such as mini crossword puzzles, tiny Scrabble-style letter tiles, or a compact version of a category guessing game translate beautifully into small-format play. Strategy games like miniature chess or checkers, made with small tokens on a printed or painted folded board, add a satisfying depth that keeps players engaged across multiple play sessions.
Scaling Down Classic Games Without Losing the Fun
One of the most rewarding challenges in designing a mini game box is the process of adapting beloved full-sized games into miniature formats. The key principle here is identifying the core mechanic that makes a game enjoyable and then finding the minimum set of components needed to deliver that mechanic effectively. A full set of Uno cards, for example, might be reduced to a compact mini deck of thirty or forty cards while retaining all the essential color groups and action cards that make the game exciting.
Game boards present a particularly interesting design challenge when working in miniature. A standard board game might measure twenty inches square, which is obviously impractical for a compact travel box. However, by reducing the number of spaces on a path-style board, simplifying a grid to its essential dimensions, or printing a board on paper that folds down to a small rectangle, you can preserve the spirit of a game in a fraction of its original footprint. Laminating folded paper boards adds considerable durability and makes them feel genuinely satisfying to unfold and use.
When scaling down games, pay careful attention to usability. Tiny components can be charming, but if dice are too small to read comfortably or tokens are so minuscule that they are easily lost, the practical experience of playing the game suffers. Strike a balance between compactness and functionality by testing your components with the actual intended players before finalizing your design. You might discover, for instance, that slightly larger dice or cards with a bigger font make the games dramatically more enjoyable without significantly compromising the mini aesthetic.
Assembling and Decorating Your Box: Making It Beautiful Inside and Out
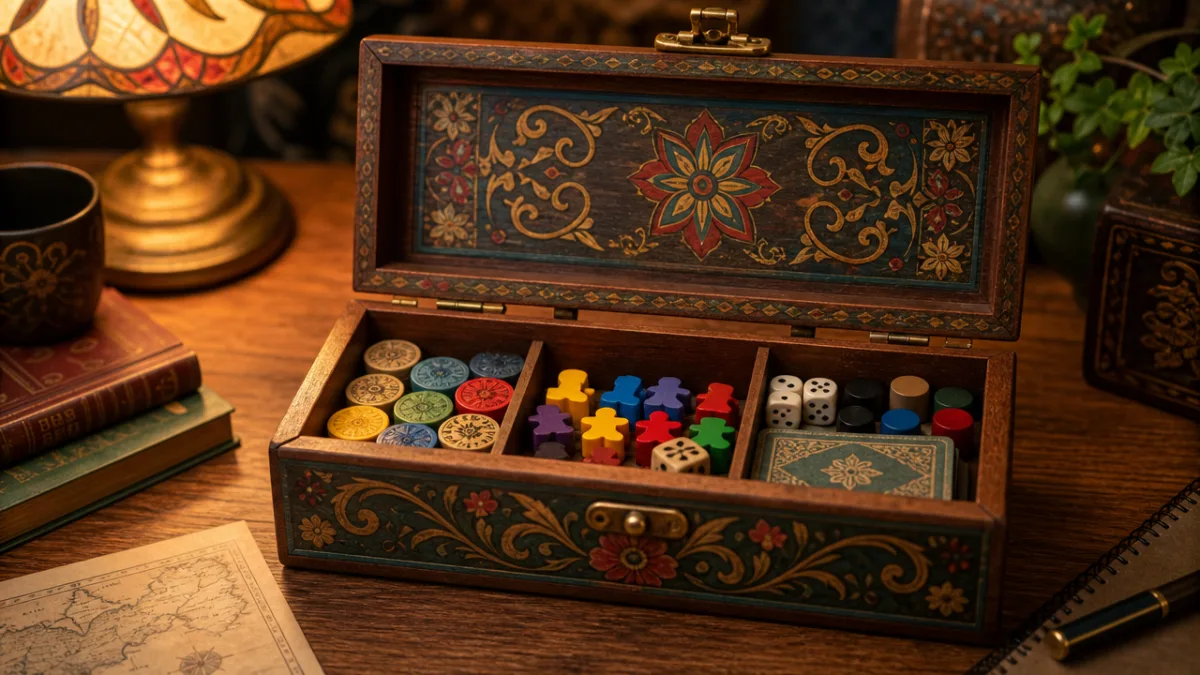
With your games designed and your components prepared, the assembly phase brings everything together into a cohesive, finished object. Begin by thinking carefully about the interior organization of your box before you glue or place anything permanently. Lay your game components inside and experiment with different arrangements, perhaps grouping games in separate small pouches or envelopes, using a divider made from folded cardboard to create compartments, or tucking a small instruction booklet in the lid. A well-organized interior transforms a jumble of components into a curated, intuitive experience.
For the exterior of your box, the decoration approach you choose will set the entire visual tone of the finished piece. A clean, minimalist approach might involve painting the box in a single bold color and adding a simple hand-lettered title on the lid. A more elaborate style might incorporate decoupage with patterned paper, layered paint effects created with sponges or stamps, or a collage of images related to the themes of the games inside. Whatever aesthetic you choose, applying a final coat of mod podge or a clear acrylic sealer will protect your work and give the box a durable, professional-looking finish.
Small hardware details can elevate a homemade box from charming to genuinely impressive. Tiny brass hinges, a small latch closure, or a decorative clasp purchased from a craft or hardware store can be glued or screwed onto a wooden box to add functional elegance. A length of velvet or grosgrain ribbon glued around the base of the lid creates a lovely visual break between the lid and the body of the box. For an extra special touch, line the inside of the box with a piece of felt, foam sheet, or decorative paper to give the interior a finished, boutique quality.
Adding Personalization That Makes It Truly One of a Kind
Personalization is what separates a charming DIY project from an unforgettable keepsake. Consider adding the recipient’s name to the lid in painted, stamped, or vinyl lettering. You might include a small handwritten note tucked inside explaining the games and why you chose them. Photographs printed in black and white and decoupaged onto the box exterior add a deeply personal visual element that transforms the object into something far more meaningful than a simple game collection.
Thematic personalization is another powerful approach. If the box is intended for a devoted reader, design all the games around literary trivia and bookish themes, and decorate the exterior with pressed flowers and vintage book page paper. If the recipient is a sports enthusiast, build trivia games around their favorite team’s history, use their team colors in the box’s paint scheme, and include a tiny scoreboard notepad. This level of thoughtful curation demonstrates a depth of attention that makes recipients feel truly seen and celebrated.
You can also personalize the game instructions themselves, adding humor, private jokes, or affectionate memories that give even familiar game mechanics a fresh, intimate quality. A trivia card that includes the question “What was the name of our first family dog?” means something entirely different from a generic animal trivia question — it creates a moment of shared memory and laughter that no commercially produced game could ever deliver. These small, intentional touches are what transform a well-crafted object into a cherished heirloom.
Tips for Sharing, Gifting, and Storing Your Mini Game Box
Once your mini game box is complete, the question of presentation becomes its own delightful final chapter. Wrapping a small box is an opportunity for creativity in itself. Consider forgoing conventional wrapping paper in favor of placing the box inside a larger decorative tin, nestling it in tissue paper inside a fabric gift bag, or wrapping it in a square of beautiful fabric tied furoshiki-style. These presentation methods not only look elegant but also reduce waste, which is a meaningful consideration for crafters who care about sustainability.
Including a small printed or handwritten instruction guide within the box is a thoughtful practical touch that will be genuinely appreciated. The guide does not need to be elaborate — even a single card listing each game included in the box with a brief explanation of how to play each one will suffice. If your games have unusual rules or house rules that you invented as part of the design, noting these clearly will prevent confusion and ensure that every player can jump straight into the fun without needing to puzzle through the mechanics.
Storing your own mini game box between uses is straightforward given its compact size, but a few simple practices will keep the components in good condition over time. Store the box in a cool, dry location away from direct sunlight, which can fade painted surfaces and cause cardstock components to warp. If you laminated your game cards or game board, they should be robust enough for years of regular use, but unlaminated paper components will last longer if stored in individual envelopes or small zip-lock bags within the box. With basic care, a well-made mini game box can remain a cherished, functional object for many years.
Expanding Your Collection and Building a Mini Game Library
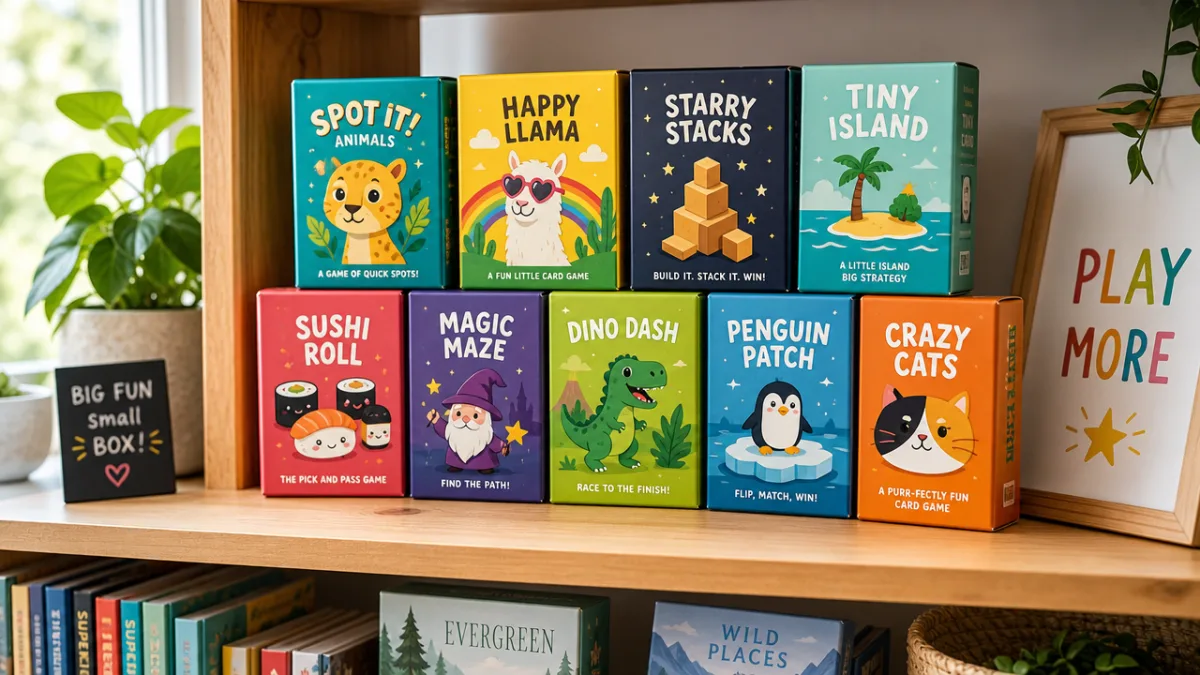
Once you have made your first mini game box, the temptation to make another is nearly irresistible. Many crafters find that the skills and instincts developed in designing and building a single box open up a whole creative world of possibilities. You might begin building a coordinated collection of mini game boxes, each dedicated to a different theme — one for road trips, one for quiet evenings at home, one containing only word games, and another filled exclusively with strategy games. Displayed together on a shelf, a collection of beautifully made mini game boxes becomes a genuinely lovely decorative feature as well as an endlessly useful resource.
Sharing the craft with others is another wonderful avenue to explore. Mini game box workshops are a popular choice for birthday parties, school groups, and community craft events, because the project scales beautifully for groups and can be adapted to any skill level. Participants of all ages enjoy the combination of creative freedom and practical purpose, and the social dimension of comparing and playing each other’s finished boxes at the end of the workshop makes for a memorably joyful shared experience.
Finally, consider documenting your mini game box projects through photographs and notes that capture your design decisions, the materials you used, and the response of the people who received or played with your finished creations. This personal record will prove invaluable as you refine your craft and develop your own distinctive aesthetic approach to the project. Over time, your collection of notes and photographs will become a rich creative resource — a testament to the joy that thoughtful, intentional making can bring into everyday life.
- Start with a box that fits comfortably in one hand and allows a secure closure to keep components from spilling during transport.
- Choose a minimum of three distinct game types to ensure variety and broad appeal for mixed groups of players with different preferences.
- Laminate all paper components that will be handled frequently to dramatically extend the usable life of your mini game box.
- Include a small pencil or pen and a tiny notepad for score-keeping, as these are easy to forget but consistently needed during play sessions.
- Test every game in your box with real players before gifting it to identify any unclear rules, missing components, or usability issues that need addressing.
- Label the outside of any envelopes or pouches inside the box so players can quickly find the components they need without emptying the entire contents.
- Seal all painted or decoupaged surfaces with at least two coats of protective finish to prevent chipping, peeling, or fading with regular handling.








What do you think?
It is nice to know your opinion. Leave a comment.