










Bench Design DIY: A Complete Guide to Building Your Own Beautiful Bench
Introduction to DIY Bench Building
Building your own bench is one of the most satisfying woodworking projects a DIY enthusiast can take on, whether you are a complete beginner or a seasoned craftsperson. A well-designed bench serves countless purposes in and around the home: it can anchor an entryway, provide seating at a dining table, offer a cozy perch in a garden, or create practical storage in a mudroom. The beauty of the DIY approach is that you control every dimension, material, and finish, producing a piece that fits your space and your style perfectly.
The history of bench design is as long as human civilization itself. From ancient stone seats carved into amphitheaters to the rustic wooden pews of medieval churches, benches have always balanced function with a certain quiet elegance. Today, modern DIY builders benefit from centuries of refined joinery techniques, a vast array of affordable materials at local hardware stores, and the inspiring creativity of online communities that share plans, tips, and finished results. This means that no matter your budget or skill level, a beautiful handmade bench is within your reach.
Before picking up a saw or a drill, it is worth spending time in the planning phase. Rushing into a bench build without a clear vision of the end result is one of the most common mistakes that first-time builders make. Thoughtful planning covers not just dimensions and materials but also the bench’s purpose, the environment it will live in, the weight it needs to support, and the aesthetic you want to achieve. A few hours spent sketching and calculating at the start will save many frustrating hours of rework later on, and it will make the finished piece something you are genuinely proud to show off.
Choosing the Right Materials for Your Bench
Material selection is arguably the single most important decision you will make in your bench build, because it directly affects durability, appearance, ease of construction, and cost. Solid wood remains the most popular choice among DIY bench builders because it is workable, beautiful, and, with proper finishing, extremely long-lasting. Common species include pine, which is affordable and widely available; oak, which offers impressive strength and a classic grain pattern; cedar, which is naturally resistant to moisture and insects and therefore excellent for outdoor benches; and poplar, which machines smoothly and takes paint exceptionally well.
For builders who want a more modern or industrial aesthetic, combining wood with metal hardware or even metal legs is a highly effective approach. Steel pipe legs paired with a thick reclaimed wood top have become a signature look in contemporary interior design, and they are easier to assemble than they appear. Reclaimed wood sourced from old barns, pallets, or salvage yards brings instant character and warmth while also being an environmentally responsible choice. Just be sure to inspect reclaimed lumber carefully for embedded nails, structural rot, or excessive warping before committing to it as your primary material.
Sheet goods such as plywood and MDF are worth considering for certain bench designs, particularly storage benches with paneled sides or upholstered tops. High-quality plywood is dimensionally stable, meaning it resists warping and splitting better than solid wood in environments with fluctuating humidity. When using plywood, choose hardwood plywood with a veneer face that matches the rest of your project for the most polished result. Edge banding or solid wood edge strips will conceal the layered plies and give the bench a finished, professional look from every angle.
- Pine: Budget-friendly, easy to cut and sand, ideal for painted finishes and indoor use.
- Oak: Dense and durable, excellent for high-traffic benches, takes stain beautifully.
- Cedar: Naturally weather-resistant, aromatic, perfect for garden and patio benches.
- Reclaimed Wood: Full of character and history, eco-friendly, requires careful preparation.
- Plywood: Stable and versatile, great for storage benches and painted projects.
Essential Tools and Safety Considerations
Having the right tools on hand before you begin is as important as selecting the right materials. For a basic bench build, you do not need an elaborate shop full of expensive machinery. A circular saw or miter saw for making clean, accurate cuts, a cordless drill for driving screws and boring holes, a sander or sanding block for smoothing surfaces, a tape measure, a square, and a set of clamps will get most builders through a straightforward bench project with excellent results. As your skills and ambitions grow, tools like a pocket hole jig, a router, and a bench vise will open up more sophisticated joinery and design possibilities.
Safety must never be treated as an afterthought in any woodworking project, no matter how simple it seems. Always wear safety glasses when cutting or drilling, because flying chips and sawdust pose a genuine risk to your eyesight. A dust mask or respirator is essential when sanding, especially with MDF, which produces fine particles that can be harmful to the lungs with repeated exposure. Keep your work area tidy and well-lit, and ensure that the material you are cutting is firmly secured before the blade makes contact. A moment of carelessness with power tools can result in a serious injury, so building good safety habits from the start is one of the best investments you can make as a DIY woodworker.
Understanding wood grain direction and how wood moves seasonally is a foundational piece of knowledge that will improve every project you undertake. Wood expands and contracts across its width as humidity levels change throughout the year, and a bench built without allowance for this movement can crack, warp, or have its joints pulled apart over time. Whenever you are attaching a solid wood top to a frame, use figure-8 fasteners, wooden buttons, or slotted screw holes rather than rigid screws driven straight through the frame. These simple hardware solutions allow the top to move naturally while remaining firmly attached to the base, giving your bench a much longer and more trouble-free life.
Step-by-Step Construction Process
Once your design is finalized, your materials are selected, and your tools are ready, the actual construction of your bench can begin. Start by cutting all of your pieces to length before assembling anything. This approach, sometimes called “batch cutting,” lets you double-check every measurement against your plan and ensures consistent dimensions across matching parts like legs and stretchers. Lay all of your cut pieces out on the floor in roughly the position they will occupy in the finished bench; this gives you a clear visual confirmation that everything is correct before the first screw or join is made permanent.
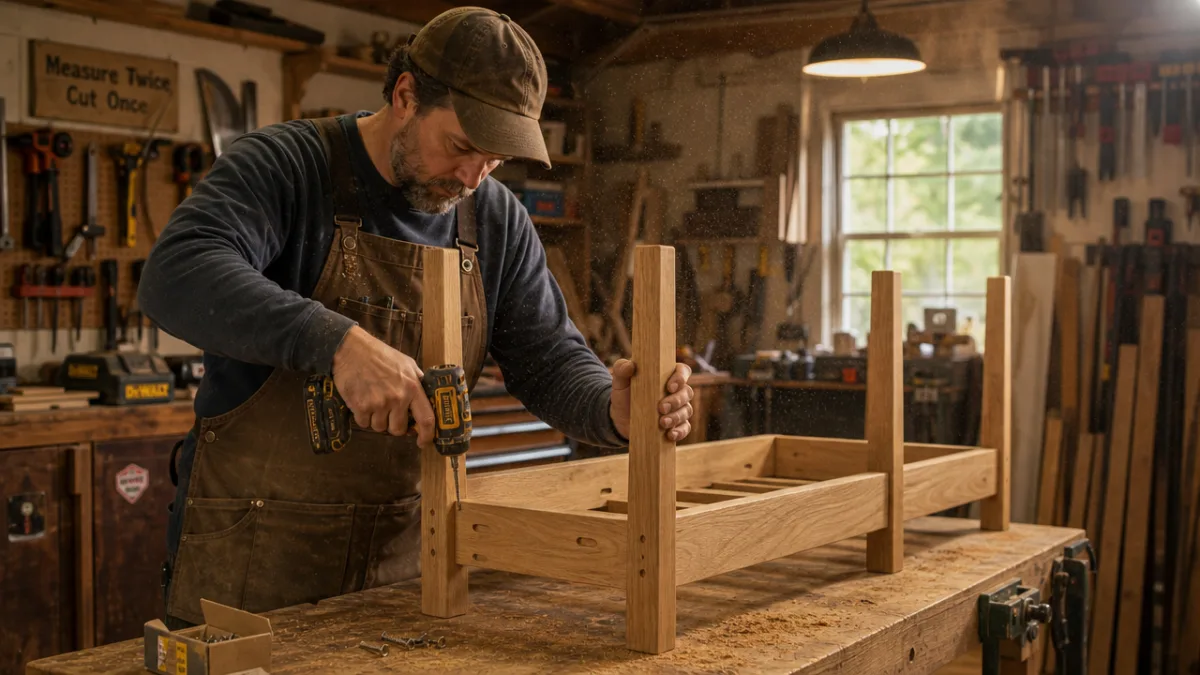
The legs and frame are the backbone of any bench, and this is where structural integrity is established. For a classic four-legged bench, the most beginner-friendly assembly method involves using pocket hole joinery to attach the side aprons to the legs, then connecting the two side assemblies with front and back aprons. Pocket holes, made with an inexpensive pocket hole jig, are fast, strong, and hidden inside the frame where they will never be seen. Once the base frame is assembled and confirmed to be square by measuring diagonally from corner to corner in both directions, it can be set aside while the top is prepared.
The bench top is often the most visually prominent element of the design, so it deserves careful attention. If you are gluing up multiple boards to form a wide top, use plenty of clamps and apply a thin, even bead of wood glue across the entire mating surfaces. Wipe away any glue squeeze-out immediately with a damp cloth before it has a chance to cure, because dried glue prevents stain from penetrating evenly. After the glue has cured for at least 24 hours, sand the top progressively through grits 80, 120, and 180, finishing with 220 grit for a silky smooth surface ready to accept your chosen finish.
- Cut all components to their final dimensions according to your plan.
- Sand all pieces through progressive grits before assembly for easier access.
- Assemble the leg-and-apron base using pocket screws or mortise-and-tenon joints.
- Check for square by measuring diagonally; adjust clamps if necessary before the glue sets.
- Glue up and flatten the bench top, then sand to 220 grit.
- Attach the top to the base using movement-allowing hardware.
- Apply your chosen finish in thin, even coats, sanding lightly between coats.
Attaching the top to the base is a step that many first-time builders rush, but taking it slowly pays real dividends. Position the top upside-down on your workbench, then place the base upside-down on top of it, centering it carefully with equal overhang on all sides. Use a pencil to mark the inside edges of the aprons onto the underside of the top, which will help you reposition everything correctly when it is time to drive the fasteners. Install your figure-8 fasteners or wooden buttons into the apron, then flip the whole assembly right-side up to check that the overhang is even and the bench looks exactly as you envisioned before the fasteners are fully tightened.
Finishing Techniques to Transform Your Bench
The finishing stage is where your bench truly comes to life, and it is also where many otherwise excellent builds are let down by rushed or poorly applied coatings. The right finish not only protects the wood from moisture, UV light, and daily wear but also dramatically enhances its natural beauty. For indoor benches, popular options include hardwax oils, which penetrate the wood and provide a natural matte look that is easy to touch up; polyurethane varnish, which forms a tough surface film ideal for high-use benches; and danish oil, which offers a middle ground of protection and warmth that suits a wide range of wood species.
For outdoor benches, the choice of finish is even more critical because the wood will be exposed to rain, sun, frost, and biological growth. Exterior-grade hardwax oils and teak oils are excellent for naturally oily woods like cedar and teak, keeping them hydrated and protected without forming a film that can peel or crack. For softer woods or painted outdoor benches, a high-quality exterior primer followed by two coats of exterior latex or oil-based paint will provide years of reliable protection. Regardless of the product you choose, applying thin coats and allowing adequate drying time between them will always produce a better result than attempting to cover everything in a single heavy application.
Paint opens up a world of creative possibilities that staining and clear finishing do not. A bench painted in a deep forest green, a classic navy, or a warm terracotta can become a genuine statement piece that anchors a room’s color palette or adds a vibrant accent to a garden. Chalk paint has become particularly popular for furniture projects because it adheres to most surfaces without extensive preparation, dries to a beautiful matte finish, and can be distressed or waxed to achieve a range of looks from shabby chic to modern Scandinavian. Whichever paint you choose, finish with a compatible topcoat or wax to seal the color and protect the surface from scuffs and moisture.
Creative Bench Design Variations and Inspiration
Once you have mastered the fundamentals of bench building, an exciting world of design variations opens up before you. The storage bench is one of the most practical adaptations: by adding a hinged lid or a set of drawers to the base, you transform a simple seat into a multifunctional piece of furniture that earns its place in any home. Entryway storage benches are enormously popular because they solve the perennial problem of where to put shoes, bags, and sports equipment near the front door, all while providing a comfortable place to sit while pulling on boots or tying laces.
Upholstered benches represent another wonderful avenue of exploration that brings textile design into the woodworking process. A firm foam pad covered in a durable fabric like canvas, linen, or even a performance velvet can transform a plain wooden top into something that invites you to sit and linger. The upholstery itself can be kept minimal and tailored, with a simple wrapped pad and discreet staples on the underside of the seat, or it can be more elaborate with piping, tufting, and even decorative nailhead trim. Combining an upholstered top with painted or stained legs and aprons allows you to bridge different design styles and create something that feels truly custom.
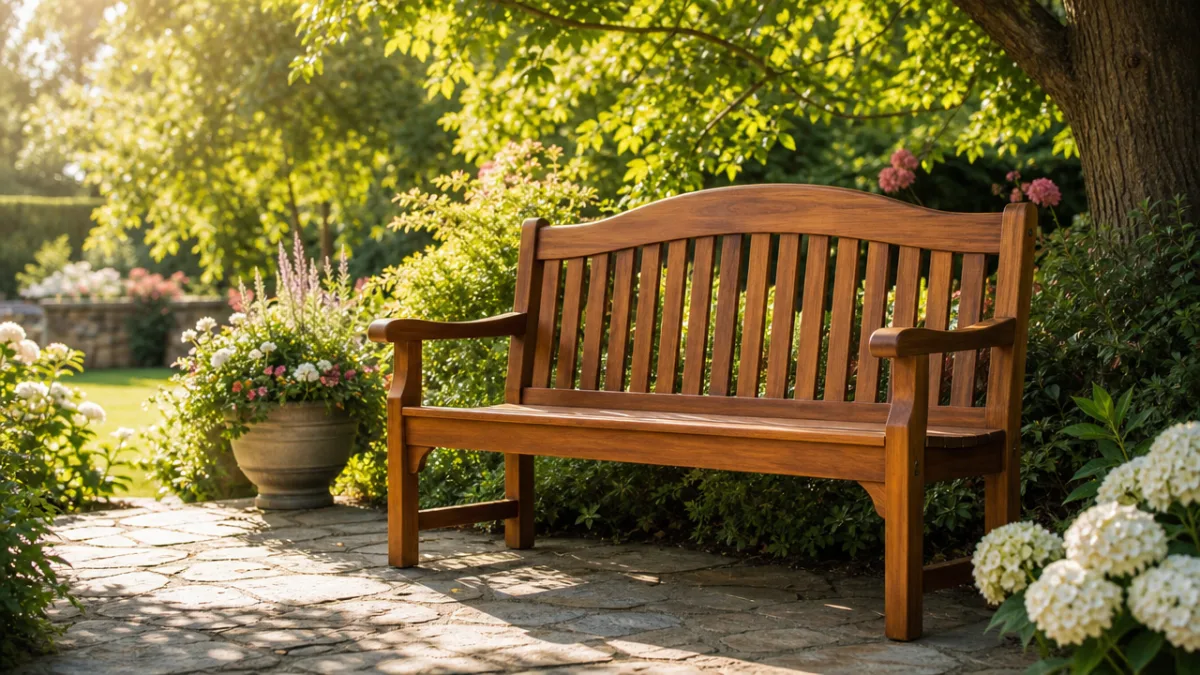
Garden and outdoor benches offer their own rich tradition of design that ranges from the rustic simplicity of a split-log seat to the refined geometry of a slatted teak garden bench. A curved backrest, decorative cutouts in the apron, scrolled armrests, or a mosaic tile inlay on the seat are all features that can elevate an outdoor bench from purely functional to genuinely beautiful. Building a matching set of benches for a dining table or a garden pergola gives any outdoor space a sense of cohesion and intentionality that ready-made furniture rarely achieves. The effort invested in building something by hand is repaid every time you see it and remember that you made it yourself.
Caring for and Maintaining Your Handmade Bench
A well-built and properly maintained bench can last for generations, becoming an heirloom piece that carries memories and meaning far beyond its practical function. The maintenance required depends primarily on the finish you applied and the environment the bench lives in, but a few universal practices will keep any bench looking its best. For indoor benches with oil or wax finishes, a light application of the appropriate refresher product once or twice a year is usually sufficient to keep the wood nourished and the surface protected against everyday knocks and spills. Polyurethane-finished benches require almost no maintenance beyond regular cleaning with a mild soap and water solution.
Outdoor benches demand more attention because the elements are relentless in their effects on wood and finish alike. At the end of each season, thoroughly clean the bench with a brush and soapy water to remove accumulated grime, algae, and mildew, then allow it to dry completely before assessing the condition of the finish. If the finish is peeling, fading, or no longer beading water effectively, it is time to sand lightly and apply a fresh coat of oil, stain, or paint. Storing outdoor benches in a covered area or under a breathable furniture cover during the harshest winter months will significantly extend their lifespan and reduce the maintenance work required each spring.
If your bench develops minor issues such as a loose joint, a small scratch, or a water ring on the surface, addressing them promptly before they worsen is always the wisest approach. Loose joints can often be re-glued without disassembly by injecting a small amount of wood glue into the gap and clamping until cured. Scratches in an oiled finish can be sanded out locally and re-oiled without refinishing the entire piece. Water rings in wax finishes often disappear with a fresh application of wax and a little buffing. The ability to repair your own furniture is one of the most empowering skills that DIY bench building teaches, and it gives your handmade piece a resilience and longevity that mass-produced furniture simply cannot match.








What do you think?
It is nice to know your opinion. Leave a comment.