










“`html
Understanding the Corner-to-Corner Crochet Technique
If you’ve spent any time in the crochet world, you’ve probably stumbled across corner-to-corner crochet — or C2C, as most people call it. It’s one of those techniques that looks almost impossibly intricate at first glance but makes a lot of sense once you understand what’s actually happening. Instead of working your rows straight across like you would with a traditional project, C2C builds fabric diagonally using small clusters of chains and double crochets that stack up into tidy little pixel-like squares. That diagonal structure gives finished pieces a really distinctive texture, and it’s what makes C2C so perfect for detailed color work — blankets with portraits, geometric designs, pop culture references, you name it.
Here’s the basic idea: C2C works on a grid, where every “pixel” in your design equals one C2C block. Each block is made with a chain-6 foundation joined with a slip stitch, then three double crochets worked into a chain-3 space. You start with a single block in one corner, increase diagonally until you hit the widest point in the middle of the project, then decrease back down to a single block in the opposite corner. That increase-then-decrease rhythm is exactly where the name comes from, and it gives the finished piece that satisfying diamond-shaped construction.
What really draws intermediate and advanced crocheters to C2C is the creative freedom it offers. Since every block functions like a single pixel in a grid, anything you can plot on graph paper can theoretically become a C2C project — simple chevrons, bold stripes, intricate mandalas, even photorealistic portraits. The technique adapts beautifully to different yarn weights and hook sizes too. But before you dive into anything complex, it’s worth spending time really understanding the structural logic behind the stitch. That foundation makes everything else so much easier.
Essential Materials and Tools for C2C Projects
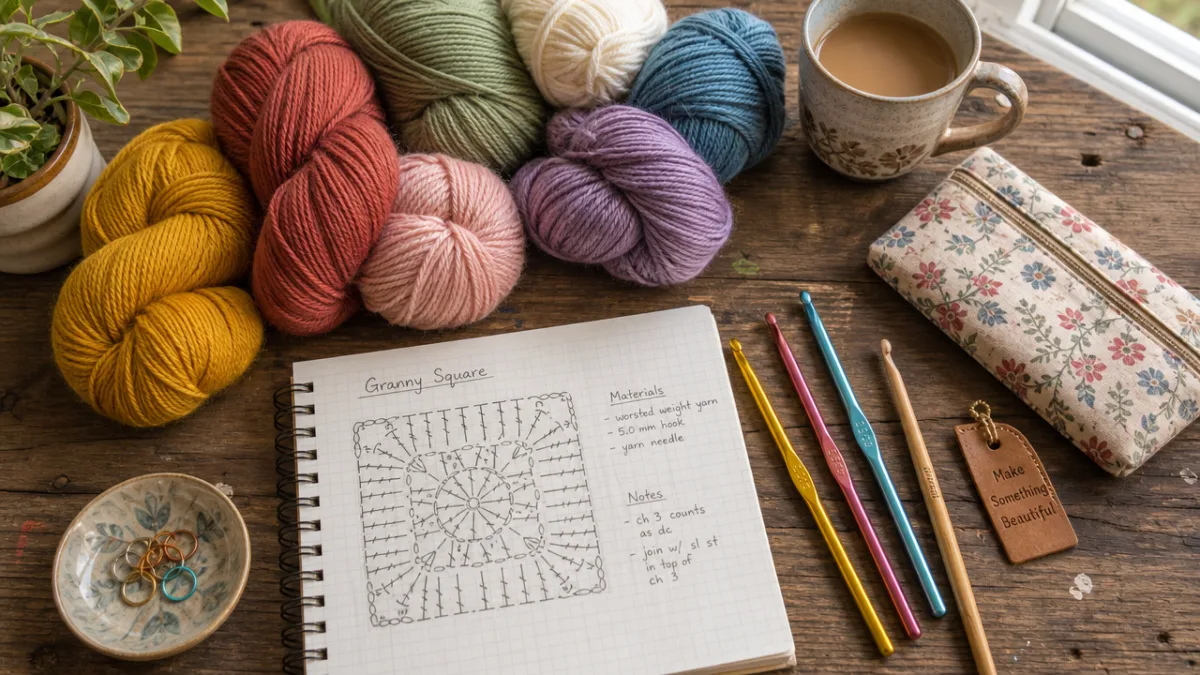
Getting your materials right makes a bigger difference in C2C than you might expect. If you’re moving past the beginner stage, a medium-weight worsted yarn — size 4 — paired with a 5mm or 5.5mm hook is honestly the sweet spot to start with. The blocks come out large enough that you can clearly see what you’re doing, count your stitches without squinting, and follow a graph without losing your mind. Once you’re more comfortable, you can branch out into lighter fingering weight for delicate baby blankets or grab something bulkier when you want a cozy throw that works up fast.
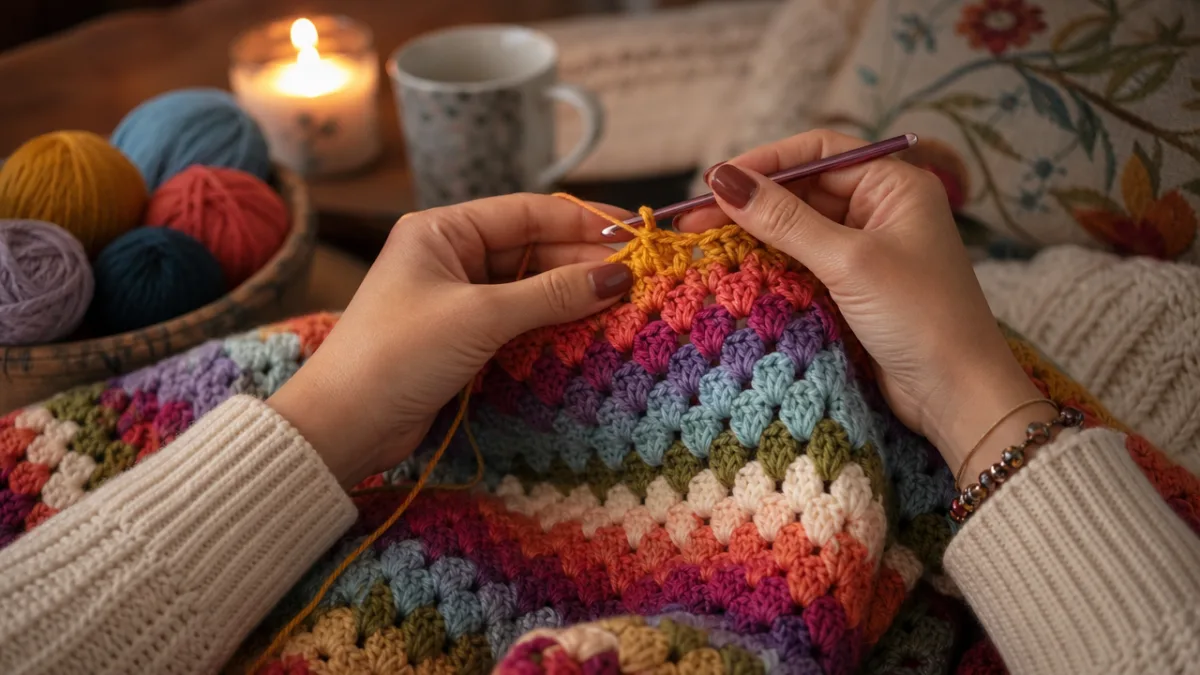
Color management is one of those things that experienced C2C crocheters talk about constantly — and for good reason, especially once you get into graphghans, the big pictorial blankets that have basically taken over every crochet corner of the internet. When you’re juggling multiple colors, you’ve got two main options: cut and rejoin with each color change, or carry the unused colors along the back of your work. Carrying yarn cuts down on the number of ends you’ll need to weave in and keeps the back looking neater, but if you pull it too tight, it’ll mess with your tension. Bobbins or yarn butterflies are genuinely worth the investment here — they keep your strands from turning into a tangled nightmare as you work through complex rows.
Beyond yarn and hooks, a handful of other tools will save your sanity on bigger C2C projects. A printed or digital graph is a must — lots of crocheters like to print theirs out and physically cross off or highlight each block as they finish it. Stitch markers are great for keeping your count on long rows, and a row counter (a clicker or a phone app both work fine) means you’ll never lose your place. A tapestry needle for weaving in all those ends is non-negotiable, and a blocking mat with rust-proof pins will help your finished piece lie flat and really show off the design the way it deserves.
Mastering Color Changes and Graphghans
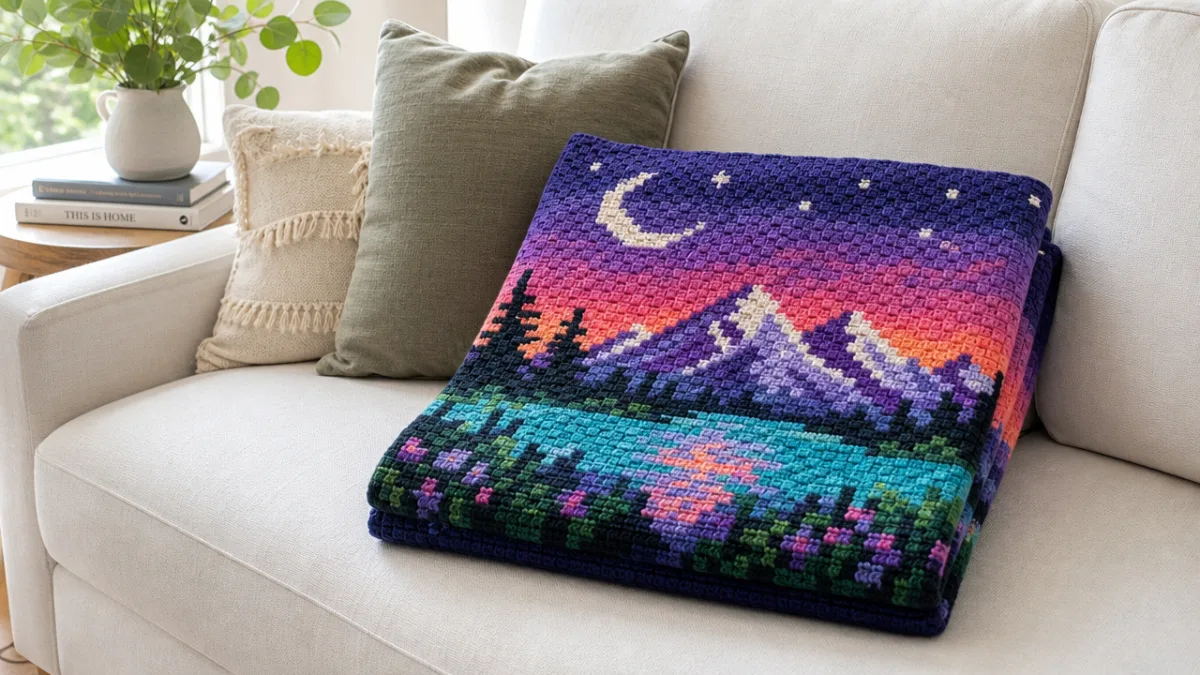
If C2C has a crown jewel, it’s the graphghan — and the skill that unlocks the whole thing is nailing your color changes. A graphghan is essentially a C2C blanket worked from a pixelated graph, and the design can be anything: a beloved character, a family portrait, a landscape, something totally abstract. To make your own graph, free tools like Stitch Fiddle work really well, or you can use something like Adobe Illustrator to convert an image into a pixel grid sized to your blanket dimensions. A good rule of thumb is to aim for somewhere between 80 and 200 squares per side for a standard throw, depending on your yarn weight.
When you’re actually working through the color changes, there’s a specific technique that keeps everything looking clean and intentional. The change happens at the very last yarn over of the final double crochet in a block — you pull through the loop with your new color instead of the current one. That way the top of each stitch shows the right color, which matters a lot when your design has fine lines or tight details. Even if you’ve been crocheting for years, it’s worth working a small practice swatch before starting a big project. The timing catches people off guard more often than you’d think.
Keeping your tension consistent across a whole graphghan is the other big challenge — the thing that separates a polished finished piece from one that puckers and pulls. With all the color switches and potentially multiple carried strands, it’s easy to either pull too tight or leave too much slack around the joins. Blocking is your best friend here. Washing the finished blanket and pinning it flat while it dries evens out most tension issues and gives the design really crisp, defined edges. A lot of experienced C2C crocheters also make a habit of laying their work-in-progress flat on a table every so often just to check for distortion — much easier to catch early than to try to fix everything at the very end.
Advanced C2C Techniques: Texture, Shape, and Structure
Once you’ve got the standard C2C block and color changes feeling comfortable, there’s a whole lot more to explore. One of the most popular variations is the mini C2C, which swaps the chain-6 and double crochets for chain-3 and single crochets. The smaller block gives you a tighter fabric with more detail in the pixel work, which is ideal when you want finer resolution in a graphic design or a denser, warmer textile overall. It’s a particular favorite for baby items — loveys, lap blankets — where a softer drape and smaller block are exactly what you want.
Texture is another avenue worth experimenting with. Double crochets are the standard, but swapping them out changes the whole feel of the fabric. Half double crochets give you a slightly shorter, denser block; extended double crochets make things taller and airier. You can even work bobbles or popcorns into individual blocks for three-dimensional accent squares that literally pop off the surface — a striking effect when used sparingly as highlight points within a larger design. These variations work best when the rest of the piece uses the standard block, so the altered squares really stand out.
Shaping C2C beyond the usual square or rectangle opens up even more possibilities. By controlling where and how you increase and decrease, you can create triangles, hexagons, and tapered shapes like shawls and scarves. A C2C triangle shawl, for example, is as simple as working through just the increase section of a standard project and binding off there — no decrease phase needed. The result is a beautiful diagonal fabric that drapes elegantly off the shoulders. A C2C infinity scarf is another fun one: work a long, narrow rectangle and seam the short ends together, and you’ve got a seamless loop with that gorgeous diagonal texture running all the way around.
Finishing Techniques and Professional Presentation
Finishing is where a good C2C project becomes a great one, and honestly, most of what separates the two comes down to patience and a few smart techniques. Weaving in ends is nobody’s favorite task, but with all the color changes in a typical C2C project, you’re going to have a lot of them — and how you handle them matters. Rather than just running each end in one direction, weave it back and forth in a zigzag through the back loops of nearby stitches. It sounds like extra work, but it keeps ends from working loose over time and through the wash. Splitting the yarn plies in different directions adds another layer of security, which is especially valuable for something like a baby blanket that’s going to see a lot of laundering.
Adding a border is both practical and genuinely fun. Because C2C fabric is built diagonally, the raw edges have a notched, uneven look that really does need some kind of edging to look finished. A simple single crochet border all the way around — with three single crochets at each corner to keep things lying flat — is a solid, clean starting point. From there, you can go as simple or as decorative as you like: a shell stitch border, a picot edge, a moss stitch frame. Color choice matters here too. A neutral that picks up the background of your design tends to look polished and intentional, while a bold contrasting border can make the whole piece really pop.
Blocking deserves its own moment in any C2C conversation, because it genuinely transforms a finished piece. Wet blocking — soaking the project in cool water, gently squeezing out the moisture, and pinning it flat to dry — can take something that looks a bit rumpled and uneven and turn it into a perfectly flat, beautifully tensioned showstopper. For natural fibers like cotton and wool, wet blocking is especially powerful, since the fibers actually relax and even out in a way that steaming alone can’t achieve. Acrylic yarns can be steam-blocked with a garment steamer held a few inches above the surface, but don’t let the iron actually touch the yarn — it can permanently damage the fibers, leaving the fabric limp and lifeless.
Finding Inspiration and Growing as a C2C Crocheter
The C2C community online is genuinely one of the warmest, most generous corners of the fiber arts world. Pinterest, Instagram, Ravelry, and dedicated Facebook groups are full of free patterns, graphghan designs, and tutorials for every skill level you can imagine. Following designers and makers whose work excites you is a great way to stay motivated and see how people are pushing the technique in new directions. Plenty of designers also sell original graph designs on Etsy — everything from pop culture icons and sports logos to fine art reproductions and custom family portraits — which has become a meaningful gift tradition all on its own and has brought a lot of new people into the craft.
As your skills grow, try giving yourself intentional creative challenges rather than always following someone else’s pattern. Design your own graphs from scratch, play with unexpected color combinations, or try translating a painting or photograph you love into a C2C format. Working through how to turn a complex image into a workable pixel grid is a surprisingly rich creative exercise — it trains your eye for color, value, and composition in ways that simply following instructions never quite does. A lot of accomplished C2C artists describe this part of the process as almost meditative, a kind of visual problem-solving that engages the logical and artistic parts of your brain at the same time.
And don’t underestimate the joy of sharing what you make. Whether you post your finished pieces online, teach a friend the basics, or donate a graphghan to a local shelter or fundraiser, putting your work out into the world keeps the craft alive. Many community centers, hospitals, and shelters actively welcome handmade blankets, and a cheerful C2C design can bring genuine comfort to someone who really needs it. There’s something meaningful about all the hours of skill and care that go into a hand-crocheted piece — it’s a form of generosity that goes beyond the object itself, and that spirit of giving is really at the heart of what makes the crochet community so special.
“`








What do you think?
It is nice to know your opinion. Leave a comment.