










How to Wash Handmade Plushies: The Complete Guide to Keeping Your Soft Friends Clean and Beautiful
Why Hand Washing Is the Gold Standard for Handmade Plushies
Handmade plushies are not your average mass-produced stuffed animals. They are crafted with care, often using delicate fabrics like minky, fleece, velvet, or even wool felt, and held together with hand-stitched seams that may not have the industrial reinforcement of factory-sewn toys. When you toss a beloved handmade plushie into a washing machine, you are essentially subjecting hours of artisan work to a violent tumbling motion that can stretch seams, distort shapes, snag embroidered features, and cause irreversible pilling or matting on the fabric surface. The gentle approach is not just a suggestion — it is a genuine act of preservation for something made with love.
Machine washing creates problems that go beyond simple surface damage. The agitation cycle can loosen stuffing unevenly, leaving your plushie lumpy and misshapen. Plastic safety eyes, wire armatures, or weighted pellets inside some handmade plushies can be damaged or shifted by machine cycles, compromising both the aesthetics and the safety of the toy. Hot water, even on a gentle machine cycle, can cause certain dyes to bleed, particularly in hand-dyed fabrics or those purchased from smaller indie suppliers who may use fiber-reactive or natural dyes that behave differently than commercial colorfast treatments.
Hand washing, on the other hand, gives you complete control over every stage of the cleaning process. You decide the water temperature, the amount of agitation, the pressure applied to specific areas, and the duration of soaking. This level of control is invaluable when you are dealing with a one-of-a-kind item that cannot simply be replaced if damaged. Many plushie makers and collectors treat hand washing as a form of ongoing care rather than a last resort, incorporating it into a regular maintenance routine that keeps their pieces looking fresh for years or even decades.
What You Will Need Before You Begin
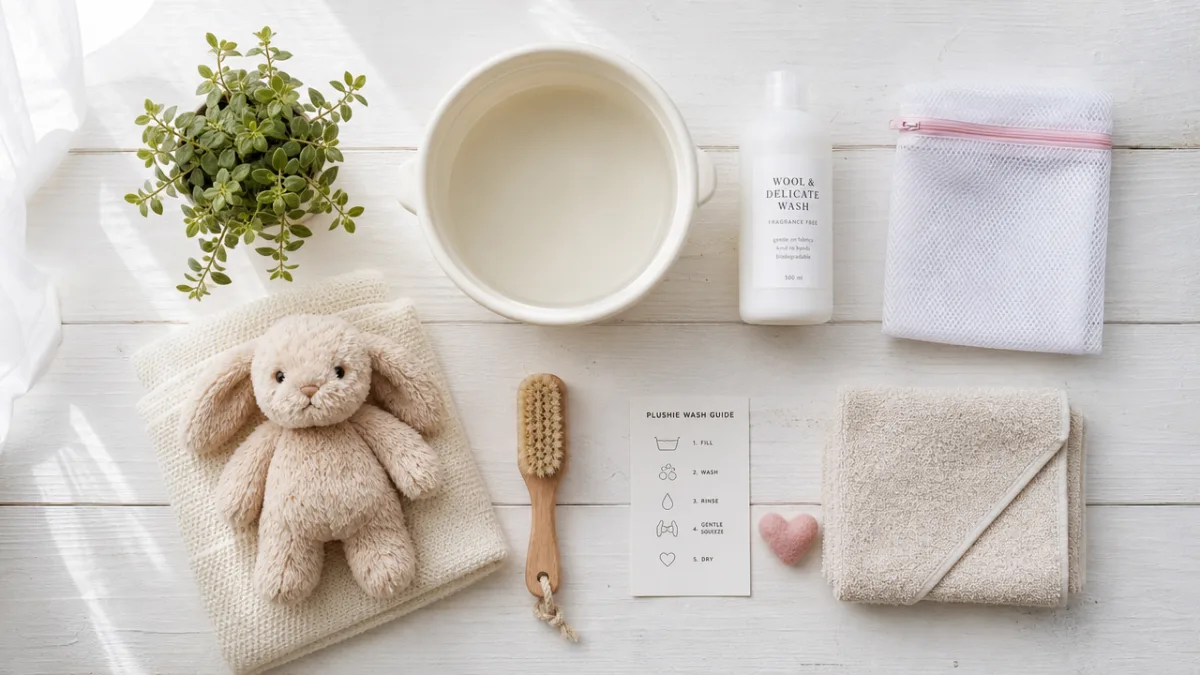
Gathering the right supplies before you start makes the entire process smoother and reduces the risk of making a mid-wash decision that could harm your plushie. The most important item on your list is a gentle, dye-free, fragrance-free soap. Baby shampoo is a perennial favorite among plushie crafters and collectors because it is formulated to be mild enough for sensitive skin, which means it is similarly kind to delicate fabrics. Woolite or other wool-safe detergents are also excellent choices, particularly if your plushie contains any animal fibers. Avoid heavy-duty dish soaps, bleach-containing cleaners, or anything with optical brighteners, which can alter the appearance of colored fabrics over time.
You will also want to have on hand a clean basin or sink large enough to fully submerge your plushie, several clean white towels or microfiber cloths, and a drying rack or clean flat surface where the plushie can rest while drying. White towels are preferable because colored towels can sometimes transfer dye onto wet fabric, especially if your plushie has light or white sections. A soft-bristled toothbrush or a baby hairbrush can be useful for working soap gently into particularly soiled areas or for fluffing pile fabrics during or after washing.
If your plushie has embroidered details, painted features, or any embellishments like bows, buttons, or sewn-on accessories, take a moment to assess these before you begin. Some embellishments may need to be removed before washing, or at least treated with extra care. A small bowl of clean cold water nearby is useful for spot-testing a hidden area of the fabric before committing to a full wash, especially if this is the first time you are washing this particular plushie. Preparation is genuinely the difference between a successful clean and an unfortunate disaster.
- Gentle baby shampoo, Woolite, or a mild wool-safe detergent
- A clean basin, sink, or large bowl
- Several clean white towels or microfiber cloths
- A soft-bristled toothbrush or baby hairbrush
- Cool to lukewarm water (never hot)
- A flat drying surface or clean drying rack
- Optional: a mesh laundry bag for extra protection during any rinsing steps
Step-by-Step Instructions for Hand Washing Your Plushie
Begin by filling your basin with cool or lukewarm water. Hot water is the enemy of plushie fabric for several reasons: it can cause shrinkage in certain materials, accelerate color bleeding, and break down the adhesives used in some safety eyes or nose fittings. Add a very small amount of your chosen gentle soap — typically a teaspoon or less is sufficient for a single plushie. Swirl the water gently with your hand to distribute the soap evenly before introducing the plushie. You want a slightly sudsy solution, not a mountain of foam, because excess soap is difficult to rinse out completely and can leave a residue that attracts more dirt over time.
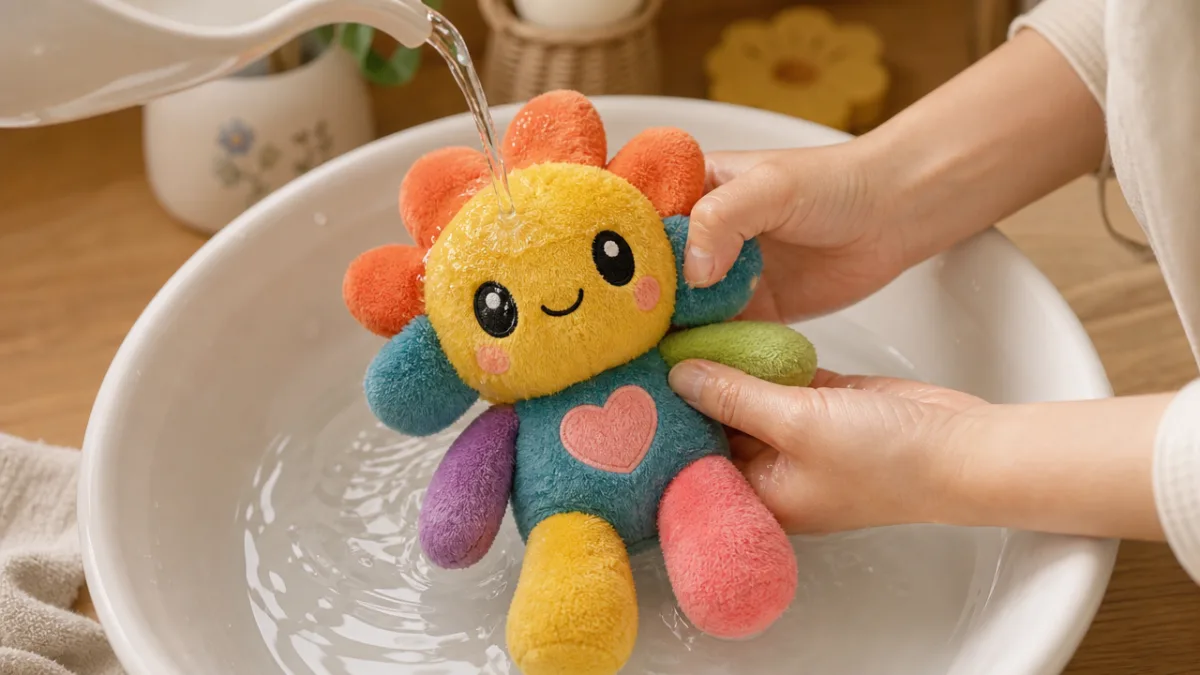
Submerge your plushie gently into the soapy water and allow it to soak for five to ten minutes. This pre-soak helps loosen surface dirt, dust, and oils without any vigorous scrubbing. During this time, you can gently squeeze the plushie to help the soapy water work its way into the stuffing and throughout the fabric. Avoid twisting or wringing the plushie, as this places undue stress on the seams and can distort the shape. Instead, think of a gentle, rhythmic compression — squeeze and release, squeeze and release — working your way from one end of the plushie to the other.
For any visibly soiled spots, take your soft toothbrush and work a tiny additional dab of soap directly into the area using small, circular motions. This targeted treatment is far more effective than general soaking for stubborn stains like food residue, ink, or dried mud. Work gently and patiently rather than scrubbing hard, which can damage the fiber structure or fray embroidery floss. Once you have addressed the specific problem areas, do a final gentle overall squeeze of the plushie in the soapy water to ensure the cleaning solution has reached every part of the piece.
- Fill the basin with cool or lukewarm water and add a small amount of gentle soap.
- Submerge the plushie and allow it to soak for five to ten minutes.
- Gently squeeze and compress the plushie throughout the soaking period.
- Use a soft toothbrush to work on any particularly soiled or stained areas.
- Drain the soapy water and refill the basin with clean, cool rinse water.
- Squeeze the plushie repeatedly in the rinse water until no soap remains.
- Repeat the rinse cycle as many times as needed until the water runs clear.
- Gently press excess water out of the plushie without twisting or wringing.
The Rinsing Process: Getting Every Last Trace of Soap Out
Rinsing is perhaps the most underestimated step in the entire process, and skipping it properly is one of the most common mistakes people make when hand washing plushies. Soap residue left in fabric does not simply disappear as it dries — it remains in the fibers and can cause stiffness, color dulling, and even skin irritation if the plushie is a child’s toy that gets cuddled, chewed on, or pressed against faces regularly. Thorough rinsing is not optional; it is fundamental to a truly clean result.
Drain your soapy water and refill the basin with fresh, clean, cool water. Submerge the plushie again and repeat the gentle squeezing motions you used during the wash phase, this time to expel the soapy water from the stuffing and fabric. You will likely notice that the rinse water becomes slightly cloudy or sudsy after just a few compressions, which is normal — it simply means the rinse water is doing its job by drawing out the remaining soap. Drain and refill the basin, then repeat this process. Most plushies require at least two to three complete rinse cycles before the water stays clear, and thickly stuffed plushies may need four or five rounds.
Once the rinse water runs completely clear and you can no longer detect any soapy slipperiness when you handle the fabric, you are ready to move on to water removal. Place the plushie on a clean dry towel and fold the towel over it, pressing firmly and evenly to absorb as much water as possible. You can gently roll the towel around the plushie and apply pressure, but resist the urge to wring or twist. The goal at this stage is simply to reduce the amount of moisture the plushie carries into the drying phase, which will shorten overall drying time and reduce the risk of mildew developing inside the stuffing before the interior fully dries.
Drying Your Plushie Safely and Effectively
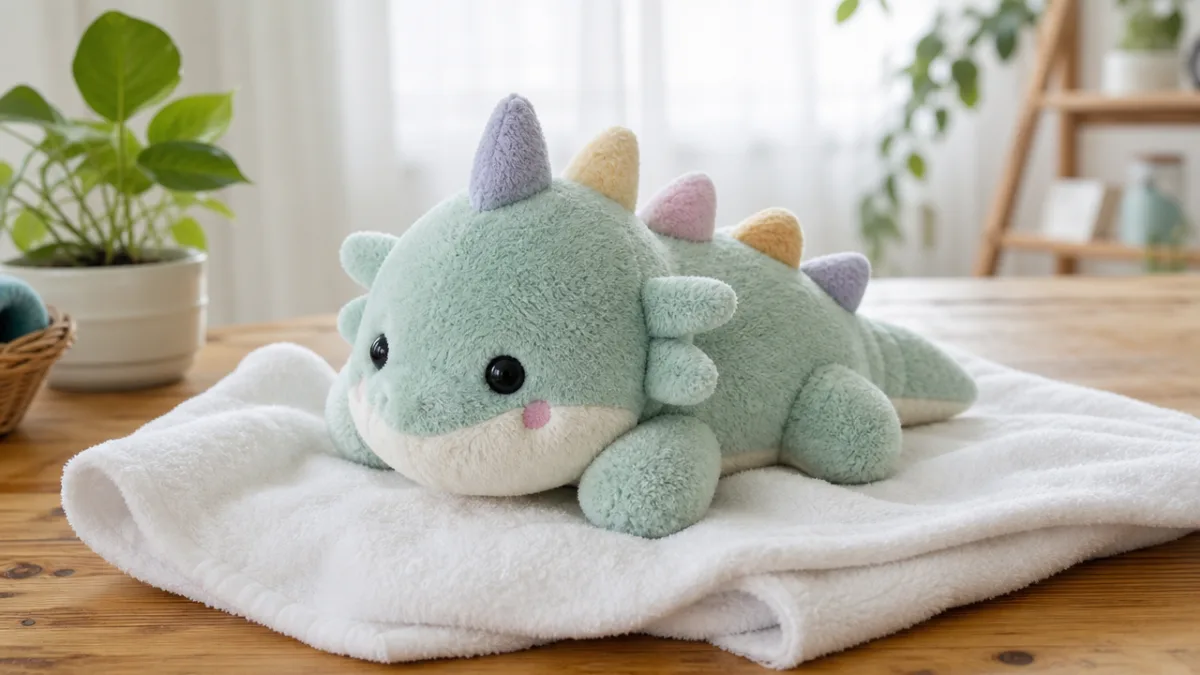
Drying is where patience truly becomes a virtue, and rushing this step can cause problems that are just as serious as washing incorrectly. The ideal method for drying most handmade plushies is air drying on a flat surface, which allows the piece to retain its intended shape without the distorting effects of gravity if hung vertically or the heat damage risk of machine drying. Lay your plushie on a clean dry towel on a flat surface in a well-ventilated room, and flip it every few hours to ensure all sides dry evenly. Depending on the size of your plushie and the thickness of its stuffing, complete air drying can take anywhere from twelve hours to a full two days.
While the plushie is still slightly damp, you have an excellent opportunity to reshape it. Gently massage and mold the piece back into its intended form with your hands, fluffing out any areas that have compressed during washing, repositioning limbs or ears that may have shifted, and smoothing any seam lines that have puckered slightly from the water. This reshaping window is brief — once the plushie is fully dry, the fabric will have set in whatever position it was left in — so take advantage of it every time you flip the plushie during the drying process rather than waiting until the end.
For plushies made with pile fabrics like minky or velboa, use a soft baby hairbrush or a pet slicker brush to gently brush the pile back up as the fabric dries. These materials have a natural nap that can become flattened or matted during washing, and a gentle brushing while the fabric is still slightly damp encourages the fibers to stand up and regain their characteristic plush softness. Brush in the direction of the pile with light, short strokes rather than dragging the brush in multiple directions, which can cause the fibers to tangle or shed. The result, once fully dry, will be a plushie that looks and feels as close to new as possible.
Avoid placing your plushie in direct sunlight to dry, even if you are in a hurry. UV exposure can fade colored fabrics significantly, particularly pastels, brights, and black fabrics, which tend to be dyed with pigments that are especially susceptible to sun bleaching. Similarly, avoid placing the plushie near a direct heat source like a radiator, space heater, or heat vent, as concentrated heat can melt certain synthetic fibers, warp plastic components, and cause the stuffing to clump. Patience and good air circulation are your best allies at this stage.
Special Considerations: Embellishments, Electronics, and Weighted Plushies
Not all handmade plushies are created equal in terms of their washing requirements, and understanding the special needs of more complex pieces can save you from accidentally destroying something irreplaceable. Plushies with electronic components — such as those that play sounds, light up, or vibrate — should never be submerged in water under any circumstances, full stop. For these pieces, surface cleaning with a barely damp cloth and a tiny amount of gentle soap is the only safe approach. You can clean the fabric portions carefully while avoiding any battery compartments, speaker grills, or seam areas where electronic components might be accessible.
Weighted plushies, which contain small pellets or beads in their bodies, paws, or bases to give them a satisfying heft, require extra attention during the drying process. The pellets inside can trap moisture and take a very long time to dry thoroughly, creating ideal conditions for mold or mildew growth inside the plushie if you are not careful. After washing a weighted plushie, spend additional time pressing water out through the fabric in the areas where the weights are concentrated, and consider placing the plushie in a warm (not hot) room with a fan nearby to encourage faster air circulation. Gently shake the plushie periodically as it dries to redistribute the pellets and prevent them from clumping in one spot.
Plushies with glued-on features, heat-transferred details, or fused fabric embellishments present their own set of challenges. Water can soften certain adhesives, causing decorative elements to peel away or shift during washing. If your plushie has any glued components, spot cleaning is strongly recommended over full submersion. Use a damp cloth dampened with your gentle soap solution and work carefully around the embellishments rather than over them. This targeted approach keeps the structural integrity of the decorative features intact while still allowing you to clean the surrounding fabric effectively.
- Electronic plushies: Surface clean only with a barely damp cloth; never submerge.
- Weighted plushies: Wash normally but extend drying time significantly and use a fan to encourage airflow.
- Embellished plushies: Spot clean around glued or fused details rather than soaking the entire piece.
- Wire-armature plushies: Handle extra gently to avoid bending the internal wire structure during washing.
- Vintage or fragile plushies: Consider consulting the original maker before washing for the first time.
Maintaining Your Plushie Between Washes
Regular maintenance between full washes is one of the best ways to extend the time between necessary cleanings and keep your plushie looking its best with minimal effort. A simple habit of spot cleaning small marks as soon as they appear prevents stains from setting into the fabric and becoming much harder to remove later. Keep a small spray bottle of diluted gentle soap solution and a clean white cloth near your plushie display or in a drawer nearby so that a quick touch-up is always within reach. Fresh stains almost always respond better to immediate treatment than dried, set-in ones.
Dust is a surprisingly significant concern for plushies, particularly those displayed on shelves rather than stored or actively played with. Dust settles into pile fabrics and embroidery details, dulling their appearance and potentially triggering allergies in sensitive individuals. A gentle pass with a handheld lint roller every week or two can do wonders for keeping a displayed plushie looking fresh. Alternatively, a soft makeup brush or clean pastry brush makes an excellent dust-removal tool for getting into the crevices around ears, between limbs, and along embroidered details without disturbing the fabric surface.
Storage conditions matter enormously for the long-term preservation of handmade plushies. Keep plushies away from direct sunlight, which causes fading, and away from areas with high humidity, which can encourage mold growth in natural fiber stuffings. If you are storing a plushie for an extended period, place it inside a breathable cotton bag or acid-free tissue paper rather than a sealed plastic bag, which can trap moisture and promote mildew. Cedar blocks or lavender sachets placed nearby — but not touching the plushie directly — can help deter insects like moths that are attracted to natural fiber materials. With the right care habits in place, your handmade plushies can remain beautiful and treasured for many years to come.








What do you think?
It is nice to know your opinion. Leave a comment.