










Outdoor Storage Bench: Build a Beautiful DIY Backyard Box with Hidden Storage
Why Every Backyard Needs a Storage Bench
If you’ve ever looked out at your backyard and felt overwhelmed by the clutter of garden tools, outdoor cushions, pool toys, and sports equipment scattered around, you’re not alone. Outdoor spaces have a way of accumulating things quickly, and without a smart storage solution, even the most lovingly tended yard can start to feel chaotic. A DIY outdoor storage bench solves this problem beautifully by combining two essential elements — seating and storage — into one handsome, hardworking piece of furniture.
What makes a storage bench particularly brilliant for outdoor living is its dual functionality. Unlike a plain storage box that sits in a corner and serves only one purpose, a storage bench invites people to sit, linger, and enjoy the space. You can place it on a porch, along a fence line, at the edge of a deck, or near a garden gate, and it will look intentional and polished rather than utilitarian. Guests will see a charming piece of outdoor furniture; only you will know it’s secretly hiding an entire season’s worth of gear beneath that lid.
Building your own storage bench also gives you complete control over the dimensions, materials, and finish. Store-bought outdoor benches with storage are often too small, poorly constructed from low-grade materials, or priced far beyond what the quality warrants. When you build it yourself, you can size it exactly to your space, choose weather-resistant lumber that will hold up for years, and customize the look to match your home’s exterior style. The sense of pride and accomplishment that comes from sitting on something you built with your own hands is genuinely unmatched.
Planning Your Build: Dimensions, Materials, and Tools
Before you make a single cut, spending time in the planning phase will save you frustration, money, and wasted lumber down the road. Start by deciding where you want the bench to live permanently, then measure that space carefully. A typical outdoor storage bench runs between 48 and 60 inches in length, about 18 to 20 inches in depth, and sits at a comfortable seat height of 17 to 19 inches. These dimensions create a bench that accommodates two to three adults comfortably while providing a generous storage cavity beneath the seat.
For outdoor projects, material selection is everything. Cedar and redwood are perennial favorites because they contain natural oils that resist moisture, insects, and rot without requiring constant treatment. Pressure-treated pine is another excellent choice — it’s widely available, budget-friendly, and treated to withstand ground contact and prolonged exposure to rain and humidity. If you prefer a more refined finish, select-grade cedar boards are smooth, easy to work with, and take paint or stain beautifully. Avoid standard untreated pine or whitewood for outdoor projects, as they will soak up moisture and begin warping and splitting within a season or two.
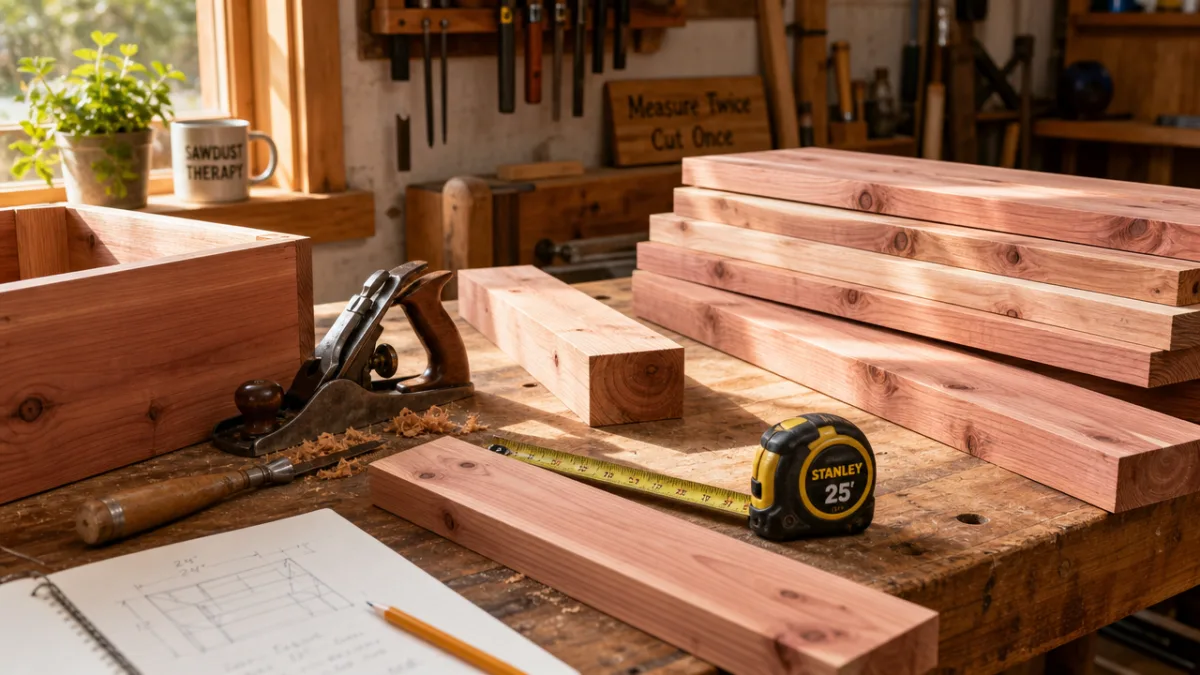
Gathering your tools ahead of time makes the build go smoothly. Here’s what you’ll want to have on hand before you start:
- Circular saw or miter saw for making clean, accurate cuts
- Drill and a set of drill bits in varying sizes
- Pocket hole jig for strong, concealed joinery
- Measuring tape, speed square, and a pencil for marking
- Clamps to hold pieces in place while fastening
- Sandpaper in 80-grit, 120-grit, and 220-grit for finishing
- Exterior wood screws in 1-1/4 inch and 2-1/2 inch lengths
- Piano hinge or two heavy-duty lid support hinges
- Exterior wood glue for reinforced joints
- Paint, stain, or exterior sealer in your chosen finish
Having everything staged and ready before you begin is a small habit that makes a significant difference in the flow and enjoyment of the project. Professional woodworkers call this mise en place — everything in its place before the work begins — and it applies just as powerfully in the workshop as it does in the kitchen.
Step-by-Step Construction Process
Begin by cutting all your lumber to length according to your plan before you start assembling anything. This approach, sometimes called “batch cutting,” lets you work efficiently and verify all your measurements while the pieces are still flat on your work surface. Cut two identical side panels first, then your front and back panels, your bottom panel, and finally the seat lid. Label each piece with painter’s tape and a marker so you don’t mix them up during assembly. Double-checking that opposite pieces are truly identical in length will prevent frustrating alignment issues later.
Use a pocket hole jig to drill pocket holes along the edges of your front, back, and bottom panels. Pocket hole joinery is a beginner-friendly technique that creates strong, tidy connections without requiring advanced woodworking skills. Apply a thin bead of exterior wood glue to each joint before driving in the screws — the combination of glue and mechanical fastening creates a bond that will hold up through seasons of temperature swings, rain, and heavy use. Assemble the main box by attaching the front and back panels to the side panels first, then drop in and secure the bottom panel from below.
Once the main box is assembled, take a moment to check it for square by measuring diagonally from corner to corner in both directions. If the two diagonal measurements match, your box is perfectly square. If they differ, apply gentle pressure to the longer diagonal while the glue is still slightly pliable, or loosen and reposition the screws before they fully set. A square box is critical because an out-of-square carcass will cause the lid to sit crookedly and gaps to appear at the joints — problems that are much easier to address at this stage than after everything has dried.
Building the seat lid is perhaps the most satisfying part of the project. You can construct it as a simple flat panel, or add a frame around the perimeter for a more refined, furniture-like appearance. A framed lid — sometimes called a rail-and-panel design — adds visual weight and structure that helps the lid resist warping over time. After assembling the lid, attach it to the back of the bench using a piano hinge that runs the full length of the bench, or use two heavy-duty surface-mount hinges spaced evenly. Add a pair of lid-support chains or dedicated lid-stay hardware to prevent the lid from flopping backward and straining the hinges.
Finishing Touches That Make It Look Professional
The difference between a bench that looks homemade and one that looks like it came from a high-end outdoor furniture shop often comes down entirely to the finishing process. Begin with thorough sanding, working through progressively finer grits. Start with 80-grit to remove any saw marks or rough spots, move to 120-grit to smooth the surface, and finish with 220-grit for a silky result that will accept paint or stain evenly. Pay special attention to the edges and corners — rounding them ever so slightly with sandpaper softens the look and prevents splinters.
For paint, choose an exterior-grade formula specifically designed for wood. Exterior paints contain additives that help them expand and contract with wood as temperatures change, resist mildew, and hold their color despite UV exposure. Apply a primer coat first, allow it to dry fully, sand lightly with 220-grit, then apply two finish coats, allowing each to dry completely between applications. For a stained look that shows off the natural wood grain, use an exterior deck stain or a penetrating oil finish followed by a UV-resistant topcoat. Whatever finish you choose, coverage on all six sides of every board — including the bottom of the bench — is essential for preventing moisture intrusion.
Small hardware choices make a surprisingly large impact on the final appearance. Opt for stainless steel or zinc-plated hardware throughout, as these finishes won’t rust and leave streaky stains on your paint or stain. Consider adding rubber feet to the bottom of the bench to elevate it slightly off the deck or patio surface — this simple addition dramatically improves airflow beneath the bench and prevents moisture from being trapped between the wood and the surface below, which is one of the most common causes of premature rot on outdoor furniture. A simple rope handle, a forged iron ring pull, or a leather strap attached to the lid also adds a charming artisan detail.
Weatherproofing and Long-Term Maintenance
Building a beautiful outdoor storage bench is only half the job — protecting it from the elements ensures it will serve your family for many years rather than just a single season. Wood is a living material that breathes, absorbs moisture, and reacts to temperature changes. Proper weatherproofing creates a protective barrier between the raw wood and the rain, humidity, UV radiation, and freeze-thaw cycles that work to break it down over time. This is especially important for the interior of the storage cavity, which many first-time builders forget to finish, leaving raw wood exposed to the damp cushions and gear stored inside.
At a minimum, apply a coat of exterior sealer or deck finish to all surfaces of the bench, including the inside walls and floor of the storage box. For an even more durable interior, consider lining the inside bottom with a piece of marine-grade plywood or applying a coat of waterproofing deck paint. Adding a small strip of weather stripping foam tape around the perimeter of the lid opening creates a tighter seal that keeps rain and insects out of your stored items. Some builders also drill a few small drainage holes in the bottom of the box as a last line of defense against water pooling inside if the lid is ever left open during a rainstorm.
Establish a simple annual maintenance routine to keep your bench looking its best. Each spring, inspect the bench for any areas where the finish has worn, cracked, or peeled, and touch up those spots before moisture can penetrate. Check all screws and hardware for signs of corrosion and replace anything that looks compromised. A light sanding followed by a fresh coat of your chosen exterior finish every two to three years will keep the wood protected and the color vibrant. Stored properly through the winter — either under a breathable furniture cover or moved to a sheltered location — a well-built cedar or pressure-treated bench can easily last fifteen to twenty years.
Creative Ways to Customize and Style Your Bench
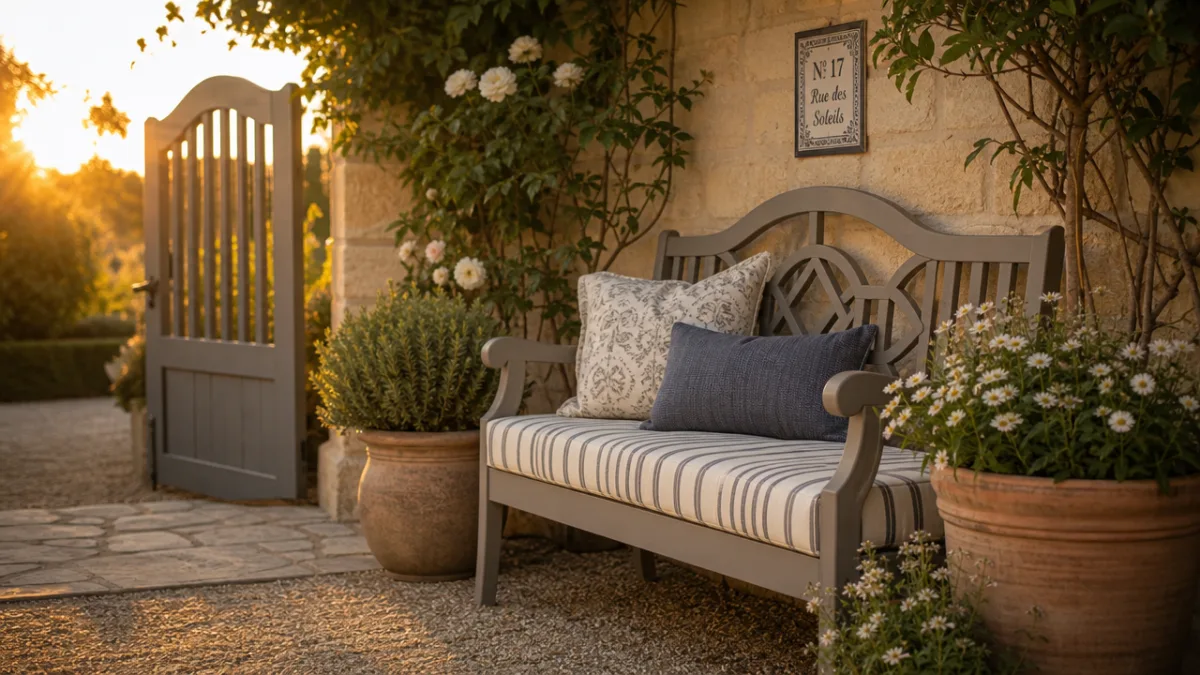
Once the core construction is complete, the real fun begins: making the bench feel like a natural, intentional part of your outdoor living space. One of the most popular customizations is adding a cushion to the seat. An outdoor bench cushion made from weather-resistant fabric transforms the bench from a purely functional piece into a genuine comfort zone. Look for cushions filled with quick-dry foam and covered in Sunbrella or similar solution-dyed acrylic fabric, which resists fading, mildew, and moisture far better than standard upholstery materials. A bold stripe, a floral pattern, or a solid color that pulls from your home’s exterior palette can tie the whole outdoor space together instantly.
Consider where you place your bench as thoughtfully as how you build it. A storage bench positioned along a fence line can double as a privacy screen anchor when you add tall planters on either end, creating a cozy, defined seating nook out of what was previously just an empty yard edge. Placed at the foot of a back door, it becomes a mudroom-style landing zone where family members can sit to remove muddy boots while storing garden gloves and leashes just inside the lid. On a covered porch, two matching storage benches flanking a small table create a built-in banquette feel that makes even a modest porch feel like an outdoor room.
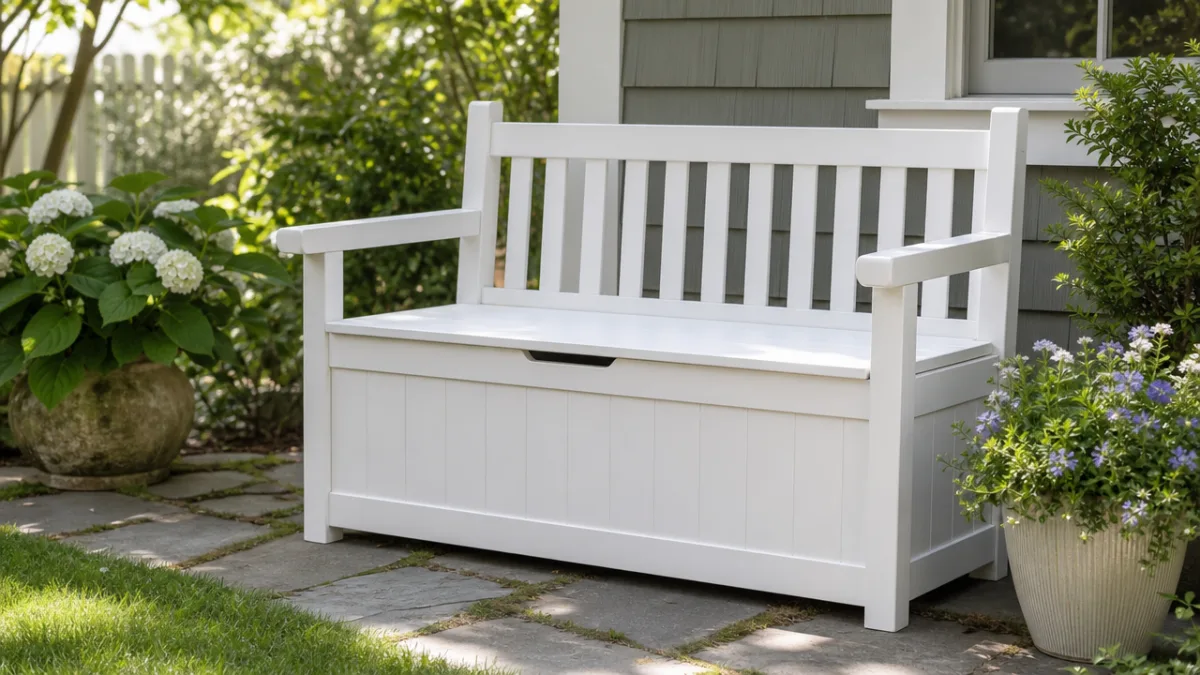
The storage bench concept also lends itself to beautiful decorative styling on the exterior. Stencil a simple botanical design on the front panel using exterior paint for a folk art look. Apply board-and-batten detail to the sides using thin strips of wood to add architectural interest at very low cost. Paint the bench a deep charcoal, navy, or forest green for a dramatic statement piece, or keep it classic in crisp white for a timeless cottage aesthetic. Adding a small monogram, house number, or hand-lettered word like “GARDEN” or “WELCOME” to the front panel is an easy personalization that costs almost nothing but adds real character.
What to Store Inside and Organizing Your Bench Storage
Having a beautiful outdoor storage bench does you little good if everything inside is a jumbled mess you have to dig through every time you want the sunscreen or the badminton set. Taking thirty minutes to organize the interior of your bench thoughtfully will pay dividends every time you use the space. Start by doing a ruthless audit of what you actually want to keep in the bench versus what belongs in a garage, shed, or recycling bin. The bench is most useful when it holds the things you reach for most often during outdoor time — not a repository for everything you don’t know where else to put.
Use simple organizers inside the bench to keep categories of items separated and easy to access. Zippered waterproof pouches work beautifully for small items like sunscreen, bug spray, chalk, and sidewalk soap. A small mesh bag can corral sports balls. Dedicated baskets or canvas bins keep throw blankets and outdoor cushions clean, dry, and easy to pull out at a moment’s notice. Some builders add a simple shelf near the top of the interior — just a thin board spanning between two cleats — to create two tiers of storage and double the effective capacity of the bench without changing its external footprint at all.
Here are some of the most practical categories of items that belong in a backyard storage bench:
- Outdoor dining and entertaining supplies like tablecloths, citronella candles, and serving utensils
- Garden extras such as gloves, small hand tools, kneeling pads, and plant markers
- Outdoor toy storage including bubbles, sidewalk chalk, and lightweight balls
- Sun and bug protection — sunscreen, bug spray, and aloe vera gel
- Outdoor throw blankets for cool summer evenings on the patio
- Seat cushions that you prefer to store out of the weather when not in use
- Sports and recreation gear like a badminton set, frisbees, or jump ropes
Keeping the bench organized also makes a difference in how well it protects what’s stored inside. Avoid packing the interior so tightly that air cannot circulate — good airflow prevents mildew from developing on cushions and fabric items. If you live in a particularly humid climate, placing a small silica gel packet or a cedar block inside the bench helps absorb excess moisture and keep the interior fresh. Review the contents of your bench at the start of each outdoor season to rotate items in and out based on what you actually use, keeping the storage relevant, accessible, and genuinely helpful throughout the year.








What do you think?
It is nice to know your opinion. Leave a comment.