










“`html
How to Build a 10-Minute Baby/Pet Gate: The Ultimate DIY Guide
Why Every Home Needs a DIY Baby and Pet Gate
If you’ve got a curious toddler who just figured out how to move on their own, or a puppy who thinks every room in the house is fair game, you already know how quickly things can go sideways. Stairs, the kitchen, a home office full of chewable cords — the hazards in a typical home are honestly kind of alarming once you start paying attention. A good gate isn’t just a nice-to-have; it’s one of the simplest and most effective ways to keep little ones safe before something goes wrong.
Store-bought baby and pet gates can get expensive fast — we’re talking anywhere from $40 to well over $150 for the more solid pressure-mounted or hardware-mounted styles. If you need more than one gate in your home, that price tag multiplies quickly. The great thing about this DIY version is that it needs only a handful of basic materials, no fancy tools, and — true to the name — you can realistically pull it off in about ten minutes once everything is laid out in front of you.
Beyond saving money, making your own gate means you get to call all the shots on size, finish, and style. Commercial gates come in standard dimensions that don’t always play nicely with older doorways, oddly sized hallways, or any opening that doesn’t fit a neat template. A gate you build yourself fits the space exactly, looks like it belongs there, and can actually match your home’s aesthetic rather than clashing with it. It’s one of those projects where the homemade version genuinely wins on multiple fronts.
Materials and Tools You Will Need
The supply list for this project is refreshingly short. You won’t need to hunt down anything specialty or wait on an online order — almost everything is available at any big home improvement store, and there’s a decent chance you’ve already got a few of these things kicking around in the garage. Getting it all together before you start is really the secret to actually finishing this in ten minutes.
The gate itself is built around wooden dowel rods or PVC pipe for the vertical slats, held together by a pair of horizontal rails. Most people go with wooden dowels because they’re light, inexpensive, easy to cut, and give the finished gate a clean, classic look. PVC pipe is a totally solid alternative, especially for pet gates that might deal with more moisture or rough use over time. Either works well — it really just comes down to what you have access to and what look you’re going for.
Here’s a straightforward list of what you’ll typically need to complete this project:
- Wooden dowel rods or PVC pipe (diameter approximately 3/4 inch to 1 inch), quantity depending on gate width
- Two longer wooden boards or rails for the top and bottom of the gate frame
- A drill with a drill bit matching your dowel or pipe diameter
- Wood glue or strong adhesive (for wooden versions)
- Measuring tape and a pencil for marking
- Sandpaper (optional, for smoothing rough edges)
- Paint or stain of your choice for finishing
- A tension rod mounting system or hinges and latch hardware for installation
- Safety goggles and work gloves
Most people spend somewhere between $15 and $30 on materials for a single gate — a pretty dramatic difference from what you’d pay at the store. If you’re planning to make gates for several doorways, buying materials in bulk will bring that per-gate cost down even further. It’s worth measuring all your target openings before you head to the store so you can grab the right lengths in one trip and avoid buying more than you need.
Step-by-Step Building Instructions
Before you touch a single tool, measure the opening where the gate is going. Write down the exact width and the height you want the gate to be — usually somewhere between 24 and 30 inches works for most situations, though you might want to go a bit taller if you’ve got a dog who clears obstacles easily or a toddler who’s already figured out how to climb things. Getting accurate measurements now will save you a lot of frustration later and make sure the gate actually fits the way it’s supposed to.
Start by cutting your two horizontal rails to match the width of your opening. These are the top and bottom of the gate frame and they do the heavy lifting structurally, so pick a piece of wood that feels genuinely solid. Then mark evenly spaced points along both rails where your vertical slats will go. Spacing the marks about three to four inches apart at center is the sweet spot — open enough to look good, but close enough that small hands, paws, and heads can’t squeeze through.
Drill holes at each marked point on both rails, making sure your bit matches the diameter of your dowels as closely as possible so they fit snugly. Put a little wood glue in each hole before inserting the dowels, then press the second rail down onto the tops of all the dowels at once. This step goes faster with someone else helping, but it’s definitely doable on your own as long as you work steadily. Let the glue cure fully according to the package directions before you hang the gate anywhere.
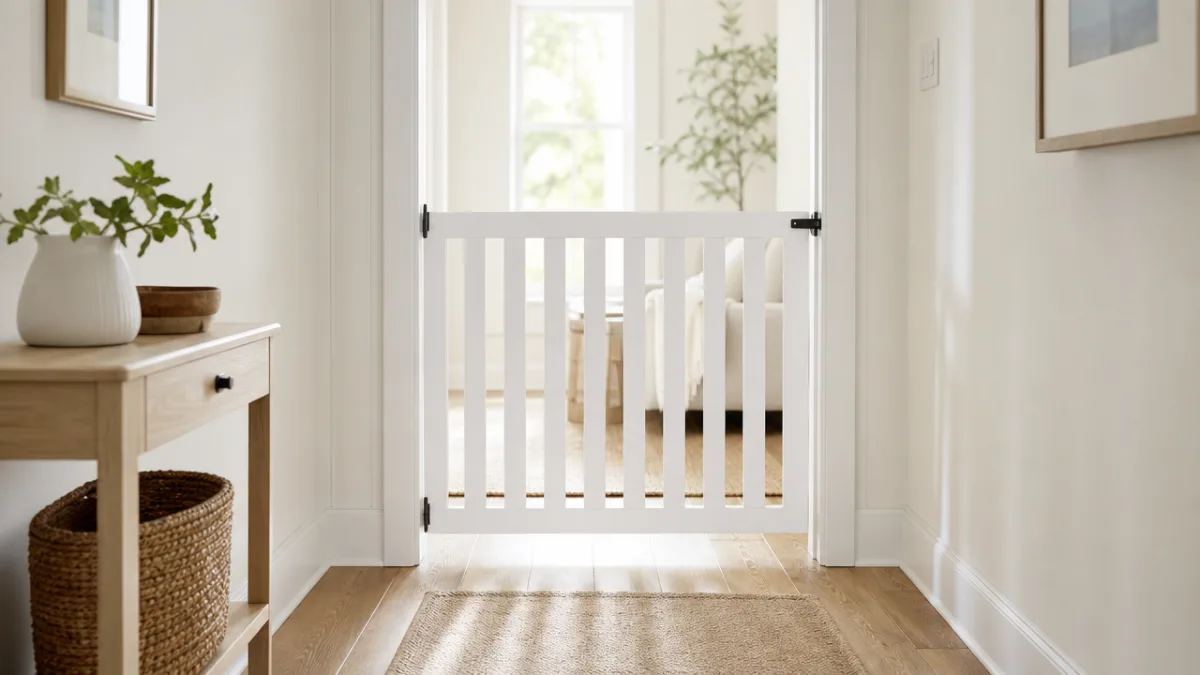
Once everything’s set, sand down any rough edges, wipe off the dust, and apply your paint or stain. White paint gives it a clean, nursery-friendly look; a natural wood stain makes it feel more like an intentional piece of furniture. When the finish is dry, attach your mounting hardware — either a tension rod system that doesn’t require any wall drilling, or standard hinges and a latch for something more permanent. Either way, you’re looking at just a few minutes to wrap up the installation.
Safety Considerations and Best Practices
A gate is only worth having if it actually holds up when it matters. Before you start relying on your new gate every day, spend a few minutes really testing it. Push firmly on the center, wiggle the slats, work the latch a bunch of times, and make sure the mounting hardware is genuinely solid against the wall or door frame. Kids and pets are persistent and surprisingly creative — they will find whatever weak spot you missed, and it’s a whole lot better to catch that during your own testing than during an unsupervised moment.
Pay close attention to slat spacing. The standard safety guideline for baby gates is that vertical slats should be no more than 2.375 inches apart, which prevents a young child’s head from getting stuck between the bars — the same standard used for commercial cribs. It’s worth taking seriously here too. For a gate that’s only for pets, you have a bit more flexibility depending on how big your animals are, but tighter spacing is always the safer call when there’s any uncertainty. When in doubt, measure twice and go narrower.
The material you use matters for safety too. Wood looks great and is easy to work with, but splinters and rough edges can cause cuts and scrapes. Sand the finished gate thoroughly — especially the cut ends of the dowels — and consider a non-toxic sealant if young kids might mouth or chew on it. PVC sidesteps the splintering issue entirely and is also much easier to wipe clean, which is genuinely useful when the gate inevitably encounters sticky fingers, muddy paws, and everyday family chaos.
Here are a few additional best practices worth keeping in mind as you plan and use your gate:
- Never leave a child unattended on the safe side of a gate and assume the barrier will hold indefinitely without periodic checks of the hardware.
- Recheck all mounting points and fasteners monthly, as vibration and repeated use can cause screws and tension fittings to loosen gradually over time.
- Ensure the gate latch requires a deliberate two-step action to open, making it significantly harder for older toddlers to figure out.
- Replace the gate immediately if you notice any cracking, warping, or structural damage — do not attempt to patch a compromised safety barrier.
- Keep the gate area clear of furniture or objects that a child could use as a stepping stool to climb over.
Customization Ideas and Design Variations
Once you’ve got the basic ten-minute build down, there’s a lot of room to get creative. One of the most popular upgrades is adding a small pet door in the lower section — a hinged panel just big enough for a cat or small dog to slip through freely while keeping toddlers or larger dogs out. This is a game-changer in multi-pet households where you want to block a boisterous dog from a room but still give your cat free access to its food or litter box.
For a more decorative touch, try cutting the tops of the vertical slats at a slight angle or in a gentle curve — it gives the gate a finished, furniture-like quality that looks really intentional. You can also play around with slat spacing and thickness to get different visual effects. Closely spaced thin dowels read as elegant and a little Scandinavian; fewer, chunkier slats lean more farmhouse. Neither choice changes how the gate works, but the difference in feel is pretty striking and can make the whole thing look like a design decision rather than just a safety measure.
Color is honestly the easiest way to make the gate feel at home in your space. Painting it the same color as your trim or wainscoting makes it nearly disappear into the architecture of the room, which is a great option if you’d rather it not stand out. On the flip side, a bold color — navy, forest green, even black — can turn the gate into an actual design feature, especially in a modern or eclectic space. Small details like rope wrapping on the horizontal rails or a few wooden knobs along the top can take the look further without much extra time or money.
If you’re covering a wider opening — like a room divider rather than a single doorway — consider building a two-panel accordion-style gate that folds flat when you don’t need it. Two matching panels connected by hinges in the middle can span a much wider space and fold neatly against the wall when you want the area to open up. This is especially popular in open-plan homes where you want to define zones without putting up permanent walls. It’s a flexible, removable solution that can adapt as your family’s needs shift over time.
When to Use Your Gate and When to Transition Away from It
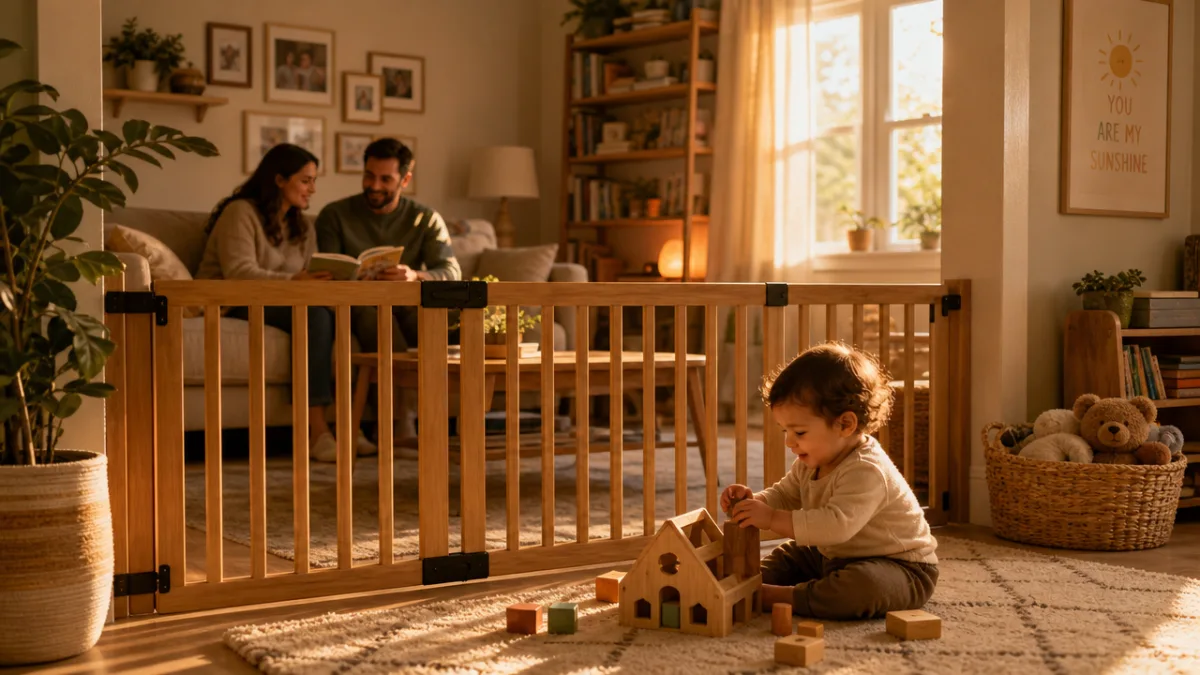
Knowing when a gate makes sense is just as useful as knowing how to build one. Gates work best during the phase when kids or animals can move around on their own but haven’t yet developed the judgment to navigate hazards safely. For babies, that usually starts around the time they begin crawling — somewhere between six and ten months — and continues until they’re old enough to understand and actually follow basic safety rules, which tends to land somewhere in the toddler to preschool years.
With pets, it’s a different kind of calculation. A gate might be a permanent fixture in your home if you have a dog that always needs to be kept out of certain spaces for behavioral or cleanliness reasons. For other pet owners, gates are most useful during an initial training period and can be phased out once the pet has reliably learned what’s off-limits. Every animal is different, and it helps to think of the gate as a training tool and safety measure rather than a permanent workaround for teaching good behavior.
It’s also worth thinking about the tricky in-between stage when a child is old enough to understand the gate but strong or tall enough to potentially get past it. This is actually the riskiest window, because kids in that middle ground might try to climb over or push through without the coordination or judgment to do it safely. Watch for signs that your child is starting to test the gate, and use that as your cue to start having more active conversations about which areas need supervision and why — gradually replacing the physical barrier with real understanding as they grow.
Here is a helpful general timeline to guide your thinking about gate use by developmental stage:
- 0 to 6 months: Gates generally not yet necessary as infants are not yet mobile.
- 6 to 18 months: Peak gate utility — crawling and early walking combined with zero hazard awareness makes barriers essential.
- 18 months to 3 years: Gates remain important but begin pairing them with verbal safety instruction and supervised exploration.
- 3 to 5 years: Many families begin transitioning away from gates as children develop judgment; evaluate individually.
- For pets: Reassess gate placement and necessity every six months as training progresses and the animal matures.
Wherever your family is in that process, the gate you built in ten minutes will hold up as a reliable, adaptable part of your home safety routine. The fact that it cost a fraction of anything you’d find at a store, fits your space perfectly, and can be repainted or tweaked as things change just makes it more useful over time. Not many DIY projects deliver this kind of combination — fast, affordable, genuinely practical, and reassuring in the way that only a solid safety measure can be. That’s really why this one resonates so strongly with parents and pet owners who want smart, no-fuss solutions to everyday household challenges.
“`








What do you think?
It is nice to know your opinion. Leave a comment.