










Revive Your Old and Weathered Wood Fence: A Complete Restoration Guide
Understanding Why Wood Fences Weather and Deteriorate
Wood fences are one of those classic, charming features that can really make a yard feel like home — but they take a beating out there. Sun, rain, snow, humidity, and wild temperature swings are constantly working against the wood, breaking it down little by little. Knowing why that happens is actually the best place to start if you want your restoration to stick and not just look good for a season before fading again.
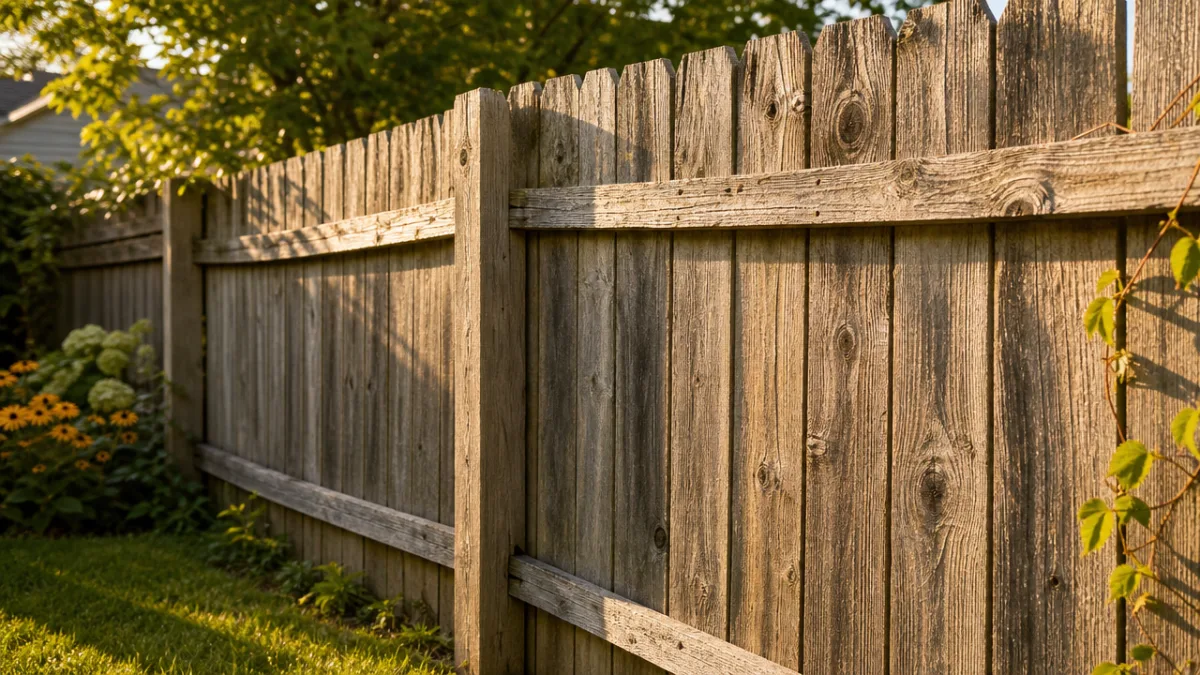
The sun is probably the biggest villain here. UV rays break down lignin, which is basically the natural glue that holds wood fibers together and gives fresh lumber that warm, rich color. Once lignin starts breaking down, the surface goes gray, rough, and almost fuzzy-looking. It’s why a fence that started out a deep, beautiful brown can look like driftwood after just a couple of seasons with no protective coating on it.
Moisture is the other big problem. Water soaks into the wood, makes it swell, then it dries out and contracts — and that constant push-and-pull creates cracks and splits that let even more water in. If water hangs around in those cracks long enough, you get mold, mildew, and rot. Once rot gets a foothold in your posts or boards, you’re dealing with a real structural issue, and the restoration becomes a lot more involved than just a fresh coat of stain.
Assessing the Condition of Your Fence Before You Begin
Before you spend a dime or pick up a single tool, walk the whole fence line and give it an honest look. A weathered fence isn’t automatically a candidate for simple cleaning and refinishing — some boards are just too far gone, and slapping fresh stain over rotted wood is really just throwing money away. A good inspection tells you exactly what you’re dealing with so you can shop smart and plan realistically.
Go along the fence and press firmly on each board and post — use your thumb or the tip of a screwdriver. Solid, healthy wood feels firm and pushes back. Rotted wood feels soft or spongy, and the screwdriver will sink right in with almost no effort. Pay close attention to where the posts go into the ground, since that’s where moisture hangs around the longest and rot almost always shows up first. The spots where boards are nailed together are worth a close look too, since water likes to collect in those joints.
Make a note of which boards need to come out entirely versus which ones just need a good cleaning and refinishing. A rough guideline: if more than a third of a board’s thickness is rotted through, replace it. For posts, any meaningful rot near the base is a structural concern you really need to handle before anything else. Once you have a clear picture of what needs replacing and what can be saved, you can head to the store knowing exactly what to buy and go into the project with a realistic sense of how long it’ll take.
Gathering the Right Tools and Materials for the Job
Getting your supplies together before you start makes the whole project go so much more smoothly. Nothing here is exotic or hard to find, but using the right tool for each stage genuinely matters. The most common mistake people make is skimping on the prep side of things, and then the stain or sealant doesn’t bond well and starts peeling after one winter. Good prep tools are worth every penny.
For cleaning and prep, you’ll want a pressure washer or a garden hose with a high-pressure nozzle, a stiff-bristled brush, a pump-style sprayer, and a wood cleaner or brightener. Wood cleaners are usually oxygen bleach-based or oxalic acid-based, and they’re great at pulling off dirt, mildew, gray surface fibers, and old finish without chewing up the wood. A wood brightener, used after cleaning, brings the wood’s pH back into balance and nudges some of that warm color back that the sun stole. For repairs, you’ll need a pry bar, a hammer, galvanized or stainless steel fasteners, and replacement boards that are as close as possible to what you already have.
For the finishing stage, a pump sprayer is your best friend on a fence — you can cover a lot of ground fast and get into the tight spots between boards easily. That said, keep a natural-bristle brush nearby to work stain into end grain, knots, and anywhere the sprayer misses. When picking your finish, choose something specifically made for exterior fences and decks, and decide between semi-transparent and solid-color based on how much wood grain character you want to keep. Round out your supply list with quality brushes, drop cloths to protect plants and paving, and painter’s tape for any hardware you want to keep clean.
Cleaning and Preparing the Wood Surface
If there’s one phase of this project you should never rush, it’s this one. Preparation is honestly what makes or breaks a fence restoration, and it’s also the step most people are tempted to skip because they’re excited to get to the satisfying part. But no matter how great your stain is, it cannot bond to a surface that’s dirty, moldy, or coated with old finish. Do the prep right, and your finish can last five years or more. Skip it, and you might be back out here peeling and re-doing it before the year is out.
Apply your wood cleaner following the directions on the label. Most products want you to wet the fence first, spray the cleaner on with your pump sprayer, let it sit for ten to fifteen minutes, scrub if needed, and then rinse it all off with a pressure washer or strong hose. If you’re using a pressure washer, keep the nozzle at least a foot away from the wood and use a wide-fan tip — a pinpoint nozzle can gouge the wood or raise the grain badly. Always work from top to bottom so dirty runoff isn’t washing back over the sections you’ve already cleaned.
Once you’ve cleaned it, the fence needs to dry completely before you move on, and this takes longer than most people expect. Depending on your climate, the wood may need anywhere from 48 hours to a full week of dry weather to be truly ready for stain. A cheap wood moisture meter takes the guesswork out of it — you’re looking for a reading below 15 percent. While you’re waiting, that’s actually the perfect time to knock out repairs, swap out damaged boards, re-drive any popped nails, and replace old hardware so everything is in order before you start finishing.
Making Repairs and Replacing Damaged Boards
Now that the fence is clean and you’ve got your assessment notes, it’s time to deal with the structural stuff. Any cosmetic work you do over structural problems is just a band-aid — it’ll look okay briefly and then fall apart. Fixing the boards and posts properly now means you won’t have to revisit this for many years, and it protects everything else you’re about to invest in cleaning and finishing products.
To pull a damaged board, use a pry bar and work carefully so you don’t split the fence rails in the process. When picking replacement boards, try to match the species, width, and thickness of what’s already there as closely as you can. If your posts are pressure-treated lumber, try not to use it for the fence boards themselves — the greenish tint and different texture tend to look out of place. Cedar and pine are the most common fence board materials and both are easy to find at any lumber yard or home improvement store. Let new boards sit outside for at least a week before you install them so they can acclimate, and treat the cut ends with an end-grain sealer to keep moisture from soaking right in.
When you’re fastening replacement boards, use galvanized or stainless steel nails and screws — regular steel will rust and leave ugly dark streaks down your freshly stained fence within months. Stainless steel is the best choice, especially if you’re anywhere near the coast where salt air speeds up corrosion. Pre-drilling pilot holes, especially near the ends of boards, prevents splitting. Once all the repairs are done and everything has had time to dry thoroughly, you’re finally ready for the most rewarding part of the whole project.
Applying Stain or Sealant for Long-Lasting Protection
Picking the right finish matters just as much as applying it well. You’ve got options ranging from clear sealers that protect moisture while letting all the natural wood color show through, to semi-transparent stains that add color but still reveal the grain, to solid-color stains that cover the grain almost entirely like a paint. If your fence has a lot of color variation from weathering and new replacement boards, a solid or semi-solid stain is often the more forgiving choice because it pulls everything together into one cohesive look.
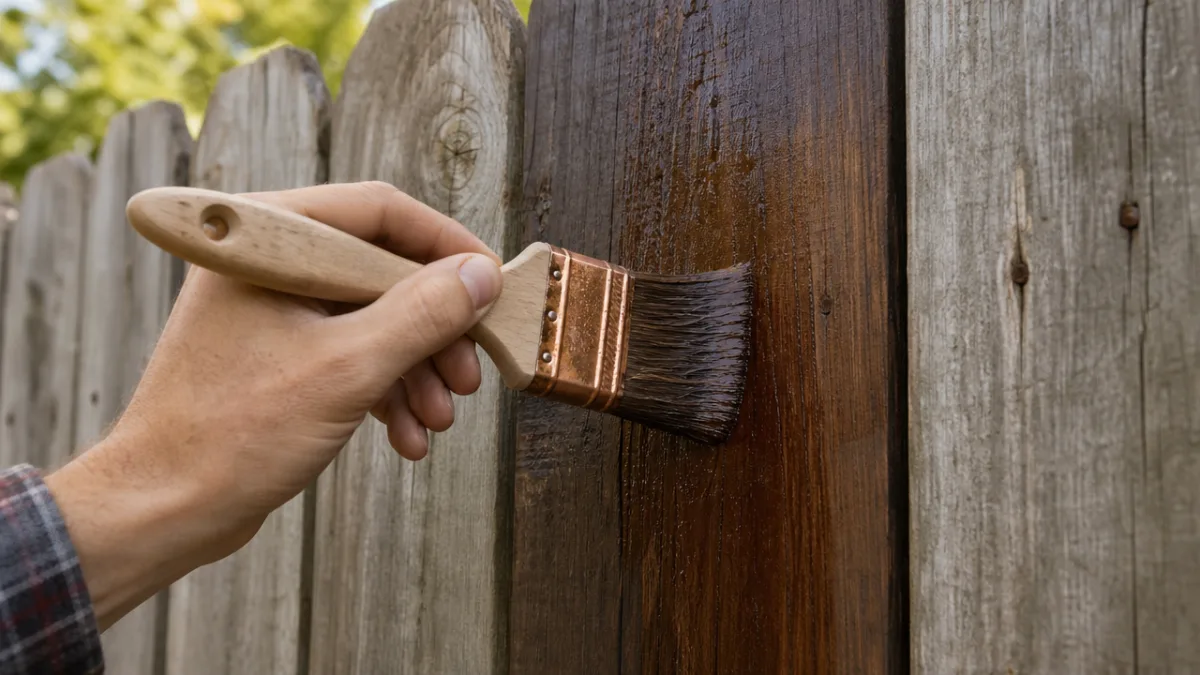
Plan to apply your finish on a dry day with temperatures somewhere between 50 and 90 degrees Fahrenheit, and make sure no rain is in the forecast for at least the next day or two. Funny enough, working in shade or on a mildly cloudy day is actually ideal — direct, hot sun makes stain dry too fast, which leads to lap marks and uneven penetration. Use your pump sprayer for the big flat sections, working with the grain. Then immediately go back over it with a brush to work the stain deeper into the wood and catch any drips before they dry. This “back-brush” technique is what the pros do, and it really does make a noticeable difference in how even and well-absorbed the finish looks.
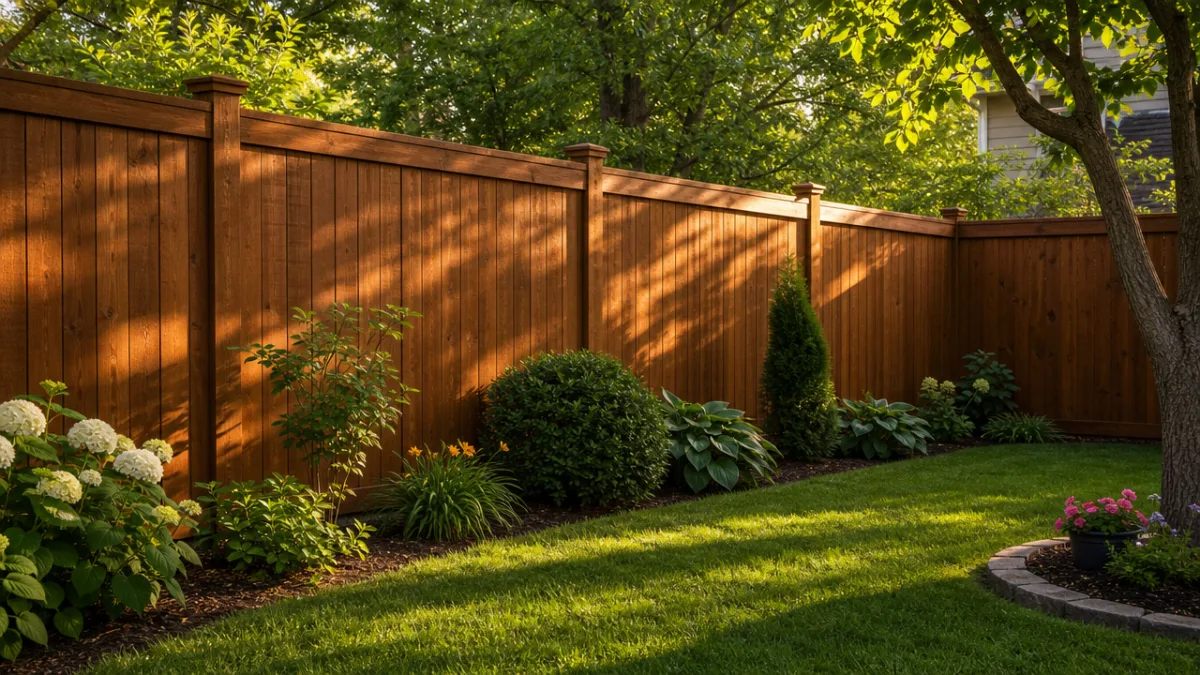
Most quality exterior stains need two coats to hit their full protection and color depth. Let the first coat dry according to the product’s recoat time — usually two to four hours — before putting on the second. Don’t try to shortcut by layering them wet-on-wet unless the label specifically says you can. After your final coat has cured (typically 48 to 72 hours), you’ll honestly be amazed at the difference. The fence will look like a new one, and it’ll be well-protected against whatever the weather throws at it.
Maintenance Tips to Keep Your Fence Looking Great for Years
You’ve put real time, money, and effort into this restoration, so the good news is that keeping it looking great is actually pretty easy compared to what you just went through. With a simple, consistent routine, you can stay well ahead of the weathering process and never have to face a full-scale restoration project like this again.
Get into the habit of checking the fence every spring once winter’s done its thing, and again every fall before the wet and cold sets back in. Look for spots where the finish is wearing thin, where gray is starting to creep back in, or where any boards have cracked or split. Catching those spots early means a little targeted cleaning and touch-up rather than refinishing the whole fence. Keep some of your original stain stored in a cool, dry spot for exactly this kind of maintenance work.
Once a year, give the whole fence a rinse with the garden hose and a gentle scrub with a soft brush and mild detergent to clear off the dirt, pollen, and mildew that quietly build up over the seasons. Every two to three years, depending on how much sun and weather your fence takes, plan on a fresh maintenance coat of stain or sealant. This isn’t the big production the original restoration was — the wood is already in good shape. A light scuff with 80-grit sandpaper, a quick rinse, and one fresh coat is usually all it takes to renew the protection and keep the color looking rich.
Also take a look at anything growing near the fence. Vines, shrubs, and plants pressed right up against the wood trap moisture and create a cozy home for mold and rot — so keep a few inches of clearance and let the air circulate. The same goes for sprinkler heads: if any of them are regularly hitting the fence boards, adjust them. Constant wetting from a sprinkler is one of the fastest ways to undo a good restoration, and it’s such an easy fix that there’s really no reason not to deal with it.








What do you think?
It is nice to know your opinion. Leave a comment.