










Crochet Leg Warmers: The Ultimate Guide to Making and Styling This Timeless Accessory
The Enduring Appeal of Crochet Leg Warmers
Crochet leg warmers have had a pretty incredible run in the world of handmade fashion. They’ve been cycling in and out of style since the 1970s, and somehow they always find their way back. What started as practical dancewear — the kind of thing you’d see on ballet students and aerobics enthusiasts — has grown into something much broader. These days, crafters, fashion lovers, and anyone who just wants to stay cozy has claimed them as their own. And honestly, it makes sense. The way yarn interlocks in crochet creates a fabric that’s stretchy, breathable, and genuinely warm all at once, which is a harder combination to pull off than it sounds.
A big part of why they stick around is how approachable they are to make. You don’t need to worry about precise shaping or tricky seaming — at the end of the day, a leg warmer is basically just a tube of crocheted fabric. That simplicity makes them a perfect first wearable project for beginners who want something they can actually finish and use, without committing to months of skill-building first. But don’t let that fool you into thinking the design options are boring. Experienced makers regularly turn leg warmers into a showcase for lace, colorwork, and textured stitches that could easily hold their own next to anything you’d find in a boutique.
There’s also just something culturally warm and fuzzy about leg warmers. They bring back images of dance studios, crisp autumn mornings, and those perfectly layered outfits that look effortless but clearly weren’t. When you’ve made the pair yourself, there’s an extra layer of satisfaction to pulling them on. Every stitch is yours, and that turns something functional into something that actually means something.
Choosing the Right Yarn and Hook for Your Project
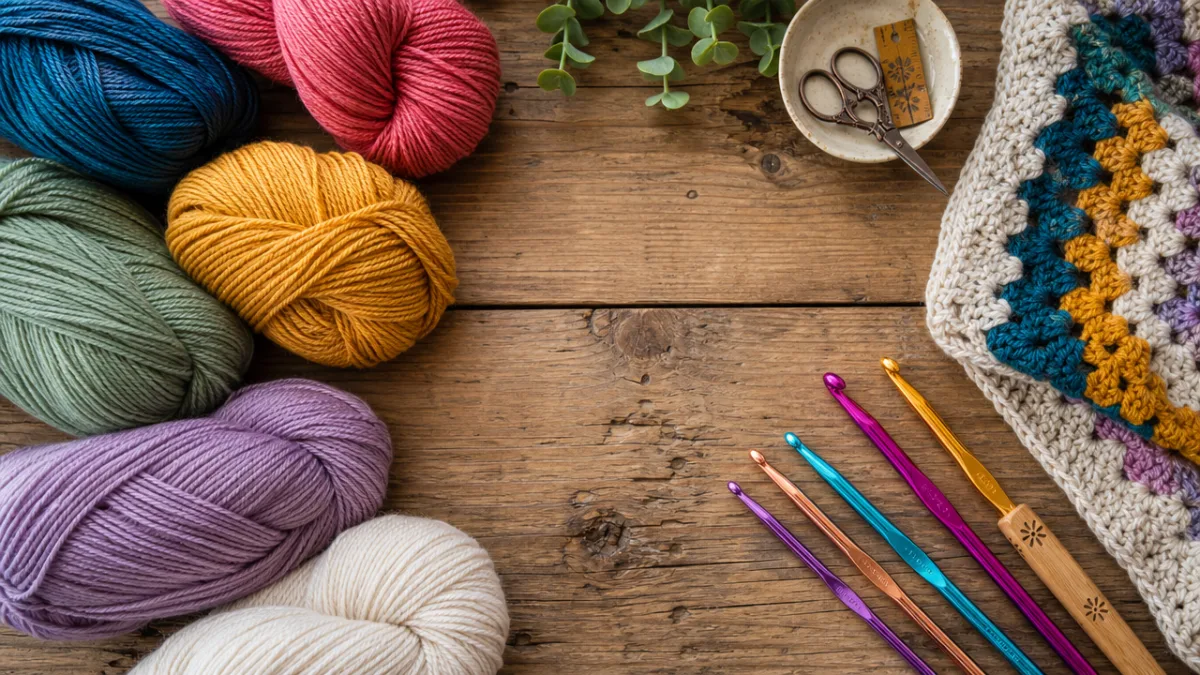
Before you cast on a single stitch, the most important decision you’ll make is your yarn. Fiber content, weight, and texture all shape how your finished leg warmers feel against your skin, how well they hold up over time, and how much of a pain they’ll be to wash. For most people, something with natural fiber content — wool, alpaca, or cotton — hits the sweet spot of warmth, breathability, and durability. Wool is especially great here because it has a natural springiness that helps leg warmers bounce back to their original shape after being stretched over your calf all day.
Yarn weight makes a bigger difference than you might expect. Go bulky or super-bulky and you’ll get a thick, cozy fabric that works up fast and is perfect for layering over leggings on the coldest days. Worsted weight is the middle-ground option — not too heavy, not too delicate — and it’s the most common choice for a first leg warmer project for good reason. If you want something lighter that works for spring or pairs nicely with dresses, DK or sport weight gives you a softer, slightly more open fabric without all the bulk.
Hook size should generally match your yarn weight, but here’s a tip worth keeping: don’t be afraid to go up a size or two from what the yarn label suggests. A slightly larger hook gives you a more relaxed, drapey fabric, and for leg warmers especially, you want comfortable movement rather than something that feels tight. And please, swatch first — even if you’ve been crocheting for years. Yarn varies between brands, and a quick gauge check at the start saves a lot of frustration down the road.
- Bulky weight yarn (size 5-6): Best for ultra-warm winter leg warmers; works up quickly on a 6mm–8mm hook
- Worsted weight yarn (size 4): The most versatile choice for all seasons; pairs well with a 5mm–5.5mm hook
- DK or sport weight (size 3): Ideal for lightweight, spring-ready styles; use a 3.5mm–4mm hook
- Cotton blends: Great for warm climates or those with wool sensitivities; slightly less elastic but beautifully soft
- Bamboo or linen blends: Offer excellent breathability and a silky drape for fashion-forward designs
Essential Stitches and Pattern Techniques
You really don’t need a huge stitch vocabulary to make a beautiful pair of leg warmers, but knowing a few key techniques will open up way more design options than you might expect. The foundation of most leg warmer patterns is ribbing, which creates that stretchy, vertical texture everyone loves. You get it by working single crochet or half double crochet through the back loop only — you’ll see this written as BLO in patterns. It’s a small change from standard crochet, just catching the back loop instead of both, but the result is a fabric with real horizontal stretch and a ribbed look that genuinely mimics knitting. It’s one of those techniques where the payoff feels way bigger than the effort involved.
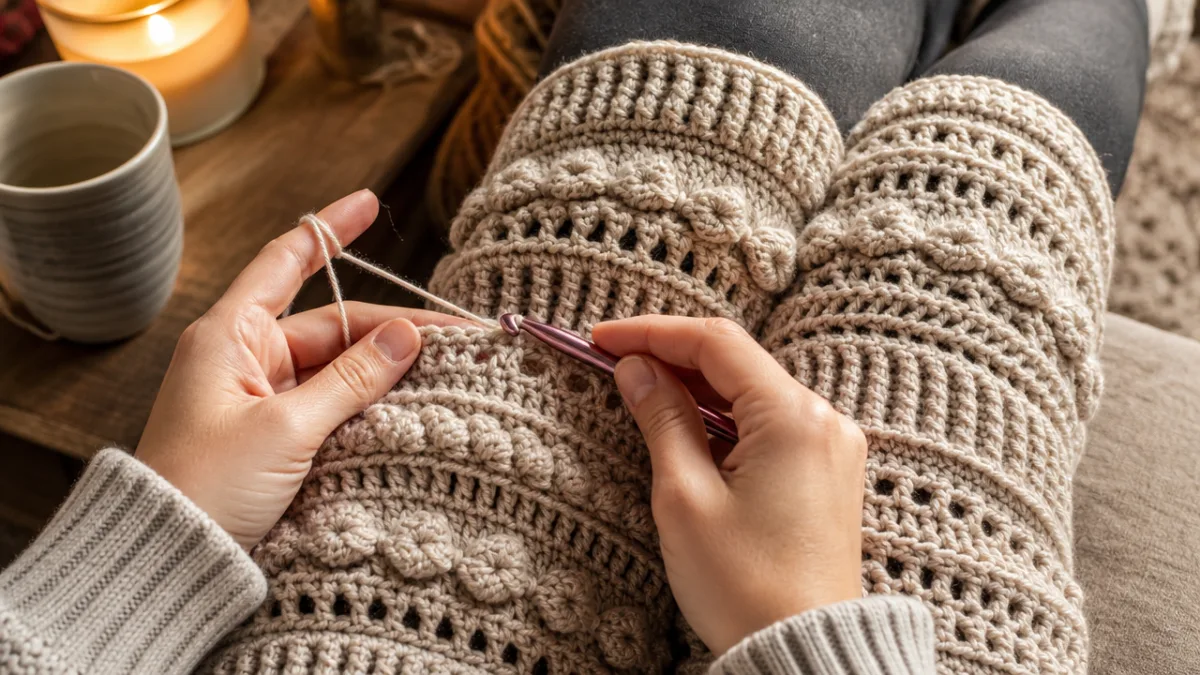
Once you’re comfortable with ribbing, post stitches are worth exploring. Front post double crochet (FPDC) and back post double crochet (BPDC) are worked around the vertical post of the stitch below rather than through the loops at the top, which creates raised ridges and channels in the fabric. When you alternate them in a pattern, you get a cabled effect that looks seriously impressive but is honestly not that hard once you get the hang of the motion. It’s why so many popular patterns on Pinterest and Ravelry lean heavily on post stitches — the visual result is polished and professional without requiring anything beyond basic technique.
How you construct your leg warmers is also worth thinking about before you start. Most patterns are either worked flat as a rectangle that gets seamed along one edge, or as a seamless tube in continuous rounds. Both approaches have fans. Working flat lets you easily try the piece on your leg as you go and adjust the length without any mental math, while working in the round produces no visible seam and gets a bit faster once you hit your stride. If you’re newer to crochet, flat construction tends to feel more forgiving. If you’re comfortable with magic rings and working in rounds, you’ll probably prefer skipping the seam entirely.
Step-by-Step: A Simple Beginner Leg Warmer Pattern
Even if you’ve been crocheting for a while, there’s real value in doing one simple, no-frills leg warmer before you dive into anything more complex. It lets you understand how the construction actually works, which makes every pattern after it easier to follow. This version uses basic single crochet through the back loop only — nothing fancy, just that stretchy ribbing texture without any advanced techniques needed. You’ll need around 200 yards of worsted weight yarn, a 5mm hook, a yarn needle, and scissors. The finished piece should be roughly 14 inches long and 11 inches wide when laid flat, which fits most adult calves comfortably.
Start by chaining 41 — this will become the length of your leg warmer when it’s being worn. For Row 1, single crochet in the second chain from the hook and in every chain after that, landing on 40 single crochets. From Row 2 on, chain 1, turn, and single crochet through the back loop only all the way across. Keep going until the piece is about 11 to 12 inches wide, which usually takes somewhere between 40 and 50 rows depending on your tension and yarn. Check it against your actual leg measurement as you go — that’s the most reliable way to make sure it’ll fit the way you want.
Finishing trips up a lot of beginners, but it’s genuinely simple once you see it done. When your panel is long enough, fasten off and weave in your tail end securely. Fold the rectangle so the short edges line up (those will become the top and bottom of the leg warmer), then use your yarn needle with a length of matching yarn to whipstitch the long edges together into a tube. That seam will sit at the back or inside of your leg when you’re wearing them. Weave in any remaining ends, give them a gentle hand wash to help the stitches relax and bloom, and lay them flat to dry.
- Chain 41 and work Row 1 in single crochet across (40 stitches)
- Turn and work all subsequent rows in BLO single crochet
- Continue until piece measures 11–12 inches wide
- Fasten off and leave a long tail for seaming
- Fold and whipstitch the long edges together to form a tube
- Weave in all ends thoroughly
- Wet block or hand wash and lay flat to dry
Styling Crochet Leg Warmers for Every Season and Occasion
One of the things that keeps leg warmers coming back season after season is how genuinely flexible they are to style. In the middle of winter, a chunky woolen pair worn over tights with ankle boots, a flowing skirt, and an oversized sweater is both practical and actually really good-looking. The layering adds visual interest and real warmth without making you feel like you’re wearing an extra pair of trousers. Style writers talk about this a lot — how leg warmers add warmth without disrupting the shape of an outfit — and it’s a real thing once you start experimenting with them.
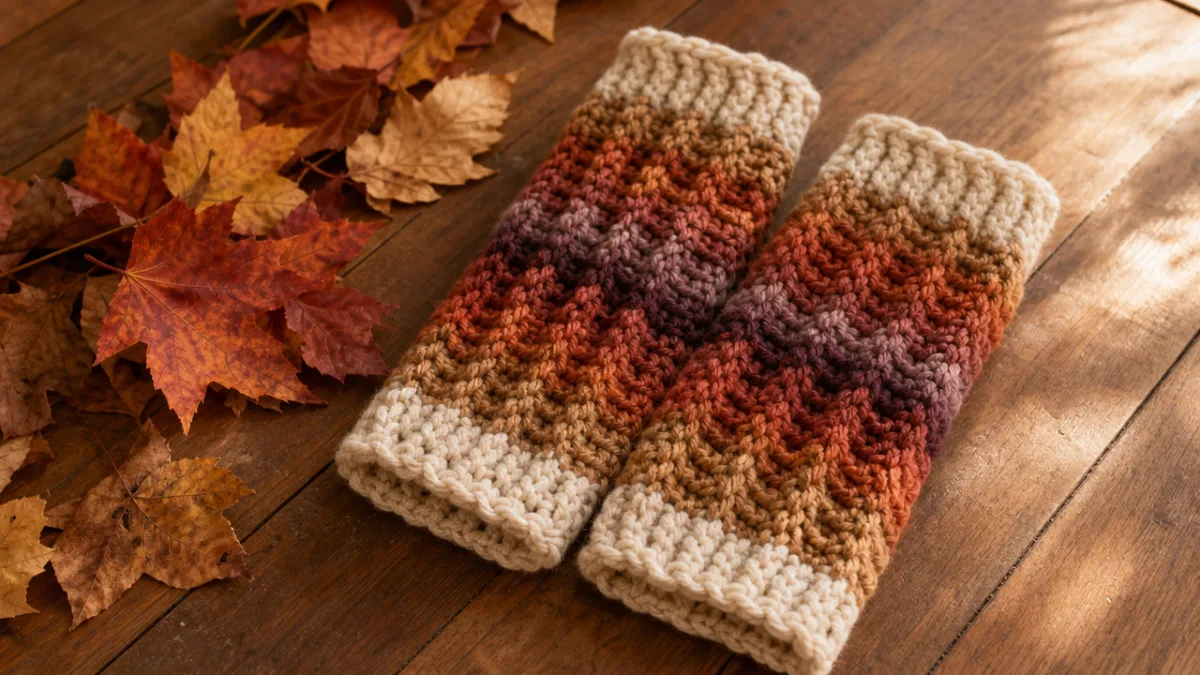
In the transitional months, lighter leg warmers in cotton or bamboo blends are perfect for that in-between weather where you’re never quite sure what to wear. Throw them on with a sundress and sandals on a cool evening, or layer them over cropped yoga pants for a look that takes you from the studio to brunch without needing a wardrobe change. They have a relaxed, bohemian quality that suits spring and autumn really well. Color does a lot of work here too — earthy tones, burnt orange, and deep plum feel right in autumn, while soft pastels and dusty blues translate better into spring outfits.
There’s also the athletic angle, which is where leg warmers arguably got their start. Wearing them during yoga, Pilates, dance class, or an early morning run keeps your muscles warm during the warm-up phase, and you can peel them off easily as you heat up. Crochet is actually really well-suited to this because it naturally stretches and breathes. A lot of crafters specifically make “sport” versions of their leg warmers in moisture-wicking cotton or bamboo with a slightly tighter gauge so they stay put during movement without sliding down.
Customizing and Elevating Your Crochet Leg Warmer Designs
Once you’ve got the basic construction down, the fun part starts. Color is the easiest place to begin experimenting — even plain ribbing looks completely different when you’re working with gradient yarn, self-striping colorways, or deliberate color blocks made by joining new yarn at specific intervals. A pair that shifts from deep forest green at the ankle up to a pale sage at the calf tells a visual story and shows real design intention. That’s the kind of thing that takes a handmade piece from sweet craft project to something you’d genuinely see in a boutique.
Embellishments are another way to make a pair feel totally your own. Small fabric bows, vintage buttons, crochet flowers sewn on separately, or fringe along the top edge can all completely change the personality of a basic pair. Lace trim worked directly into the top and bottom edges adds a delicate, feminine quality that looks especially good with floral or boho-inspired outfits. And if you’re comfortable with colorwork techniques like tapestry crochet or intarsia, you can work geometric patterns, snowflakes, Nordic motifs, or even a simple monogram right into the fabric itself.
Sizing is worth thinking about if you’re making leg warmers as gifts or for people whose measurements are very different from what a standard pattern assumes. The great thing about the rectangle-and-seam method is that adjustments are easy and intuitive — add more rows to increase the circumference, start with a longer chain to increase the length. For over-the-knee styles, just keep going. Some makers extend their leg warmers all the way to mid-thigh for a dramatic, editorial look that’s shown up on runways and in street style photography. Thigh-high versions take more yarn, but the construction is identical to the shorter version, just longer.
Caring for Your Handmade Crochet Leg Warmers
How you care for your leg warmers has a real impact on how long they last and how good they look after repeated washing. The most important thing to go by is your yarn’s fiber content — check the label before you wash for the first time and keep that information somewhere you can actually find it again. Wool and wool blends need the most attention: hand wash in cool or lukewarm water with a gentle wool wash or even baby shampoo, handle them carefully to avoid felting, and never wring or twist them. Instead, press the water out gently between two clean towels, then reshape them and lay flat to dry away from direct heat or sunlight.
Cotton, bamboo, and acrylic yarns are much more easygoing, and a lot of them are machine washable, which makes them a practical pick if you’re going to be wearing and washing something frequently. Even with tougher fibers though, it’s worth using a gentle or delicate cycle and tucking your leg warmers into a mesh laundry bag to protect them from stretching or distorting in the wash. Skip the dryer when you can — heat and tumbling aren’t kind to crochet stitches and can leave things misshapen. Laying flat to air dry is the single best thing you can do for the long-term appearance and fit of your leg warmers.
Storage is one of those things that’s easy to overlook until something goes wrong. Fold your leg warmers rather than hanging them — hanging lets gravity stretch the fabric out over time, which is especially noticeable with longer or heavier pairs. A breathable cotton bag or a regular drawer works better than a sealed plastic container, which can trap moisture and lead to mildew. If your leg warmers are made from natural fibers, tuck a sachet of dried lavender or a small cedar block into your storage space to deter moths without the harsh smell of conventional mothballs. Take care of them properly and a well-made pair can stay in regular rotation in your wardrobe for years.








What do you think?
It is nice to know your opinion. Leave a comment.